
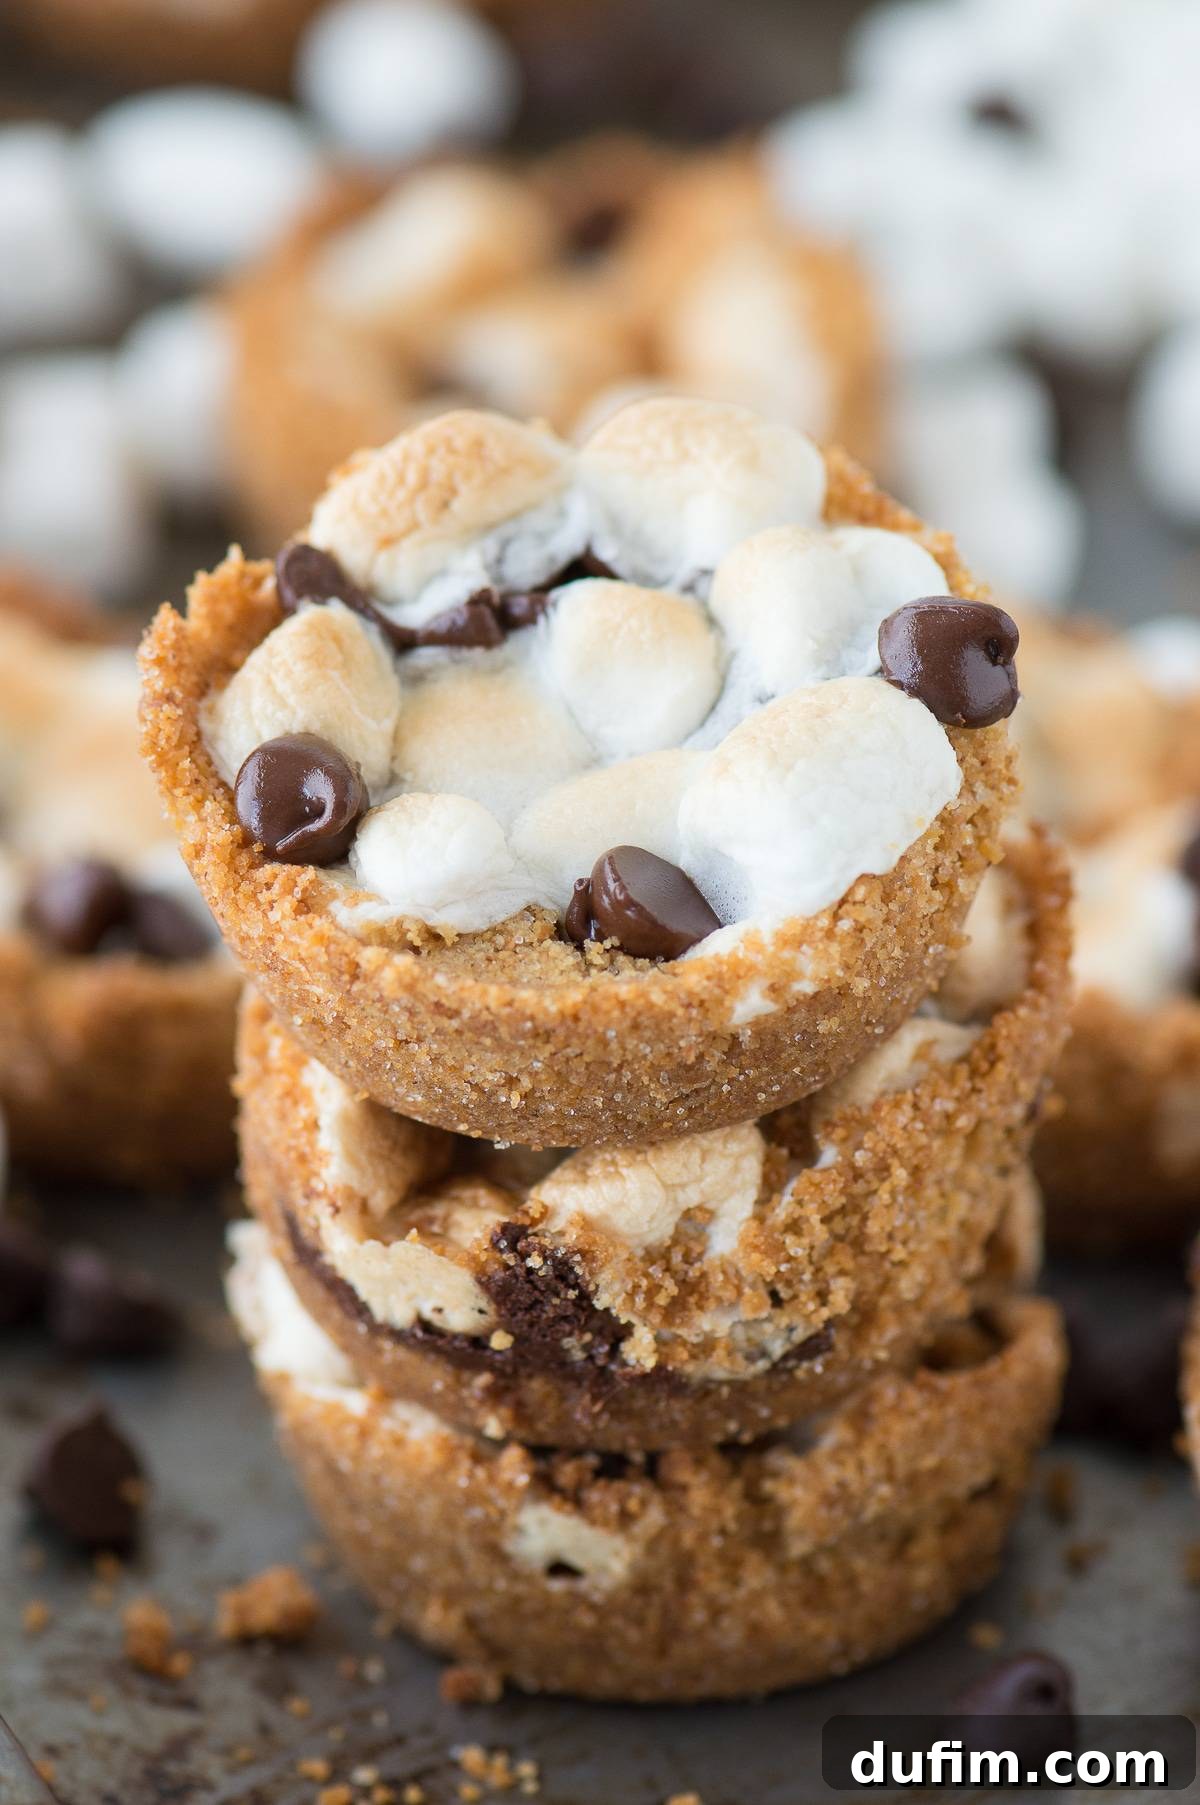
Easy 5-Ingredient Indoor S’mores Cups: Your Muffin Pan Dessert Dream!
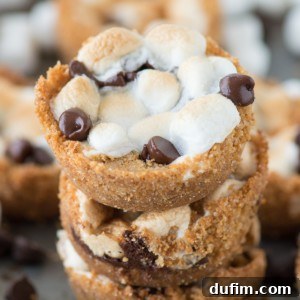
Forget the campfire; these incredibly easy and utterly delicious S’mores Cups bring all the joy of a classic s’mores right into your kitchen! Crafted with just five simple ingredients and baked in a regular muffin pan, these delightful treats offer the perfect fusion of s’mores cookies and s’mores cupcakes. Get ready to indulge in gooey marshmallows, rich chocolate, and a buttery graham cracker crust without ever stepping foot outdoors.
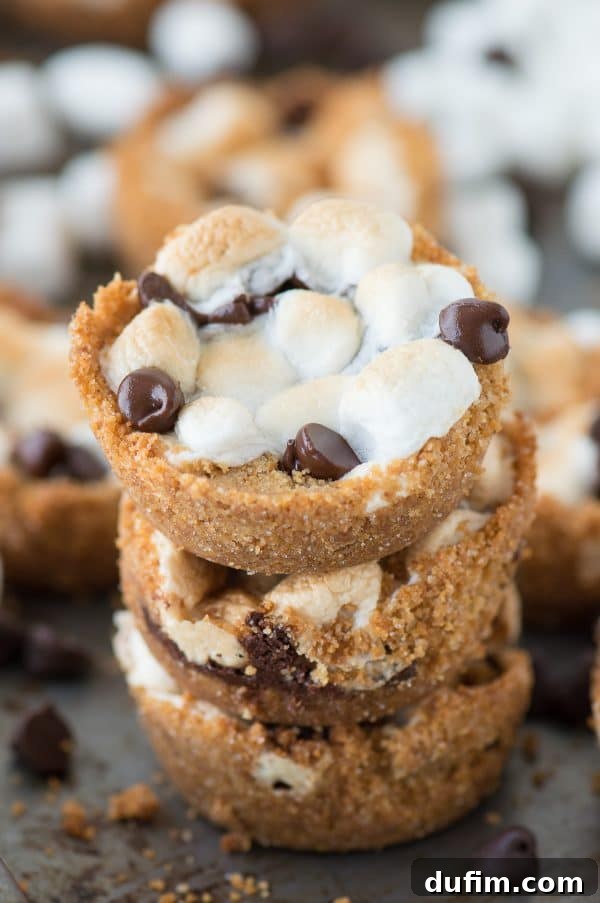
I have made these several times and everyone always loves them! Thanks for sharing your recipe!
-Jennifer
From Campfire Traditions to Kitchen Creations: The Evolution of S’mores
For generations, the irresistible combination of toasted marshmallows, melted chocolate, and crisp graham crackers has been synonymous with outdoor adventures, crackling campfires, and starry nights. The classic s’more is a timeless symbol of simple pleasures and shared moments. However, as culinary creativity blossomed, especially with the rise of platforms like Pinterest, the world began to realize that the magic of s’mores wasn’t confined to a fire pit.
Today, there are countless ingenious ways to enjoy these beloved flavors. From s’mores pies and bars to decadent cakes and dips, home bakers have embraced the challenge of bringing the campfire experience indoors. This recipe for S’mores Cups is a testament to that innovation, offering a convenient, mess-minimal (well, mostly!), and equally delightful alternative for when a campfire isn’t an option, or when you simply crave that gooey goodness right now.
Mastering the Indoor S’mores Recipe: Simple Ingredients, Maximum Flavor
At its heart, any great s’more recipe relies on three core ingredients: graham crackers, marshmallows, and chocolate. For our irresistible S’mores Cups, we honor this trio while adding a couple of essential baking elements: butter and sugar. These two ingredients are crucial for transforming humble graham cracker crumbs into a perfectly cohesive, flavorful, and sturdy crust – without them, you’d simply have loose crumbs, not a delicious foundation for our cups!
This recipe is designed for ease and speed, making it an ideal choice if you’re looking for an indoor s’mores solution that can effortlessly feed a crowd. Whether you’re hosting a party, preparing a quick family dessert, or simply satisfying a sudden s’mores craving, these cups deliver big on flavor with minimal effort. They truly are a delightful cross between a chewy cookie and a soft cupcake, making them universally appealing.
Deciding on the perfect name for these treats was a fun challenge! We considered options like “s’mores muffin pan cups” or “s’mores muffin tops.” While “s’mores bites” was a logical contender, we already have a fantastic recipe on our site with that name. So, after much deliberation, and celebrating their perfectly portioned nature, we proudly present: S’mores Cups! This name perfectly captures their convenient, individually-sized format, making them an instant hit for any occasion.
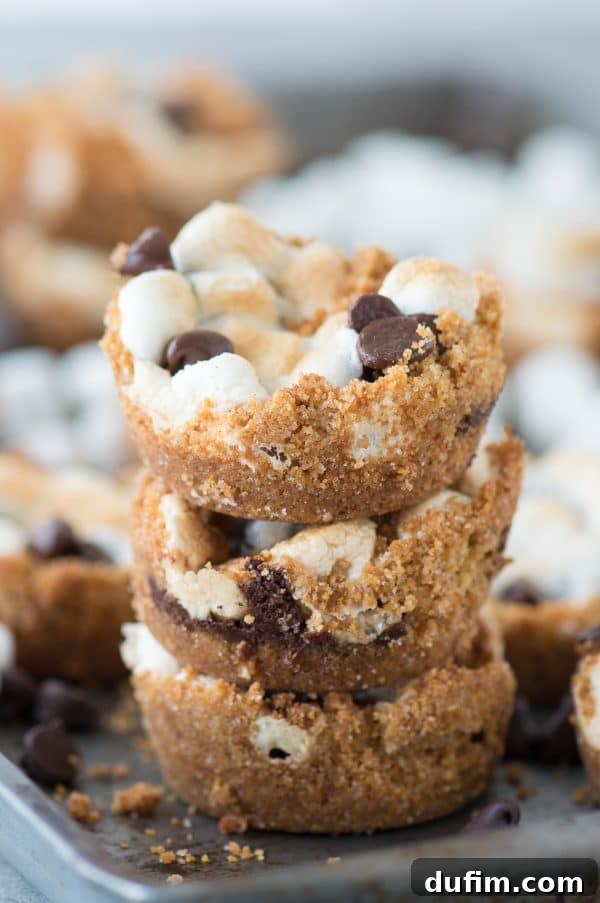
These S’mores Cups are crafted in a standard-sized muffin pan, and their magic lies in their simple yet satisfying layering. Each cup is a miniature masterpiece, promising a burst of classic s’mores flavor in every bite.
How to Make S’mores Cups: A Detailed Guide to Layered Perfection
Creating these irresistible S’mores Cups is a straightforward process, built on strategic layering and a few minutes in the oven. Follow these steps for perfect, gooey, and golden-brown treats every time.
Step 1: Laying the Foundation – The Graham Cracker Crust
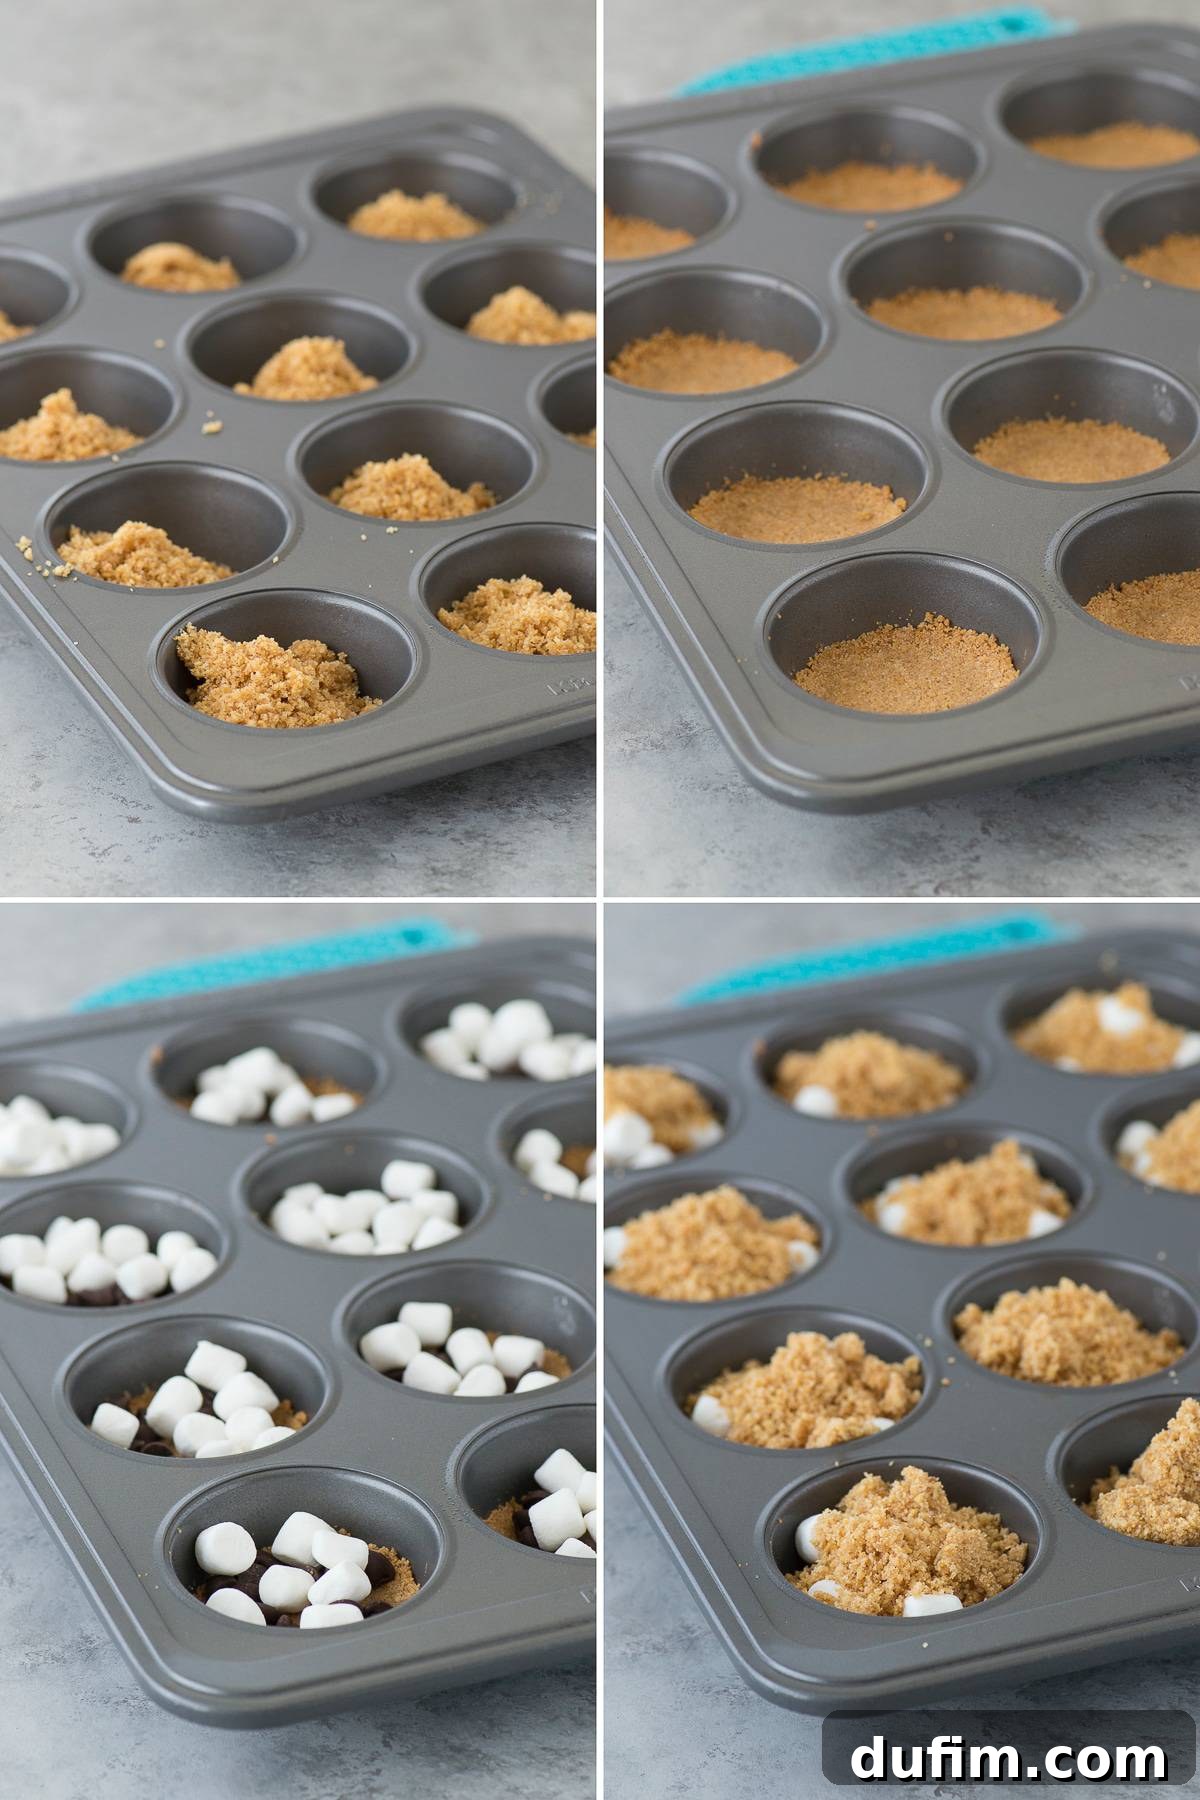
Begin by preheating your oven to 350°F (175°C). Lightly spray a regular-sized 12-cup muffin pan with non-stick cooking spray to ensure easy removal later. In a medium mixing bowl, combine 2 cups (226g) of finely crushed graham cracker crumbs with ½ cup (113g) of melted butter and ½ cup (99g) of granulated sugar. Stir these ingredients together thoroughly until the mixture is well combined and resembles wet sand. This consistency is key for a firm crust.
Next, place 1 ½ to 2 tablespoons of this graham cracker mixture into the bottom of each muffin well. Using the bottom of a ½ cup measuring cup or a similar flat object, firmly press the crumbs down into an even, compact layer. This step is crucial for creating a stable crust that won’t crumble apart when you remove the cups. Bake this first layer for 5 minutes. This initial bake helps set the crust and prevents it from becoming soggy later.
Step 2: Building the Sweet Layers – Marshmallows, Chocolate, and More Crust
After the initial 5-minute bake, carefully remove the muffin pan from the oven. Now it’s time to add the first round of fillings! Generously sprinkle mini marshmallows and chocolate chips into each muffin well, directly on top of the pre-baked graham cracker crust. There’s no need to be precise with measurements here; feel free to add as many or as few as your heart desires. A good mix ensures a balanced bite.
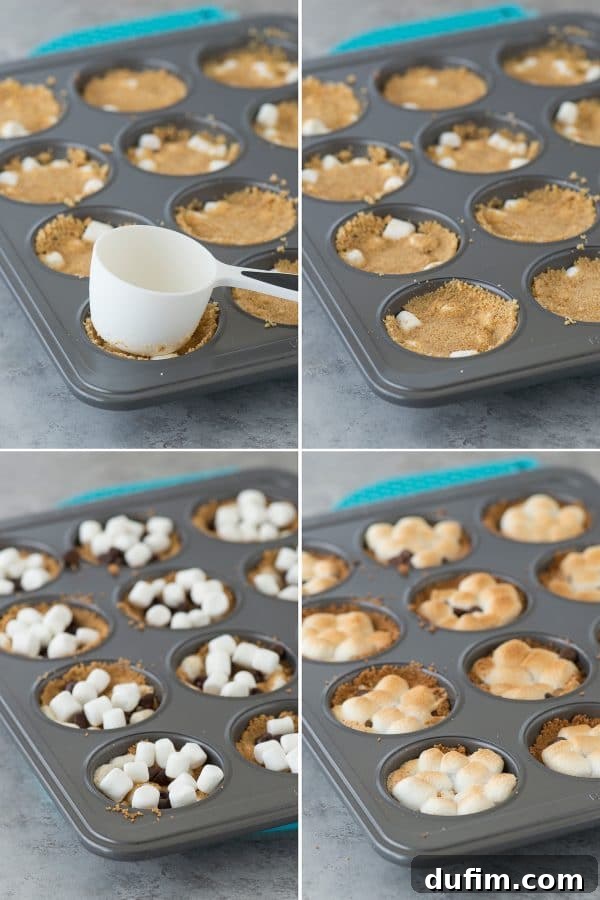
Once your marshmallows and chocolate are in place, add another layer of graham cracker crumbs (about 1 ½ to 2 tablespoons per well) on top. Gently press this second layer down with your ½ cup measuring cup, just enough to compact it without squishing the marshmallows too much. This second crust layer helps to encase the gooey fillings, creating that delightful “cup” structure. Return the pan to the oven and bake for an additional 4 minutes. This short bake allows the chocolate to soften and the layers to meld together.
Step 3: The Golden Topping – More Goodness and Broiling
Remove the muffin pan from the oven once more. This is your final chance to load up on the good stuff! Add another generous sprinkle of mini marshmallows and chocolate chips to the top of each s’mores cup. These will be the beautiful, toasted marshmallows that truly define a s’more.
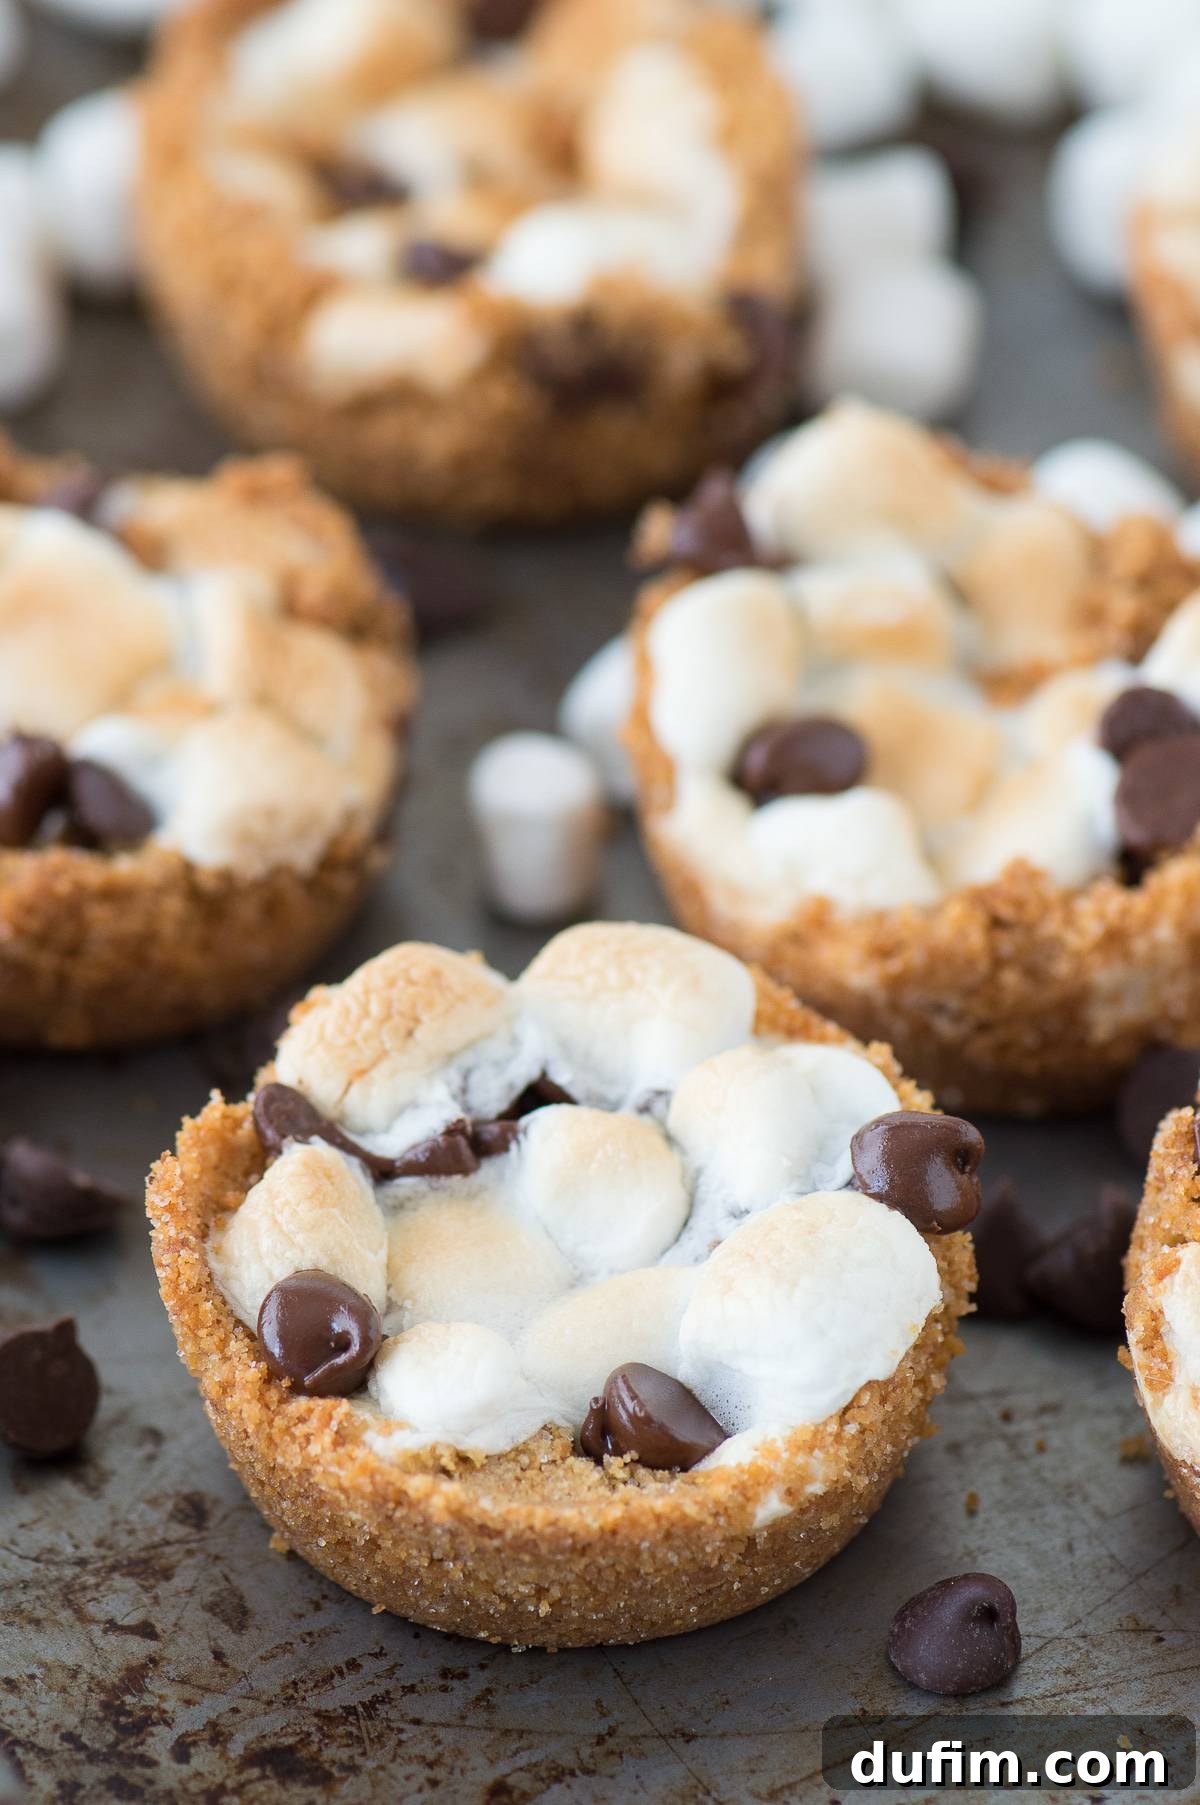
Now for the fun part: broiling! Place the pan back into the oven and turn your oven to the broil setting. It’s crucial to leave the oven door partially open so you can keep a constant eye on the marshmallows. Broiling can happen very quickly, usually within 2-3 minutes, and marshmallows can go from golden to burnt in seconds. Watch them carefully until they achieve a lovely golden-brown toastiness. As soon as they reach your desired level of toast, remove the pan immediately from the oven.
Step 4: Cooling, Removal, and Serving Your Delectable S’mores Cups
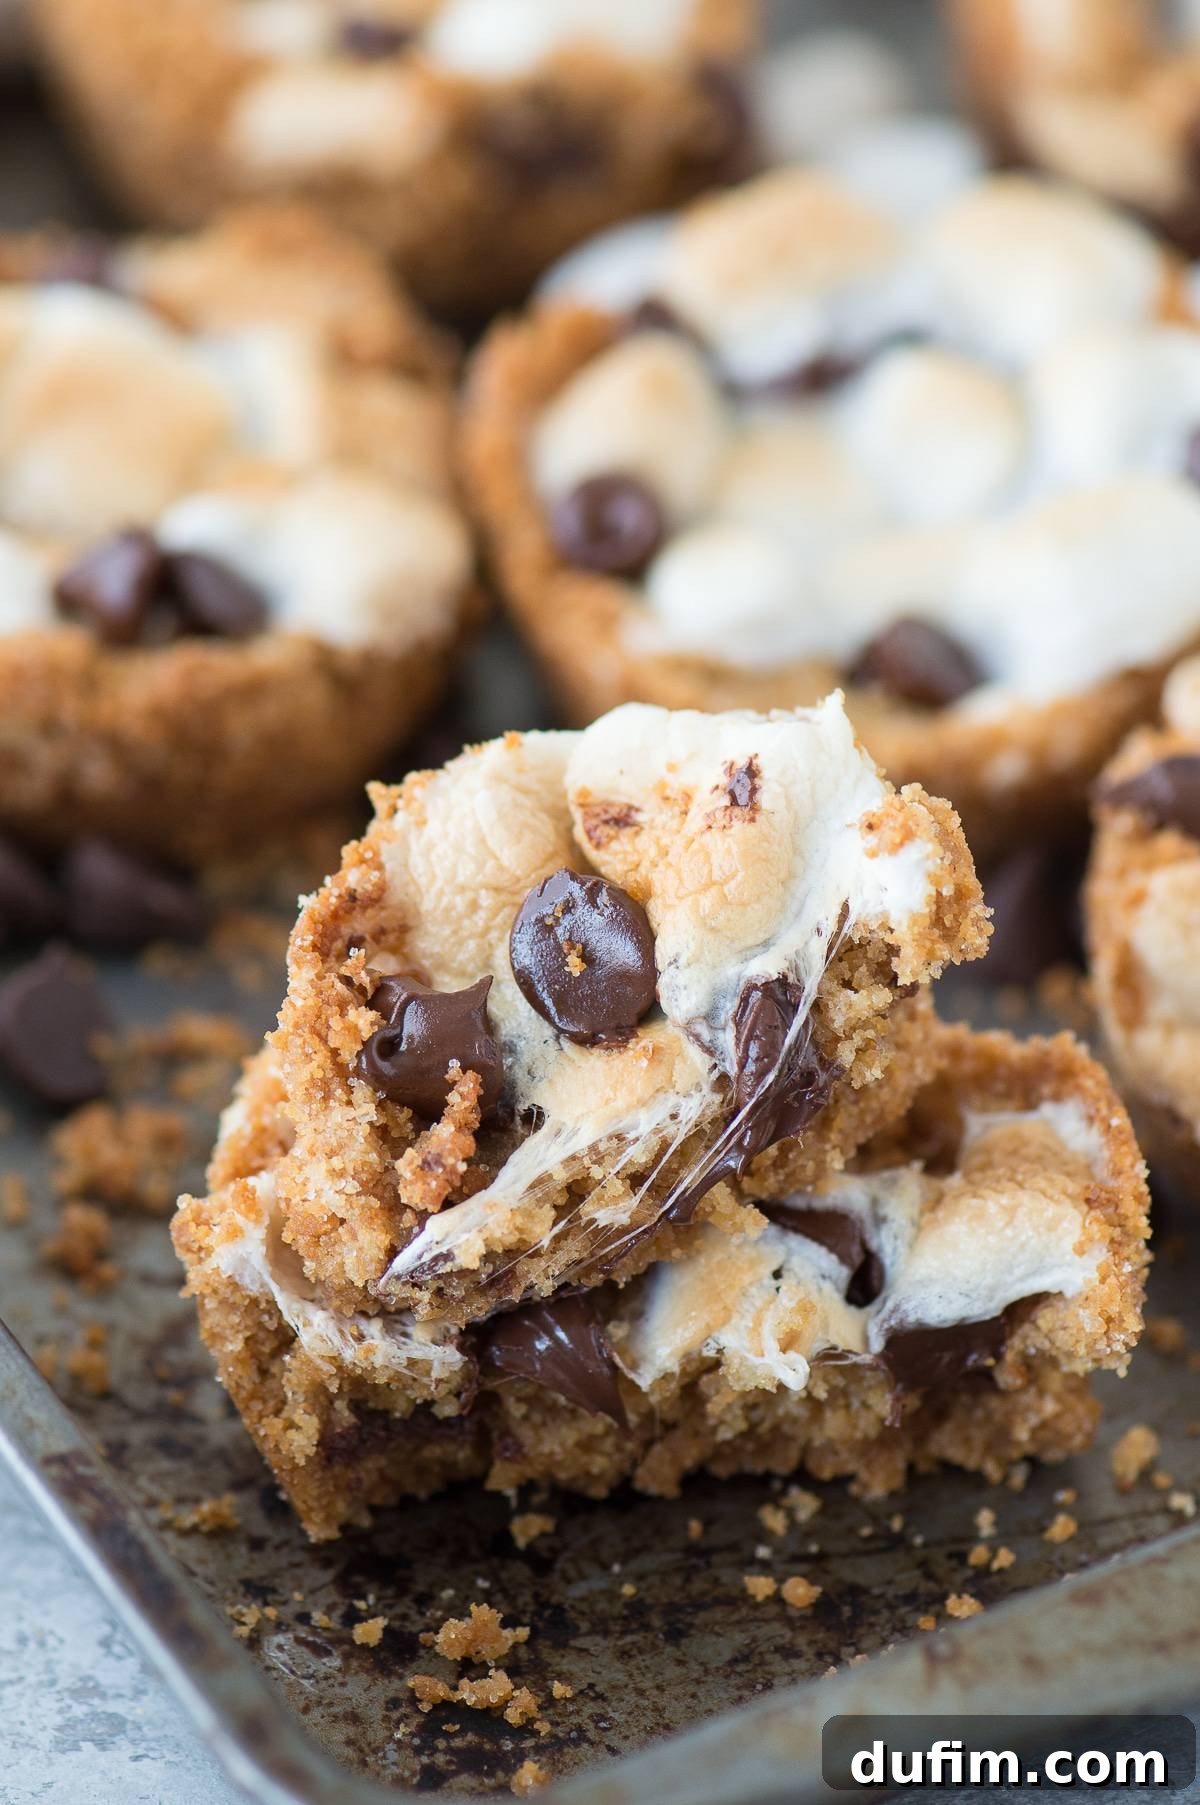
The hardest part of this recipe might be the waiting! Allow the s’mores cups to cool in the pan for at least 15 minutes before attempting to remove them. This cooling period is essential because the melted marshmallows and chocolate need time to set and firm up slightly. If you try to remove them too soon, they will be very gooey and might stick to the pan or fall apart.
To make removal easiest, I recommend using a small metal offset spatula to gently loosen any melted marshmallow or chocolate around the outside edge of each cup. Once loosened, use a spoon to carefully scoop each s’mores cup out of the muffin well.
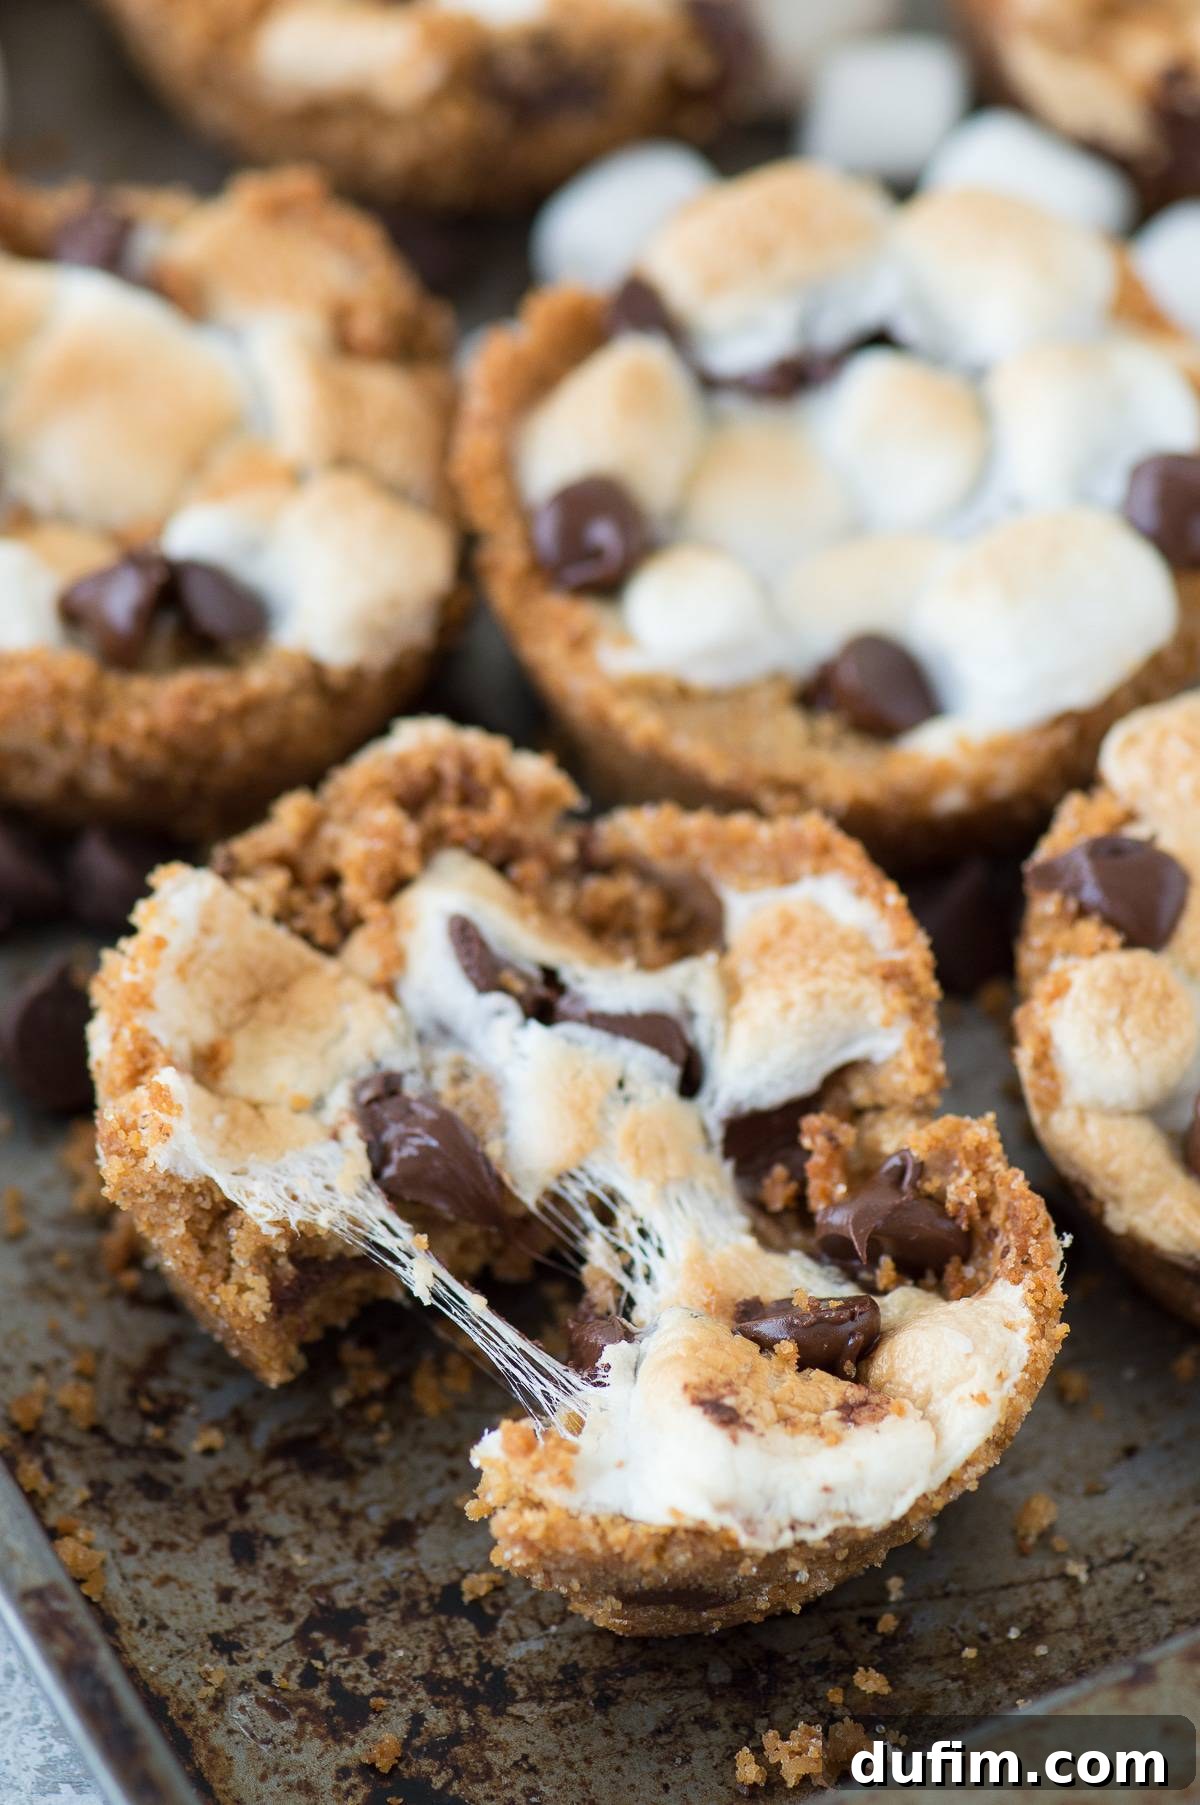
Once removed, you have a couple of serving options. You can serve them at room temperature, where they’ll be delightfully chewy and crumbly. Alternatively, for that extra warm and gooey experience, you can gently heat them up in the oven on a baking sheet for a few minutes before serving. Be warned: these S’mores Cups are wonderfully messy and crumbly, but that’s all part of their delicious charm! Prepare for sticky fingers and happy smiles.
Tips for S’mores Cup Success Every Time
- Don’t Skip the Non-Stick Spray: Even with a good non-stick muffin pan, a light spray of cooking oil will make removal significantly easier, especially with melted marshmallow involved.
- Achieving the Perfect Crust: Press those graham cracker crumbs firmly! A compact crust holds up better and provides a satisfying base for your s’mores cups. Use a flat-bottomed glass or a measuring cup for consistent pressure.
- Broiling with Care: As mentioned, broilers are powerful. Keep your oven door ajar and never walk away while broiling the marshmallows. They toast quickly, and a watchful eye is the best way to prevent burning.
- Patience is Key for Cooling: The 15-minute cooling period is non-negotiable. It allows the chocolate and marshmallow to set enough so that your cups can be removed cleanly and maintain their shape. Rushing this step often leads to sticky, messy frustration.
- Customize Your Chocolate: While chocolate chips are classic, feel free to experiment. Milk chocolate, dark chocolate, white chocolate chips, or even chopped chocolate bars can add unique flavor profiles.
Creative Variations to Elevate Your S’mores Cups
One of the best things about S’mores Cups is how easily they can be customized to suit your taste. Here are a few ideas to get you started:
- Peanut Butter Swirl: Add a dollop of peanut butter with the chocolate chips for a rich, nutty twist.
- Caramel Drizzle: Before or after baking, drizzle a bit of caramel sauce over the chocolate and marshmallows.
- Different Crackers: While graham crackers are traditional, try using chocolate graham crackers, digestive biscuits, or even crushed shortbread cookies for the crust.
- Flavored Marshmallows: If you can find them, try fruit-flavored marshmallows for a fun, unexpected burst of taste.
- Nutty Crunch: Sprinkle chopped nuts (pecans, walnuts, or almonds) into the chocolate and marshmallow layers for added texture.
- Mini Candy Bar Pieces: Instead of chocolate chips, chop up your favorite mini candy bars (like Snickers, Milky Way, or Reese’s Peanut Butter Cups) and add them to the layers.
Serving and Storage Recommendations
These S’mores Cups are delightful whether served warm, straight from the oven after a brief cool, or at room temperature. For an extra special touch, consider serving them with a scoop of vanilla ice cream or a drizzle of chocolate fudge sauce. They make excellent individual desserts for parties, potlucks, or simply as a comforting treat on a cozy night in.
Leftovers (if there are any!) can be stored in an airtight container at room temperature for up to 2-3 days. For best results and that irresistible gooey texture, gently reheat them in the microwave for 10-15 seconds or in a preheated oven at 250°F (120°C) for a few minutes.
This recipe has been highly rated by our community!
S’mores Cups Recipe
Rate Recipe
Print Recipe
Equipment
-
Glass Mixing Bowl
-
My favorite spatula!
-
Muffin Pan
Ingredients
- 2 cups (226g) graham cracker crumbs
- ½ cup (113g) butter, melted, 1 stick
- ½ cup (99g) sugar
- chocolate chips
- mini marshmallows
Instructions
-
Preheat the oven to 350º F. Lightly spray a regular sized muffin pan with non-stick cooking spray. In a medium sized mixing bowl, combine the graham cracker crumbs, melted butter and sugar. Stir until well mixed and crumbs resemble wet sand. Place 1 & 1/2 to 2 tablespoons of graham cracker crumbs in each muffin well. Press them down firmly into the pan. I like to use a 1/2 cup or something similar to help me compact the crumbs. Bake that first layer for 5 minutes.Ingredients used in this step: 2 cups (226g) graham cracker crumbs, 1/2 cup (113g) butter, 1/2 cup (99g) sugar
-
Remove the pan from the oven and add mini marshmallows and chocolate chips to each muffin well. Measuring is not crucial! Add as many or as few as you’d like. Then add another layer of graham cracker crumbs (1 & 1/2 to 2 tablespoons again) on top of the marshmallows and chocolate chips. Use a cup to press the crumbs down firmly. Bake for 4 minutes.Ingredients used in this step: chocolate chips, mini marshmallows
-
Remove the pan from the oven and add more mini marshmallows and chocolate chips. Place the pan back in the oven, turn the oven to broil to toast the marshmallows until golden, 2-3 minutes. Leave the oven door open partially so you can see how toasty the marshmallows are getting.
-
Remove the pan from the oven and allow the s’mores cups to cool for 15 minutes before removing them from the pan. I found it easiest to use a small metal offset spatula around the outside of each s’mores cup to loosen any melted on marshmallow. I then used a spoon to remove the cups from the pan. Once you have the s’mores cups removed from the muffin pan you could heat them up in the oven on a baking sheet before serving or serve them at room temperature. Warning! They are messy and crumbly but delicious!
Nutrition
Carbohydrates: 19g |
Protein: 1g |
Fat: 9g |
Saturated Fat: 5g |
Polyunsaturated Fat: 1g |
Monounsaturated Fat: 2g |
Trans Fat: 1g |
Cholesterol: 20mg |
Sodium: 160mg |
Potassium: 27mg |
Fiber: 1g |
Sugar: 12g |
Vitamin A: 235IU |
Calcium: 13mg |
Iron: 1mg
Nutrition Disclosure
All nutritional values are approximate and provided to the reader as a courtesy. Changing ingredients and/or quantities will alter the estimated nutritional calculations.