

Soft and Chewy Caramel Apple Cookies: Your Ultimate Fall Baking Guide
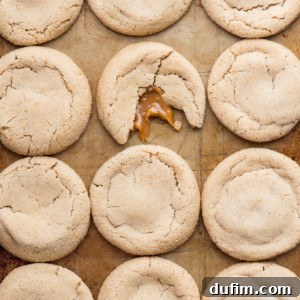
Embrace the essence of autumn with our incredible Soft and Chewy Caramel Apple Cookies. These delightful treats masterfully blend the classic flavors of crisp apples and rich, buttery caramel into a thick, tender, and utterly irresistible cookie. Not only are they incredibly satisfying to bake and eat, but they’re also remarkably easy to freeze, making them perfect for future cravings or unexpected guests. Get ready to learn our unique secret for infusing these cookies with a taste reminiscent of your favorite caramel apple cider!

These cookies are delicious! The taste is on point, a classic fall flavor!
-Katie
The Inspiration: A Fall Favorite is Born
Last spring and summer, our lemon cookies became a runaway hit. You, our wonderful readers, absolutely adored them, and it’s easy to see why! The recipe was designed to be straightforward, yielding consistently thick and delightfully chewy cookies every single time.
Building on that success, I took the beloved lemon cookie base and transformed it into these sensational Caramel Apple Cookies, perfectly tailored for the autumn season. The key modification involved omitting the lemon zest and introducing instant apple cider drink mix. This seemingly simple swap makes all the difference! Unlike apple pie spice, which offers a broader spice profile, or applesauce, which can alter dough consistency, the powdered apple cider mix delivers a vibrant, tart apple flavor that truly shines through and mimics the authentic taste of a warm mug of caramel apple cider. It provides an intense apple essence without adding excessive moisture, ensuring your cookies maintain their ideal chewy texture and structure.

The Caramel Dilemma: To Add or Not To Add?
The final, irresistible touch for these cookies is, of course, the caramel. However, I must confess: I found myself absolutely loving these cookies even without the caramel center! So, if you’re out of caramel, prefer a simpler apple cookie, or simply aren’t a fan of caramel, don’t hesitate to skip it. The apple cookies on their own are truly amazing – thick, chewy, and bursting with that perfect fall flavor. But for those who crave that gooey, sweet surprise, adding caramel elevates them to an unparalleled autumnal indulgence.
Choosing the Right Caramel for Your Cookies
When it comes to baking, not all caramels are created equal. For these particular cookies, selecting the right type of caramel is crucial for achieving that ideal gooey center. We recommend using soft caramel squares, such as those made by Kraft or Werther’s. These brands offer a pliable texture that melts beautifully within the cookie.
Werther’s caramels tend to be softer, ensuring that the caramel center remains wonderfully gooey and tender even after the cookies have cooled completely. This provides a delightful contrast to the chewy cookie dough.
Kraft caramels, while still a great option, might become a bit thicker and chewier once hardened. If you use Kraft and find the caramel center a little too firm, a quick 10-15 second reheat in the microwave will bring back its lovely softness, giving you that warm, melted caramel experience. Whichever you choose, ensure they are unwrapped and ready to be nestled into your cookie dough balls for the best results.
Ingredients for Irresistible Caramel Apple Cookies
Crafting these delicious cookies requires a balanced blend of common pantry staples and a couple of special additions to achieve their signature flavor and texture. Here’s a breakdown of what you’ll need and why each ingredient is important:
- All-Purpose Flour: The foundational ingredient, flour provides the necessary structure to our cookies, ensuring they hold their shape and have a satisfying bite.
- Instant Apple Cider Drink Mix: This is our secret weapon! It infuses the cookies with an intense, tart, and authentic apple cider flavor that truly differentiates them. Make sure to use regular (not sugar-free) packets for the best taste and texture.
- Baking Soda: A crucial leavening agent, baking soda helps the cookies rise slightly, contributing to their soft and chewy interior while also aiding in browning and enhancing overall flavor.
- Cinnamon and Nutmeg: These warm spices perfectly complement the apple flavor, adding depth and that quintessential autumnal aroma that makes these cookies so inviting.
- Salt: Don’t skip the salt! It’s a flavor enhancer that balances the sweetness and brings out the complexity of all the other ingredients.
- Unsalted Butter: Responsible for much of the cookies’ rich flavor and tender crumb. Using unsalted butter allows you to control the total salt content in the recipe. Ensure it’s at room temperature for optimal creaming.
- Granulated Sugar: Provides sweetness and contributes to the golden-brown edges and slight crispness of the cookies.
- Brown Sugar: The key to chewiness and moisture! Brown sugar contains molasses, which not only adds a deeper, richer flavor but also ensures the cookies stay soft and moist.
- Egg: Acts as a binder, providing structure and moisture, which helps hold the cookies together and prevents them from becoming too crumbly.
- Soft Caramel Squares: The delightful surprise in the center! These melt into a gooey, sweet core that complements the apple flavor perfectly.
How to Make Caramel Apple Cookies: A Step-by-Step Guide
Follow these simple steps to create your own batch of soft, chewy, and irresistible caramel apple cookies:
- In a small mixing bowl, whisk together the dry ingredients: all-purpose flour, both packets of apple cider drink mix, baking soda, cinnamon, nutmeg, and salt. Set this mixture aside.
- In a larger mixing bowl, using an electric mixer, cream together the room-temperature unsalted butter, granulated sugar, and brown sugar until light and fluffy (about 1-2 minutes).
- Beat in the large egg until thoroughly combined, scraping down the sides of the bowl as needed.
- Gradually add the dry ingredient mixture to the wet ingredients, mixing on low speed or by hand with a spatula until just combined. Be careful not to overmix; the dough will be quite thick.
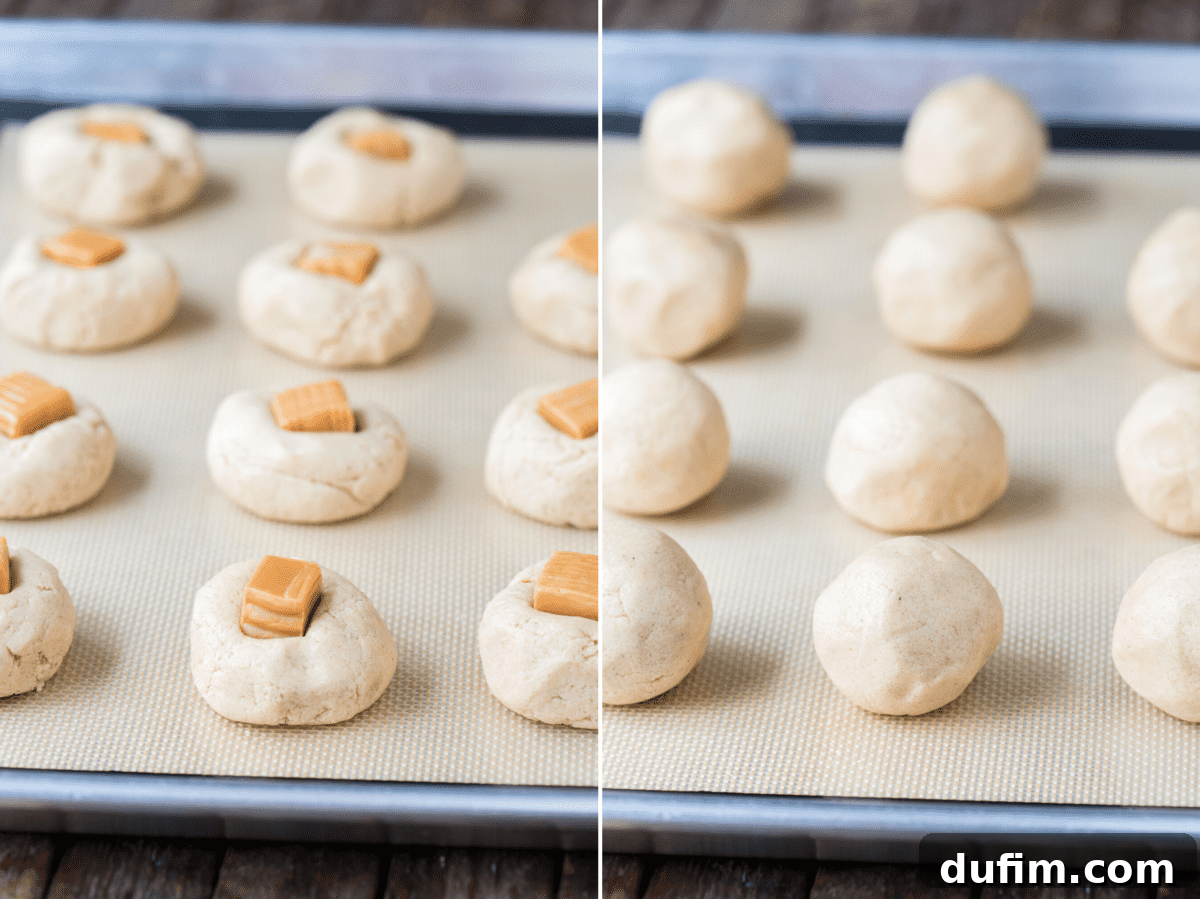
- Prepare your caramel squares by unwrapping them. Use a cookie scoop (about 3 tablespoons for large cookies) to form portions of dough. Flatten each dough portion slightly, place one caramel square in the center, and then roll the dough between your hands to completely enclose the caramel, forming a smooth, round ball.
- Place the formed dough balls onto a baking sheet lined with parchment paper or a silicone mat. Refrigerate the dough balls for a minimum of 30 minutes. This chilling step is essential for texture!
- While the dough chills, pre-heat your oven to 350ºF (175ºC). In a small shallow bowl, combine 1/4 cup of granulated sugar and one packet of instant apple cider drink mix for rolling the cookies.
- Once chilled, roll each cookie dough ball generously in the apple cider sugar mixture, ensuring it’s fully coated.
- Arrange the coated cookie dough balls on your prepared baking sheet, leaving about 2 inches between each cookie. (You may fit about 8 cookies per standard baking sheet). Bake for 16-17 minutes, or until the edges are faintly golden and the centers are still soft. If baking in batches, keep the remaining dough in the refrigerator.
- Allow the baked cookies to cool on the baking sheet for about 15 minutes before transferring them to a wire rack to cool completely. For an extra gooey caramel center, reheat individual cookies in the microwave for 10-15 seconds just before serving.
Understanding the Baking Timeline
Efficiency in baking can make all the difference, especially when you’re eager to taste these autumnal delights. Here’s a quick overview of the time commitment for these caramel apple cookies:
- Prep Time (Making the Dough): Approximately 15 minutes.
- Chill Time (Refrigerating Dough): A crucial 30 minutes.
- Bake Time (Per Batch): 16-17 minutes.
- Cooling Time (On Baking Sheet): About 15 minutes.
- Total Time: Roughly 1 hour and 2 minutes (excluding additional cooling).
The Science Behind Chilling Cookie Dough for Perfection
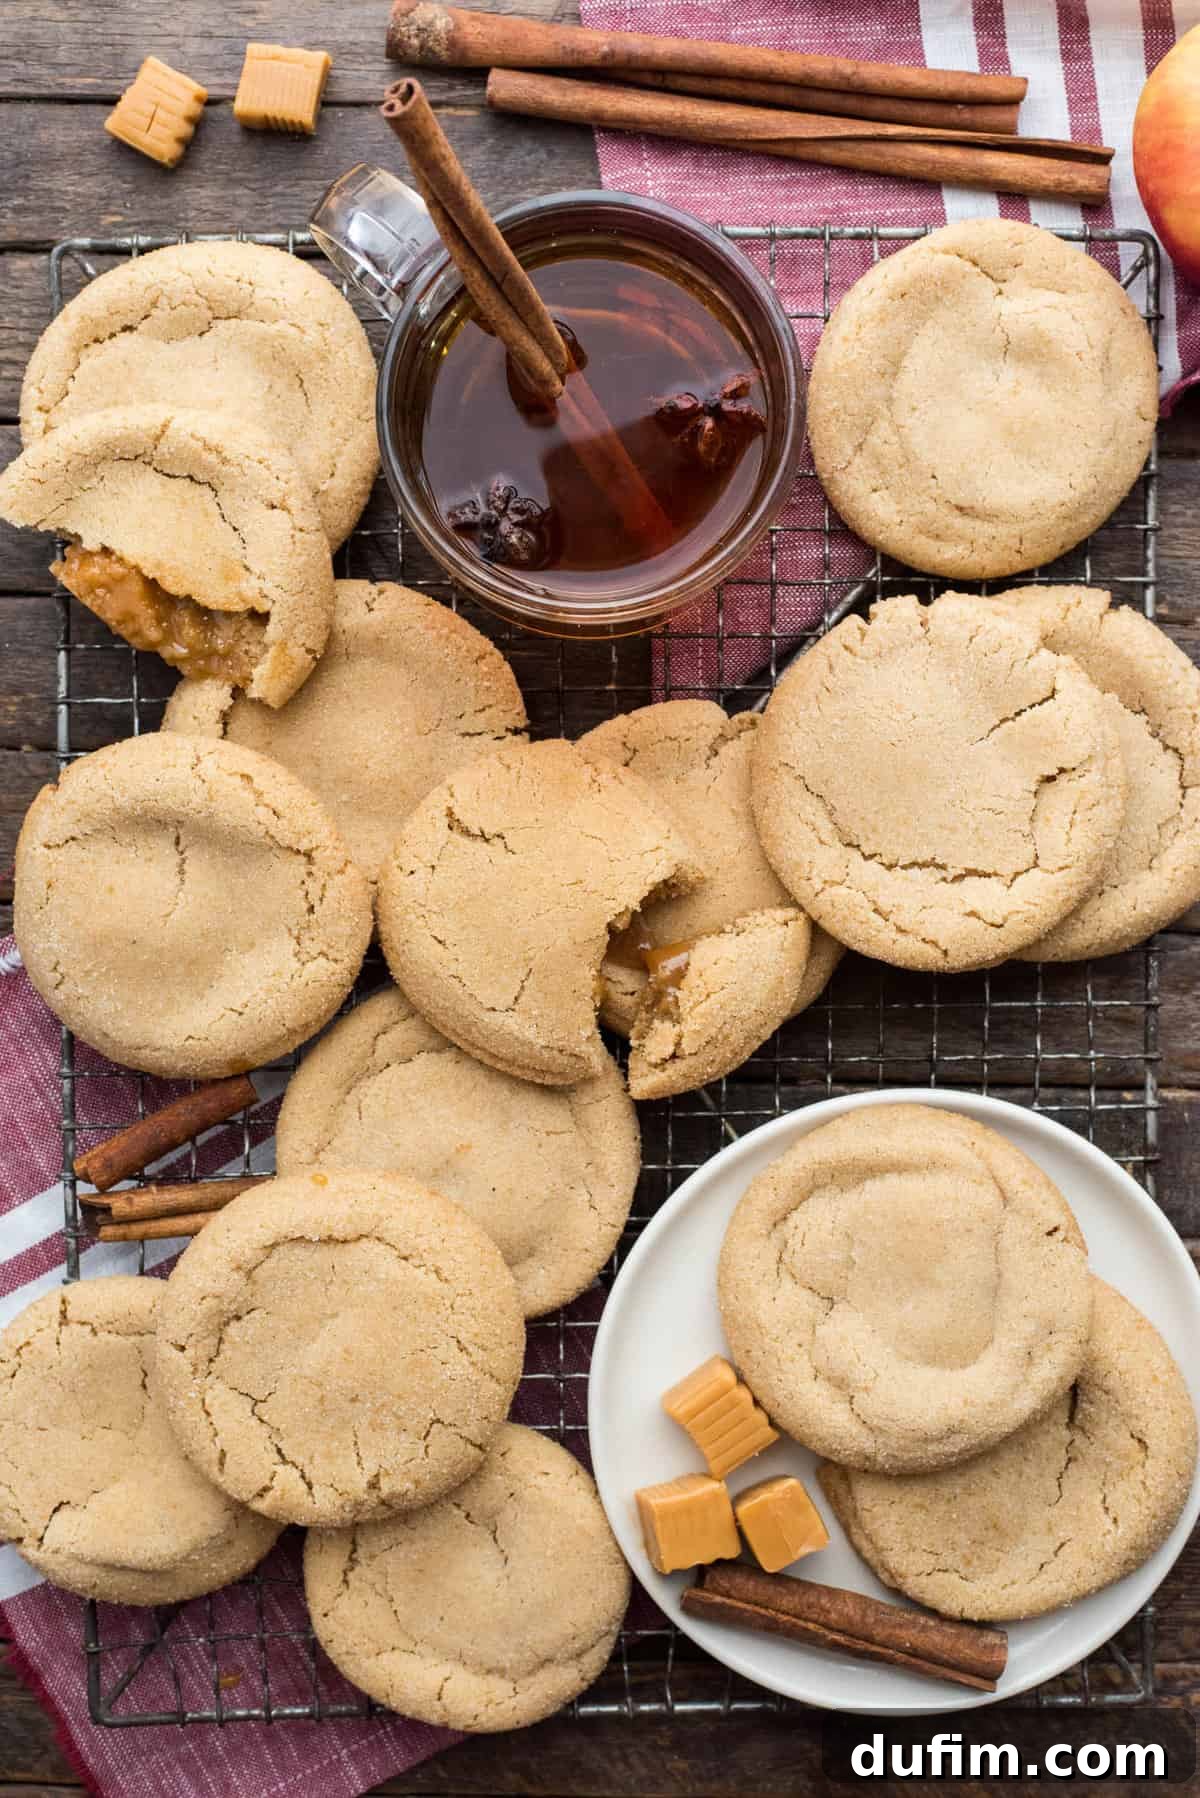
You might be tempted to skip the chilling step, but trust us, it’s a non-negotiable for achieving truly superior cookies. The experts at King Arthur Baking Company eloquently explain the science: “Chilling cookie dough before baking solidifies the fat in the cookies. As the cookies bake, the fat in the chilled cookie dough takes longer to melt than room-temperature fat. And the longer the fat remains solid, the less cookies spread.”
This scientific principle means that refrigerating your cookie dough results in a more desirable outcome. It prevents excessive spreading, which in turn produces cookies that are wonderfully chewier and thicker. The flavors also have a chance to meld and deepen during the chilling process, leading to a more complex and satisfying taste profile.
While a full 30 minutes is ideal, we understand that sometimes time is of the essence. If you’re really pressed for time, even a quick 15-minute chill can make a noticeable difference. Another practical tip for busy bakers: if you’re baking in batches (e.g., only 8 cookies fit on your baking sheet at once), keep the unbaked dough in the refrigerator between batches. This ensures that each batch benefits from some level of chilling, maintaining consistency in texture and preventing overly flat cookies.
Storing Your Caramel Apple Cookies
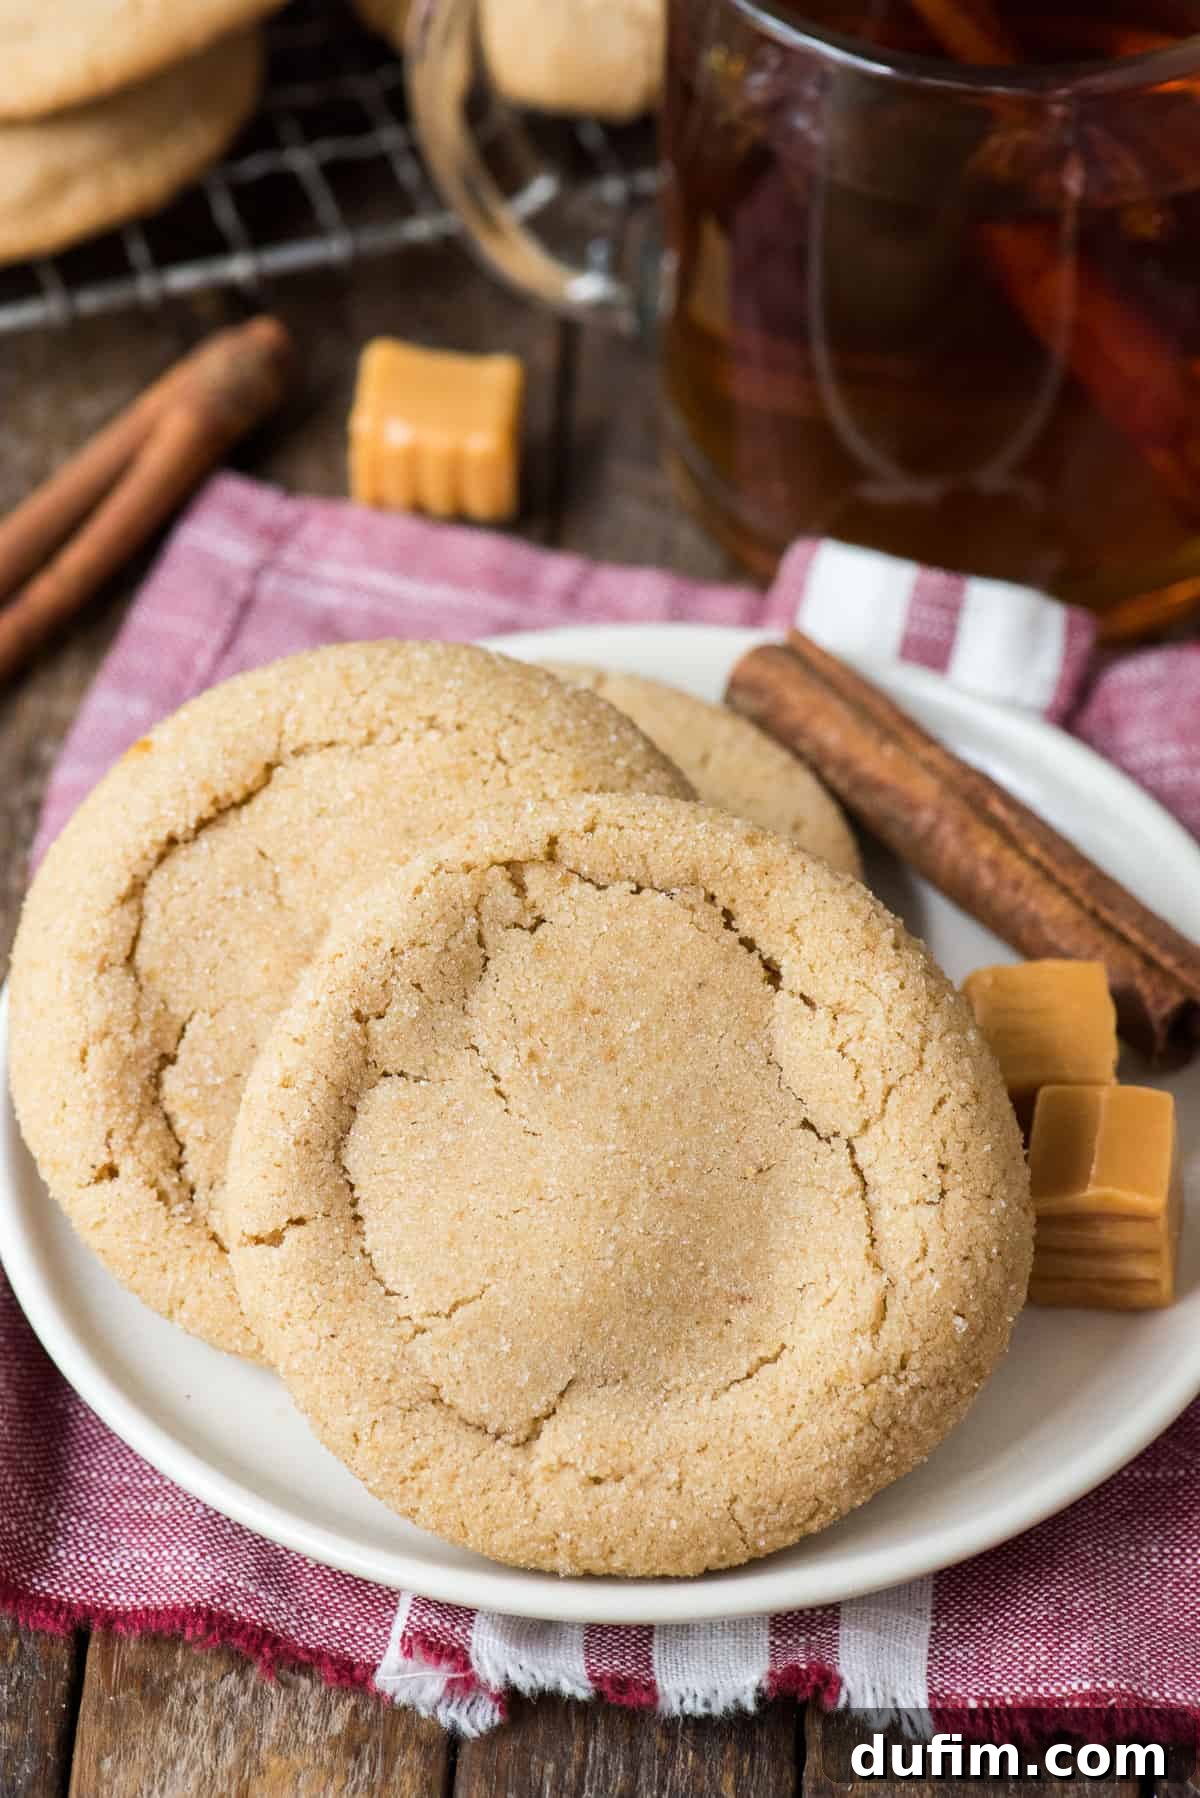
Once cooled, these delightful caramel apple cider cookies can be stored in an airtight container at room temperature for up to 5 days. For optimal freshness and to keep that chewy texture, make sure they are completely cool before sealing them away.
How to Freeze Apple Cookie Dough for Freshly Baked Goodness Anytime
One of the best features of this recipe is its freezer-friendliness! Freezing the cookie dough allows you to enjoy freshly baked cookies whenever the craving strikes, with minimal effort. Here’s how to do it effectively:
- After forming the dough balls with the caramel centers, place them onto a baking sheet lined with a silicone mat or parchment paper. At this stage, you can place the dough balls relatively close together as they won’t be baking immediately.
- Transfer the baking sheet to the freezer and allow the cookie dough balls to freeze solid. This usually takes about 1 hour. Freezing them individually on a tray prevents them from sticking together once bagged.
- Once solid, remove the baking sheet from the freezer. Transfer the frozen cookie dough balls to a heavy-duty ziplock freezer bag or an airtight container. Make sure to label the bag with the recipe name, date, and baking instructions for convenience.
- The cookie dough can be frozen for up to 3 months without significant loss of quality.
- To Bake from Frozen: There’s no need to thaw the dough! Simply pre-heat your oven to 350ºF (175ºC). Roll the frozen dough balls in the apple cider sugar mixture as directed in the recipe. Place them on a lined baking sheet and bake for 16-17 minutes. You might find that frozen cookies require an additional 1-2 minutes of baking time compared to chilled dough, so keep an eye on them until the edges are lightly golden.
Making Gluten-Free Apple Cookies
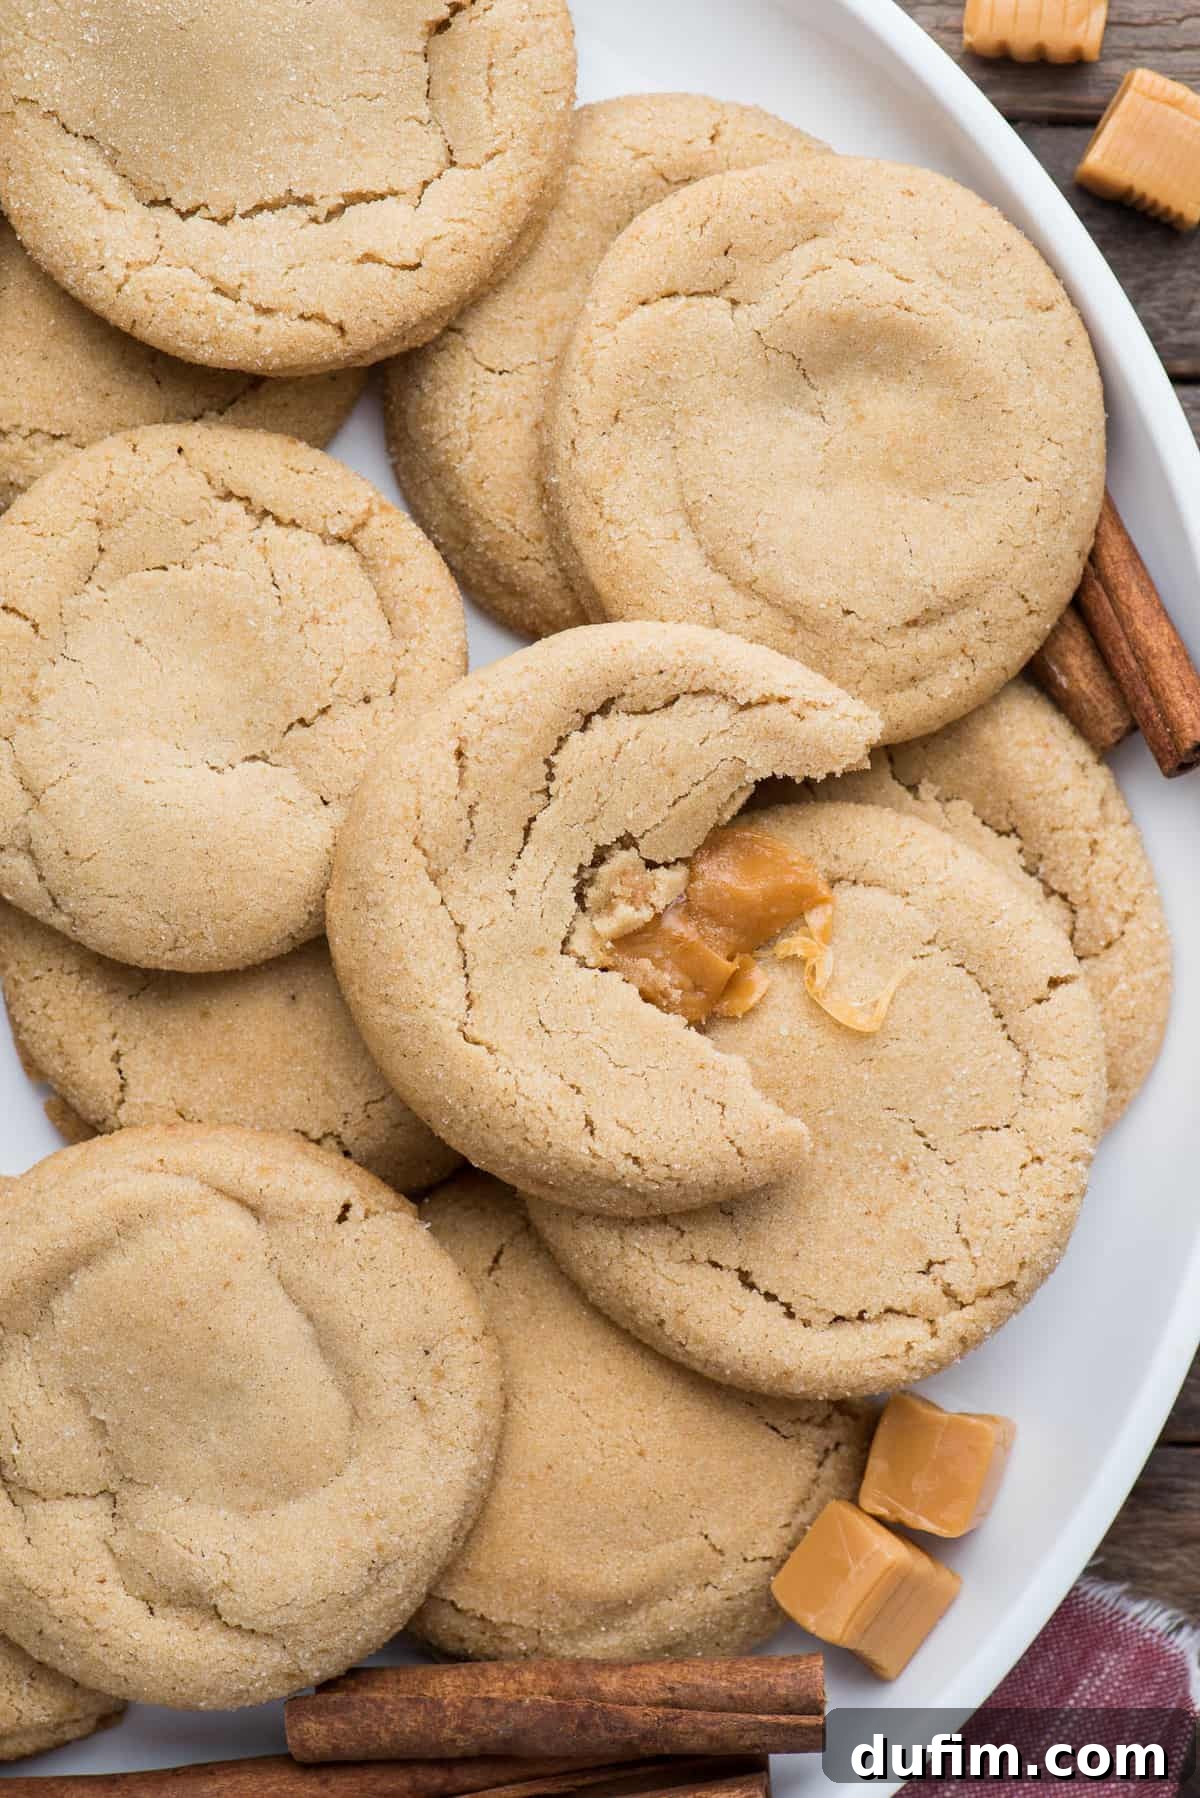
For those with gluten sensitivities or dietary preferences, you’ll be pleased to know that these caramel apple cookies can be easily adapted to be gluten-free. I’ve had fantastic success making this recipe multiple times using King Arthur’s Gluten-Free Measure for Measure Flour. Simply substitute the all-purpose flour with an equal amount of this reliable gluten-free blend, and follow the rest of the recipe as written. You’ll achieve the same soft, chewy texture and incredible flavor, making them a treat everyone can enjoy!
Expert Tips for Perfect Caramel Apple Cookies Every Time
Achieving bakery-quality cookies at home is entirely possible with a few key techniques. Here are some invaluable tips to ensure your caramel apple cookies turn out perfectly:
- Properly Measure Flour: The “spoon and sweep” method is crucial. Lightly spoon flour into your measuring cup until it overflows, then level it off with a straight edge. This prevents over-packing the flour, which can lead to dry, dense cookies.
- Room Temperature Butter: Ensure your unsalted butter is truly at room temperature. This means it’s soft enough to indent with a finger but not melted. Room temperature butter creams beautifully with sugar, creating an emulsified mixture that traps air, leading to a lighter and more tender cookie.
- Don’t Skip the Chill: As discussed, refrigerating the cookie dough for at least 30 minutes is paramount. It solidifies the butter, reduces spreading, and results in those coveted thick and chewy cookies. This step also allows the flavors to meld beautifully.
- Use a Cookie Scoop: A cookie scoop (approximately 3 tablespoons for this recipe) ensures uniform cookie size, which is vital for even baking. Consistent size means all your cookies will be perfectly done at the same time.
- Bake on Silicone Mats: Baking cookies on a silicone baking mat provides superior non-stick properties and promotes even heat distribution, resulting in perfectly baked bottoms and easy removal. Parchment paper is a good alternative.
- Don’t Overbake: For soft and chewy cookies, it’s better to slightly underbake than overbake. The cookies should have faintly golden edges and still appear a bit soft in the center when you take them out of the oven. They will continue to set as they cool on the baking sheet.
- Fresh Ingredients: Always use fresh baking soda and good quality spices. These make a significant difference in the flavor and lift of your cookies.
More Apple Desserts to Love
If you’re an apple enthusiast, you’re in for a treat! Here are some other fantastic apple-inspired desserts from our kitchen that you’re sure to enjoy:
- Apple Spice Cupcakes
- Caramel Apple Oreo Balls
- Easy Apple Coffee Cake with Cake Mix
- Apple Butter Muffins
Tap stars to rate!
Caramel Apple Cookies
15 minutes
17 minutes
30 minutes
1 hour 2 minutes
24 cookies
Print Recipe
Equipment
-
Apple Cider Drink Mix
-
Cookie Dough Scoop
-
Silicone Baking Mat
-
Glass Mixing Bowl
Ingredients
- 3 cups (360g) all-purpose flour
- 2 packets instant apple cider drink mix, 0.74 oz each, not sugar-free
- 1 tsp baking soda
- 1 tsp cinnamon
- ½ tsp nutmeg
- ½ tsp salt
- 1 cup (226g) unsalted butter, 2 sticks, room temperature
- ¾ cup granulated sugar
- ¾ cup (149g) brown sugar
- 1 large egg
- Soft caramel squares like Kraft or Werther’s (approx. 24)
For Rolling the Cookies
- 1 packet instant apple cider drink mix
- ¼ cup (50g) granulated sugar
Instructions
-
In a small mixing bowl, combine the flour, apple cider drink mix, baking soda, cinnamon, nutmeg, and salt. Whisk well and set aside.
-
In a large mixing bowl, using an electric mixer, beat the unsalted butter, granulated sugar, and brown sugar together for 1-2 minutes until light and creamy.
-
Add the large egg and beat again until fully incorporated. Scrape down the sides of the bowl to ensure everything is well mixed.
-
Gradually add the dry ingredients to the wet ingredients. Mix on low speed or by hand with a spatula until just combined. Be careful not to overmix; the dough will be thick.
-
Use a cookie scoop (approx. 3 tbsp) to form dough balls. Flatten each ball slightly, place a soft caramel square in the center, and then roll the dough between your hands to completely seal the caramel inside, forming a smooth round ball. Repeat for all dough.
-
Place the formed dough balls on a baking sheet lined with a silicone mat or parchment paper and refrigerate for 30 minutes. This chilling step is essential.
-
Pre-heat your oven to 350ºF (175ºC). In a small bowl, combine the ¼ cup granulated sugar and 1 packet of instant apple cider mix for rolling.
-
Roll each chilled dough ball generously in the apple cider sugar mixture. Place the coated cookies 2 inches apart on a silicone-lined baking sheet (approximately 8 cookies per sheet). Bake for 16-17 minutes, or until the edges are faintly golden. Keep any remaining unbaked dough in the fridge.
-
Allow the cookies to cool on the baking sheet for 15 minutes before transferring them to a wire rack to cool completely. For a warm, gooey caramel center, reheat individual cookies in the microwave for 10-15 seconds before serving.
Notes
This recipe works wonderfully with gluten-free flour. We recommend King Arthur Gluten-Free Measure for Measure Flour for best results.
Nutrition Facts (Approximate)
Carbohydrates: 29g |
Protein: 2g |
Fat: 8g |
Saturated Fat: 5g |
Polyunsaturated Fat: 1g |
Monounsaturated Fat: 2g |
Trans Fat: 1g |
Cholesterol: 28mg |
Sodium: 101mg |
Potassium: 47mg |
Fiber: 1g |
Sugar: 17g |
Vitamin A: 247IU |
Vitamin C: 1mg |
Calcium: 14mg |
Iron: 1mg
Nutrition Disclosure
All nutritional values are approximate and provided to the reader as a courtesy. Changing ingredients and/or quantities will alter the estimated nutritional calculations.
Like this recipe? Rate and comment below!