
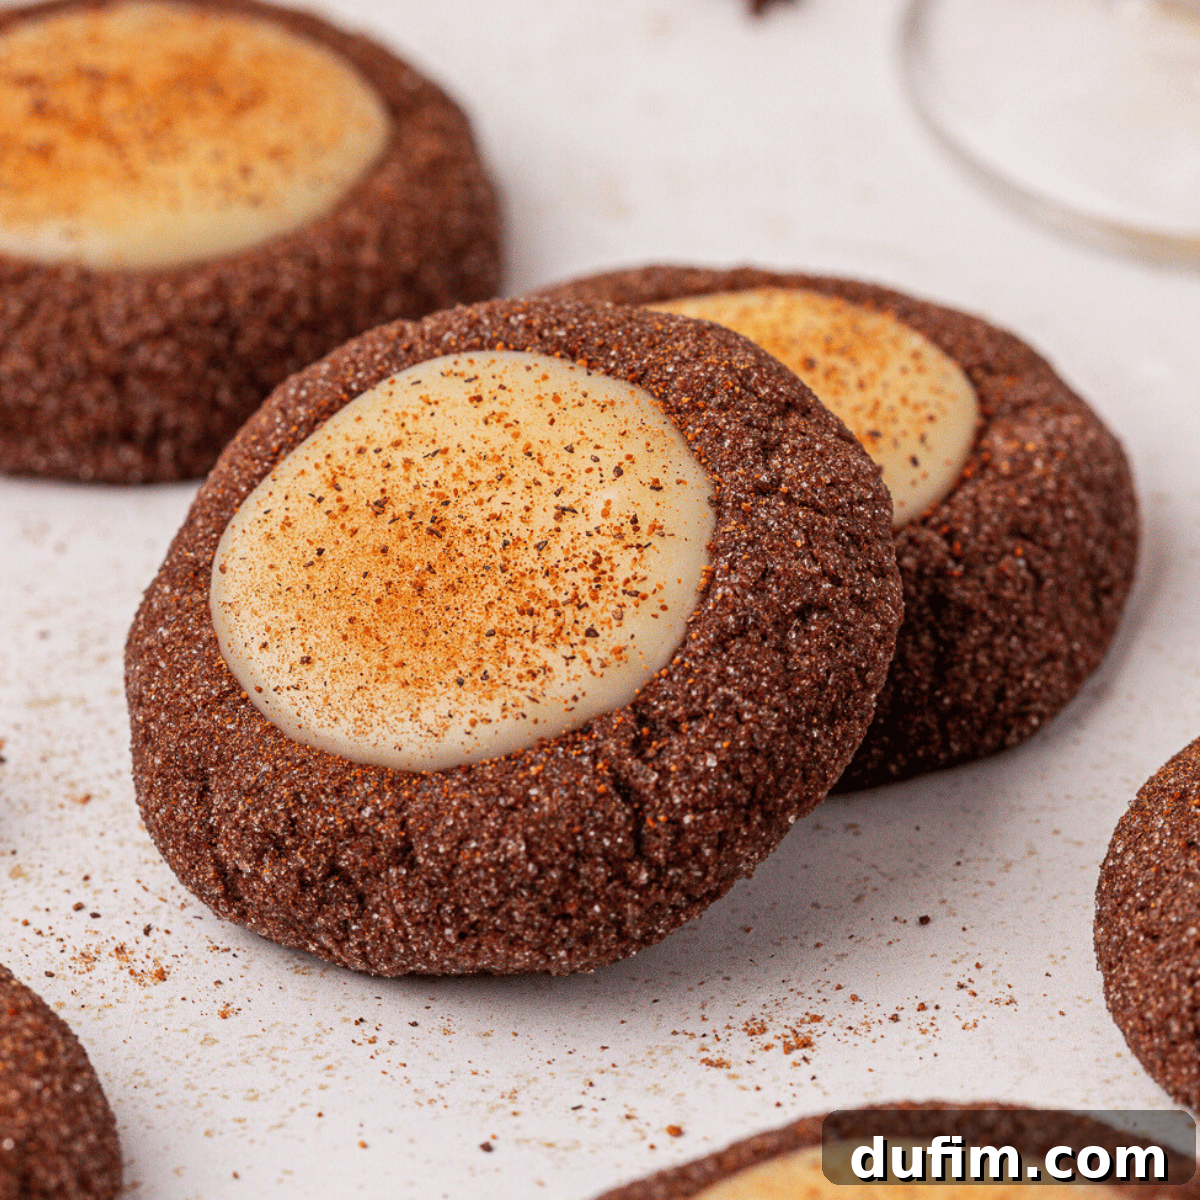
Irresistible Eggnog Thumbprint Cookies: Your Ultimate Guide to Holiday Baking
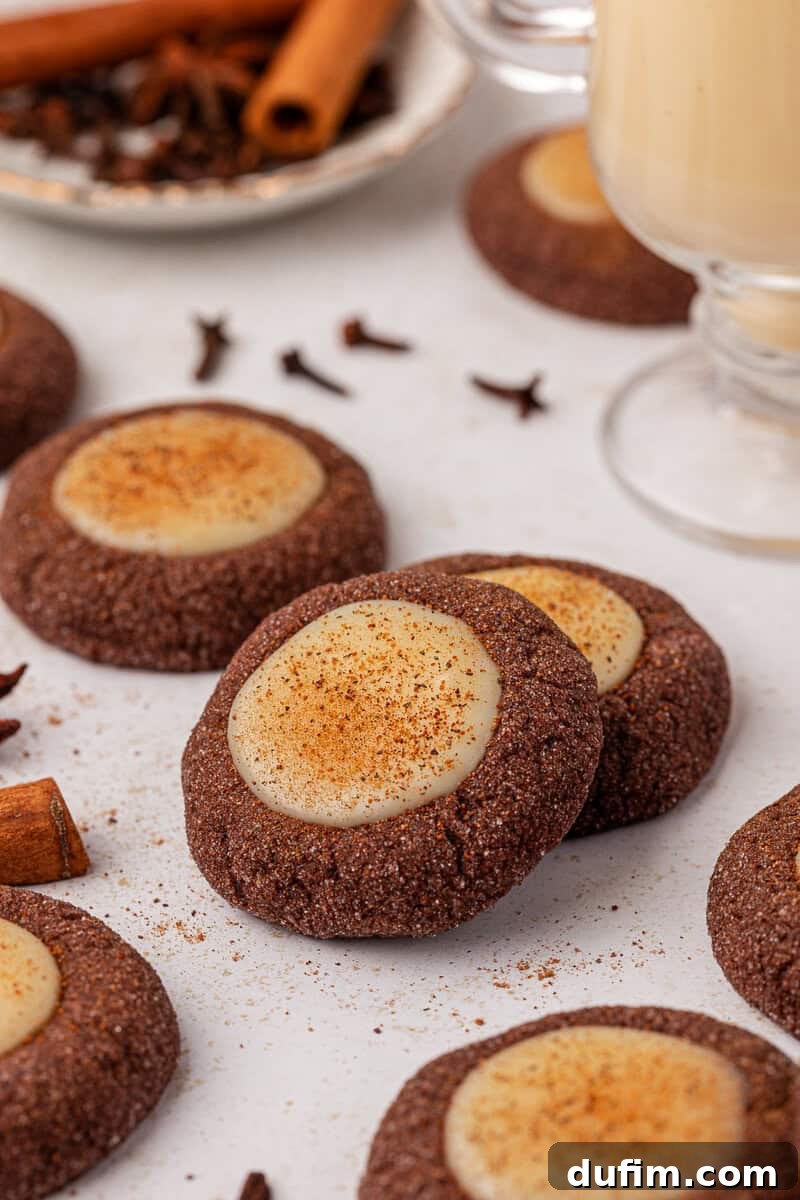
Prepare to enchant your taste buds and impress your holiday guests with these truly irresistible Eggnog Thumbprint Cookies! This recipe combines the richness of deep chocolate with the creamy, spiced essence of classic eggnog, creating a treat that perfectly encapsulates the festive season. After extensive trials and meticulous adjustments, I’ve perfected a cookie that is remarkably soft, wonderfully chocolatey, and delightfully foolproof. The luscious eggnog ganache filling comes together in minutes, offering a smooth, custardy texture and an amazing flavor that melts in your mouth. These cookies are not only festive and elegant but also surprisingly easy for any home baker to master, making them a must-have addition to your holiday dessert platter.
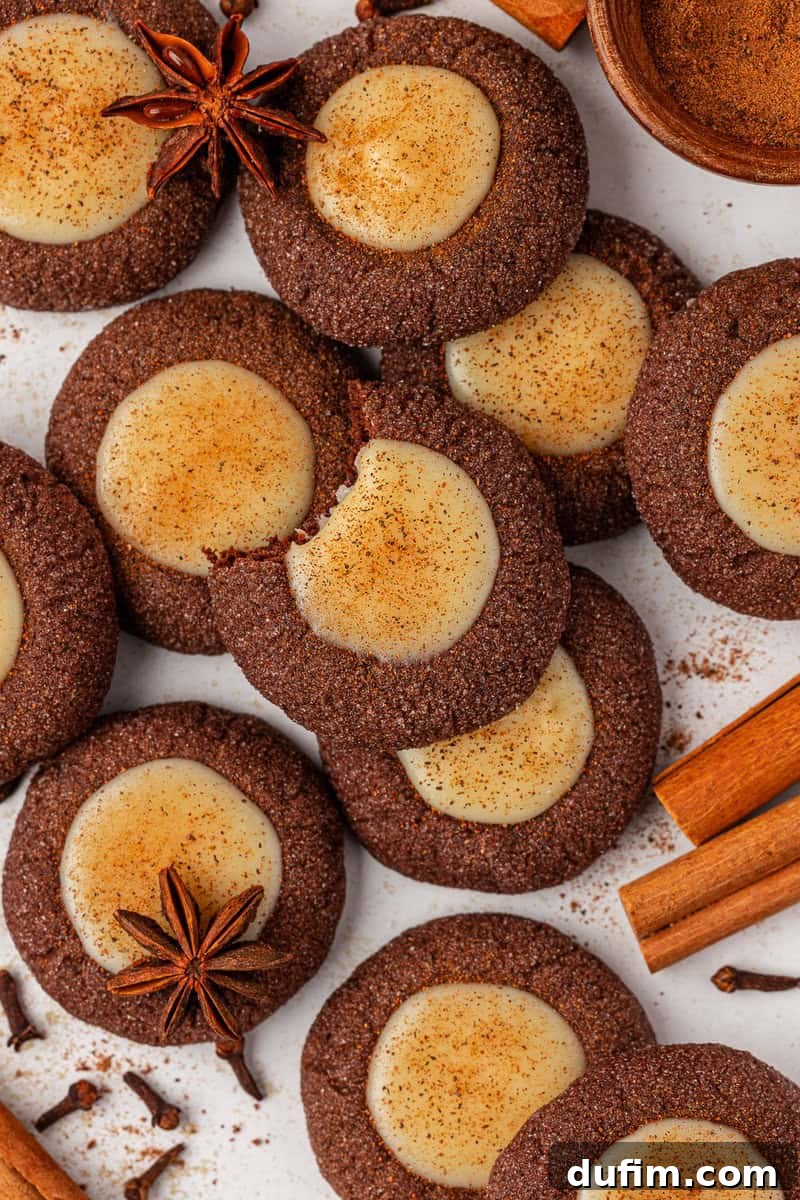
The Quest for the Perfect Chocolate Thumbprint Cookie Dough
The journey to crafting these flawless eggnog thumbprint cookies began with a clear vision: a tender, chocolatey base that could beautifully cradle a rich filling. My initial approach was to leverage my go-to chewy chocolate cookie dough. It’s a recipe I’ve refined countless times, known for its deep flavor and excellent texture, so it seemed like a natural starting point. I carefully rolled the dough balls in sugar, pressed a neat indentation into each, and sent the first batch into the oven with high hopes. To my disappointment, the cookies spread considerably during baking, and the distinctive thumbprint divots completely vanished, leaving behind flat, smooth chocolate circles.
Determined to achieve the perfect shape, I next experimented with freezing the dough. I chilled the formed dough balls for thirty minutes before baking, theorizing that a firmer dough would resist spreading. Unfortunately, this step yielded no improvement; the indents still disappeared. It became clear that merely adapting an existing recipe wouldn’t suffice. I needed to engineer a completely new dough from the ground up—one specifically designed for stability and softness, capable of supporting a generous filling. This involved several strategic modifications: increasing the flour content to provide more structure, incorporating baking powder for a subtle, even rise, and adding cornstarch, a crucial ingredient for preventing excessive spread and maintaining a sharp cookie shape. Additionally, to ensure a rich, tender crumb after removing the corn syrup from my original recipe, I swapped in two extra egg yolks, which contribute essential fat and moisture.
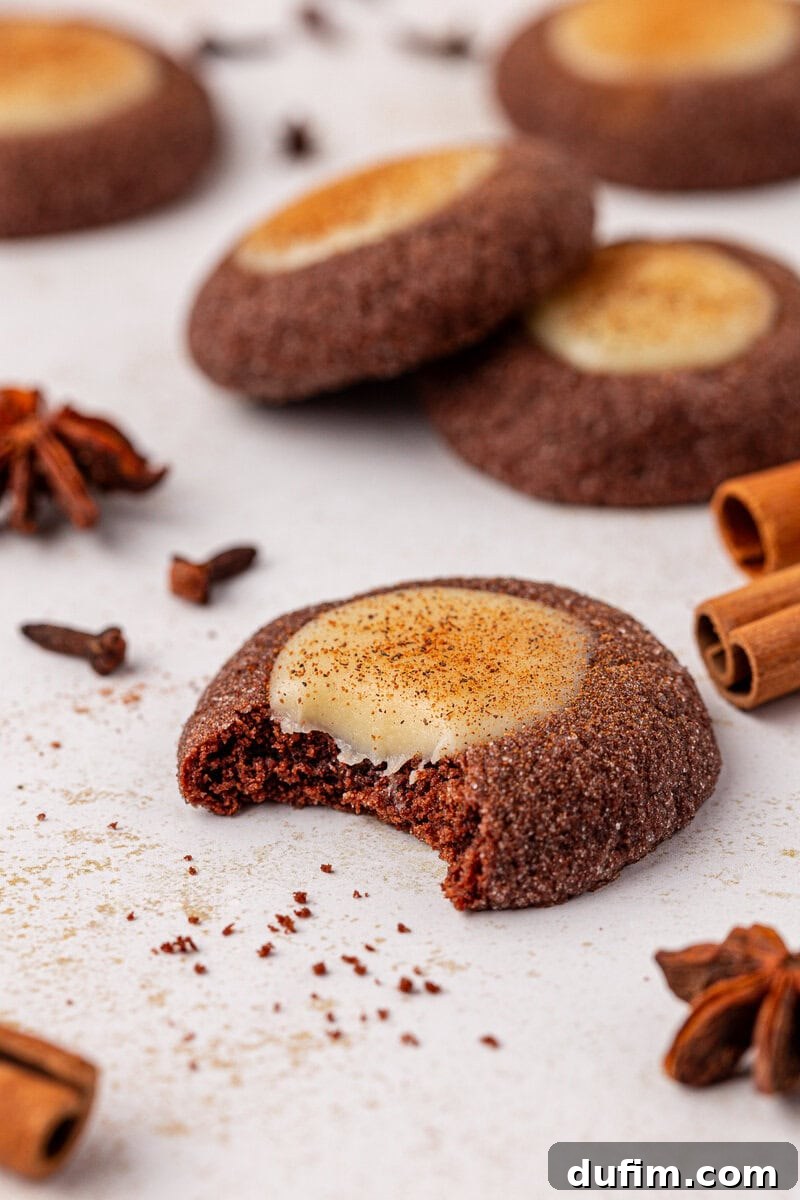
The initial version of this newly formulated dough showed promise, but it was still a little too dry. When I pressed in the teaspoon for the thumbprint, the edges tended to crack, compromising the cookie’s aesthetic. To rectify this, I increased the butter content significantly and made a pivotal change to using all brown sugar. The molasses in brown sugar not only adds an incredible depth of warm, caramel-like flavor that pairs exquisitely with chocolate, but also provides superior moisture and helps regulate the cookie’s spread. Despite these improvements, the dough still needed a final touch of indulgence. The ultimate adjustment was adding one more egg yolk. This seemingly small alteration proved to be the magic ingredient, supplying just enough extra fat to keep the cookies wonderfully soft, bake cleanly without cracking, and consistently maintain a perfectly defined thumbprint shape batch after batch. This meticulous refinement ensures that every single eggnog thumbprint cookie you bake will be a triumph of texture and taste.
Crafting the Decadent Eggnog Ganache Filling
With the chocolate cookie base finally perfected and ready for its festive embrace, I turned my attention to developing the ideal eggnog filling. My goal was a filling that delivered an authentic, rich eggnog flavor, yet possessed a luscious, thick consistency suitable for spooning into the cookie’s center. I wanted something more sophisticated and melt-in-your-mouth than a simple icing or glaze. This ambition led me to the elegant solution of an eggnog ganache.
To infuse maximum eggnog flavor, I innovatively substituted traditional heavy cream with warm, spiced eggnog as the liquid base for the ganache. White chocolate chips were the perfect choice for the chocolate component, as their creamy texture and milder flavor allow the distinct notes of eggnog to truly shine, creating a harmonious balance with the rich chocolate cookie. Through rigorous testing of various ratios of eggnog to white chocolate, I fine-tuned the recipe until the ganache achieved a flawless consistency. It sets into a smooth, almost custard-like texture that holds its shape beautifully within the cookie’s well, yet remains wonderfully creamy and indulgent on the palate. This meticulously crafted ganache is what truly elevates these thumbprint cookies into a holiday masterpiece.
One of the many joys of this recipe is the simplicity of the ganache. It comes together in just minutes, transforming into the perfect festive filling. To complete the classic eggnog experience, a delicate dusting of freshly grated nutmeg over the finished, ganache-filled cookies adds a final touch of aromatic warmth, enhancing both flavor and presentation. Every component of this recipe, from the thoughtfully developed cookie dough to the exquisite eggnog ganache, has been tested with unwavering purpose. This dedication ensures that home bakers can confidently create rich, soft, perfectly shaped, and utterly festive eggnog thumbprint cookies that are guaranteed to delight everyone during the holiday season.
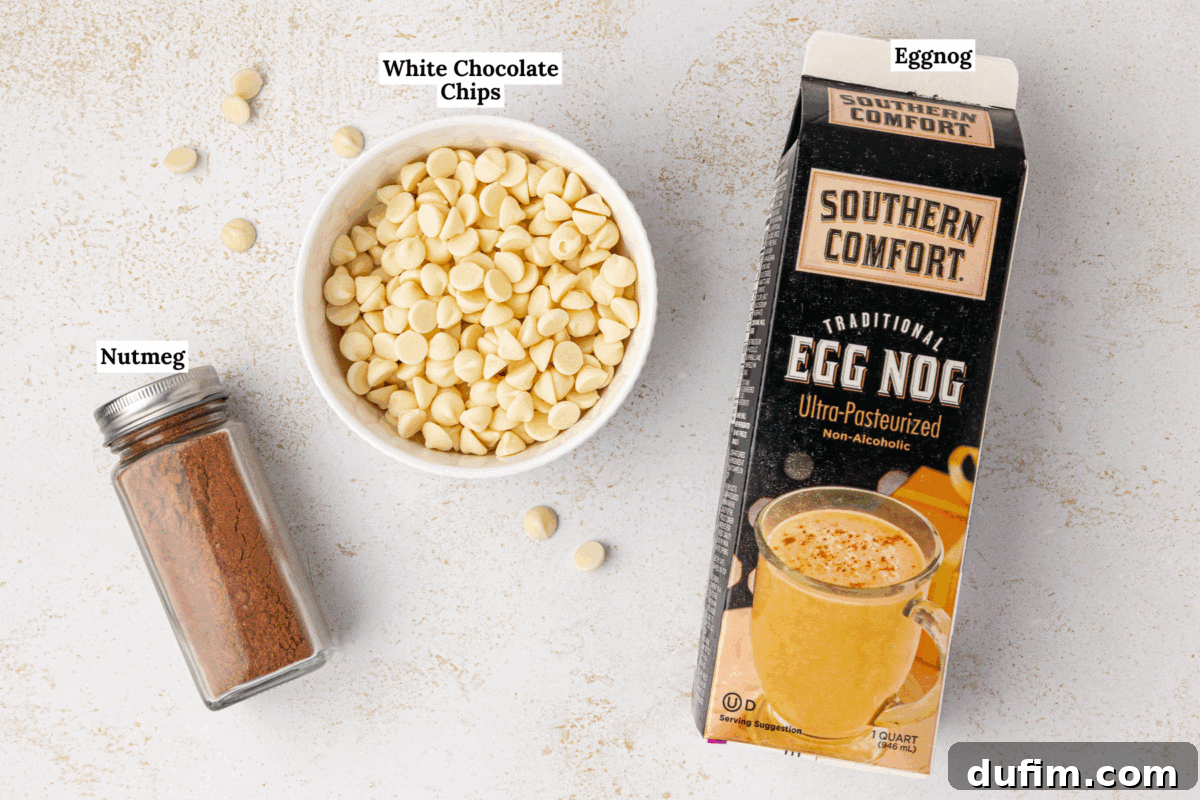
Key Ingredients for the Best Eggnog Thumbprint Cookies & Why They Matter
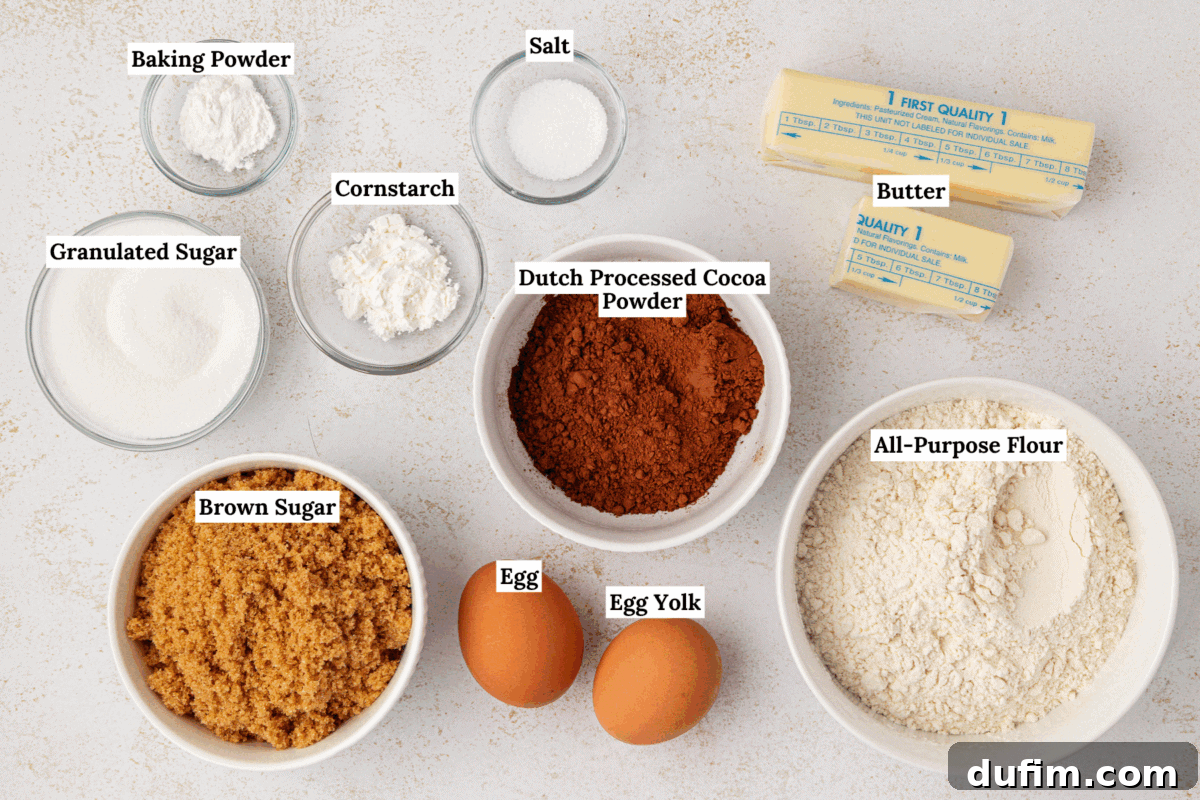
The secret to creating truly exceptional eggnog thumbprint cookies lies in selecting high-quality ingredients and understanding the unique role each plays in the final texture and flavor. While you can jump to the full recipe card for precise measurements, here’s a deeper dive into the essential components that make these festive treats so special:
- Dutch-Processed Cocoa Powder: This isn’t just any cocoa powder; Dutch-processed cocoa powder is alkalized, meaning its acidity has been reduced. This process results in a cocoa with a darker, richer color and a smoother, less bitter flavor profile. It’s crucial for achieving the deep, sophisticated chocolate taste and appealing dark hue of our cookies, providing a beautiful contrast to the creamy eggnog filling.
- Brown Sugar: We opt for brown sugar over granulated sugar because its molasses content adds significantly more moisture, contributing to the cookies’ characteristic soft, chewy texture. Beyond texture, brown sugar imparts warm, caramel-like notes that harmonize beautifully with both the chocolate dough and the spiced eggnog ganache, enriching the overall flavor profile.
- Unsalted Butter: The foundation of any gourmet cookie, unsalted butter is vital for providing unparalleled richness and tenderness. Using unsalted butter allows you precise control over the overall saltiness of your baked goods, ensuring a perfectly balanced taste. Its fat content also contributes to a soft, melt-in-your-mouth crumb while helping the cookie maintain its shape.
- Cornstarch: This seemingly humble ingredient is a true hero in thumbprint cookies. Cornstarch adds a subtle structure to the dough, preventing it from spreading excessively during baking. This ensures that your carefully pressed thumbprint indentations remain perfectly defined and deep enough to hold a generous amount of luscious ganache.
- Egg Yolks: Incorporating extra egg yolks is a strategic move to boost the dough’s fat content and richness. This is paramount for achieving incredibly tender cookies that are less prone to cracking. The added fat from the yolks contributes to a luxurious mouthfeel and helps keep the cookies moist and soft for longer.
- Eggnog: The very heart of the filling! Real eggnog serves as the liquid base for our silky ganache, infusing it with its iconic blend of cream, sugar, and warm spices like nutmeg. Choosing a high-quality eggnog will significantly enhance the authentic holiday flavor of your cookies.
- White Chocolate Chips: These are melted with the hot eggnog to create the smooth, creamy ganache. White chocolate provides a sweet, mellow base that allows the distinct and complex flavors of the eggnog to shine through without being overshadowed. It’s the perfect complement to the dark chocolate cookie.
- Nutmeg: This essential spice is the final touch that ties the entire eggnog experience together. A light dusting of freshly grated nutmeg (preferred for its superior aroma) on top of the filled cookies delivers that signature warm, spicy fragrance and flavor that is synonymous with holiday cheer.
How to Make Perfect Eggnog Thumbprint Cookies: A Step-by-Step Guide
These exquisite eggnog thumbprint cookies are destined to be the highlight of your holiday celebrations, offering a perfect blend of rich chocolate and creamy, spiced eggnog. Follow these detailed instructions carefully to ensure cookie success. For a convenient, printable version with all precise measurements, please jump to the full recipe card at the bottom of this page.
For the Chocolate Thumbprint Cookies
Step 1: Prepare Baking Sheets. Start by lining several baking sheets with either parchment paper or high-quality silicone baking mats. This crucial step prevents the cookies from sticking, promotes even baking, and makes cleanup incredibly easy.
Step 2: Combine Dry Ingredients. In a medium-sized mixing bowl, thoroughly whisk together the all-purpose flour, Dutch-processed cocoa powder, salt, baking powder, and cornstarch. Whisking ensures these dry ingredients are evenly distributed, which is essential for uniform texture and flavor throughout your cookies. Set this prepared mixture aside for later use.
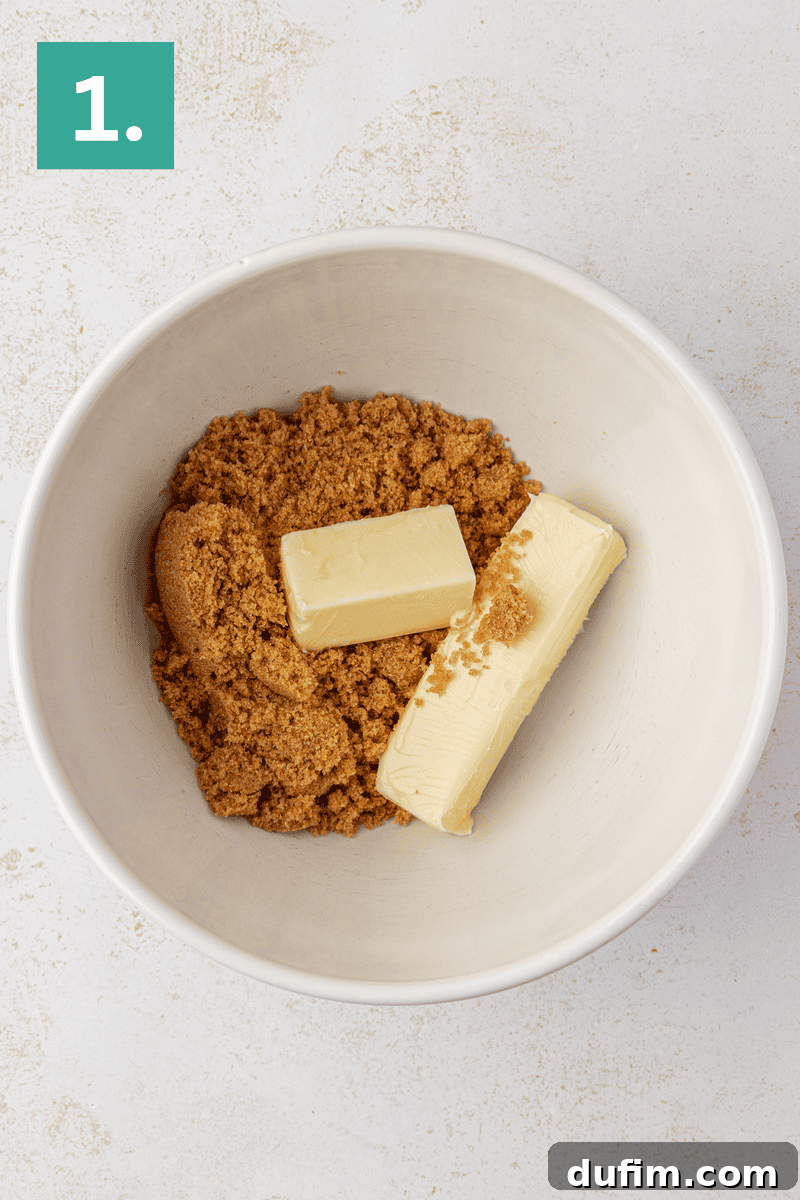
Step 3: Cream Butter and Sugar. In a large mixing bowl, using an electric mixer (either stand or handheld), beat the softened unsalted butter and brown sugar together on medium speed. Continue mixing for approximately 1 to 2 minutes, until the mixture transforms into a light, fluffy, and cohesive texture. This creaming process is vital for incorporating air, which contributes significantly to the cookies’ final soft and tender crumb.
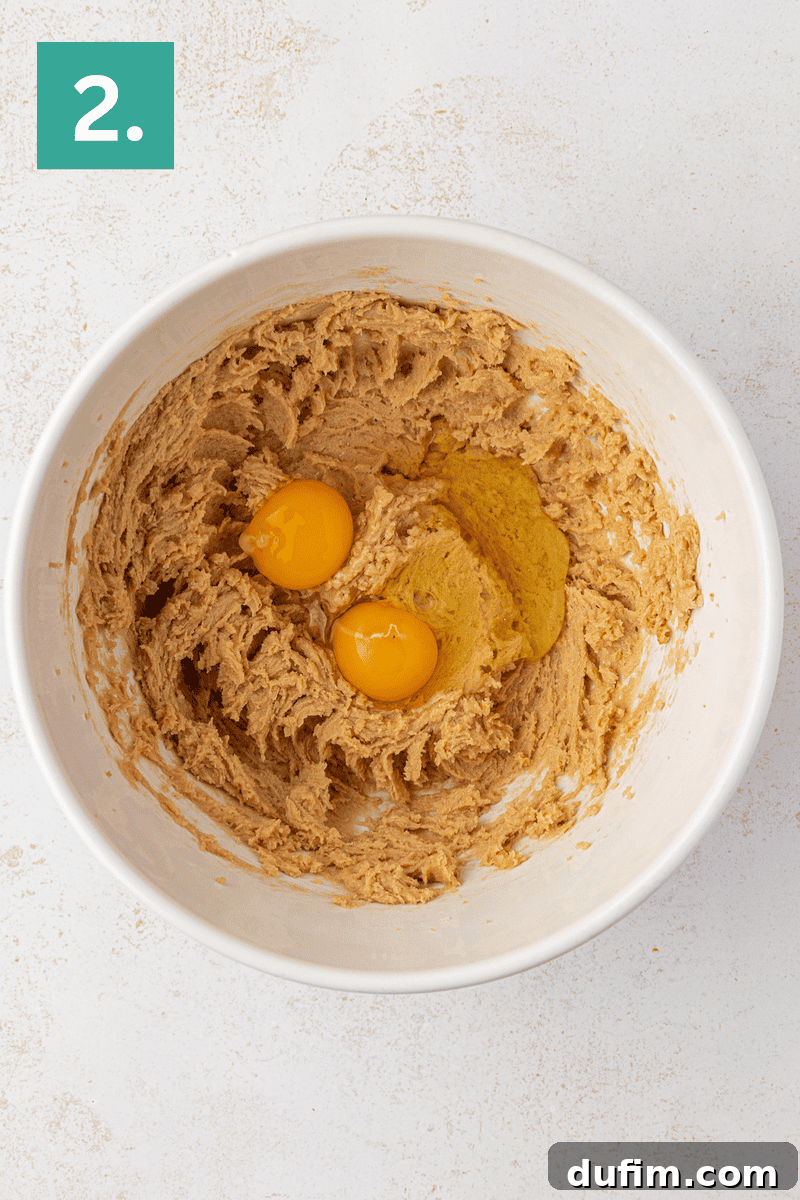
Step 4: Add Eggs. Introduce the large egg and the additional large egg yolk to the creamed butter and sugar. Beat this mixture for about 30 seconds, ensuring all ingredients are thoroughly combined. As you mix, remember to pause and scrape down the sides of the bowl with a spatula. This ensures that all components are fully incorporated, preventing any unmixed pockets of ingredients.
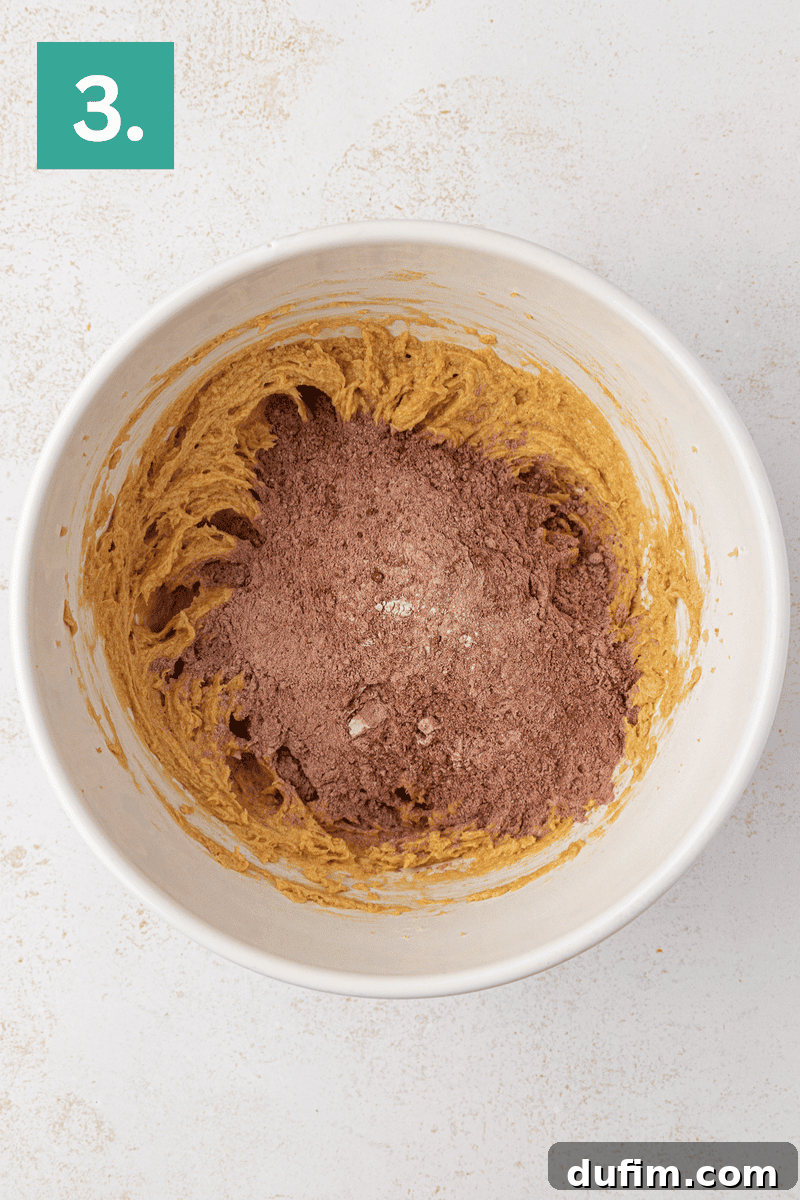
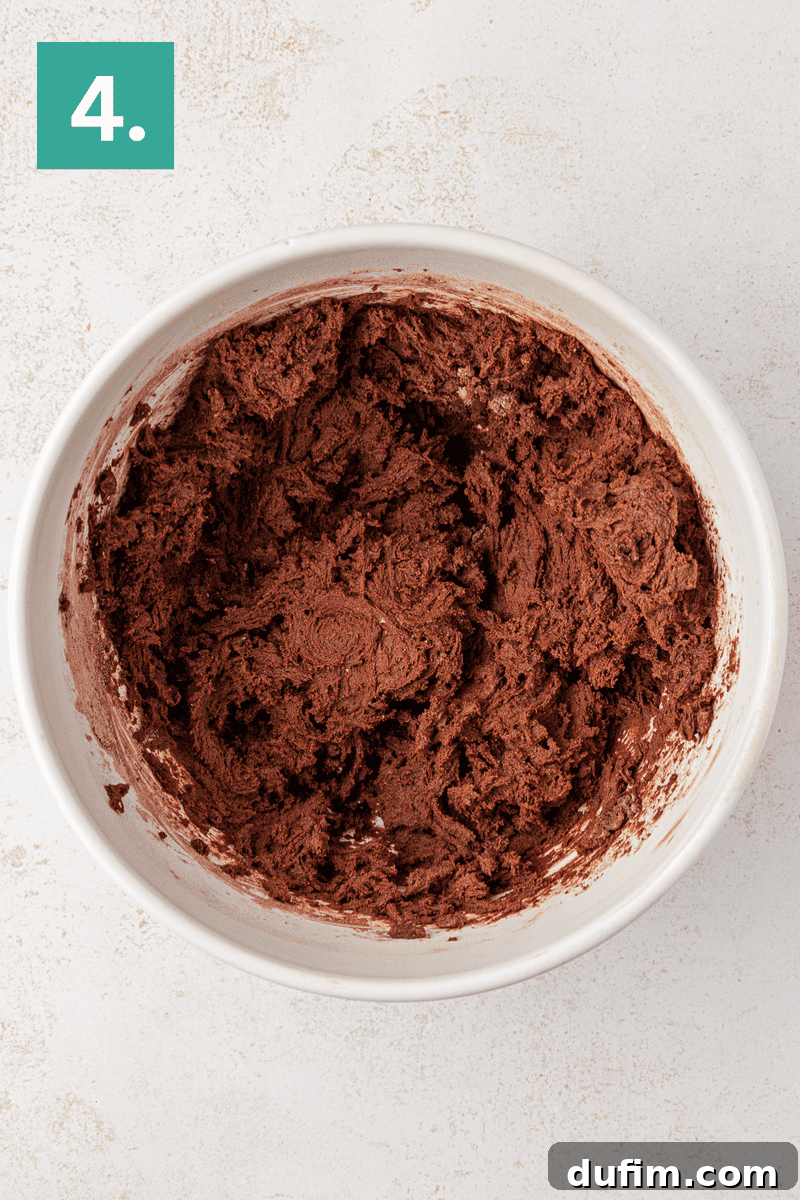
Step 5: Combine Wet and Dry Ingredients. With your mixer set to low speed, gradually add the whisked dry mixture to the wet ingredients in the large bowl. Mix gently until the ingredients are just combined and no streaks of flour remain. It’s crucial not to overmix the dough at this stage, as over-developing the gluten can result in tough cookies. The dough will be noticeably thick, which is the desired consistency for thumbprint cookies.
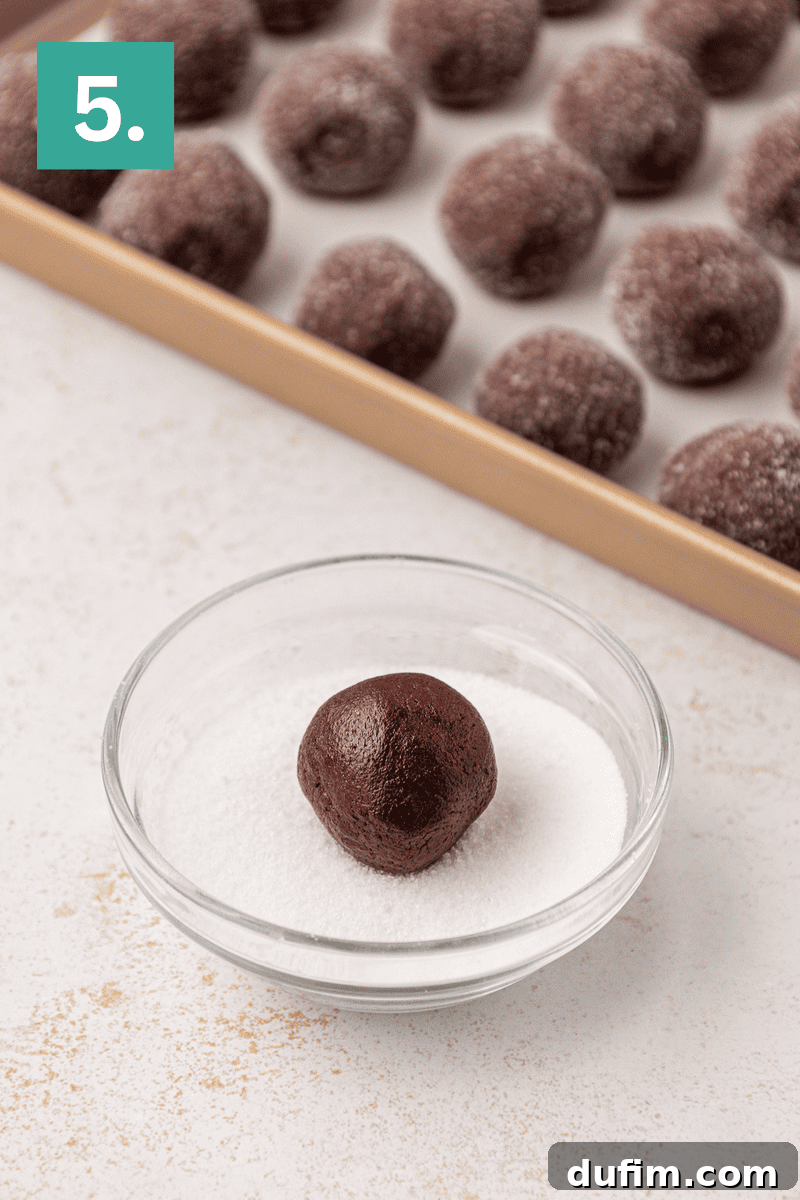
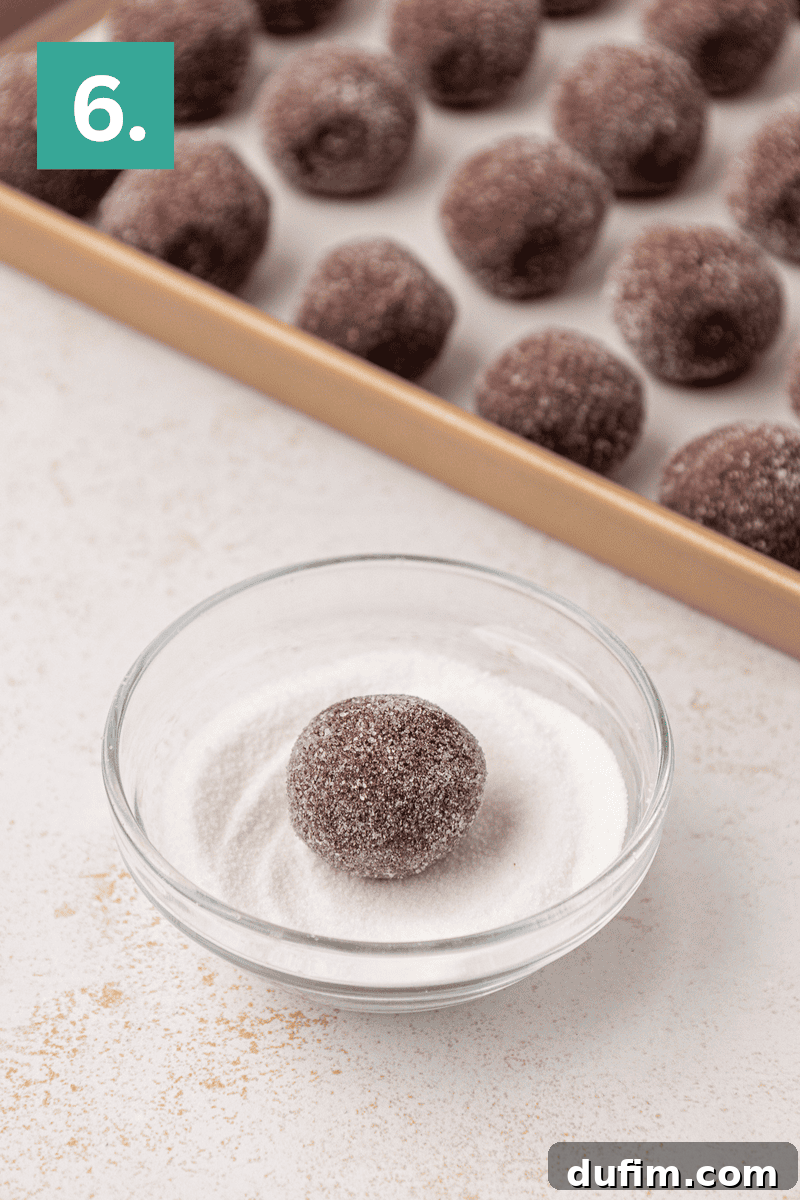
Step 6: Form and Coat Dough Balls. Using a 1-tablespoon cookie scoop (a #60 scoop is ideal for consistent sizing), portion out the thick chocolate dough. Roll each portion between your palms to form smooth, uniform balls. Next, roll each dough ball generously in granulated sugar, ensuring it’s completely coated for a beautiful sparkle and a slight textural crunch. Arrange these sugar-coated dough balls approximately 2 inches apart on your prepared baking sheets, allowing ample space for slight expansion.
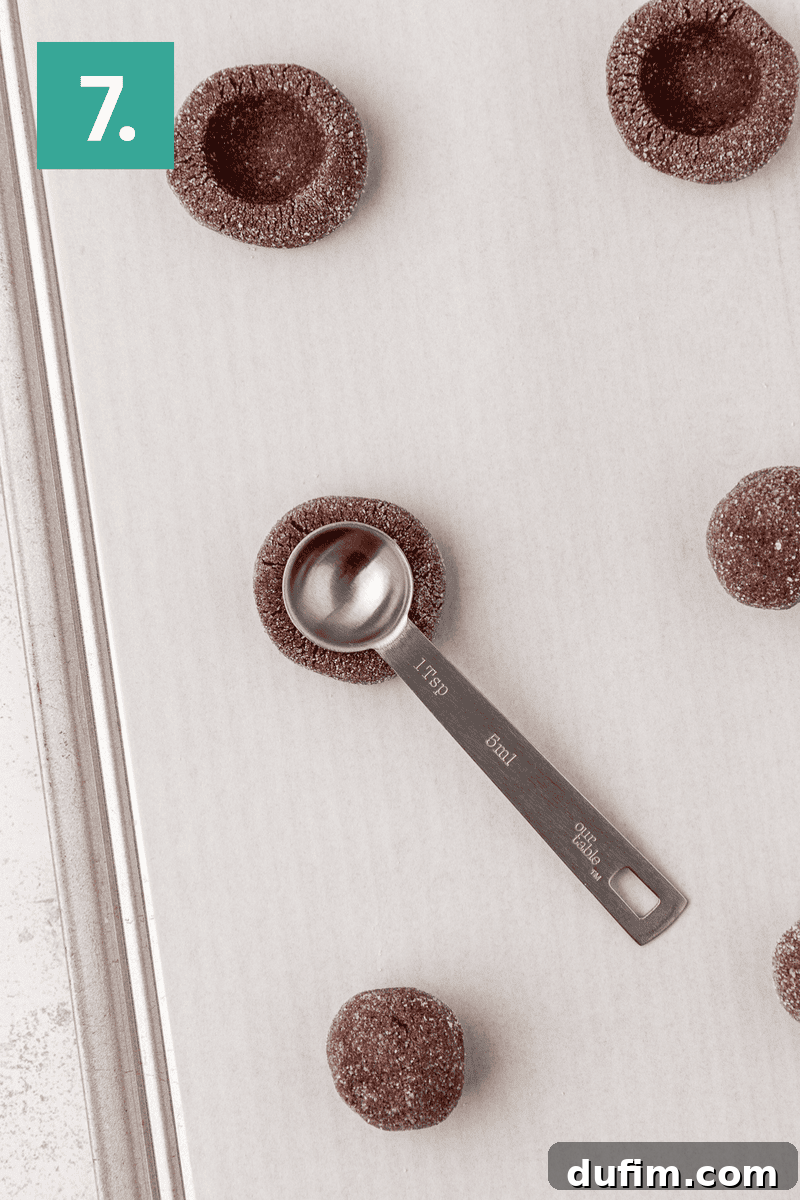
Step 7: Press Indents and Chill. Using the back of a small teaspoon (or even your thumb for a classic touch), gently but firmly press a distinct divot into the center of each cookie dough ball. This creates the “thumbprint” well for the filling. Once the indentations are made, place the entire baking sheet into the freezer for at least 10 minutes. This crucial chilling step helps to firm up the dough, preventing the cookies from spreading too much and ensuring your beautiful thumbprints remain intact and defined during the baking process. If desired, you can chill them for a longer period.
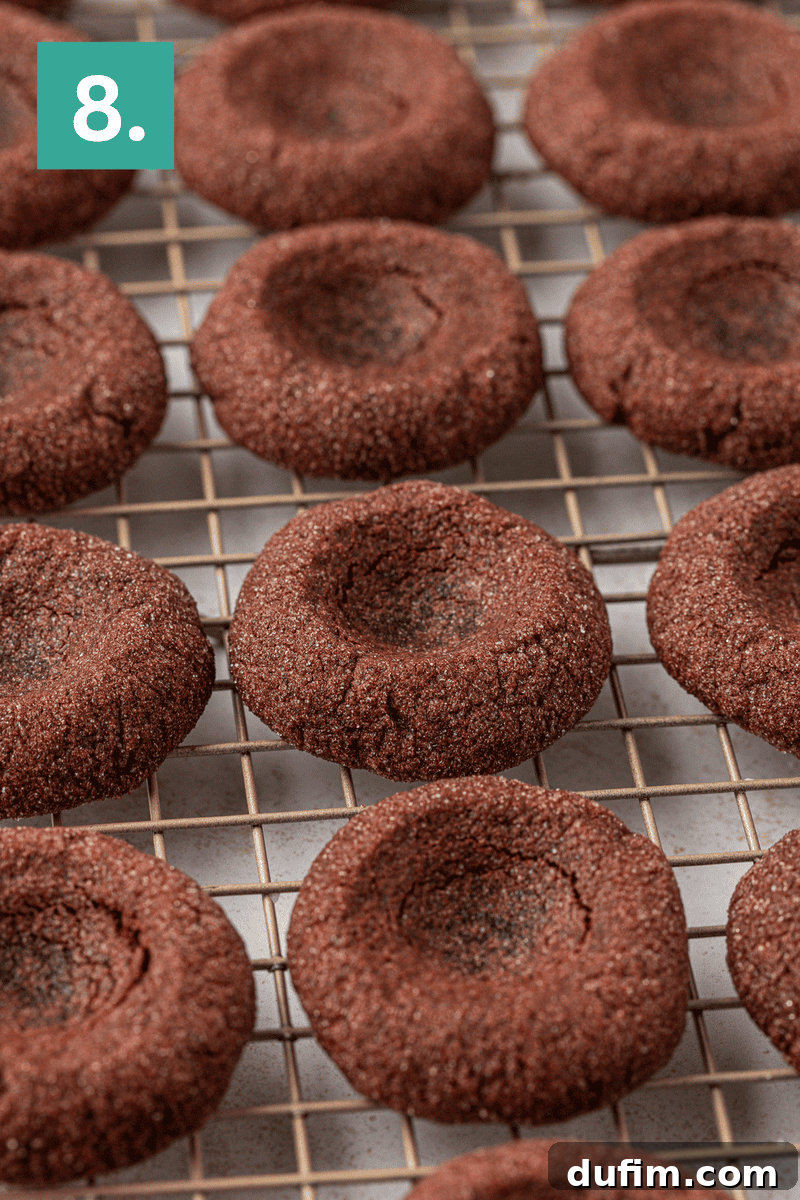
Step 8: Bake and Redefine Indents. Preheat your oven to 350°F (177°C). Bake the chilled cookies for 10-11 minutes. The cookies are perfectly baked when their edges appear set and firm, but their centers still look slightly soft and delicate. Immediately upon removing the baking sheet from the oven, use the back of the teaspoon again to gently deepen the center indentation of each cookie. This quick re-press is important because cookies tend to puff up slightly during baking, and this ensures a perfect, deep well for your ganache.
Step 9: Cool Completely. Carefully transfer the baked cookies from the baking sheets to a wire cooling rack. Allow them to cool completely to room temperature. This step is essential; attempting to fill warm cookies will cause the ganache to melt and run, resulting in a messy finish. Patience here ensures a beautiful, stable cookie.
For the Creamy Eggnog Ganache Filling
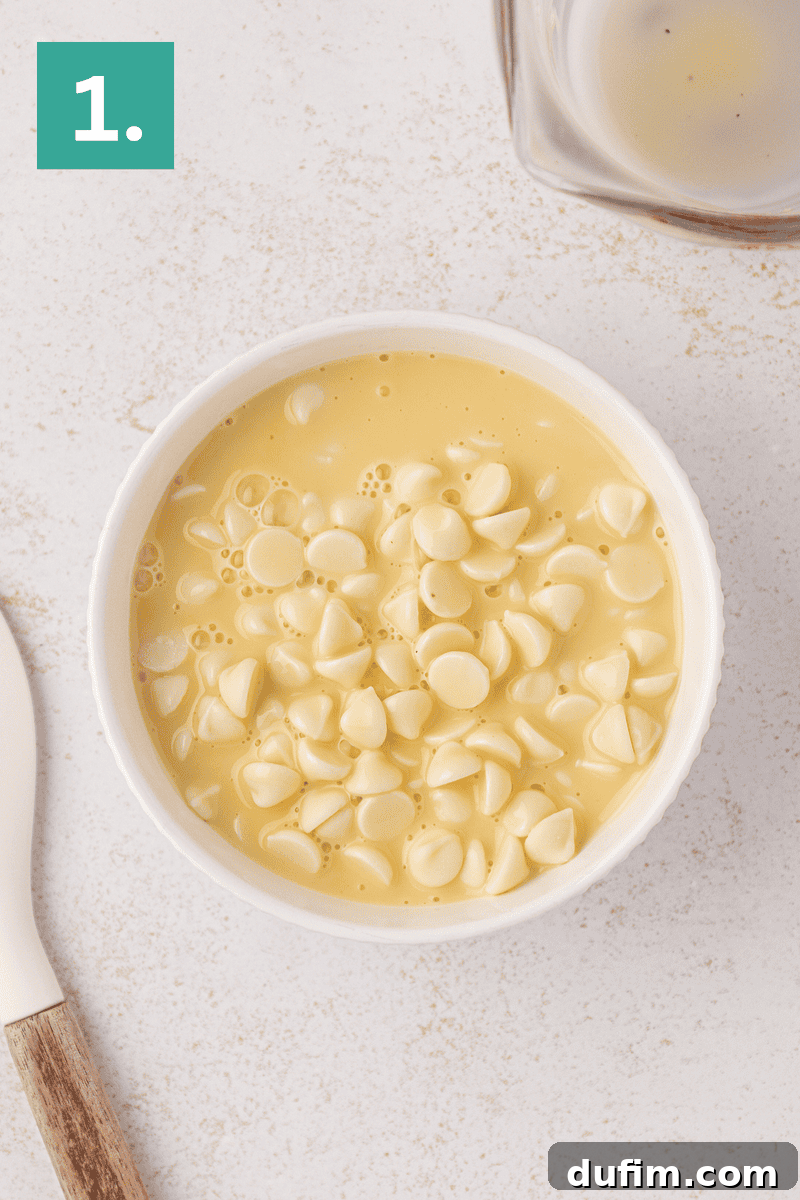
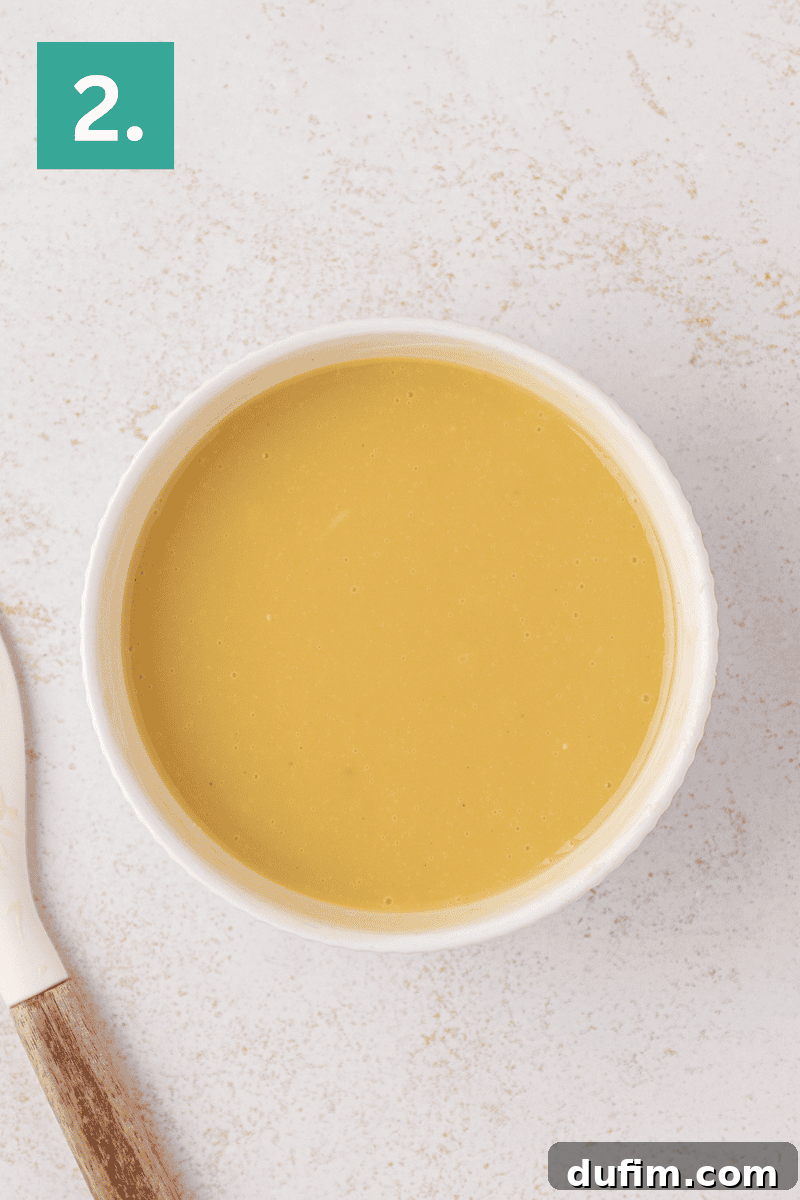
Step 10: Prepare the Eggnog Ganache. Place the white chocolate chips into a heatproof bowl. In a separate microwave-safe measuring cup or a small saucepan on the stovetop, gently heat the eggnog for 30 to 45 seconds until it is steaming hot but not boiling. Immediately pour the hot eggnog over the white chocolate chips. Let the mixture sit undisturbed for 2 to 3 minutes; this allows the residual heat from the eggnog to soften and begin melting the chocolate. After resting, stir the mixture gently with a whisk or spatula until the white chocolate is completely melted and the ganache becomes perfectly smooth and glossy. If any small lumps of chocolate remain, microwave the mixture in very short 10-second bursts, stirring thoroughly after each, until it reaches a silky consistency. Once smooth, allow the ganache to cool and thicken at room temperature for at least 30 minutes. To expedite this process, you may place it in the refrigerator, stirring every 5-10 minutes, until it reaches a spoonable but firm consistency, similar to a thick custard.
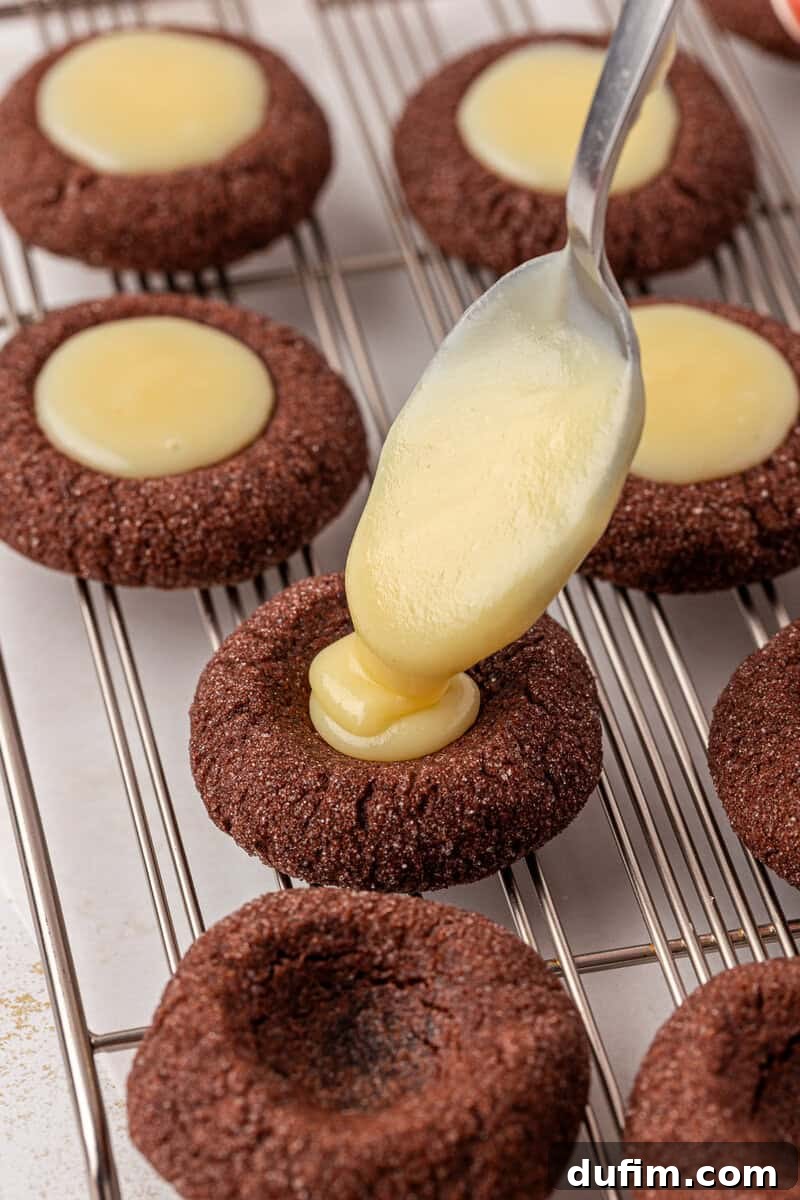
Step 11: Fill and Finish Cookies. Once the eggnog ganache has thickened to the ideal consistency, carefully spoon approximately 1 teaspoon of the luscious filling into the center of each cooled chocolate thumbprint cookie. For an exquisite finish and an extra burst of holiday aroma, lightly dust the tops of the filled cookies with freshly ground nutmeg. Allow the ganache to set completely before serving or storing. This ensures the filling remains beautiful and stable, ready to be enjoyed.
Essential Equipment for Effortless Holiday Baking
Having the right tools at your disposal can significantly enhance your baking experience and ensure perfect results for these delicate eggnog thumbprint cookies. Here’s a list of essential equipment that will make the process smoother and more enjoyable:
- Silicone Baking Mats (or Parchment Paper): Indispensable for preventing cookies from sticking, promoting even baking, and simplifying cleanup.
- Baking Sheets: Sturdy, light-colored baking sheets are recommended as they help prevent the bottoms of your cookies from over-browning.
- Electric Mixer (Stand or Handheld): While creaming butter and sugar by hand is possible, an electric mixer saves considerable time and effort, ensuring a perfectly aerated, light, and fluffy base for your cookie dough.
- Cookie Dough Scoop (#60 or 1 Tablespoon): A cookie scoop is invaluable for portioning out consistently sized dough balls. This leads to uniform baking and a more professional, appealing presentation for all your thumbprints.
- Measuring Cups & Spoons: Accurate measurements are foundational to successful baking, so a reliable set is a must-have.
- Mixing Bowls: It’s always helpful to have several mixing bowls of various sizes for combining dry ingredients, preparing the wet dough, and making the ganache.
- Small Teaspoon or Thumb: The simplest tool for creating that iconic indentation in your cookie dough.
- Wire Cooling Rack: Essential for allowing air to circulate around the cookies as they cool, preventing moisture buildup and ensuring they maintain a crisp-tender texture.
- Microwave-Safe Measuring Cup/Small Saucepan: For heating the eggnog for the ganache.
Tips for Baking Flawless Eggnog Thumbprint Cookies
Achieving consistently perfect eggnog thumbprint cookies is easy with a few key insights and expert tips. Follow these recommendations to ensure your cookies are always soft, beautifully shaped, and bursting with delicious holiday flavor:
- Don’t Skip the Chilling Step: The 10-minute freezer chill before baking is absolutely essential. This crucial step firms up the cookie dough, significantly preventing excessive spreading in the oven and ensuring that your thumbprint indentations remain perfectly distinct and deep.
- Measure Flour Accurately: Precision in flour measurement is paramount for the correct cookie texture. The most accurate method is to weigh your flour using a kitchen scale. If a scale isn’t available, use the “spoon and level” technique: lightly aerate your flour in its container, then gently spoon it into your dry measuring cup until it overflows. Finally, level off the top with the straight edge of a knife or spatula. Avoid packing the flour into the cup, as this can add too much, leading to dry, dense cookies.
- Ensure Room Temperature Ingredients: For optimal results, make sure your butter and egg are at proper room temperature. Softened butter creams effortlessly with sugar, trapping air that contributes to a light and tender cookie. Room temperature eggs emulsify better into the mixture, creating a smoother, more cohesive dough.
- Avoid Overmixing the Dough: Once you add the dry ingredients to the wet, mix only until they are just combined. Overmixing the dough develops gluten, which can lead to tough, dense cookies rather than the desired soft, tender texture. A thick dough is perfectly normal and expected for this recipe.
- Redefine Indents After Baking: Cookies naturally puff up slightly in the oven. To ensure a perfectly deep well for your ganache, gently re-press the center indentation with the back of your teaspoon immediately after removing the cookies from the oven, while they are still warm and pliable.
- Cool Cookies Completely Before Filling: This step is non-negotiable! Filling warm cookies will cause the ganache to melt and spread, resulting in a runny, messy outcome. Allow your cookies ample time to cool completely on a wire rack before adding the luscious eggnog ganache.
- Adjust Ganache Consistency as Needed: If, after chilling, your ganache appears too thick to spoon easily, microwave it in very short 5-second increments, stirring thoroughly after each, until it reaches the desired spoonable consistency. Conversely, if it seems too thin, pop it back into the fridge for a few extra minutes, stirring every 5 minutes, until it thickens sufficiently.
- Use Quality Eggnog: The flavor of your ganache is heavily dependent on the quality of your eggnog. Opt for a brand you genuinely enjoy drinking, or consider making your own homemade eggnog for an exceptionally rich and personalized touch.
Storage and Freezing Instructions for Holiday Convenience
These delectable eggnog thumbprint cookies are perfect for preparing in advance or savoring over several days. Here’s how to properly store them to ensure they remain fresh, flavorful, and ready for any occasion:
- To Store Finished Cookies: Once the eggnog ganache has completely set and firmed up, place the cookies in an airtight container. They will keep beautifully at room temperature for up to 4 days, maintaining their softness and flavor. For slightly extended freshness (up to a week), you can store them in the refrigerator.
- To Make Ahead (Dough): You have the convenience of preparing the chocolate cookie dough up to 24 hours in advance. Simply wrap the prepared dough tightly in plastic wrap to prevent it from drying out, and then refrigerate. When you’re ready to bake, allow the dough to sit at room temperature for about 15-20 minutes until it becomes pliable enough to roll and shape easily.
- To Freeze Baked Cookies: For longer storage, you can freeze the baked and filled cookies. First, flash freeze the completely cooled cookies on a baking sheet until they are solid (this usually takes about 1-2 hours). Once frozen, transfer the solid cookies to a freezer-safe airtight container or a heavy-duty freezer bag, layering them with parchment paper to prevent sticking. They can be frozen for up to 2-3 months without losing quality. To thaw, simply arrange them in a single layer on a baking sheet and allow them to come to room temperature overnight on your kitchen counter.
- To Freeze Unbaked Dough: If you prefer to bake fresh, you can freeze the unbaked cookie dough. Roll the dough into individual balls as instructed, but do not press the indentations at this stage. Flash freeze these dough balls on a baking sheet until they are firm. Then, transfer them to a freezer-safe container or bag. When you’re ready to bake, transfer the frozen dough balls to the refrigerator to thaw overnight. Once thawed, roll them in granulated sugar, press the thumbprint indent, and then bake according to the recipe instructions.
Perfect Pairings & Serving Suggestions
These elegant Eggnog Thumbprint Cookies are incredibly versatile and make a delightful addition to any holiday spread or simply as a special treat. Here are some ideas for how to best serve and pair them:
- Holiday Dessert Platter: Create a truly stunning and abundant holiday dessert platter by arranging these beautiful cookies alongside other festive favorites such as classic gingerbread men, vibrant sugar cookies, and delicate shortbread. Their rich chocolate and creamy filling will add wonderful variety.
- Coffee or Hot Chocolate Companion: The deep chocolate notes and creamy eggnog flavor of these cookies make them an exquisite companion to a warm mug of freshly brewed coffee, a rich espresso, or a luxurious cup of decadent hot chocolate. They are perfect for a cozy winter evening.
- The Quintessential Eggnog Pairing: What better way to enjoy an eggnog-flavored cookie than with a glass of chilled eggnog? This pairing amplifies the festive spirit and truly highlights the unique taste of the holidays.
- Thoughtful Homemade Gifts: Package a dozen or so of these delightful cookies in an attractive festive box or a charming tin, tied with a beautiful ribbon. They make a wonderfully thoughtful and personalized homemade holiday gift that friends, family, neighbors, and colleagues will absolutely adore.
- Holiday Cookie Exchange Favorite: Their unique flavor profile, appealing appearance, and festive theme make these eggnog thumbprint cookies an absolute standout and a guaranteed hit at any holiday cookie exchange event.
Explore More Festive Thumbprint Cookie Recipes
If you’ve fallen in love with the charm, versatility, and sheer deliciousness of thumbprint cookies, you’ll be thrilled to discover there’s a world of creative variations waiting to be explored! Each of these recipes offers a unique and exciting twist on the classic, perfect for any occasion or flavor preference:
- Chocolate Peanut Butter Thumbprint Cookies
- Black Forest Thumbprint Cookies
- Chocolate Orange Thumbprint Cookies
- Chocolate Peppermint Thumbprint Cookies
No ratings yet. Be the first to rate!
Eggnog Thumbprint Cookies
Beth
10 minutes
10 minutes
10 minutes
35 cookies
Jump to Recipe Card
Equipment
-
Electric Mixer
-
Cookie Dough Scoop
-
Silicone Baking Mat
-
Baking Sheets
-
Mixing Bowls
-
Measuring Cups & Spoons
-
Small Teaspoon
-
Wire Cooling Rack
Ingredients
Cookies
- 1 ¾ cup (210g) all-purpose flour
- ½ cup (40g) Dutch-processed cocoa powder
- ½ tsp salt
- ½ tsp baking powder
- 1 tsp cornstarch
- ¾ cup (170g) unsalted butter, softened
- 1 cup (213g) brown sugar, packed
- 1 large egg, room temperature
- 1 large egg yolk, room temperature
- ¼ cup (50g) granulated sugar, for rolling
Filling
- 6 Tbsp eggnog
- 1 cup (170g) white chocolate chips
- Nutmeg, for dusting (freshly grated recommended)
Instructions
Cookies
-
Line baking sheets with parchment paper or silicone mats.
-
In a medium bowl, whisk together the all-purpose flour, Dutch-processed cocoa powder, salt, baking powder, and cornstarch. Set aside.1 ¾ cup (210g) all-purpose flour, ½ cup (40g) Dutch-processed cocoa powder, ½ tsp salt, ½ tsp baking powder, 1 tsp cornstarch
-
In a large mixing bowl, beat the softened unsalted butter and brown sugar on medium speed until light and fluffy, about 1–2 minutes.¾ cup (170g) unsalted butter, 1 cup (213g) brown sugar
-
Beat in the room temperature large egg and egg yolk for 30 seconds, scraping down the sides of the bowl as needed to ensure all ingredients are incorporated.1 large egg, 1 large egg yolk
-
Gradually add the dry mixture to the wet ingredients, mixing on low speed until just combined. Be careful not to overmix; the dough will be very thick.
-
Scoop 1 tablespoon of dough (using a #60 cookie scoop) and roll it into smooth balls. Roll each ball generously in granulated sugar and place them 2 inches apart on your prepared baking sheets.¼ cup (50g) granulated sugar
-
Use the back of a teaspoon to gently press a divot into the center of each cookie. Place the baking sheet in the freezer for 10 minutes to firm up the dough and prevent spreading.
-
Preheat the oven to 350°F (177°C). Bake for 10-11 minutes, or until the edges are set but the centers still look soft. Remove from the oven and immediately use the teaspoon again to gently deepen the center indentation as it may puff up slightly during baking.
-
Allow cookies to cool completely on a wire rack before attempting to fill them.
Filling
-
Place the white chocolate chips in a heatproof bowl. In a microwave-safe measuring cup, microwave the eggnog for 30 to 45 seconds, or until steaming and very hot (do not boil). Pour the hot eggnog over the white chocolate chips and let it sit undisturbed for 2 to 3 minutes. Stir until the chocolate is fully melted and the ganache is smooth and glossy. If necessary, microwave the mixture in 10-second bursts, stirring well after each, until perfectly smooth. Allow the ganache to set and thicken at room temperature for at least 30 minutes, or speed up the process by placing it in the fridge, stirring every 5-10 minutes, until it reaches a spoonable but thick consistency.6 Tbsp eggnog, 1 cup (170g) white chocolate chips
-
Once thickened, carefully spoon about 1 teaspoon of the eggnog ganache into the center of each cooled cookie. Lightly dust the tops with freshly ground nutmeg. Allow the ganache to set completely before serving or storing to ensure it remains stable and beautiful.Nutmeg
Notes & Expert Tips
Measuring Flour Accurately: Precision in measuring flour is crucial for cookie success. The most accurate method is using a kitchen scale to weigh it in grams. If a scale isn’t available, employ the “spoon and level” technique: lightly aerate the flour in its container with a whisk. Then, gently spoon the flour into your measuring cup until it overflows, avoiding any tapping or shaking of the cup, which compacts the flour. Finally, level off the top with the back of a butter knife. Re-fluff the flour each time you measure for consistent results.
Room Temperature Ingredients are Key: Ensure your butter and egg(s) are at proper room temperature. This allows them to cream together effectively, creating a smooth emulsion that traps air for a light, tender cookie.
Preventing Spread: The combination of increased flour, cornstarch, and the crucial chilling step before baking is designed to prevent these cookies from spreading excessively, ensuring your thumbprints stay perfectly defined. Don’t skip the freeze!
Ganache Troubleshooting: If your ganache is too thick after chilling, microwave it in 5-second increments, stirring after each, until it reaches the desired spoonable consistency. If it’s too thin, a few extra minutes in the fridge, with stirring, will help.
Nutrition Information
Nutrition Disclosure
All nutritional values are approximate and provided to the reader as a courtesy. Changing ingredients and/or quantities will alter the estimated nutritional calculations.
Enjoyed this recipe? Share your thoughts below!