
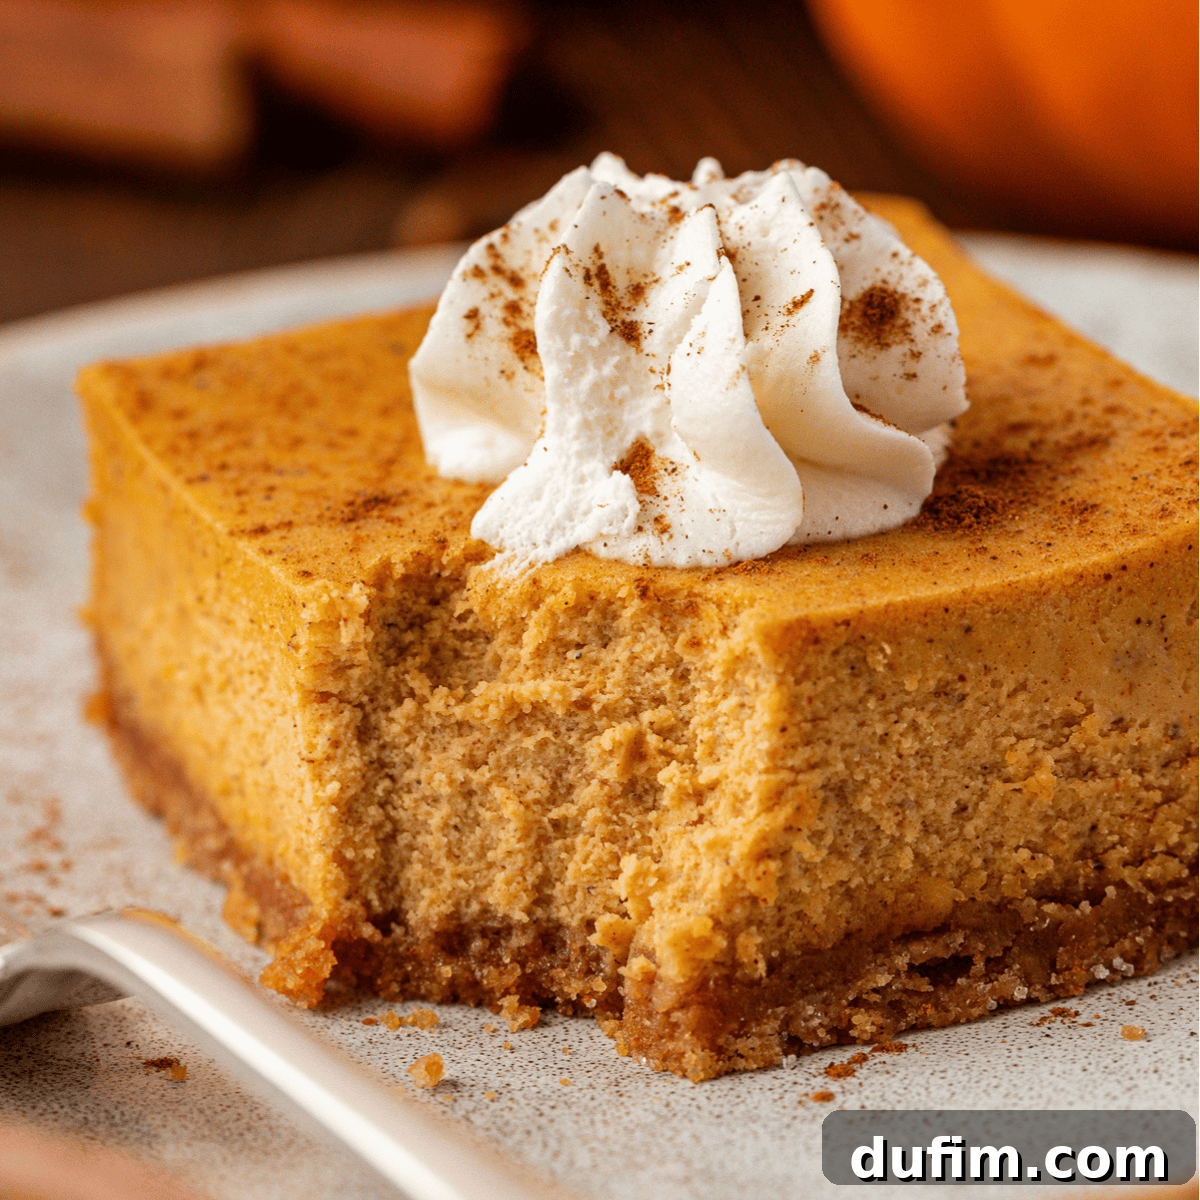
Welcome to your new favorite fall dessert! These creamy pumpkin cheesecake bars capture all the rich, spiced essence of a traditional pumpkin cheesecake but come with none of the fuss. Baked conveniently in a 9×13-inch pan, they feature a buttery graham cracker crust and a velvety smooth filling made with just seven essential ingredients. Through careful testing, I’ve perfected the balance of flavors, ensuring every bite delivers a harmonious blend of sweetness, warm spices, and the irresistible creaminess you expect from a premium cheesecake.
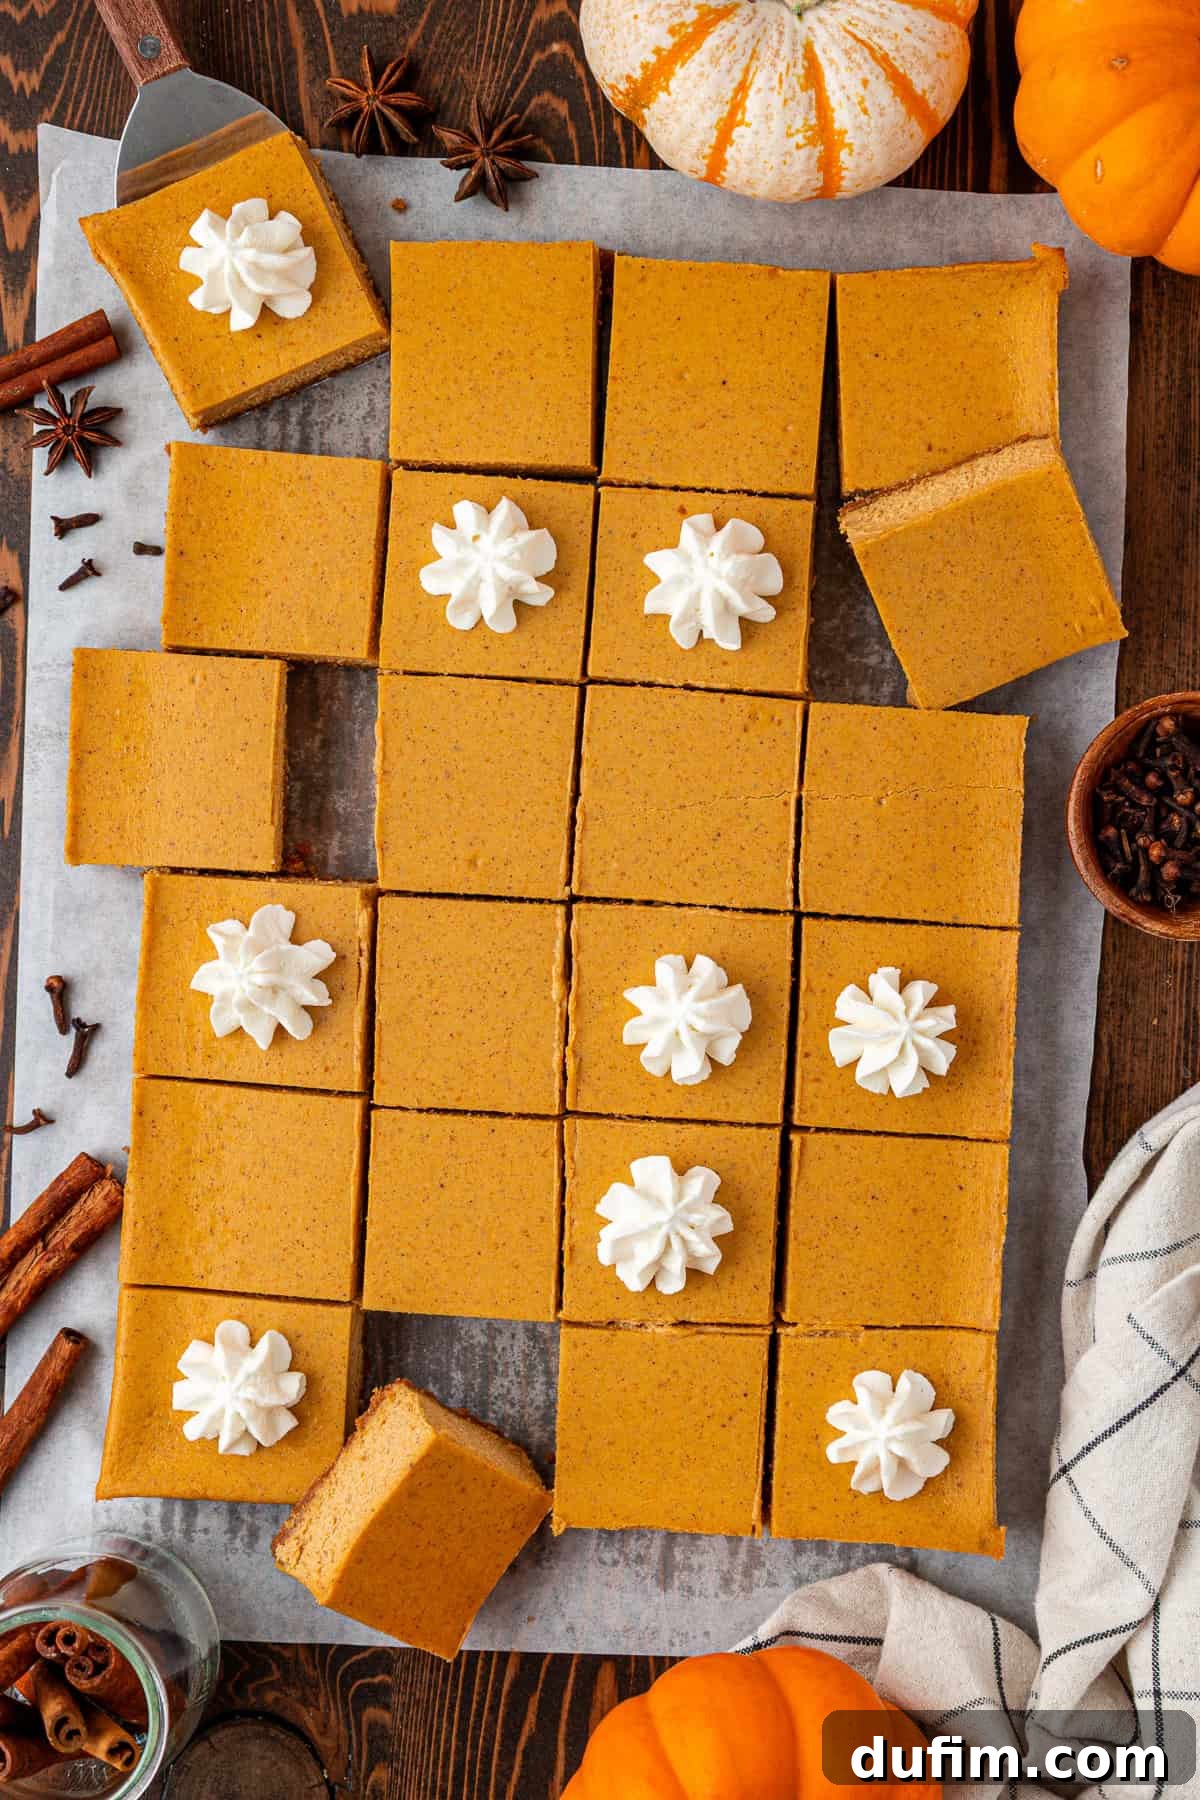
This recipe serves a crowd beautifully! I brought these to our fall bake sale, and they were an absolute HIT! So easy to make and came out perfectly every time.
-Ally
Pumpkin cheesecake is undeniably a showstopper, yet the thought of tackling a full springform cheesecake, complete with a finicky water bath, can be daunting for many home bakers. This is precisely why these pumpkin cheesecake bars were created. They offer the same decadent, creamy, and spiced flavor profile as their full-sized counterpart, but are baked in a standard 9×13-inch pan, eliminating common cheesecake challenges like cracks and the stress of specialized equipment. This simplified approach ensures a flawless, delicious dessert every time, making it accessible even for those new to cheesecake baking.
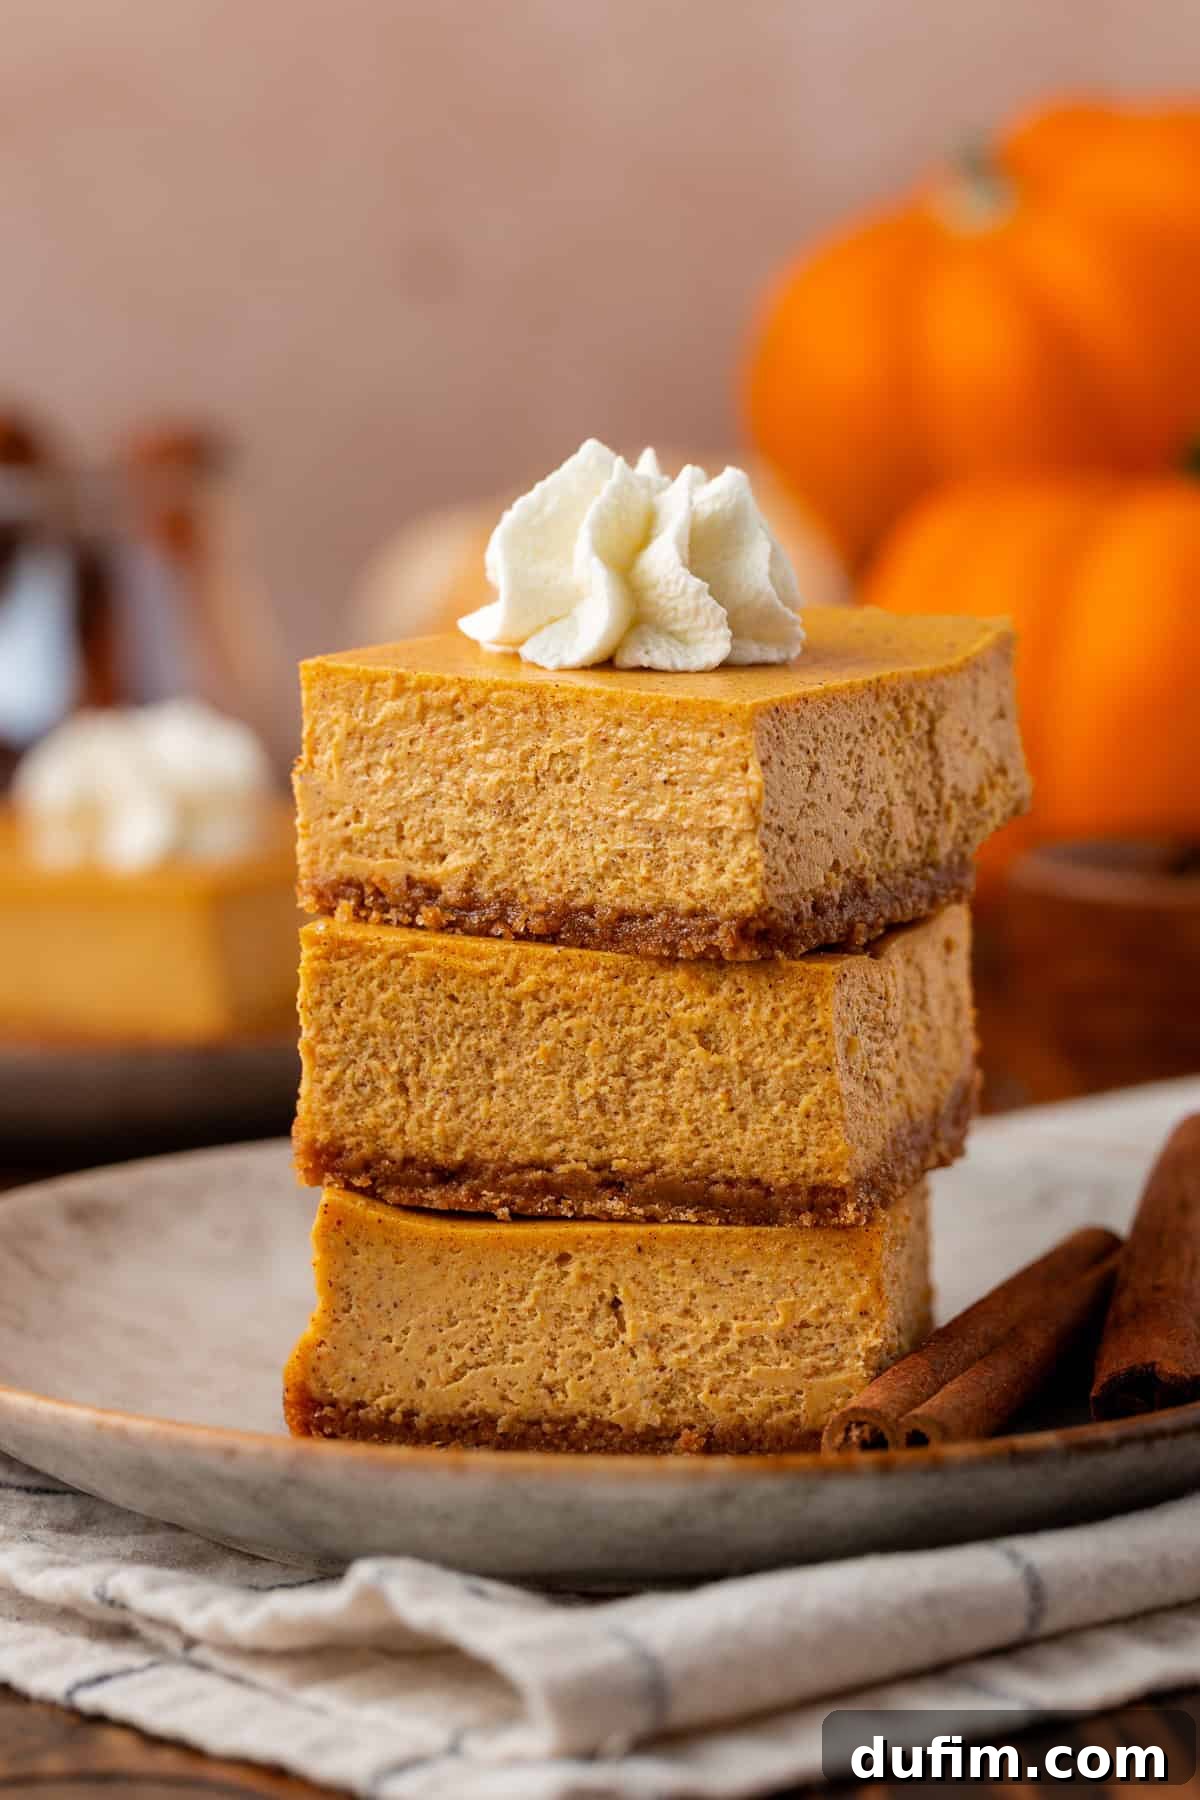
The foundation of these incredible bars is my signature buttery graham cracker crust. It’s pressed firmly into the pan, ensuring it bakes up perfectly sturdy and golden, providing a delightful textural contrast to the smooth filling. For the star attraction – the pumpkin cheesecake filling – I’ve honed the ingredient list to just seven essential items: rich cream cheese, pure pumpkin puree, granulated sugar, fresh eggs, and a carefully balanced blend of warming fall spices. This is the very same perfected pumpkin cheesecake base used in my more elaborate, full-sized cheesecakes, meticulously adapted to achieve that consistent rich, velvety texture and deep flavor in a bar format.
My goal was to create a truly foolproof fall dessert. I’ve tested this recipe countless times, adjusting ratios and techniques to ensure the flavor is bold yet perfectly balanced—never overly sweet, nor too spicy. The pumpkin-to-cream cheese ratio is spot-on, delivering an authentic pumpkin cheesecake experience. The result is a dessert that is approachable enough for beginner bakers to make with confidence, yet sophisticated and polished enough to proudly serve at your Thanksgiving feast, a holiday gathering, or any special occasion where a touch of autumn magic is desired. With my detailed step-by-step guidance and proven tips, you’re set to bake these magnificent pumpkin cheesecake bars flawlessly.
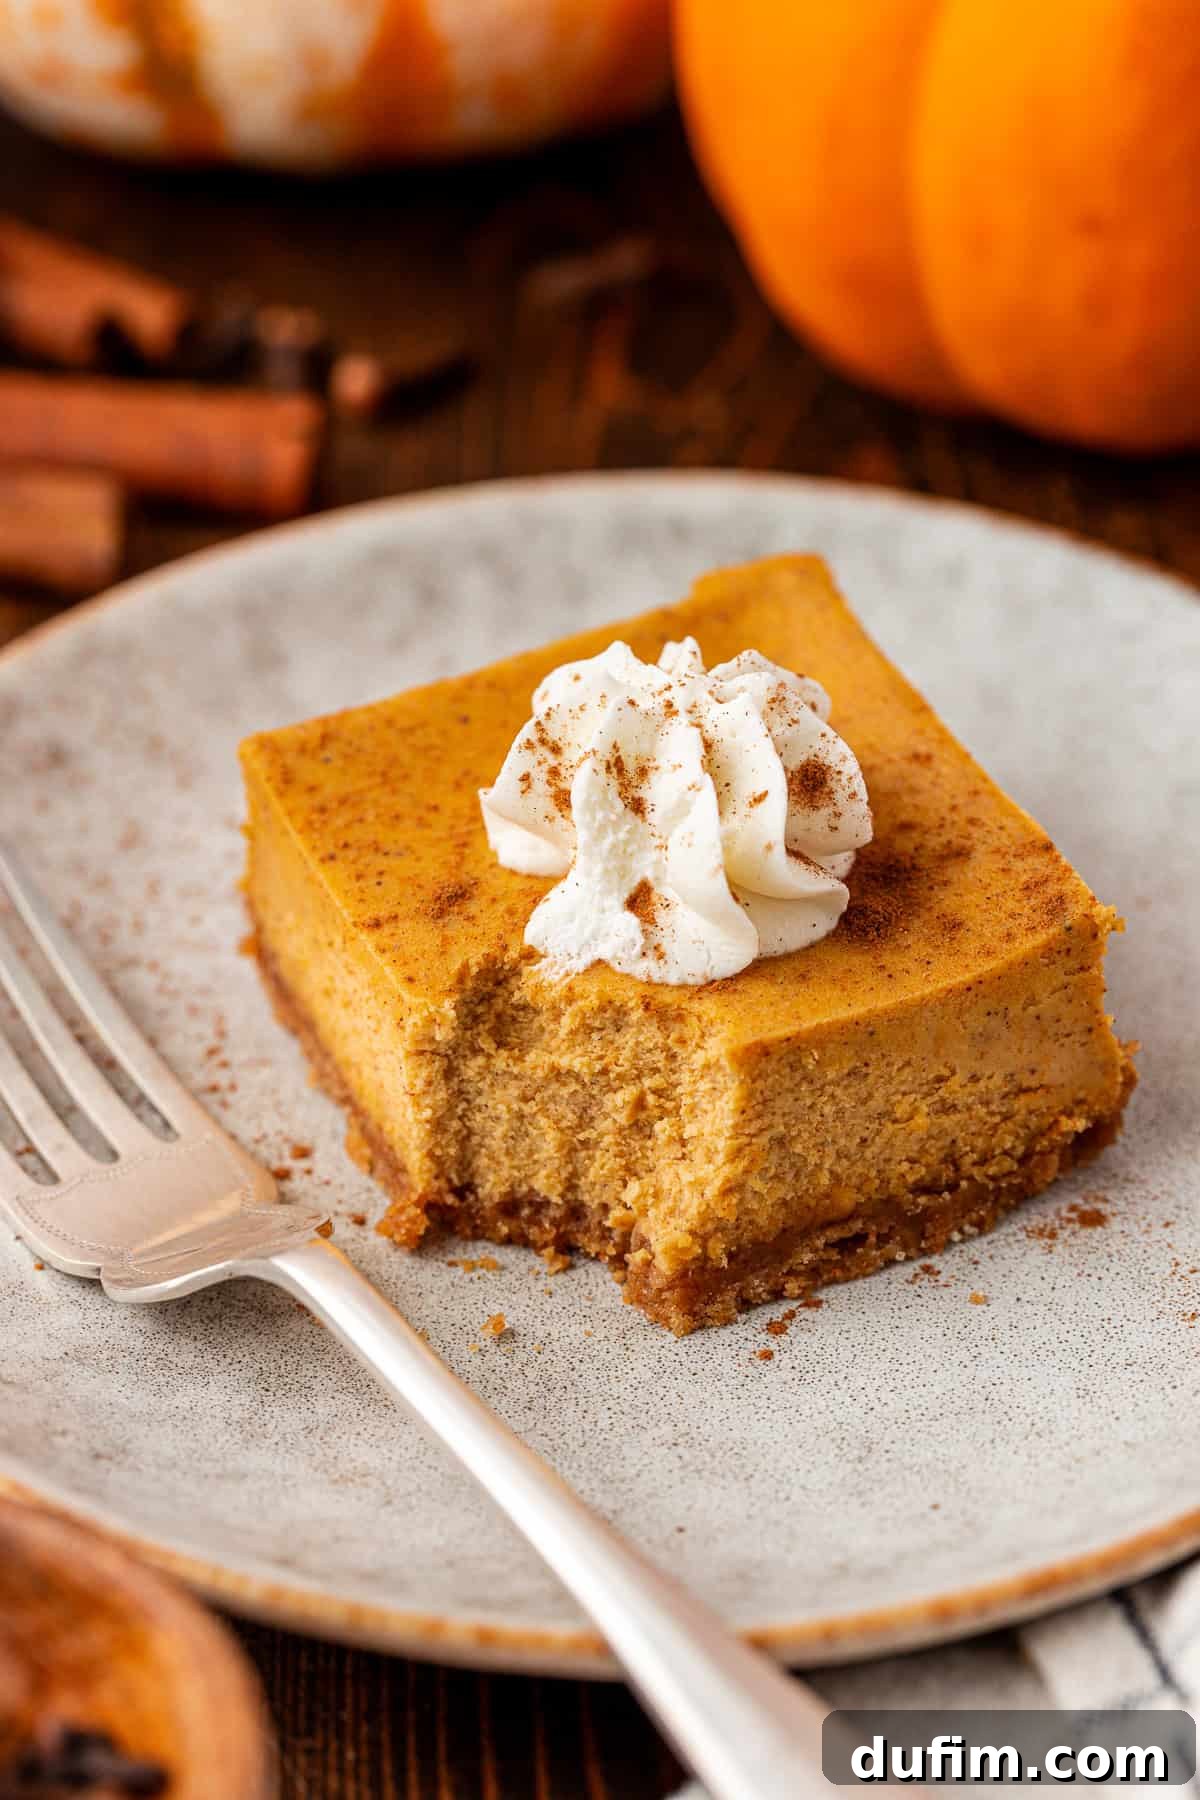
Elevate Your Dessert: Creative Customization Options for Pumpkin Cheesecake Bars
While these pumpkin cheesecake bars are truly perfect as is, they also lend themselves beautifully to customization. Here are a few easy swaps and delightful add-ins to personalize your fall treat and impress your guests:
- Decadent Filling Additions: For an extra burst of sweetness and texture, consider stirring mini chocolate chips directly into the cheesecake batter before baking. The slight bitterness of chocolate perfectly complements the sweet and spicy pumpkin. Alternatively, for a truly luxurious finish, pour a layer of silky chocolate ganache over the chilled bars. Allow it to set, and then slice for an elegant presentation. However you choose to enhance them, these bars are guaranteed to be a delicious indulgence.
- Creative Crust Variations: Don’t limit yourself to traditional graham crackers! For a delightful twist that pairs wonderfully with pumpkin, try using chocolate graham crackers for the crust. Pumpkin and chocolate truly are a match made in heaven. If you’re feeling even bolder and crave a rich, intensely chocolatey base, swap in crushed Oreo cookies (creme filling included!) for an unforgettable foundation. Experimenting with your crust can introduce exciting new dimensions to this classic dessert.
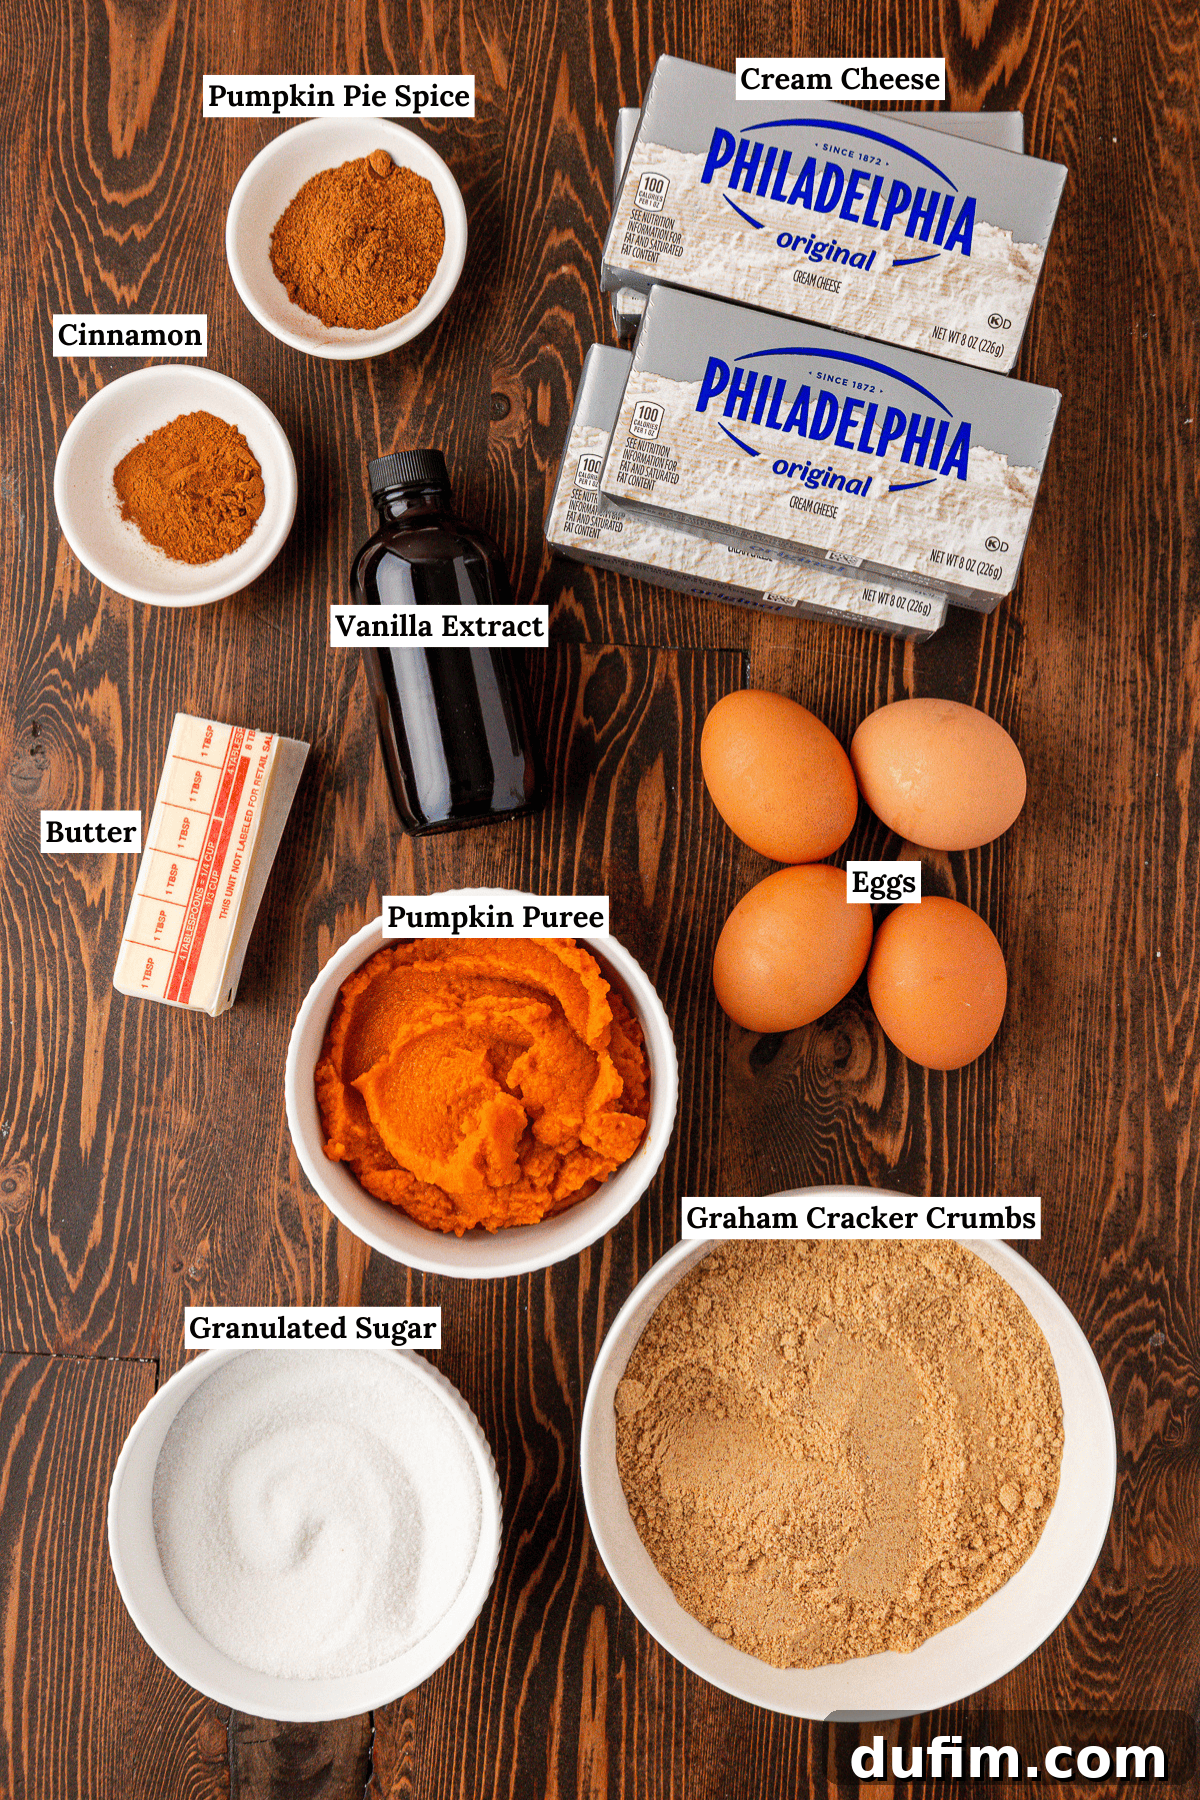
Crafting Perfection: A Detailed Guide to Making Pumpkin Cheesecake Bars
Making these pumpkin cheesecake bars is a straightforward process when you follow these clear, step-by-step instructions. Proper preparation and attention to detail will ensure a stunning and delicious result.
For the Buttery Graham Cracker Crust
- Prepare Your Oven: Begin by preheating your oven to 350º F (175º C). This ensures the oven is at the correct temperature for even baking from the moment your crust goes in.
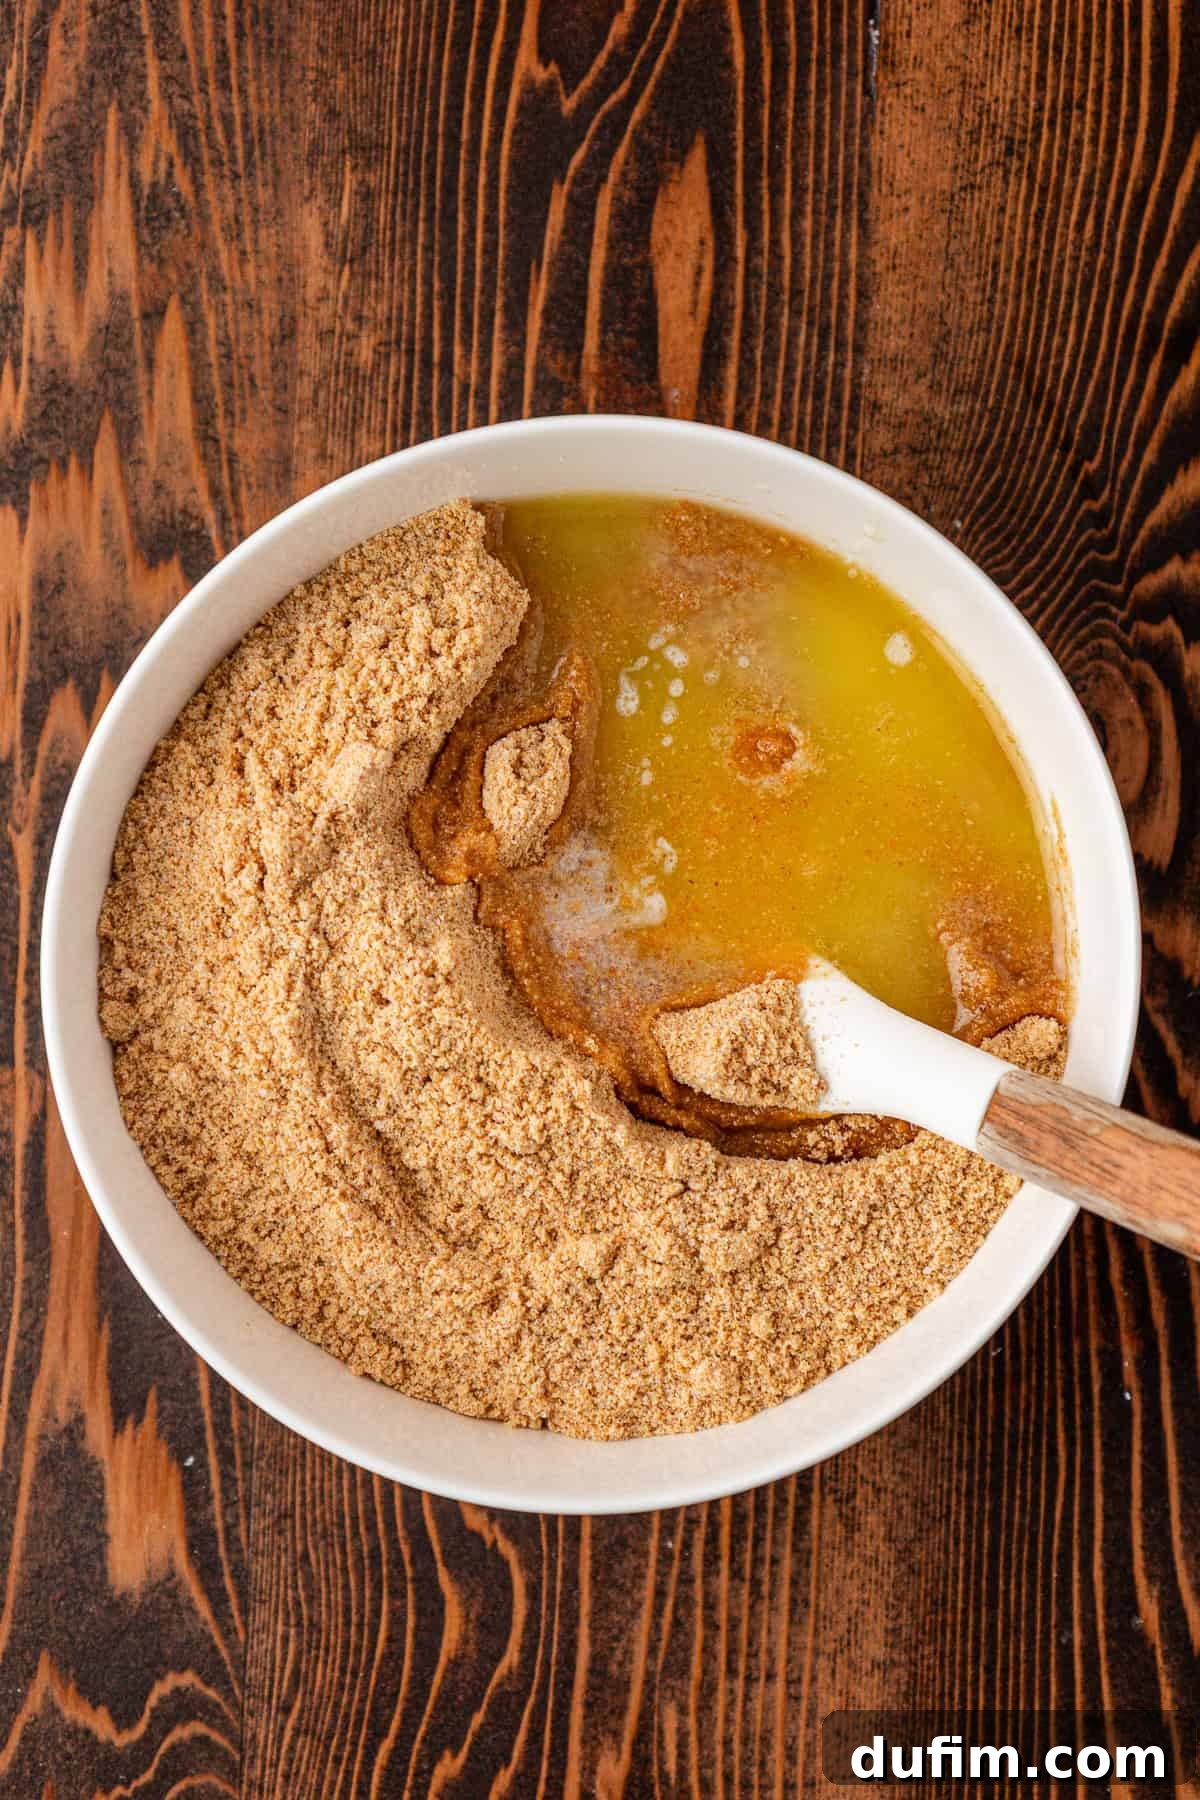
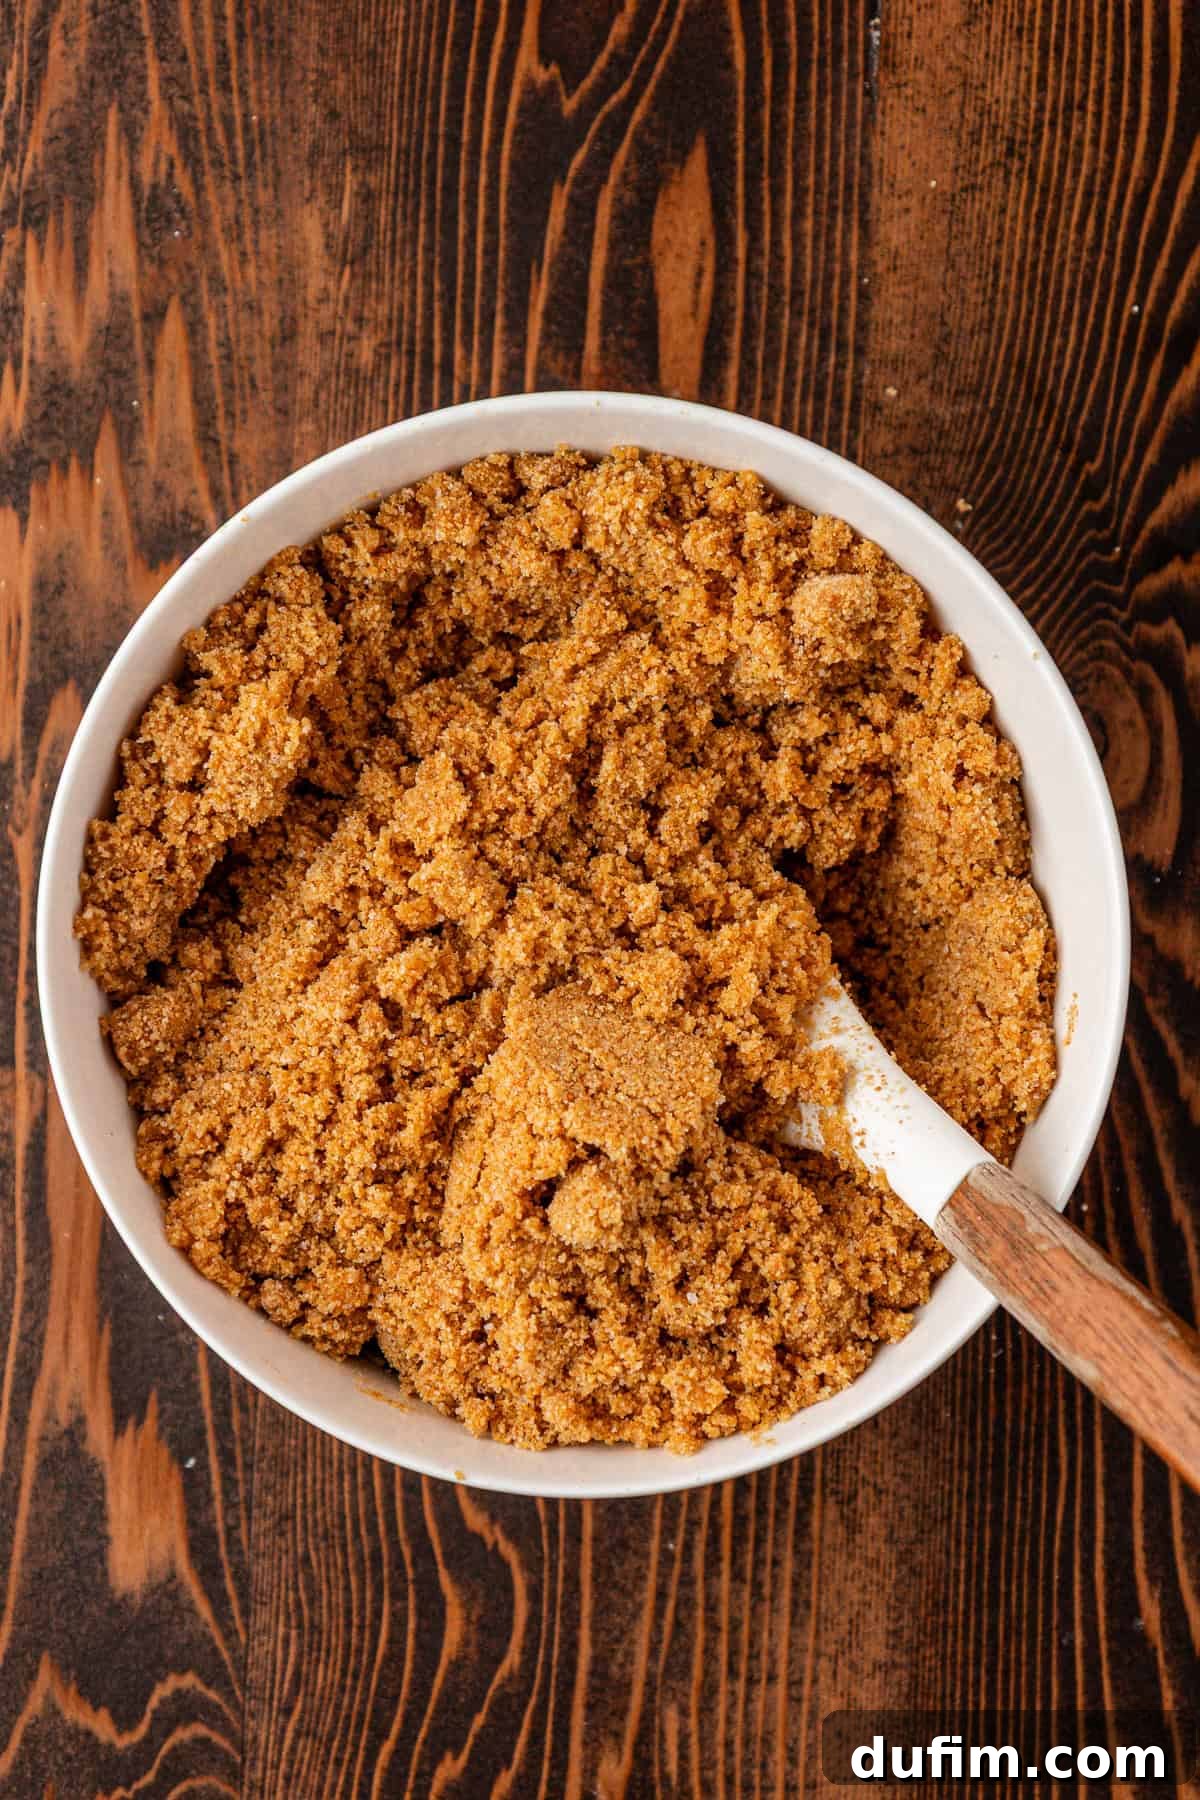
- Assemble the Crust Mixture: If you’re starting with whole graham crackers, finely pulse them in a blender or food processor until they form fine crumbs. Alternatively, save time by purchasing pre-made graham cracker crumbs, readily available in most baking aisles. Measure out precisely 2 cups of these crumbs. In a small mixing bowl, combine the graham cracker crumbs, the specified amount of melted unsalted butter, and granulated sugar. Mix these ingredients thoroughly until they are well incorporated and resemble wet sand. This ensures a cohesive crust.
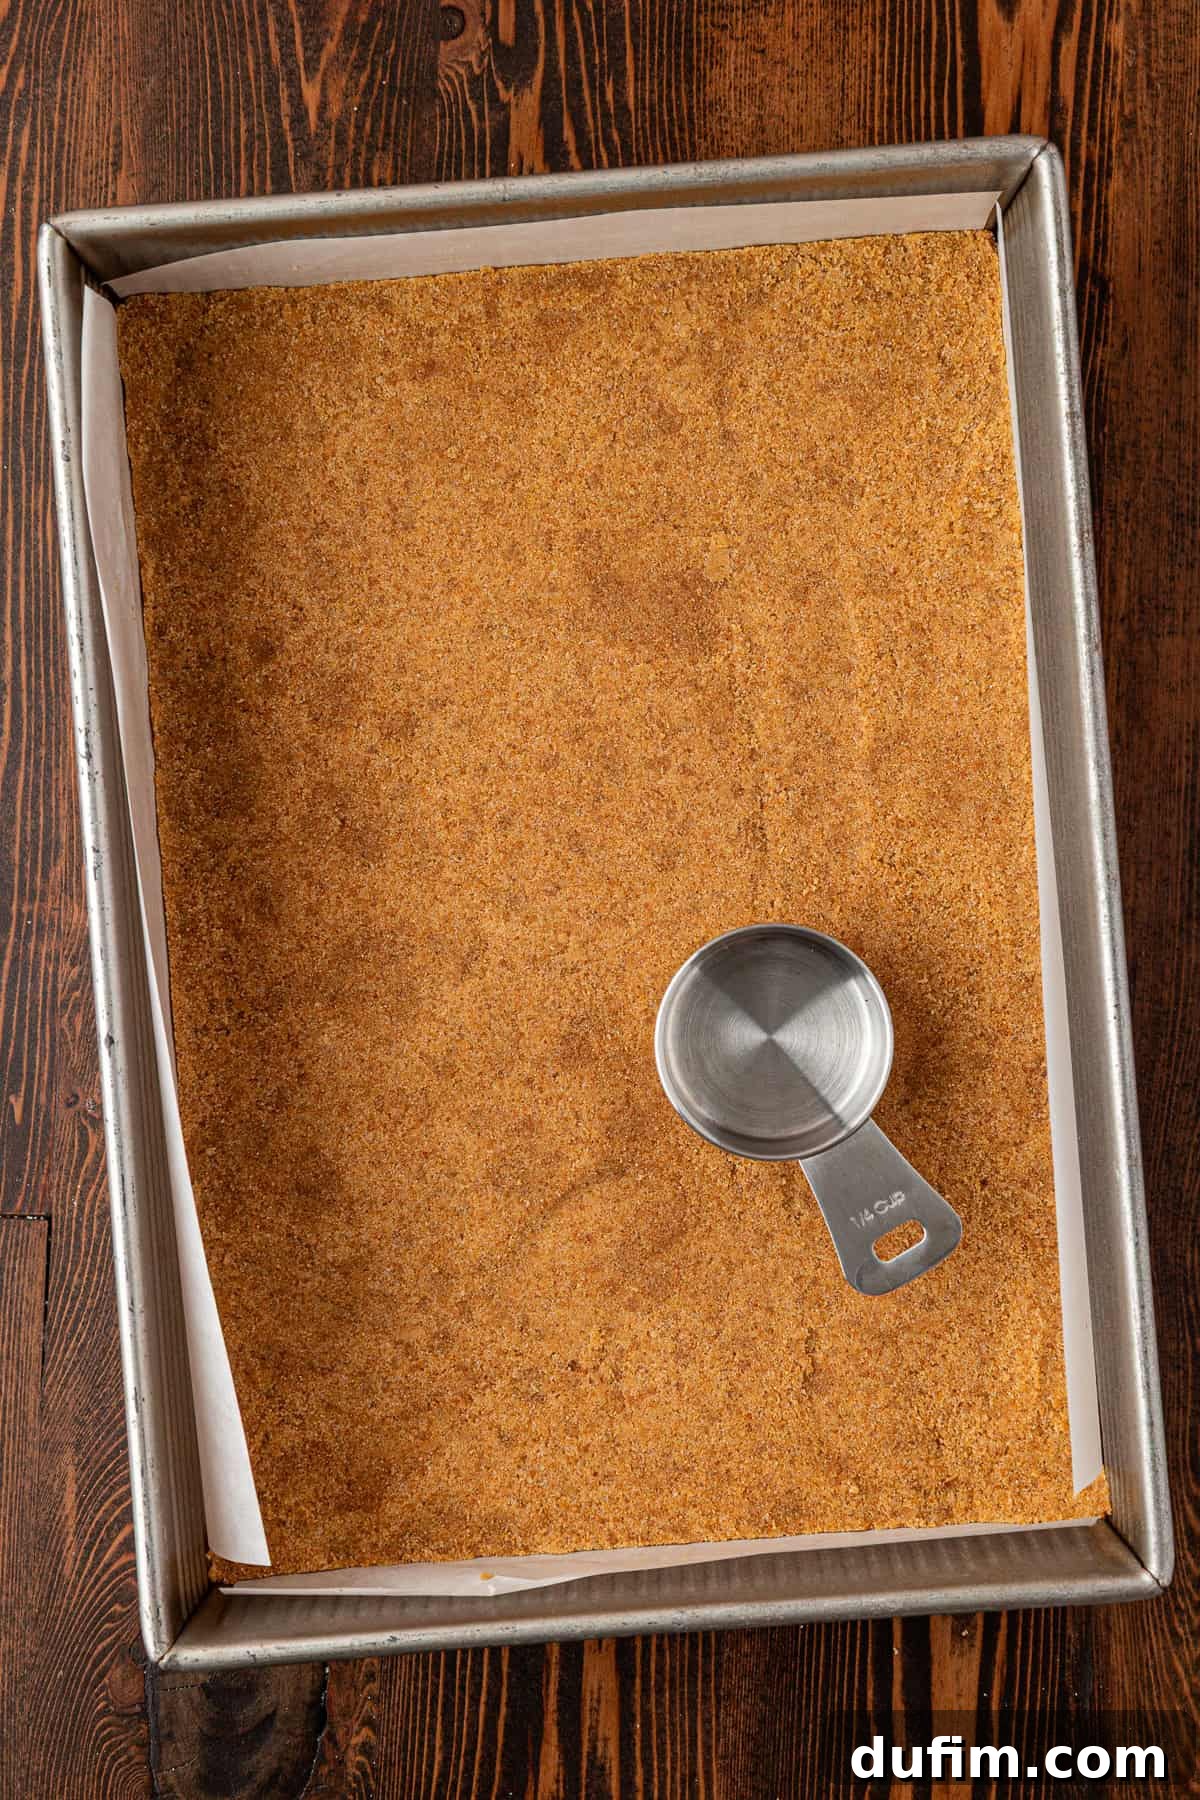
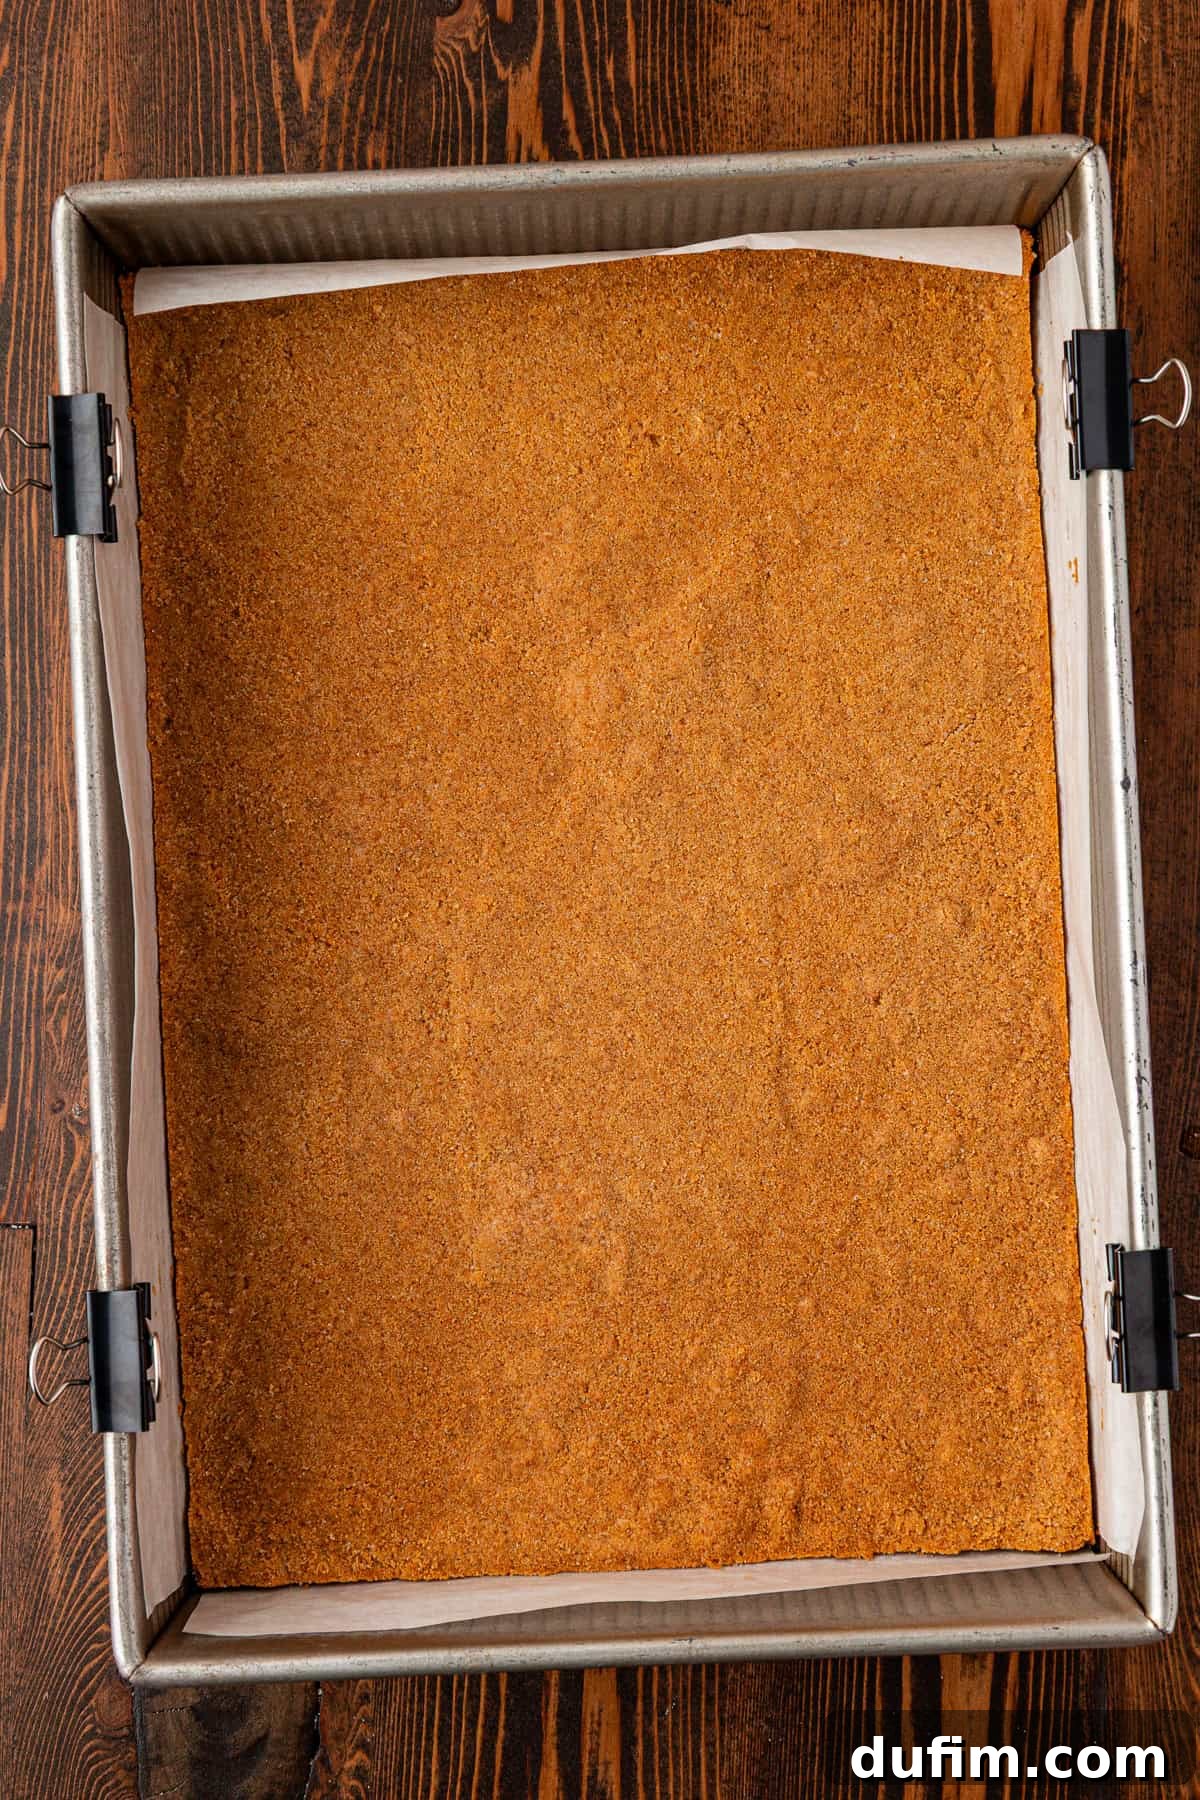
- Form the Crust in the Pan: Transfer the graham cracker mixture into a 9×13-inch baking pan. For easy removal of the bars later, you might consider lining the pan with parchment paper, allowing some overhang on the sides. Distribute the crumbs evenly across the bottom of the pan. Use the bottom of a flat glass or a measuring cup to firmly press the crumbs into a compact, even layer. A tightly packed crust will prevent crumbling when sliced.
- Pre-bake the Crust: Place the pan with the pressed crust into the preheated oven. Bake for approximately 8-10 minutes, or until the edges are lightly golden and fragrant. Pre-baking helps the crust set and achieve a crisp texture, preventing it from becoming soggy under the cheesecake filling.
- Cool the Crust: Once baked, remove the pan from the oven and allow the crust to cool completely to room temperature. This crucial step prevents the warm crust from prematurely melting the cheesecake batter, which could lead to an uneven bake.
- Adjust Oven Temperature: While the crust cools, reduce your oven temperature to 325º F (160º C). A slightly lower temperature is ideal for baking cheesecake gently, minimizing the risk of cracks.
For the Creamy Pumpkin Cheesecake Filling
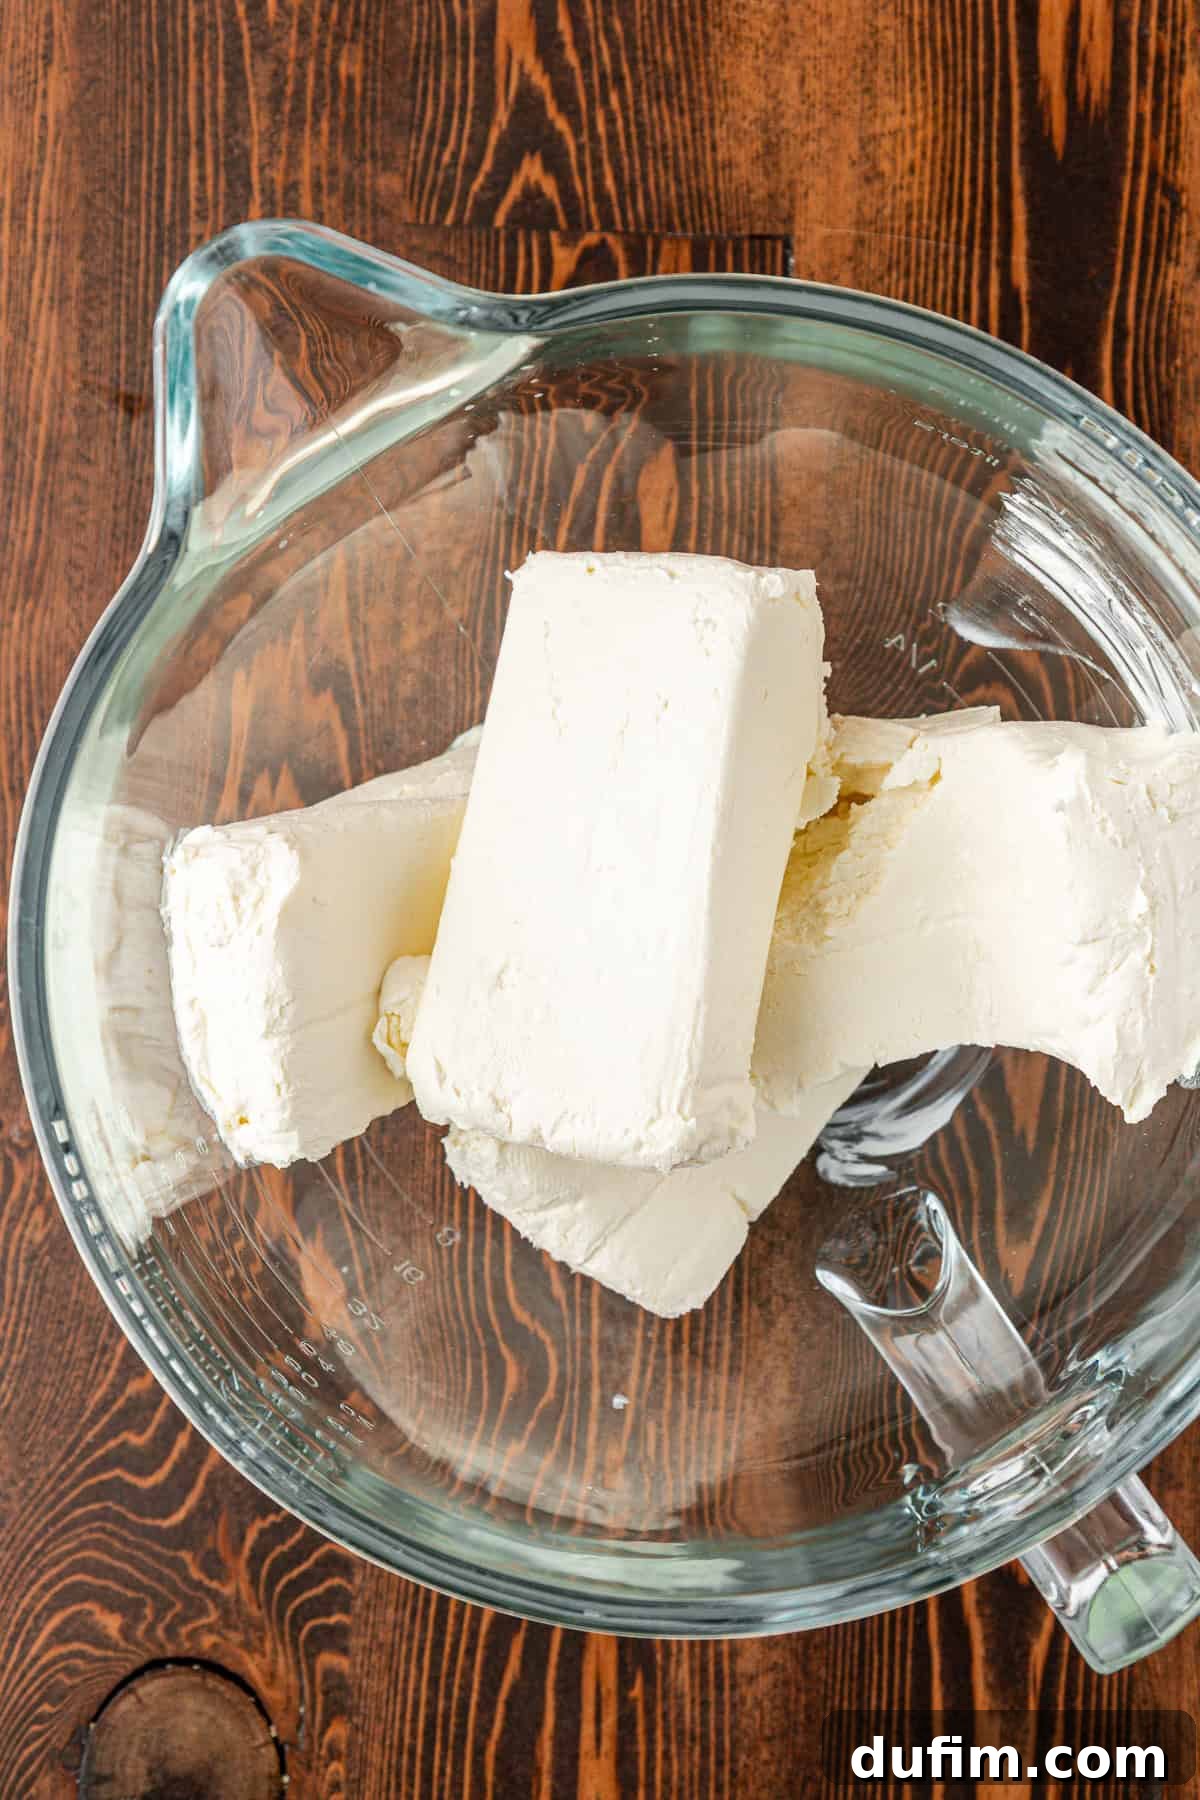
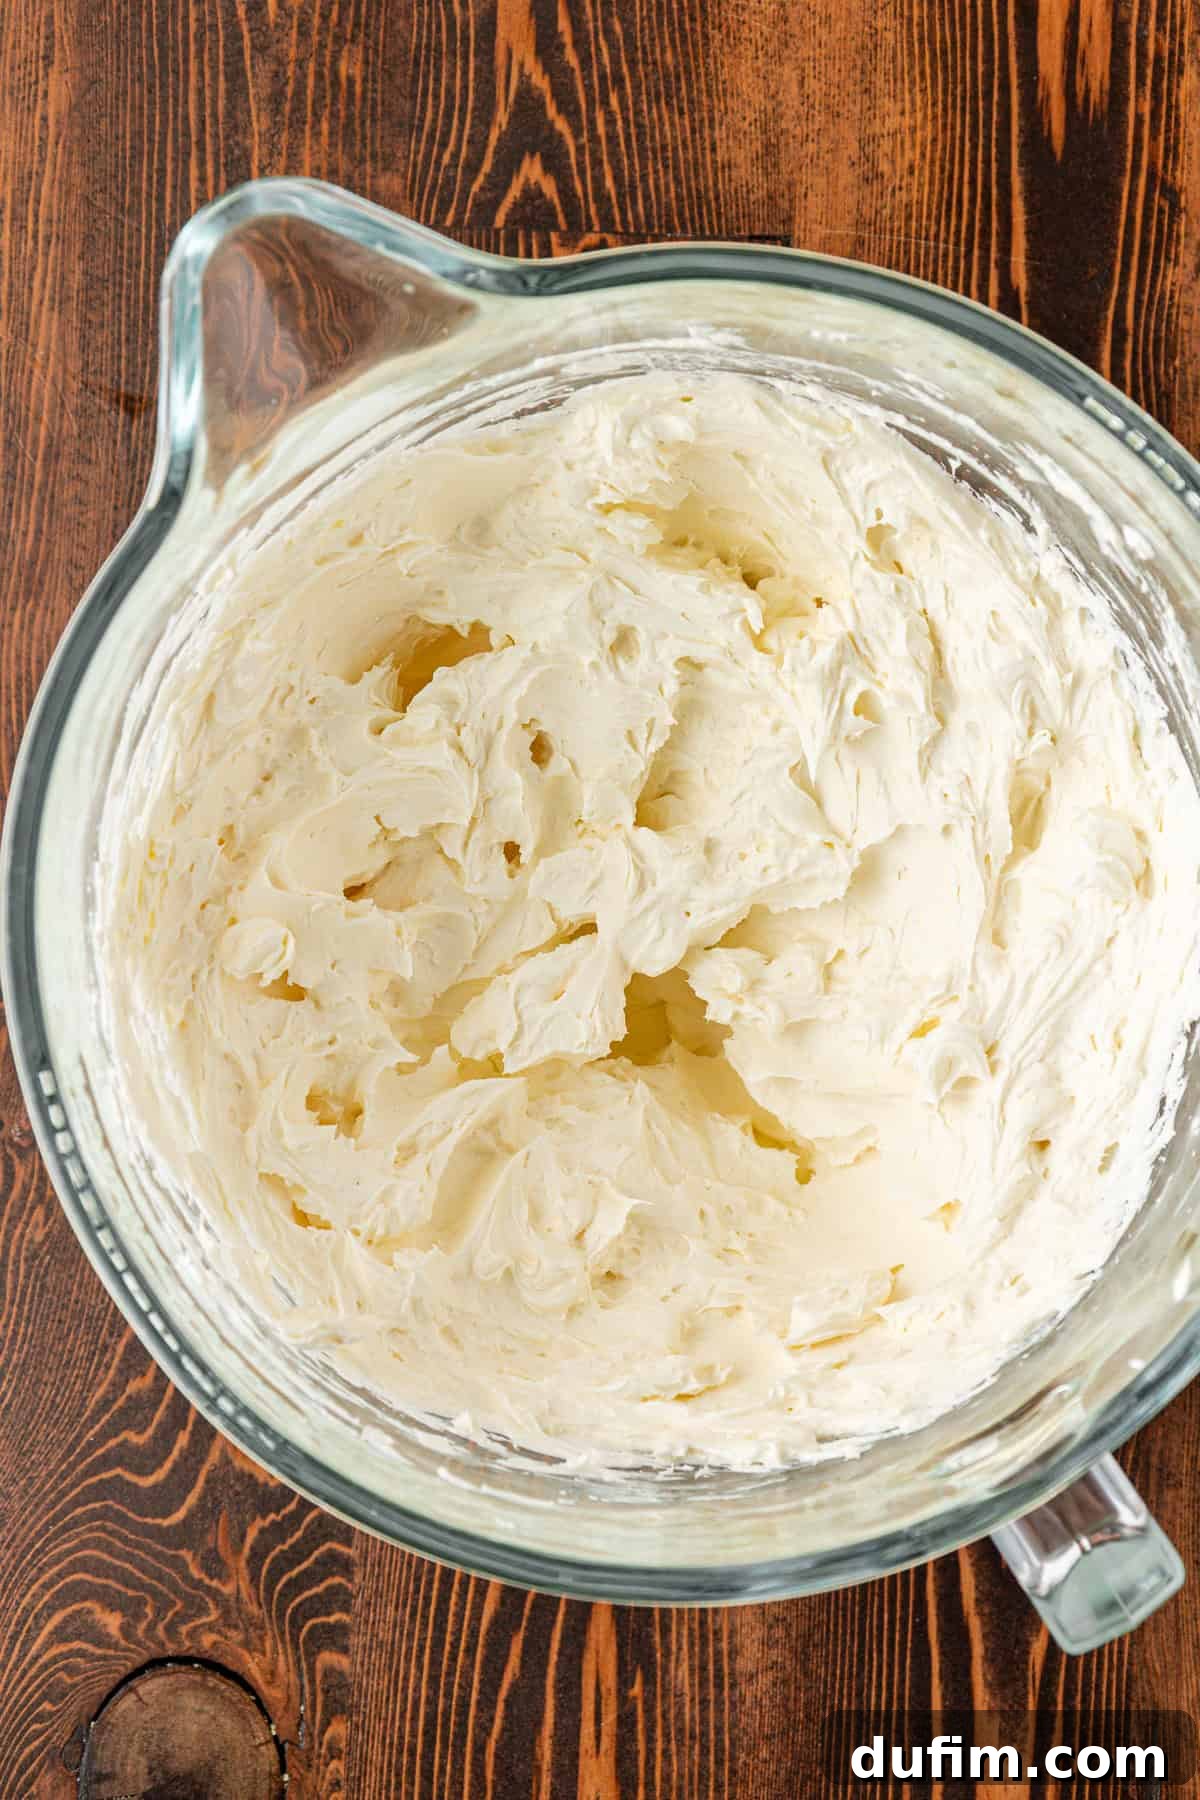
- Cream the Cream Cheese: In a large mixing bowl, using an electric mixer, beat the 3 packages of full-fat cream cheese until it is completely smooth and creamy. This should take about 2-3 minutes. Ensure there are no lumps, as this will affect the final texture of your cheesecake. Using room temperature cream cheese is vital for achieving this smooth consistency.
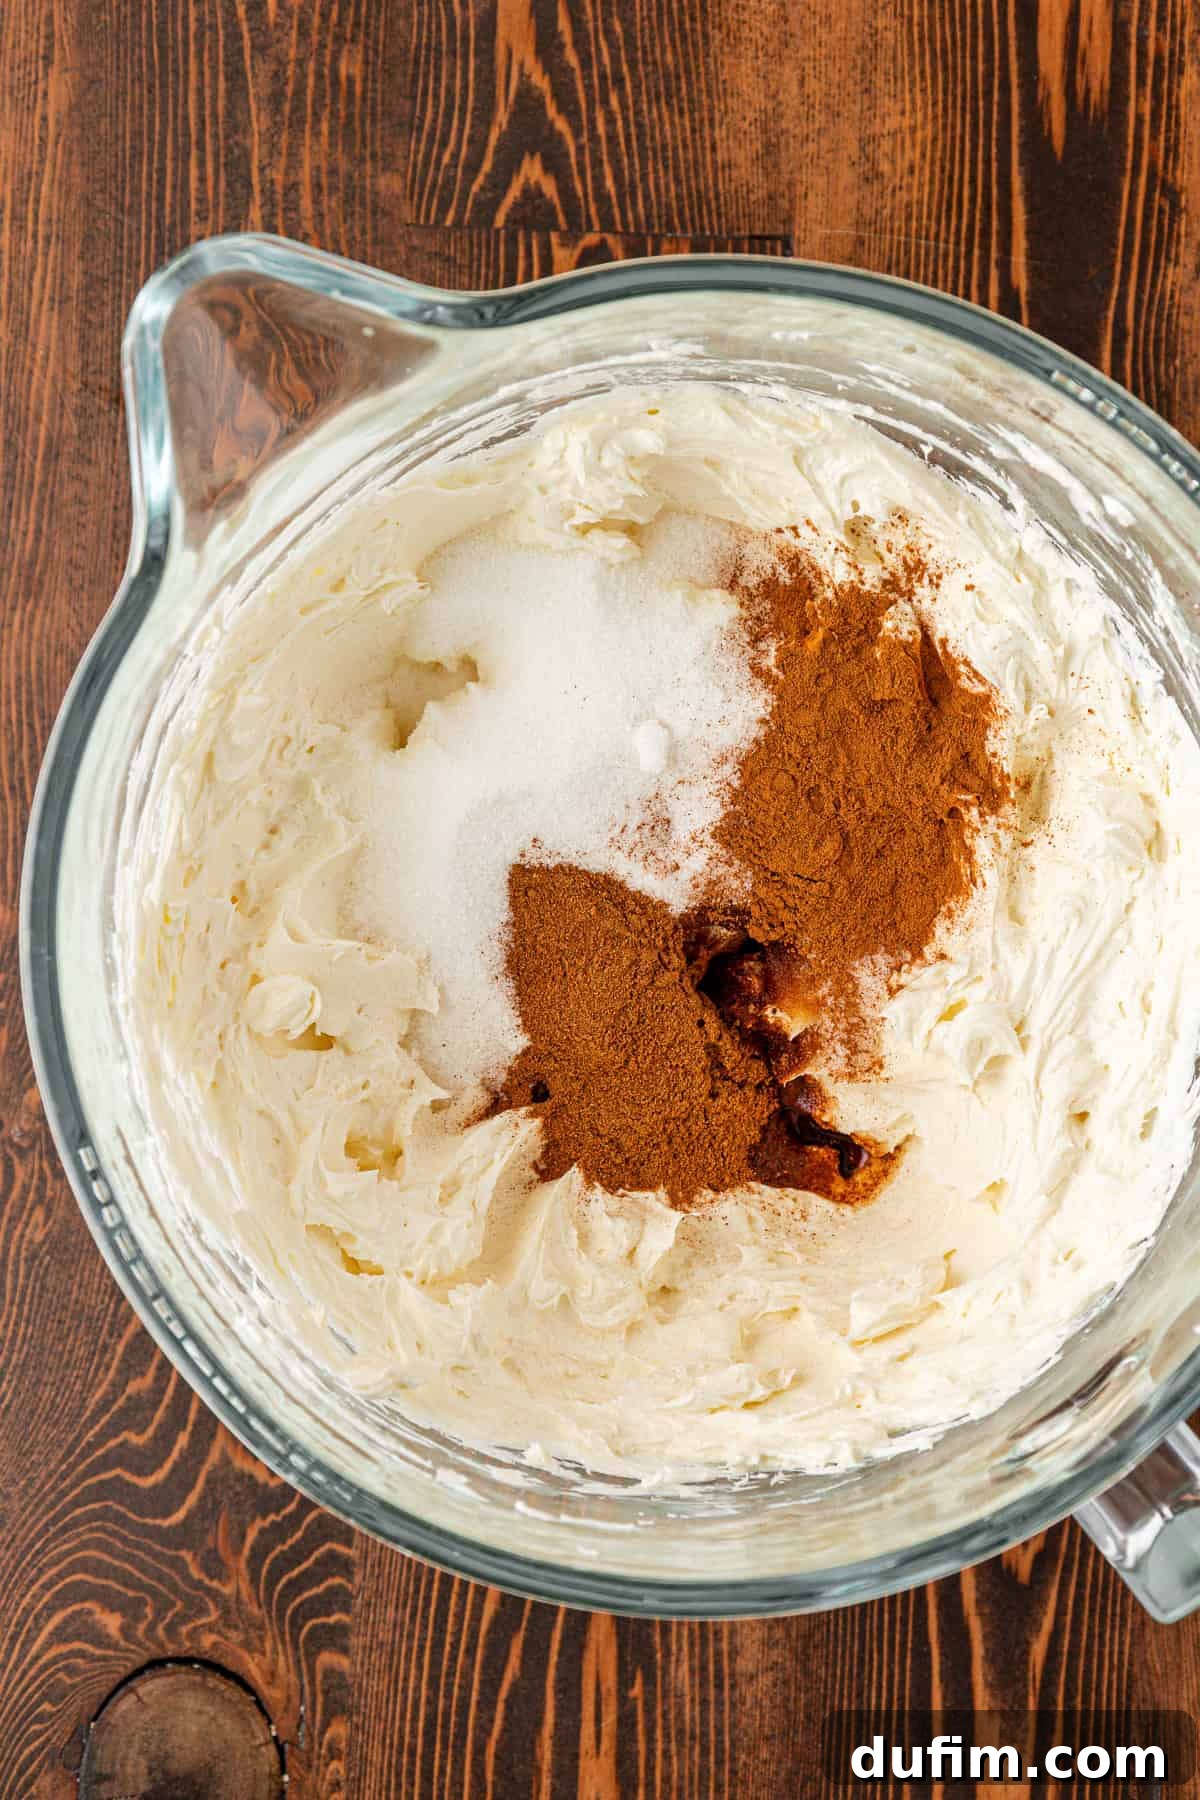
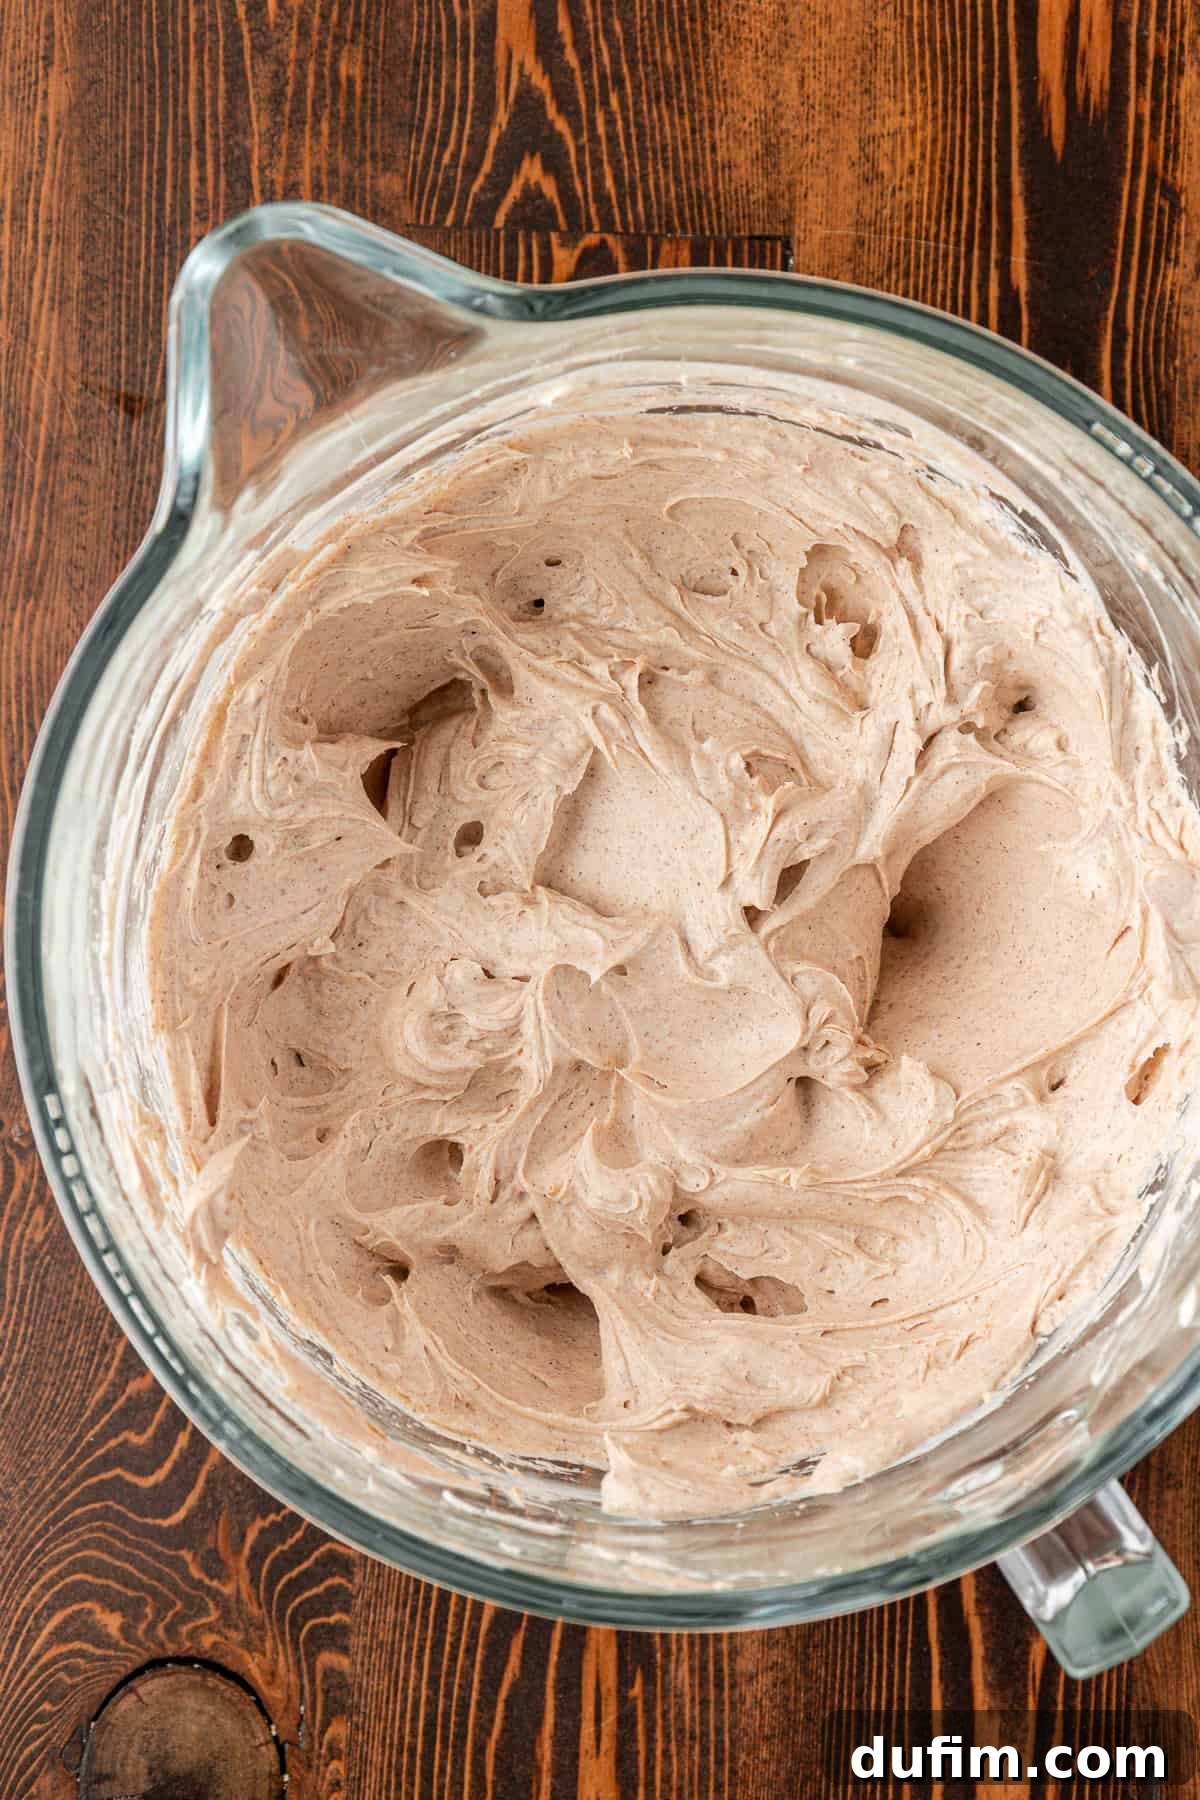
- Incorporate Dry Ingredients and Vanilla: To the creamed cheese, add the granulated sugar, pumpkin pie spice, ground cinnamon, and vanilla extract. Beat the mixture again until all ingredients are fully combined and the mixture is light and fluffy. Scrape down the sides of the bowl to ensure everything is evenly mixed.
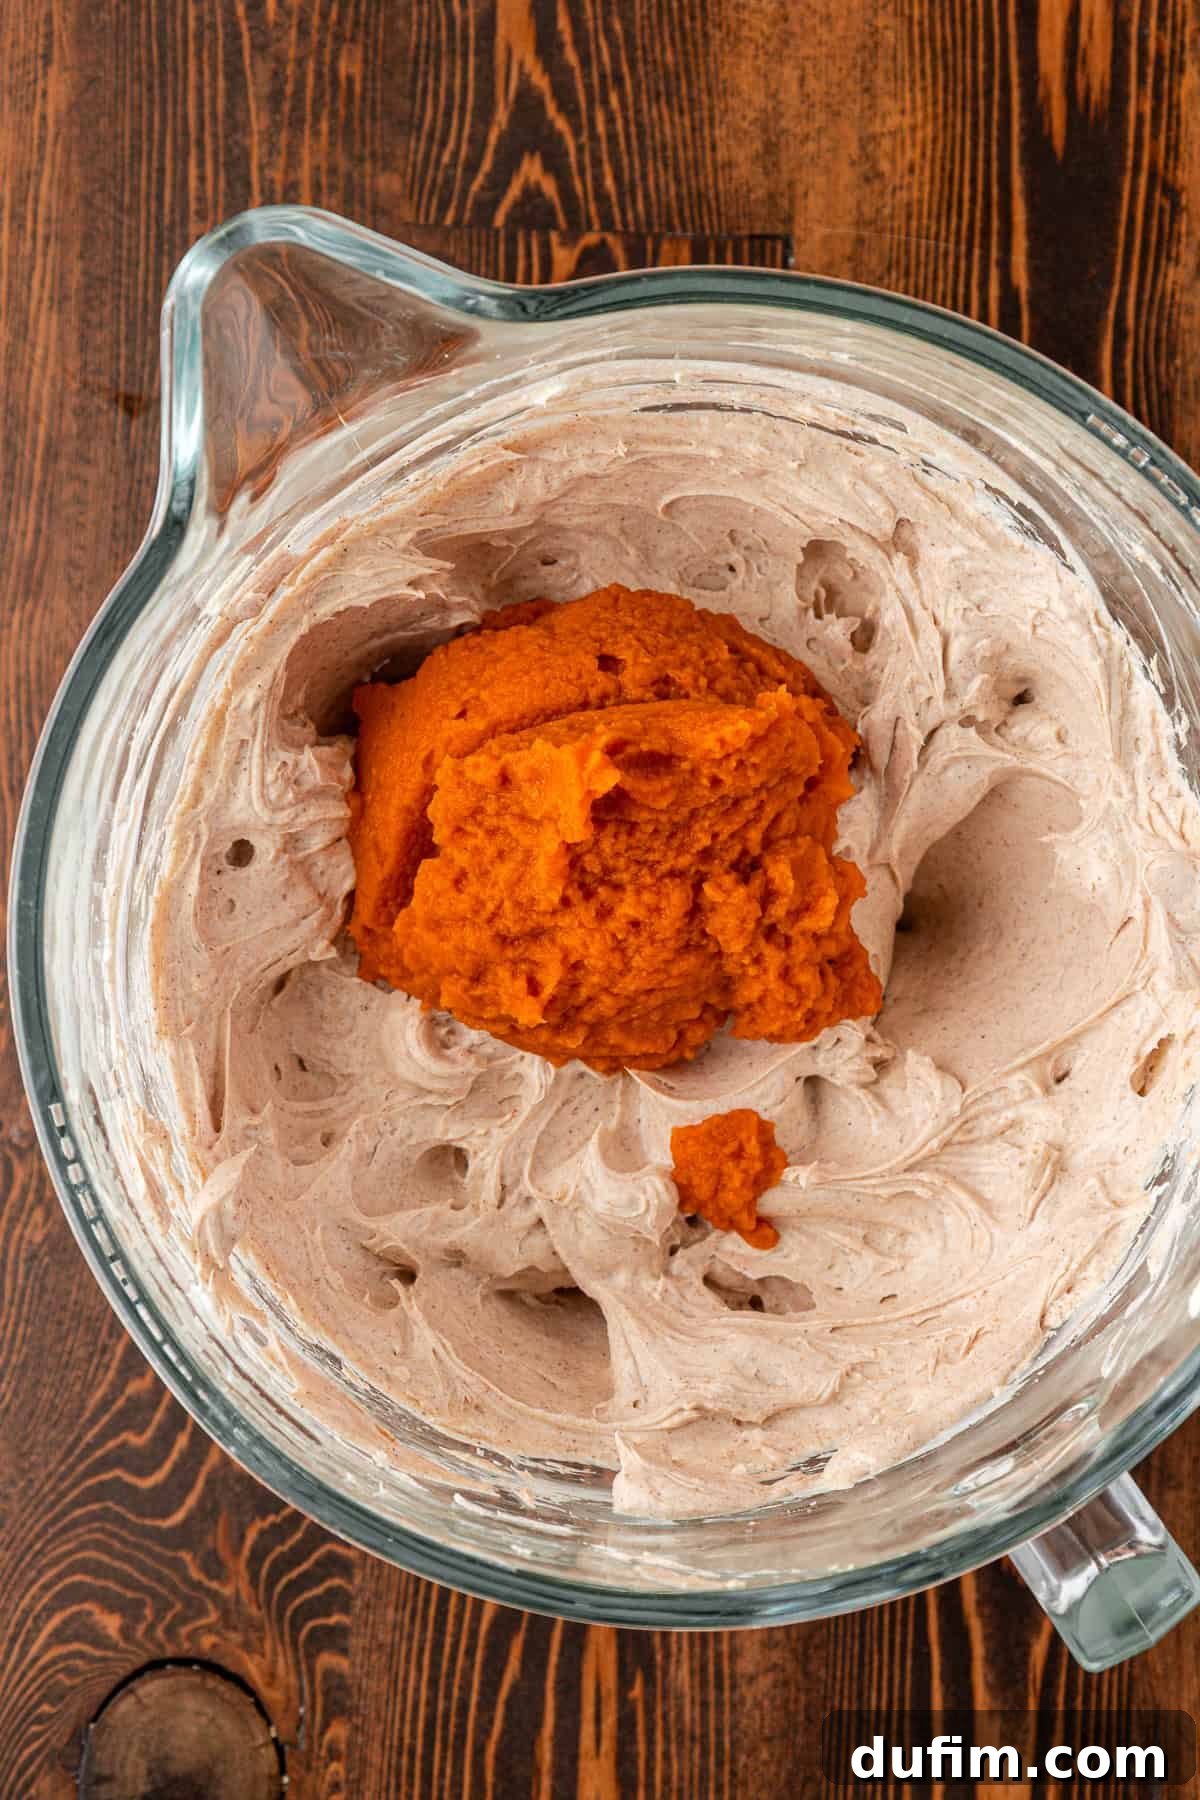
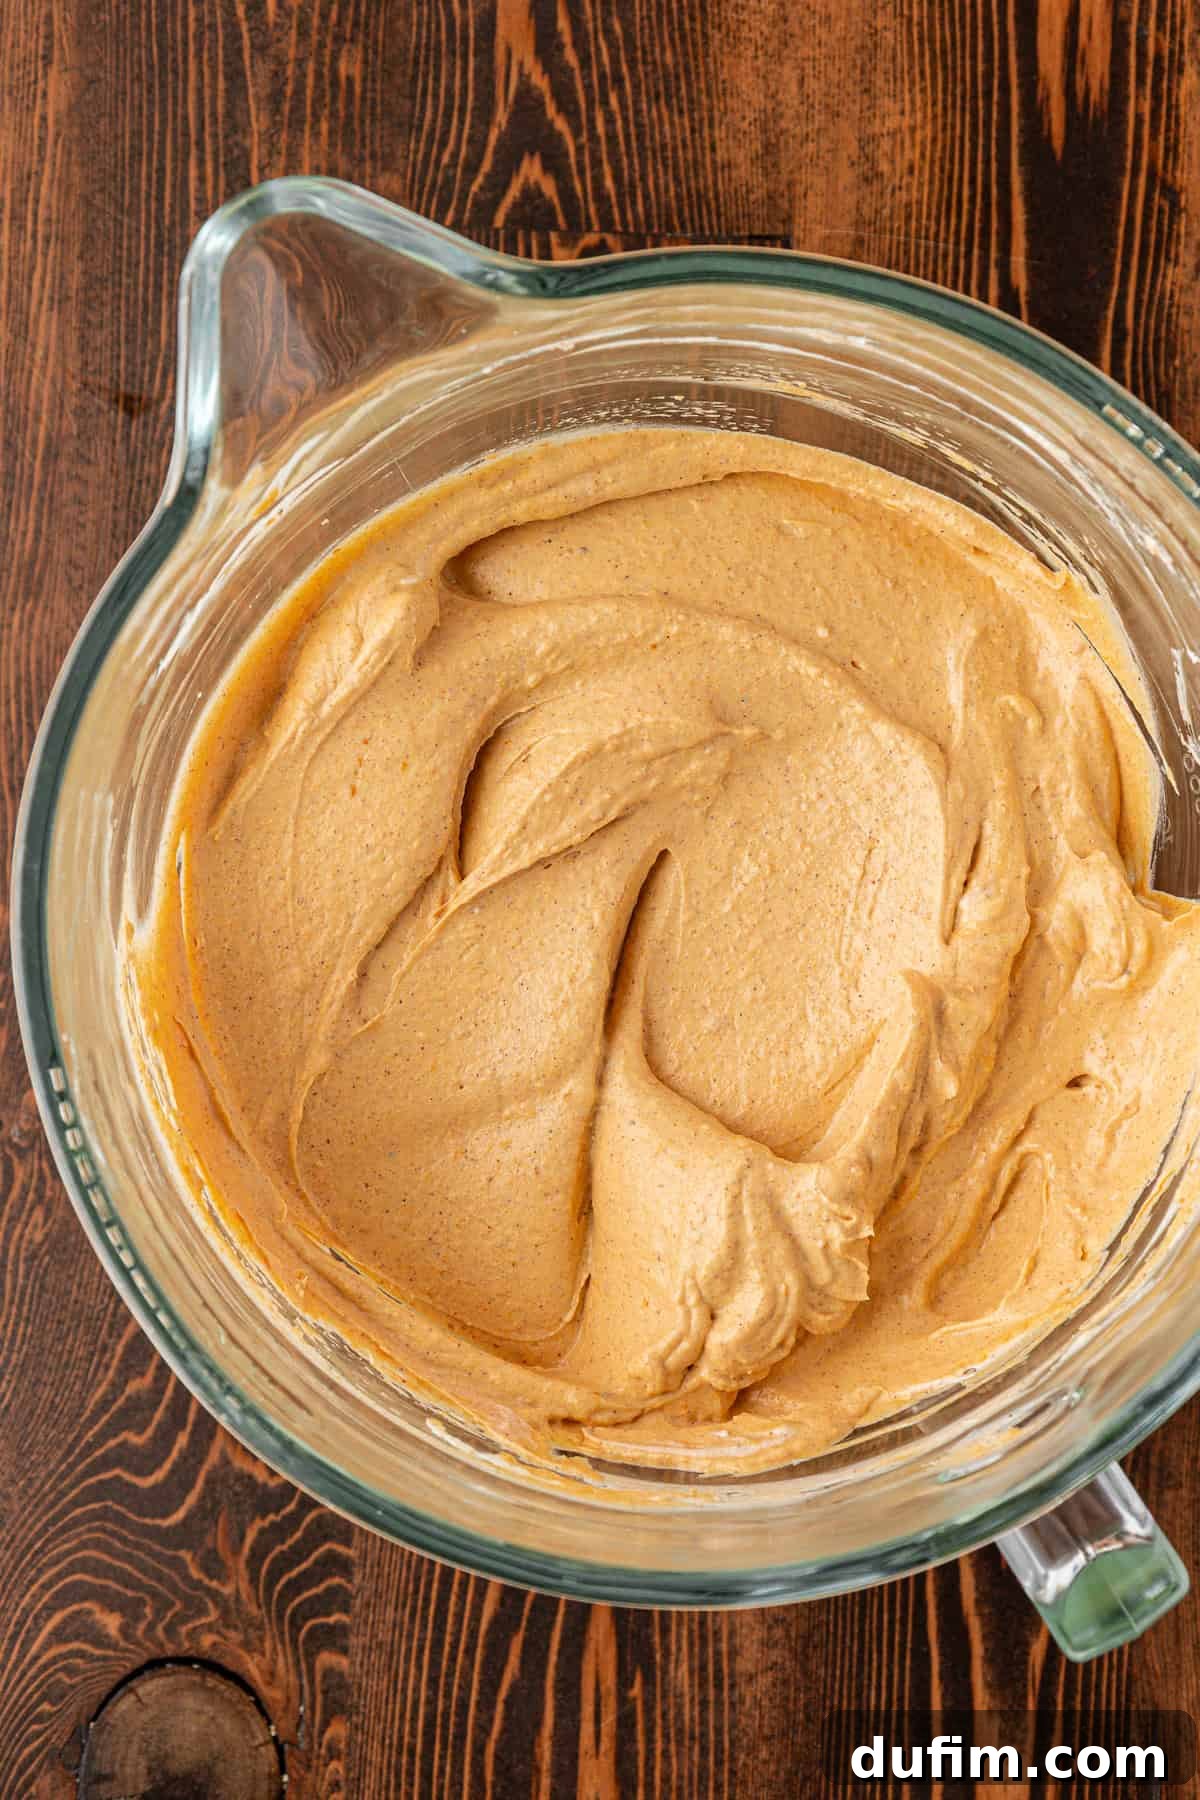
- Beat in the Pumpkin Puree: Add the pumpkin puree to the bowl. Continue beating until the pumpkin is completely integrated into the cream cheese mixture, ensuring a vibrant color and consistent texture.
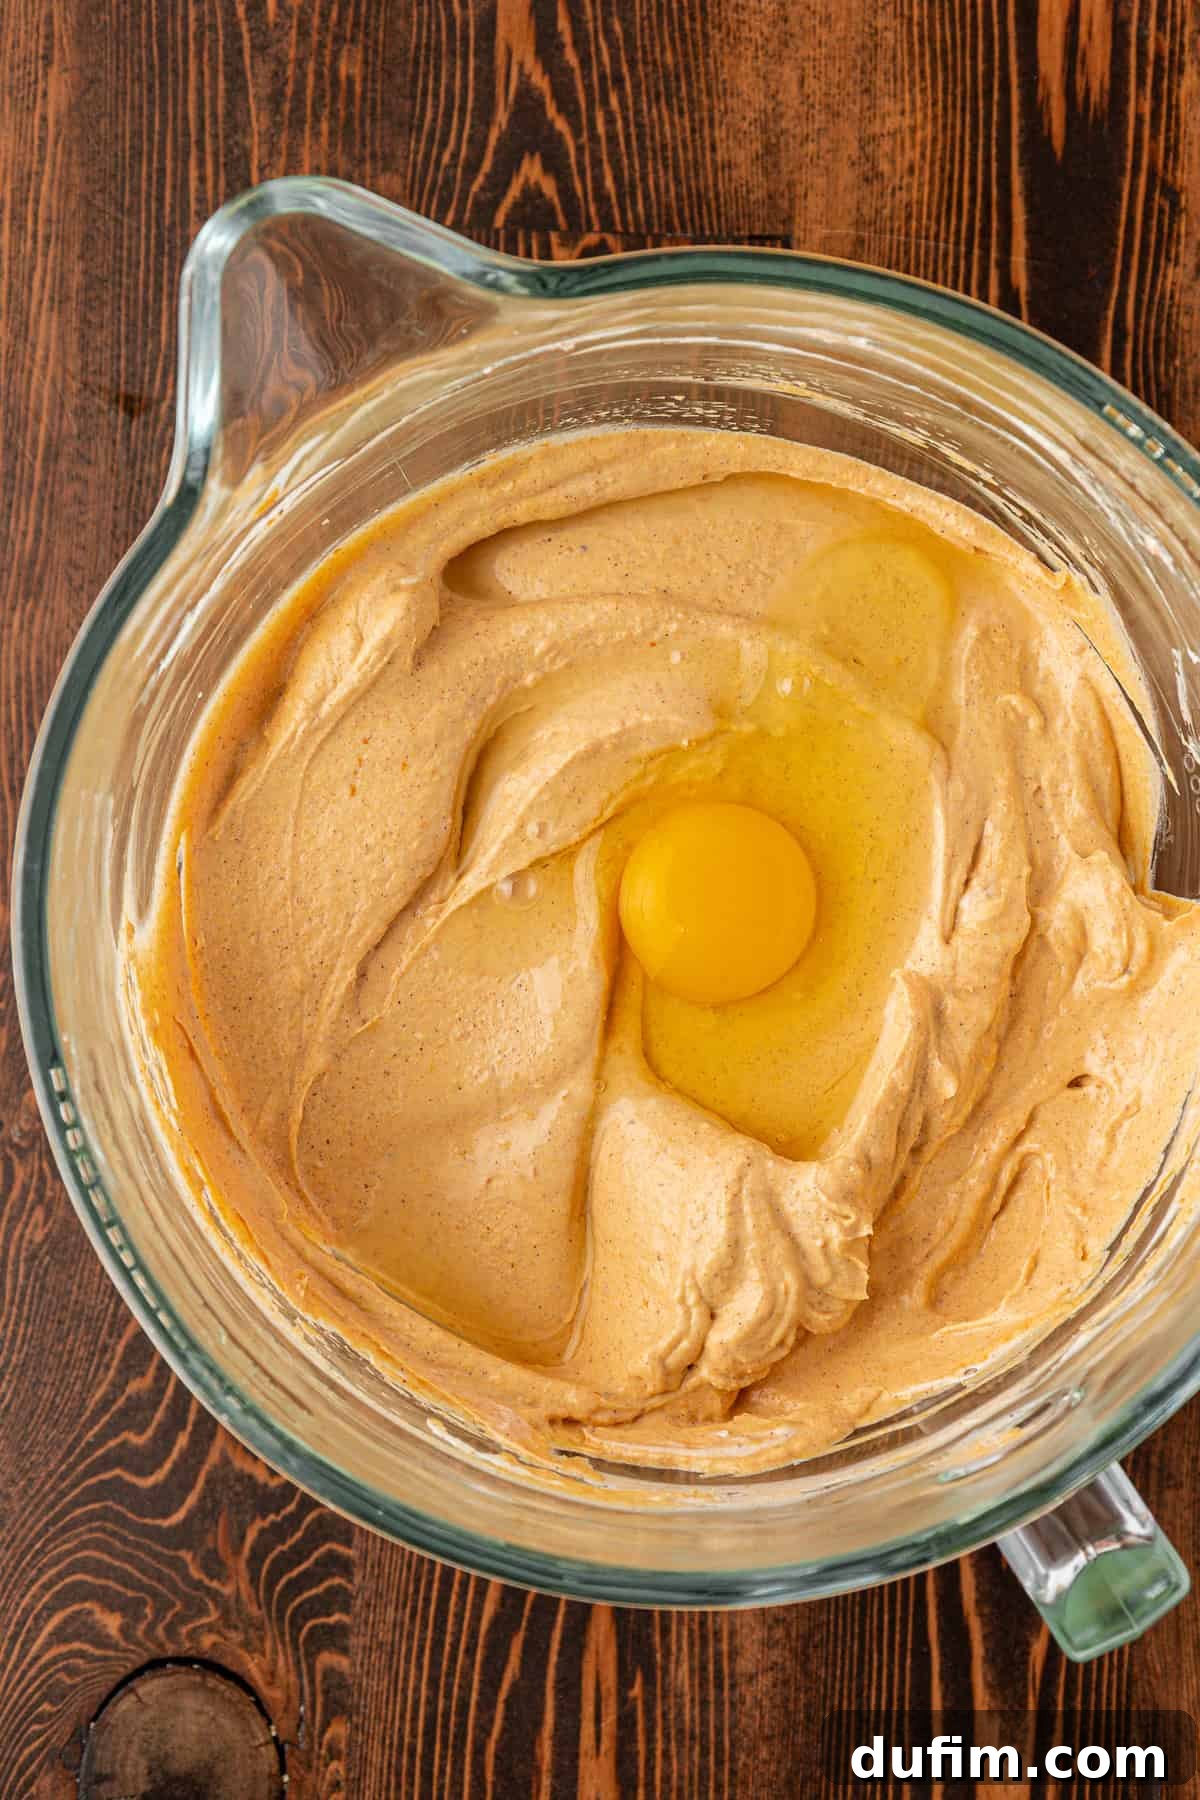
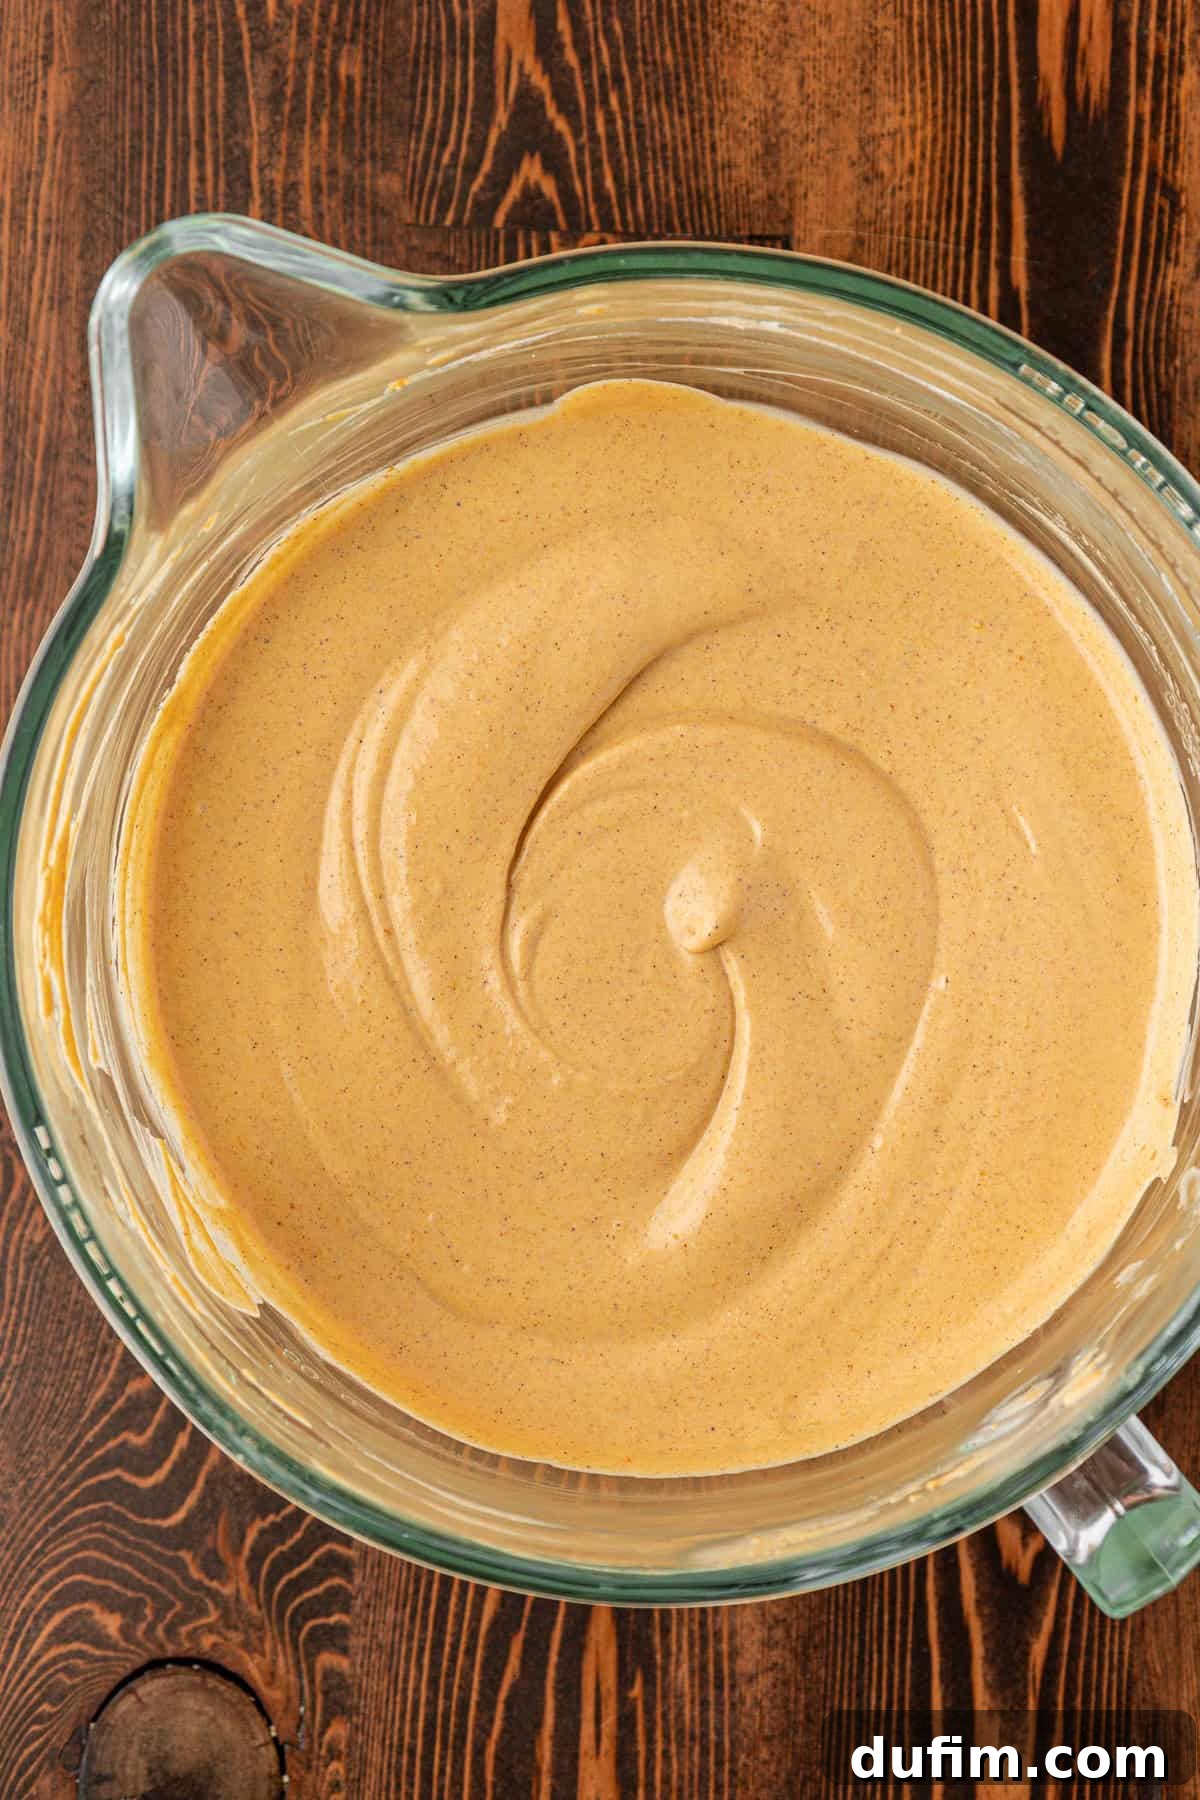
- Mix in the Eggs Gently: Add the large eggs one at a time, beating just until each egg is incorporated before adding the next. Overmixing the eggs can incorporate too much air, which can cause the cheesecake to puff up and then crack as it cools. After the last egg is added, beat the mixture for just 1 additional minute to ensure everything is smoothly combined without overworking it.
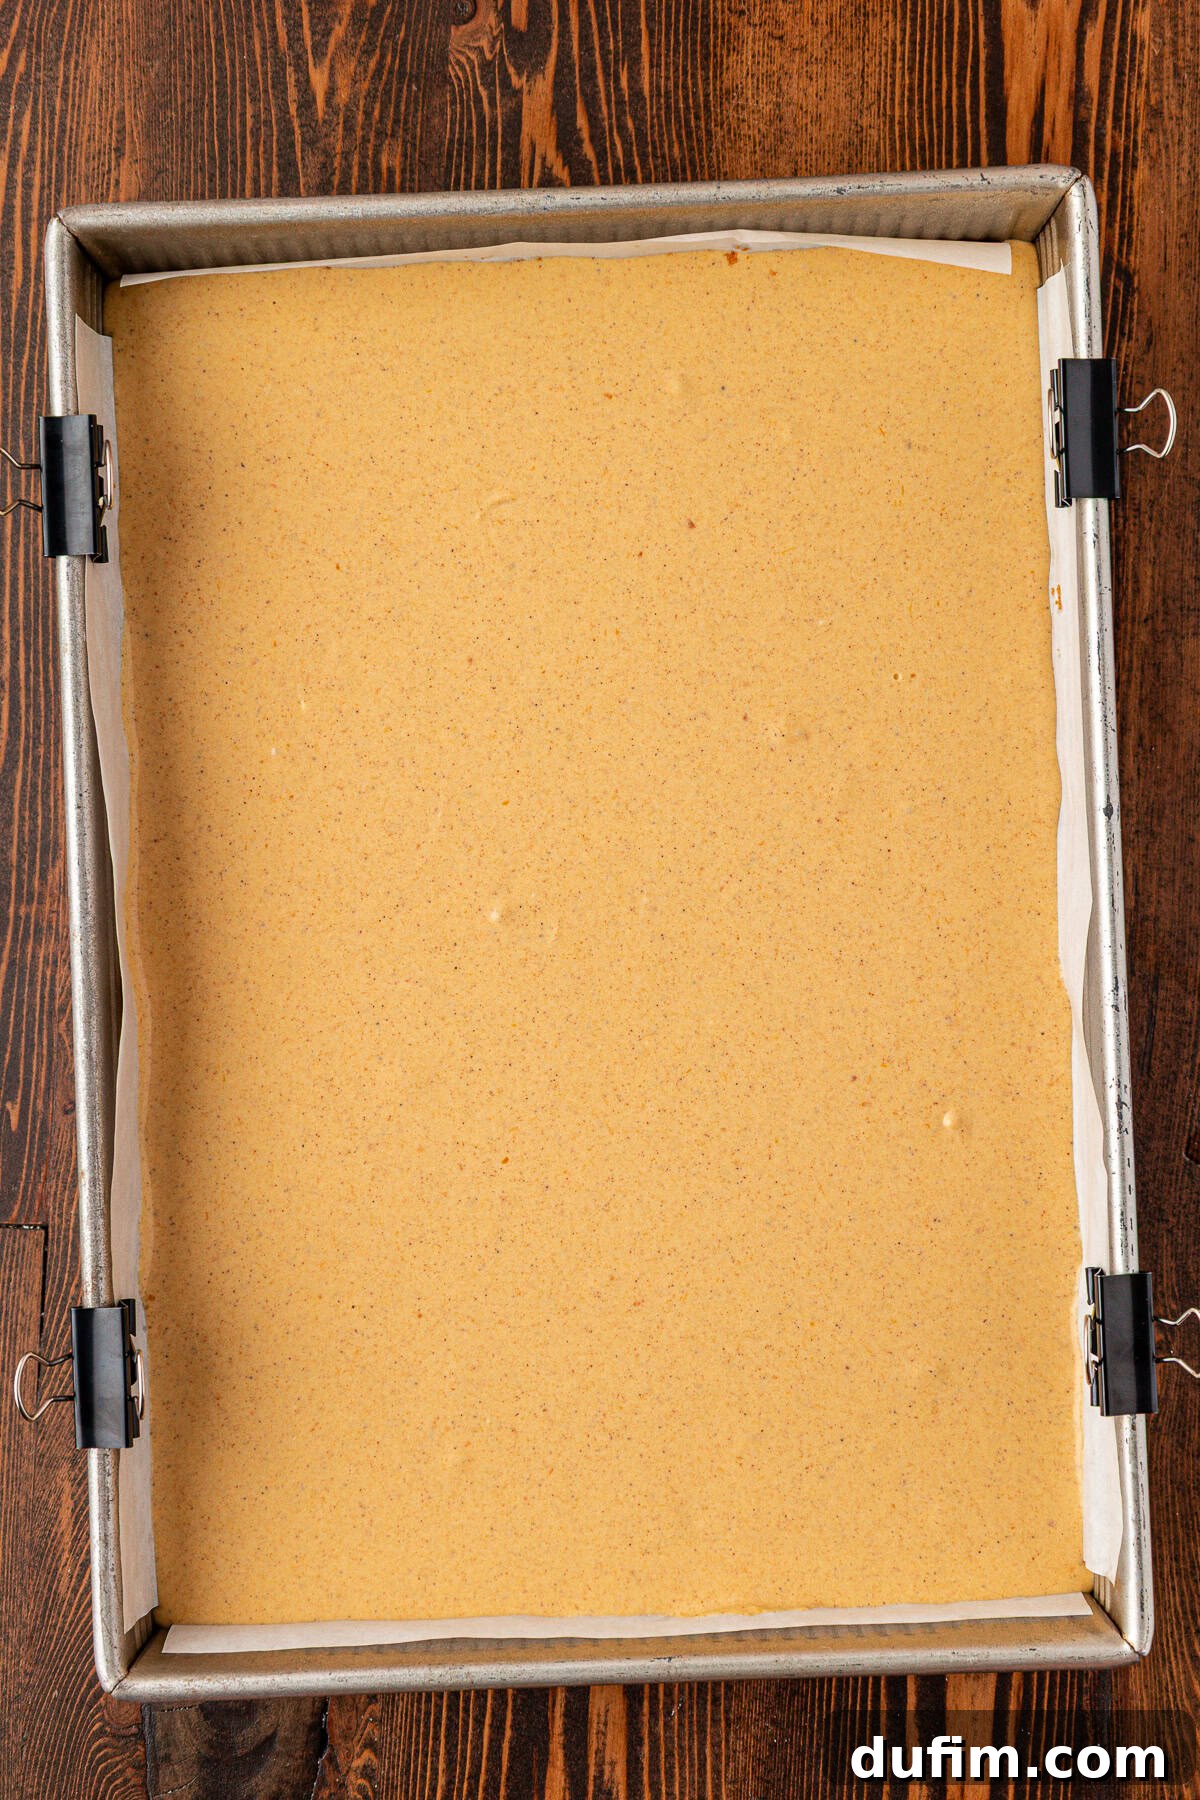
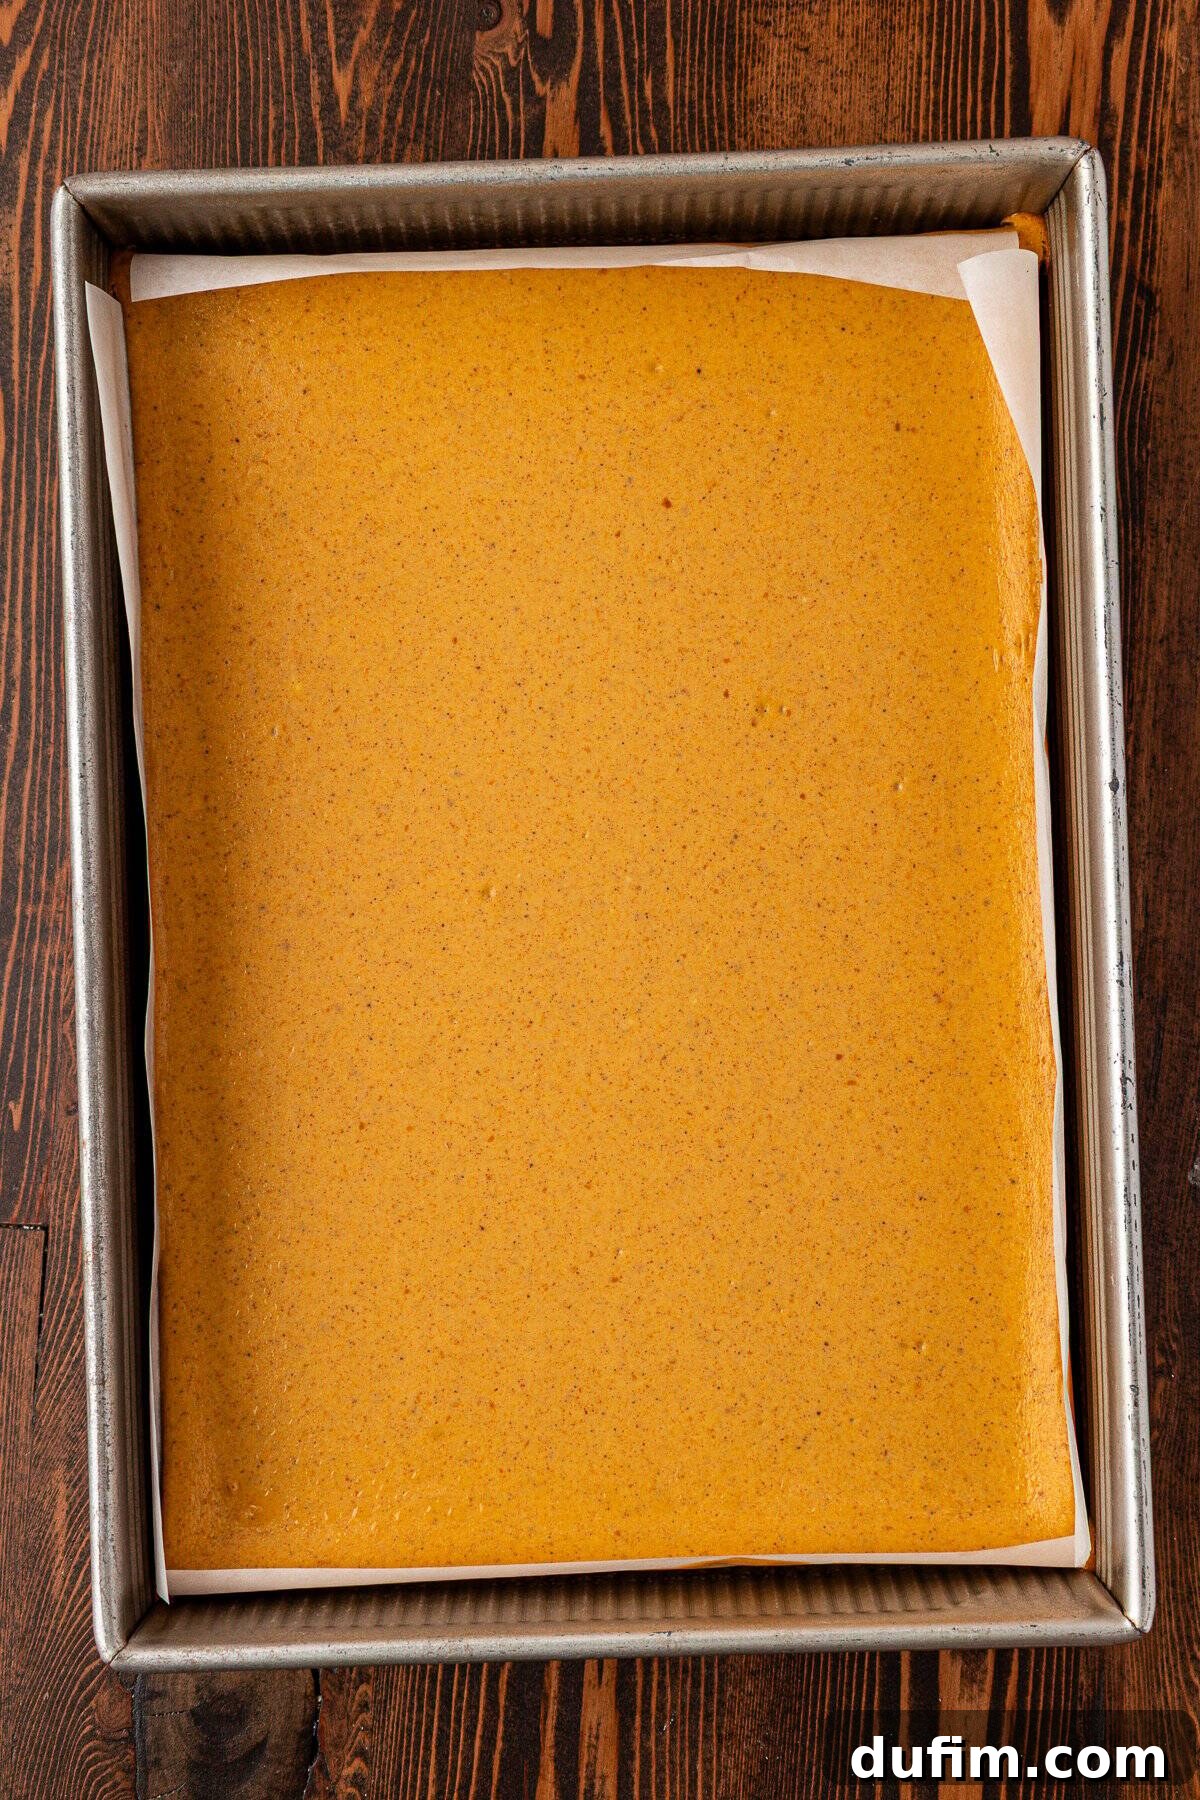
- Transfer and Bake: Carefully pour the prepared pumpkin cheesecake mixture over the completely cooled graham cracker crust in the pan. Gently smooth the top with a spatula if needed. Place the pan in the preheated 325º F (160º C) oven and bake for 40-45 minutes.
- Check for Doneness: The cheesecake is done when the edges appear set and slightly puffed, but the center still has a slight jiggle when you gently shake the pan. Don’t worry if the very center still looks a bit soft; it will continue to set as it cools.
- Slow Cooling in the Oven: Once your cheesecake reaches the doneness described, turn off the oven. Immediately open the oven door a few inches (about 4-6 inches) and allow the cheesecake to cool gradually inside the oven. This slow cooling process, which can take 60-90 minutes, is crucial for preventing cracks on the surface of your cheesecake. Resist the urge to pull it out immediately!
- Thorough Chilling: After the cheesecake has cooled to room temperature inside the oven, remove it and transfer it to the refrigerator. Chill for a minimum of 6 hours, or ideally, overnight. This extended chilling time is essential for the cheesecake to fully set, firm up, and for its flavors to deepen and meld beautifully.
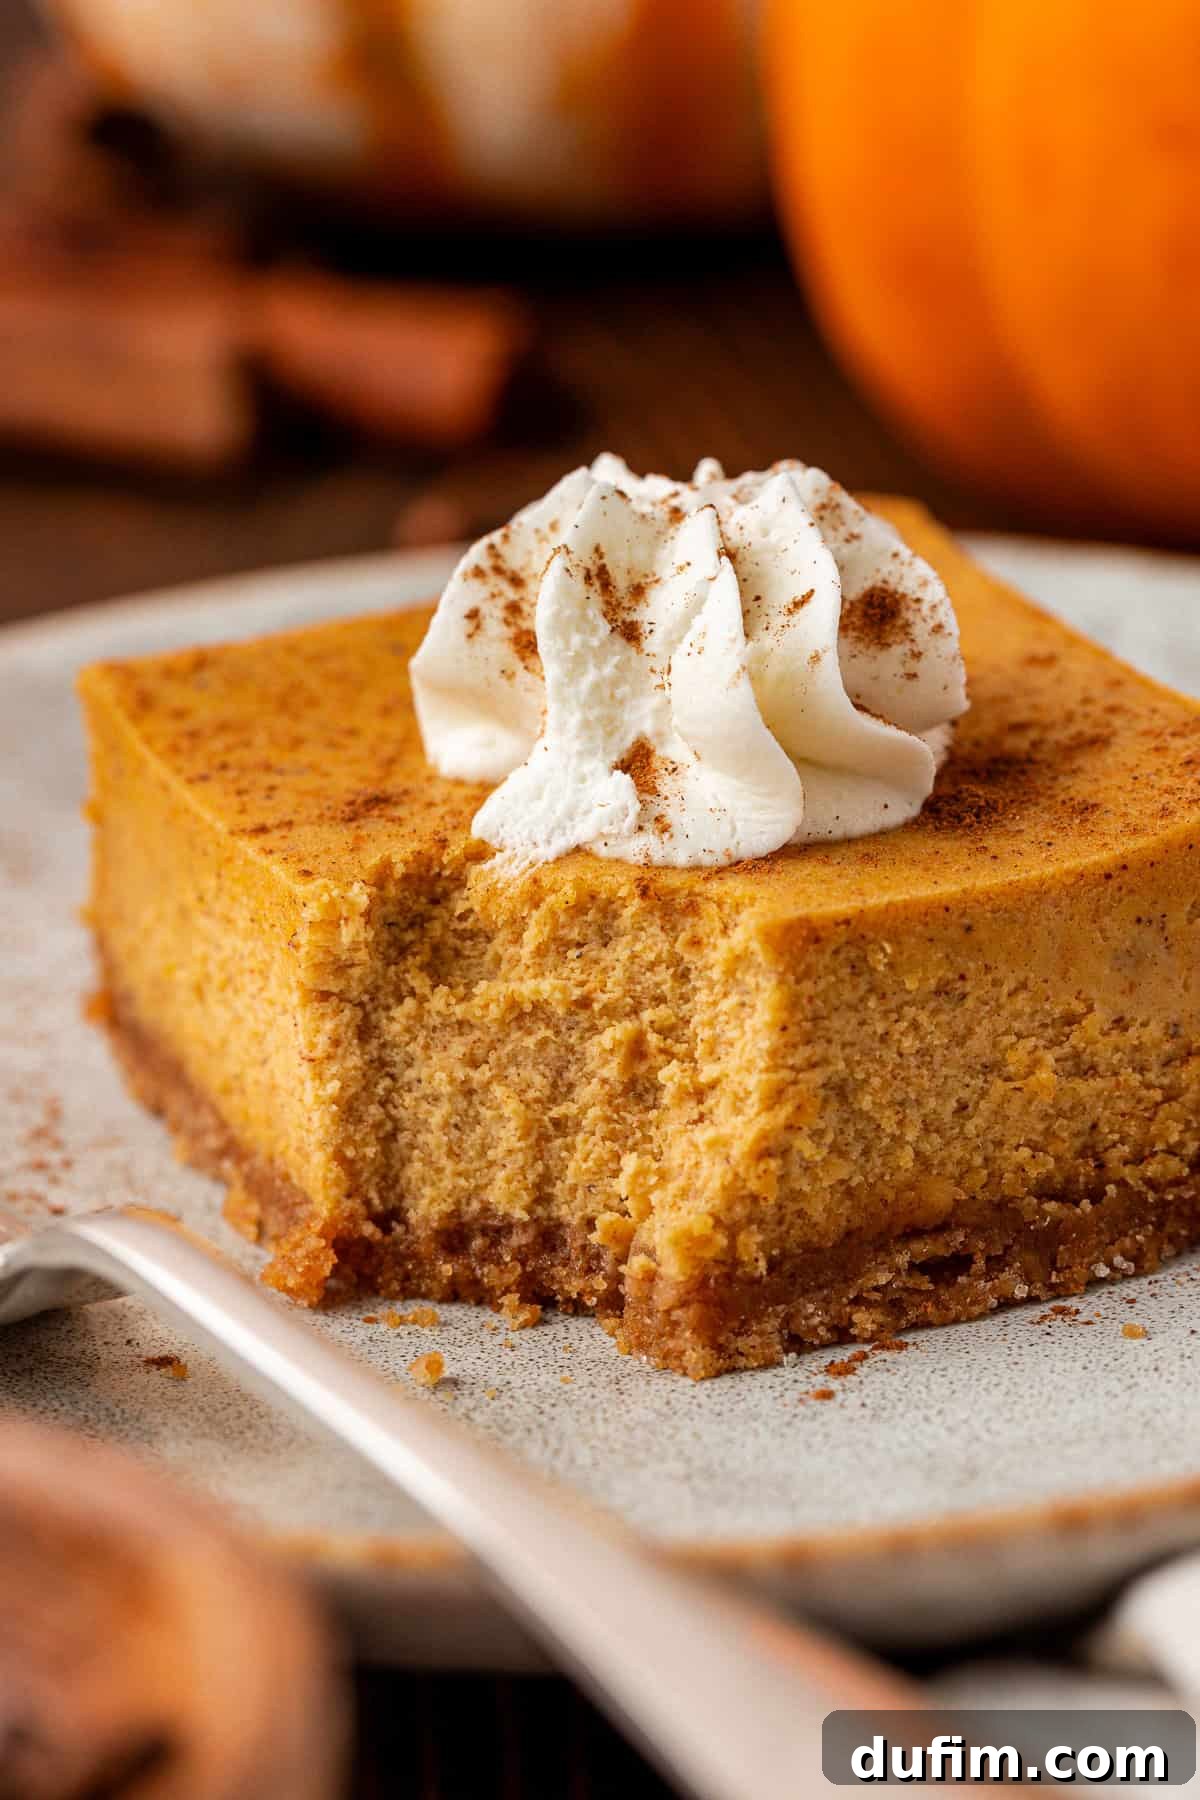
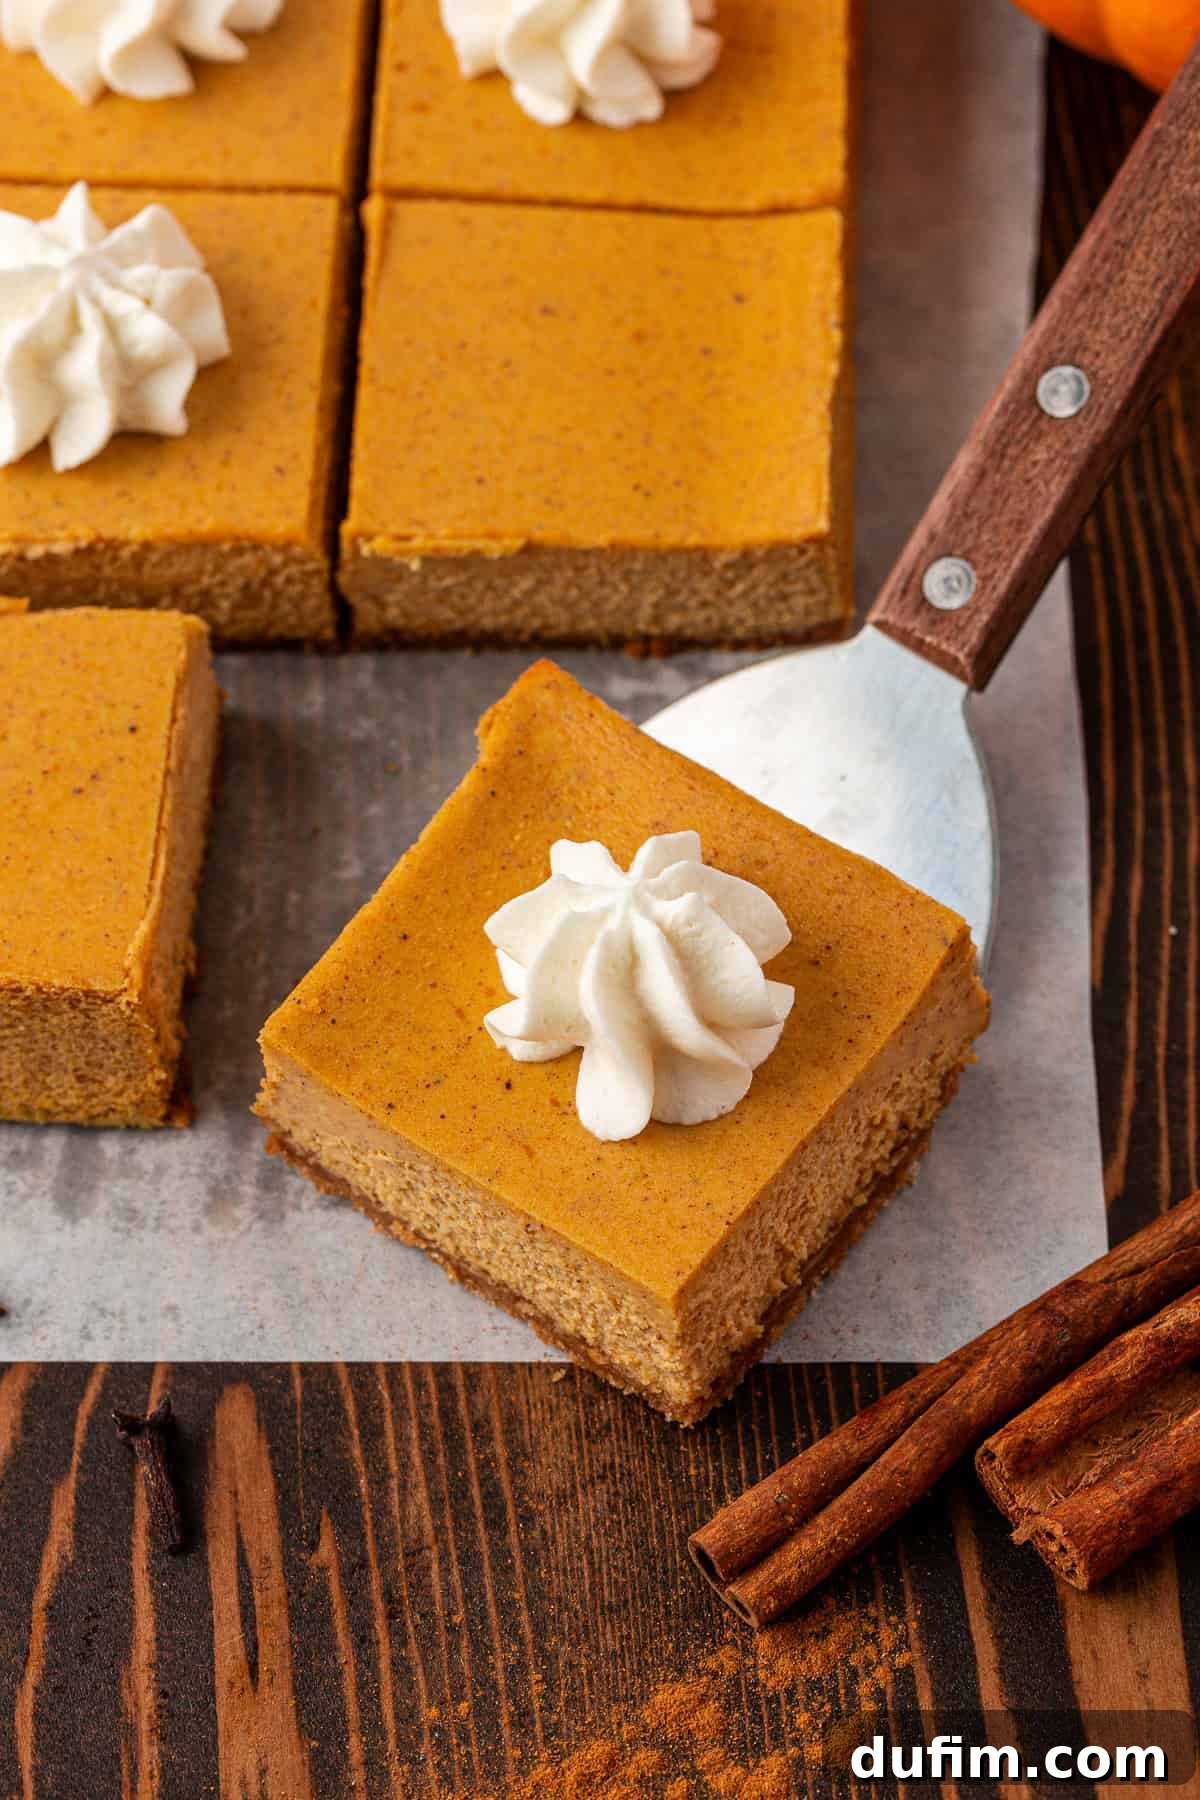
- Serve and Enjoy: Once thoroughly chilled, you can carefully lift the cheesecake out of the pan using the parchment paper overhang. Remove the parchment paper, slice the cheesecake into bars, and if desired, top each bar with a generous swirl of fresh whipped cream and a sprinkle of cinnamon or pumpkin pie spice. Cut and serve to a grateful crowd!
Mastering the Bake: How to Tell if Your Pumpkin Cheesecake Bars Are Perfectly Done
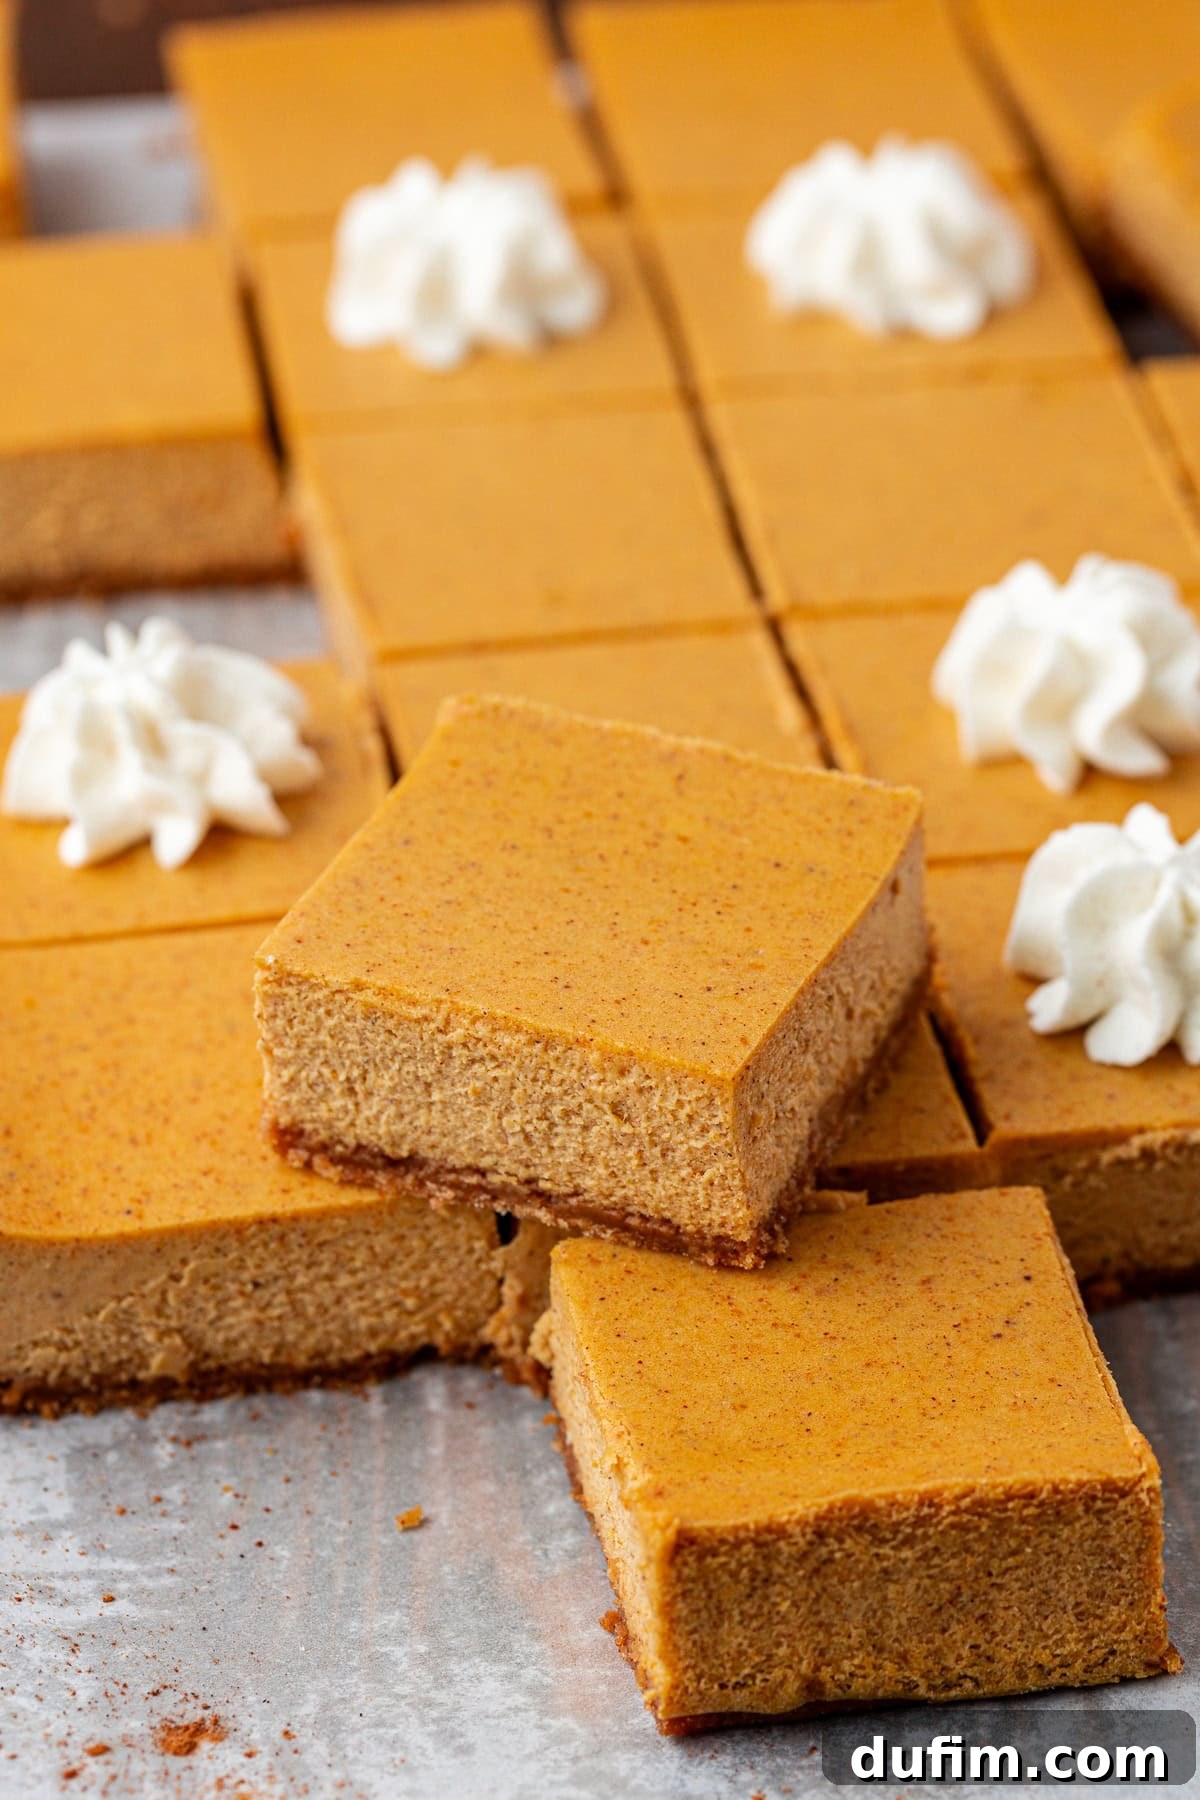
Knowing exactly when your cheesecake bars are baked to perfection is key to achieving that signature creamy texture and preventing cracks. The ideal indicator is a subtle jiggle in the center. When you gently nudge the pan, the edges of the cheesecake should appear firm, set, and perhaps slightly puffed up, while the very center (a circle about 2-3 inches in diameter) should still exhibit a slight, gentle wobble. This subtle movement signifies that the cheesecake is mostly set but not overbaked. Remember, cheesecake continues to cook and firm up considerably during the cooling process, especially as it slowly comes to temperature inside the turned-off oven. Trust the jiggle test; an overly firm center means you’ve baked it too long.
Essential Tips for Perfect Pumpkin Cheesecake Bars
Achieving bakery-quality pumpkin cheesecake bars is simple with a few key tips:
- Save Time with Pre-Crushed Grahams: To streamline your baking process, consider purchasing pre-made graham cracker crumbs. They are conveniently located in the baking aisle of most grocery stores and save you the step of crushing whole crackers.
- Room Temperature Cream Cheese is Non-Negotiable: This is perhaps the most important tip for any cheesecake! Always ensure your full-fat cream cheese is at true room temperature. Cold cream cheese will result in a lumpy batter, no matter how much you beat it, compromising the silky smooth texture of your cheesecake. Take it out of the fridge at least an hour or two before you plan to bake.
- Pumpkin Puree, Not Pie Mix: Be very careful when selecting your canned pumpkin. Always use 100% pure pumpkin puree, which contains only pumpkin. Avoid canned pumpkin pie mix, which is pre-spiced and sweetened, and will significantly alter the flavor and sweetness balance of this recipe.
- Avoid Overmixing: While you want a smooth batter, overmixing, especially after adding the eggs, can incorporate too much air. This can cause the cheesecake to rise excessively during baking and then fall dramatically, leading to cracks. Mix just until combined for each step.
- Cooling is Crucial: The slow cooling process in the oven is essential for preventing cracks. Resist the urge to pull the cheesecake out of the oven too soon. The gradual decrease in temperature helps the cheesecake set gently.
Storage and Freezing Instructions for Pumpkin Cheesecake Bars
Proper storage ensures your pumpkin cheesecake bars remain fresh and delicious for as long as possible:
Refrigerator Storage: Store any leftover pumpkin cheesecake bars in an airtight container in the refrigerator for up to 5 days. This keeps them moist and prevents them from absorbing other odors in your fridge.
Freezing for Longer Enjoyment: These bars freeze beautifully, making them an excellent make-ahead dessert. After the initial 6-hour minimum chilling period in the refrigerator, wrap the entire cheesecake (or individual slices) tightly in several layers of plastic wrap, then place it in a heavy-duty freezer-safe ziploc bag or an airtight container. They can be frozen for up to 3 months. When you’re ready to enjoy them, simply thaw the bars overnight in the refrigerator. This method ensures they retain their creamy texture and spiced flavor.
Explore More Irresistible Pumpkin Desserts
If you’re a fan of all things pumpkin, you’ll love these other fantastic recipes:
- Easy Pumpkin Cake from Box Mix
- Easy Pumpkin Swirl Cake
- Pumpkin Sugar Cookies
- Pumpkin Bread
Tap stars to rate!
Pumpkin Cheesecake Bars
All the irresistible flavor of pumpkin cheesecake, simplified! These creamy, spiced pumpkin cheesecake bars are baked effortlessly in a 9×13-inch pan, featuring a rich graham cracker crust and a luscious 7-ingredient filling. Perfect for easy entertaining or a comforting fall treat.
Equipment
- 9×13 Glass Pan
- Large Glass Mixing Bowl
- Electric Stand or Hand Mixer
- Spatula
Ingredients
For the Crust
- 2 cups (226g) graham cracker crumbs
- 6 Tbsp (86g) unsalted butter, melted
- ¼ cup (50g) granulated sugar
For the Cheesecake Filling
- 24 oz (678g) full-fat cream cheese, at room temperature
- ½ cup (99g) granulated sugar
- 2 tsp pumpkin pie spice
- ½ tsp ground cinnamon
- 1 tsp vanilla extract
- ¾ cup (171g) 100% pure pumpkin puree (not pie filling)
- 3 large eggs
Instructions
Crust Preparation
- Preheat your oven to 350º F (175º C).
- In a small bowl, combine graham cracker crumbs, melted unsalted butter, and ¼ cup granulated sugar. Mix well until the crumbs are thoroughly moistened.
- Press the mixture firmly and evenly into the bottom of a 9×13-inch pan. For easier removal, line the pan with parchment paper, leaving an overhang.
- Pre-bake the crust for 8-10 minutes, or until it looks lightly golden.
- Remove the pan from the oven and allow the crust to cool completely to room temperature.
- Reduce the oven temperature to 325º F (160º C).
Cheesecake Filling and Baking
- In a large mixing bowl, beat the room temperature cream cheese for 2-3 minutes until completely smooth and free of lumps.
- Add ½ cup granulated sugar, pumpkin pie spice, cinnamon, and vanilla extract. Beat again until well combined, scraping down the bowl as needed.
- Beat in the pumpkin puree until fully incorporated and the mixture is smooth.
- Add the eggs, one at a time, beating on low speed just until each egg is combined before adding the next. After the last egg, beat for only 1 additional minute to ensure a smooth batter without overmixing.
- Pour the cheesecake mixture evenly over the cooled graham cracker crust.
- Bake for 40-45 minutes. The cheesecake is done when the edges are set and slightly puffed, but the center still has a slight wobble when gently jiggled.
- Turn off the oven and prop the oven door open slightly (about 4-6 inches). Allow the cheesecake to cool slowly inside the oven for 60-90 minutes, or until it reaches room temperature. This gradual cooling helps prevent cracks.
- Once cooled to room temperature, transfer the cheesecake to the refrigerator and chill for at least 6 hours, or preferably overnight, to allow it to set completely.
- Lift the cheesecake out of the pan using the parchment paper. Slice into bars. Top with whipped cream and a sprinkle of cinnamon if desired, then serve.
Nutrition
All nutritional values are approximate and provided to the reader as a courtesy. Changing ingredients and/or quantities will alter the estimated nutritional calculations.
Per serving (1 bar): Calories: 226kcal | Carbohydrates: 16g | Protein: 4g | Fat: 17g | Saturated Fat: 9g | Polyunsaturated Fat: 1g | Monounsaturated Fat: 4g | Trans Fat: 1g | Cholesterol: 74mg | Sodium: 176mg | Potassium: 94mg | Fiber: 1g | Sugar: 11g | Vitamin A: 2031IU | Vitamin C: 1mg | Calcium: 49mg | Iron: 1mg