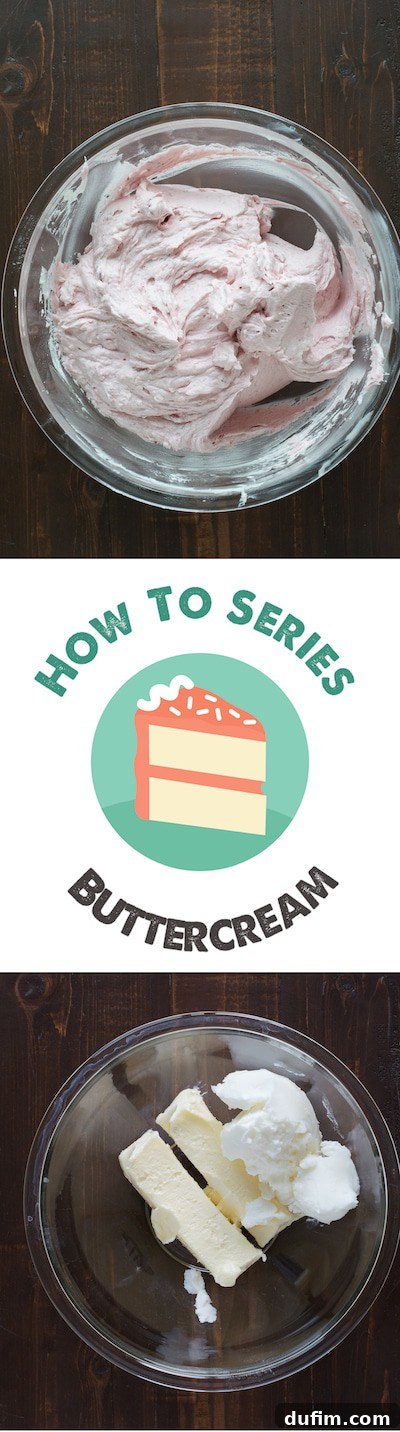
 Welcome to your ultimate guide to crafting the most delightful American buttercream! If you’ve recently followed our how to bake a cake tutorial, you’re probably eager to crown your masterpiece with some luscious frosting. It’s like the classic tale of “If You Give a Mouse a Cookie” – if you bake a beautiful cake, you’re absolutely going to want the perfect buttercream to go with it! This holds especially true when little ones are involved; a plain cake just won’t do.
American buttercream is a fantastic choice for home bakers and professionals alike. It’s wonderfully versatile, relatively simple to make, and offers a stable, pipeable texture that’s perfect for decorating everything from elaborate cakes to simple cupcakes. Its sweet, rich flavor makes it a crowd-pleaser every time. While there are various types of buttercream (like Swiss or Italian meringue buttercreams), American buttercream stands out for its straightforward process, relying on butter, powdered sugar, and a few key additions. Let’s embark on this sweet journey – here’s how to make a consistently perfect American buttercream! Disclaimer: The illustrative photos in this guide showcase our classic vanilla buttercream recipe, but rest assured, all our delicious buttercream variations follow this same reliable procedure.
The Essential Ingredients for Superior Buttercream
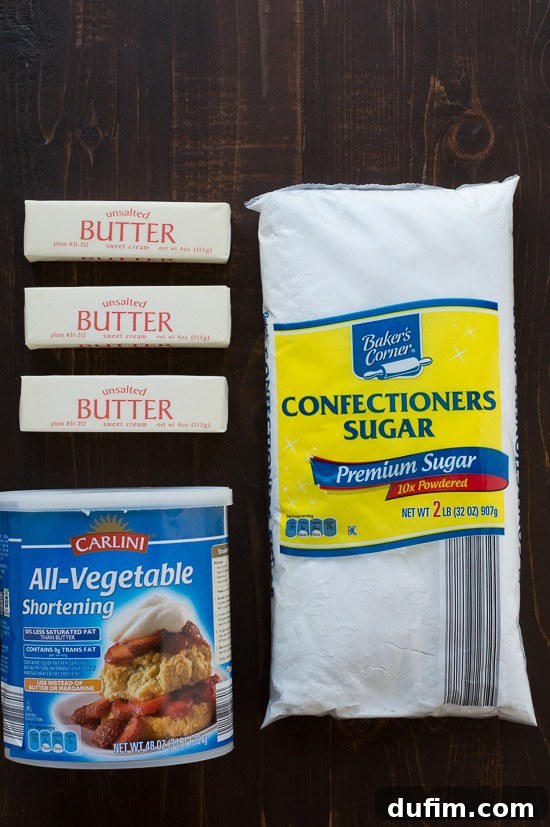 To achieve the ideal buttercream, you’ll need a handful of high-quality ingredients. Each plays a crucial role in the final taste, texture, and stability of your frosting. Gather these essentials: room temperature unsalted butter, vegetable shortening, a generous amount of powdered sugar (also known as confectioners’ sugar), your chosen flavoring (such as vanilla extract, cocoa powder, caramel sauce, mint extract, or lemon juice), and optional food coloring if you desire a vibrant hue. We like to think of these as the building blocks for an unforgettable frosting.
Unpacking Each Core Ingredient: The Foundation of Flavor and Texture
Let’s delve deeper into each component and understand why precise selection and preparation are vital.
Butter – The Heart of Your Buttercream: Butter truly is the golden cornerstone of any good buttercream. You simply cannot make a rich, flavorful buttercream without it. However, it’s not just about using butter; it’s about using the *right* kind of butter at the *right* temperature. We strongly recommend using unsalted butter. This gives you complete control over the saltiness of your frosting, allowing you to add a pinch if desired, rather than being stuck with overly salty buttercream. Crucially, your butter must be at room temperature. This means it should be soft enough to indent with a finger without melting. I cannot stress enough the importance of avoiding the microwave to achieve room temperature butter. This often results in partially melted butter, which can lead to a greasy, separated, or thin buttercream that lacks structure. To ensure perfect room temperature butter, simply set it out on your counter several hours before you plan to bake, or even the night before. If you’re in a pinch, you can cut the butter into smaller cubes to speed up the process, or place the wrapped sticks in a bowl of warm (not hot) water for about 10-15 minutes, flipping halfway through. The goal is soft, pliable butter, not liquid butter.
Vegetable Shortening – The Secret to Stability: While not every buttercream recipe calls for vegetable shortening, incorporating it into your American buttercream provides invaluable benefits. I consistently use vegetable shortening in all my buttercream recipes because it dramatically enhances stability, especially crucial for decorating. Butter alone, once whipped, can sometimes become too soft or “floppy,” which is undesirable when piping intricate designs or frosting tall cakes in warmer environments. Shortening acts as a backbone, giving the buttercream structure, helping it hold its shape, and making it less prone to melting. It also helps achieve a whiter base, which is fantastic for vibrant food coloring. My preferred butter to vegetable shortening ratio is designed for optimal performance:
- 1 stick (1/2 cup) unsalted butter to 1/2 cup vegetable shortening
- 2 sticks (1 cup) unsalted butter to 1 cup vegetable shortening
- 3 sticks (1 & 1/2 cups) unsalted butter to 1 & 1/2 cups vegetable shortening
This balanced ratio ensures a creamy texture with excellent structural integrity.
Powdered Sugar (Confectioners’ Sugar) – For Sweetness and Smoothness: This fine sugar is indispensable for American buttercream. Its ultra-fine texture dissolves easily, ensuring a smooth, melt-in-your-mouth frosting without any grittiness. Powdered sugar contributes not only to the sweetness but also significantly to the body and stability of the buttercream. A small batch of buttercream typically requires 2-3 cups of powdered sugar, a medium batch needs 6-8 cups, and a larger batch can call for 9-11 cups. It’s always a good idea to have extra powdered sugar on hand; running out mid-recipe is truly frustrating! While many recipes don’t require it, sifting your powdered sugar can prevent lumps, especially if it’s been sitting in the pantry for a while. This extra step guarantees an incredibly silky smooth frosting.
The Add-ins: Unleashing Creativity and Flavor
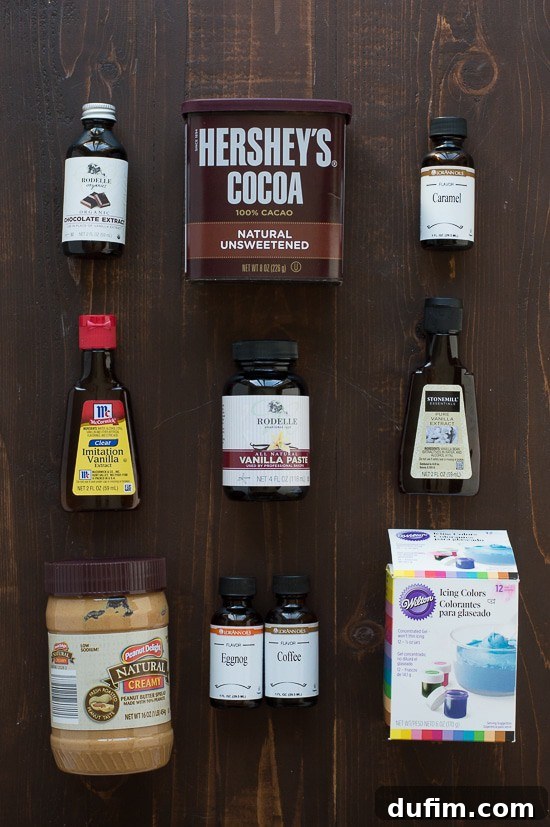
The Flavoring – Where Your Buttercream Comes Alive: This is arguably the most exciting part of making buttercream, as it allows for endless customization. You can infuse your frosting with virtually any flavor imaginable. For liquid extracts or emulsions, a teaspoon is usually a good starting point. Popular choices include classic vanilla extract or vanilla bean paste for a more intense, speckled vanilla flavor. If you’re incorporating denser ingredients like cocoa powder, peanut butter, or caramel sauce, you’ll typically start with a larger quantity, around 1/3 cup, and adjust to taste. Don’t shy away from fresh additions; pureed fruits, such as the kiwi we used for these delightful kiwi cupcakes, can add a wonderful natural sweetness and tang. The beauty of buttercream is its forgiving nature; you can always taste as you go and add more flavoring until it perfectly suits your palate.
Food Coloring – Painting Your Dessert Canvas: Adding food coloring is an excellent way to personalize your buttercream and match it to any theme or occasion. For the best and most predictable results, use food coloring with a classic vanilla buttercream base or one flavored with clear extracts. This ensures a clean, white canvas for your colors. Attempting to dye chocolate or peanut butter buttercream, which already have a dark base, can lead to unpredictable or muddy colors. For vibrant, true-to-shade results, my go-to is Wilton Gel Food Coloring. Gel colors are highly concentrated, meaning you need only a tiny amount to achieve rich, vivid hues without adding excess liquid that could thin your buttercream. Always start with a small dab on a toothpick and gradually add more until you reach your desired shade.
How to Make American Buttercream: Step-by-Step Perfection
Now that we understand the ingredients, let’s bring them together to create your flawless frosting. For this process, a stand mixer with a paddle attachment is ideal, but a good quality electric hand mixer will also work wonderfully. I recommend using a large mixing bowl with high sides to contain the powdered sugar and prevent splashes.
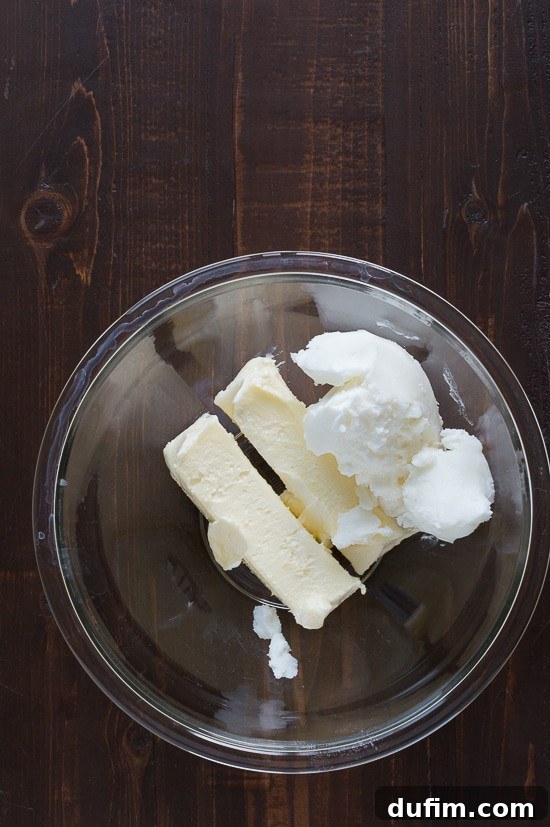 Step 1: Cream the Fats. In your large mixing bowl, combine the softened, room temperature butter and the vegetable shortening. These two fats are the foundation of your buttercream’s texture.
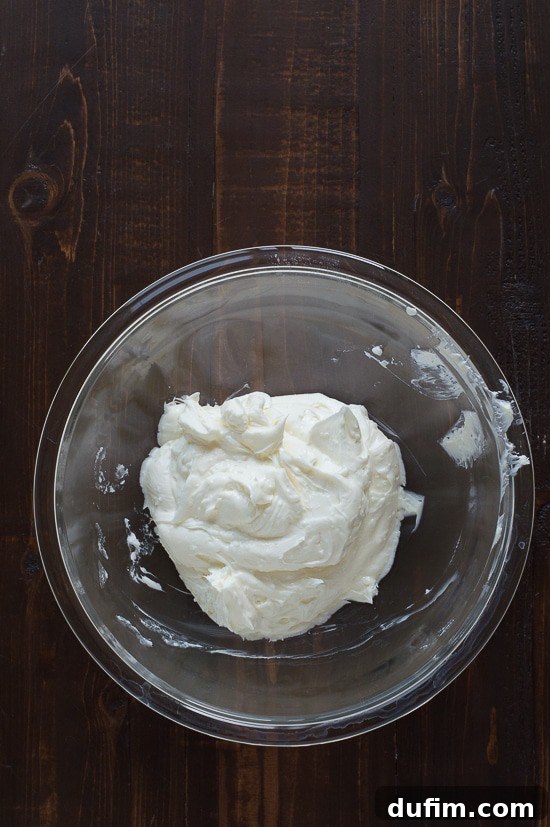 Step 2: Whip It Good. Using an electric mixer (stand or hand-held), beat the butter and shortening together on medium-high speed for about 1-2 minutes. The goal is to incorporate air, making the mixture lighter and fluffier. You might notice small specks of butter or shortening initially, but don’t worry, they will fully combine as you continue. Scrape down the sides of the bowl midway through to ensure even mixing.
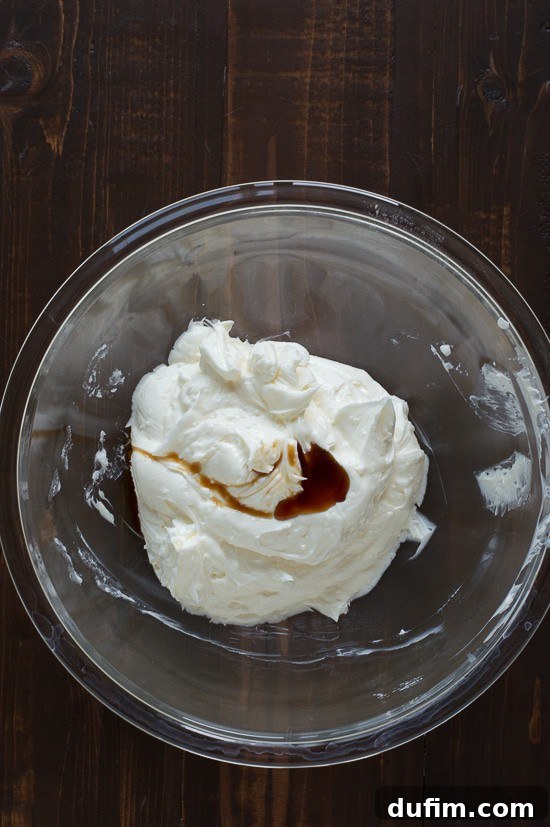 Step 3: Introduce the Flavor. At this stage, add your chosen flavoring. Whether it’s a teaspoon of vanilla extract, a dollop of vanilla bean paste, a tablespoon of cocoa powder, a swirl of peanut butter, or your pureed fruit, now is the time to infuse your buttercream with personality. Mix this in gently with a rubber spatula until just combined. This prevents a cloud of dry ingredients from flying up when you turn on the mixer later.
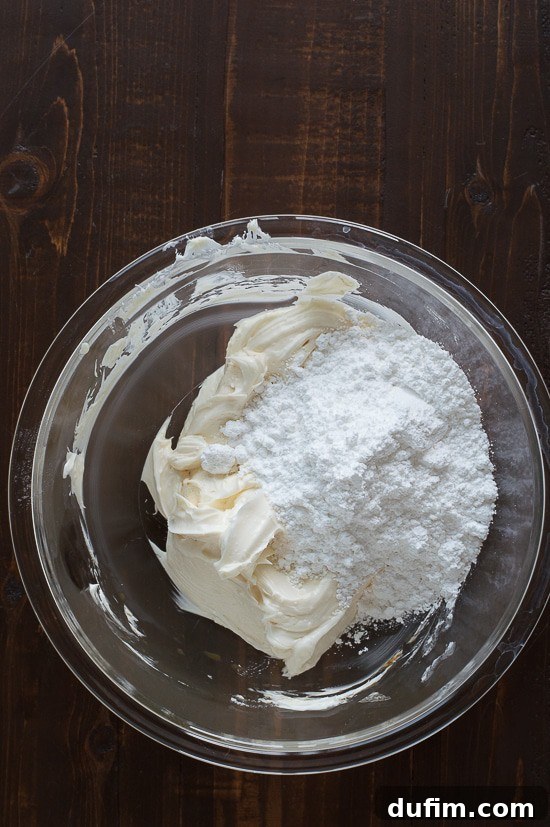 Step 4: Incorporate the Powdered Sugar Gradually. Begin adding the powdered sugar, 1-2 cups at a time. To prevent a messy “sugar explosion” that leaves your kitchen (and you!) dusted in white, gently fold in each addition with a spatula before turning on the mixer. Once incorporated with the spatula, turn on your electric mixer to low speed and mix until barely combined. Continue this process, adding powdered sugar incrementally and mixing until all of it has been incorporated. This gradual addition ensures even mixing and helps build the buttercream’s structure.
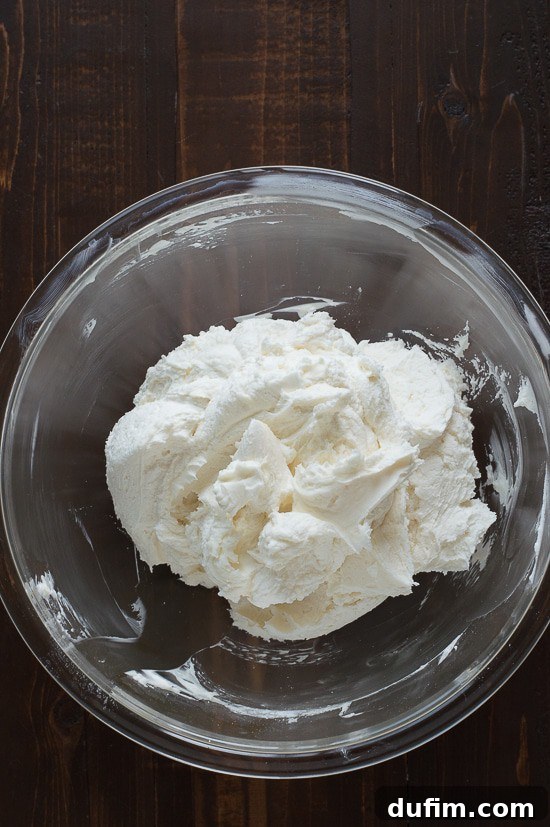 Step 5: Final Beat and Coloring. Once all the powdered sugar is added, increase the mixer speed to medium-high and beat everything together for another 1-2 minutes. This final whip will make your buttercream incredibly smooth, fluffy, and light. If you are adding food coloring, do so now, after all the powdered sugar has been incorporated. Add a small amount of gel color and beat well until the color is evenly distributed and reaches your desired shade. Remember to scrape down the bowl frequently during this step to ensure no unmixed pockets remain.
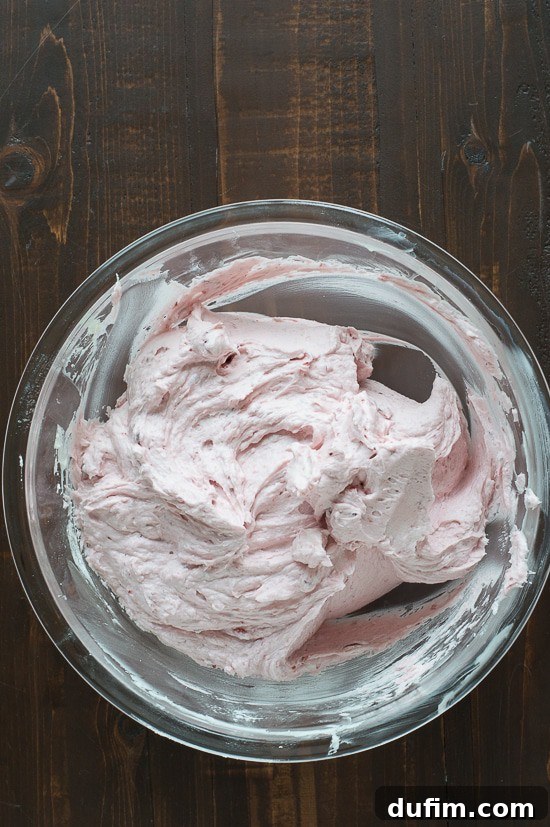 Step 6: Adjusting Consistency. Ta-da! You have beautiful homemade buttercream! The picture above shows a vibrant cherry buttercream, made with delicious pureed cherries. Now is the time to fine-tune its consistency. If your buttercream is too firm for piping or spreading, add a dash (start with 1 teaspoon) of heavy cream or milk and mix it in. Continue adding small amounts until it reaches your desired softness. If your buttercream is too wet or soft, add in more powdered sugar, a tablespoon at a time, until it stiffens to the perfect consistency. This allows you to customize your buttercream for any decorating task.
Tips for Buttercream Success: Troubleshooting and Storage
Troubleshooting Common Issues:
* Grainy Buttercream: This usually means your butter wasn’t soft enough, or the powdered sugar wasn’t fully incorporated. Beat longer, ensuring the butter is truly at room temperature. Sifting powdered sugar can also help.
* Greasy Buttercream: If your butter was too warm or partially melted, your buttercream might look greasy and separate. If this happens, try chilling the mixture in the fridge for 15-20 minutes, then re-beat it.
* Runny Buttercream: Too much liquid (extract, milk, puree) or a very warm kitchen environment can cause this. Add more powdered sugar, a tablespoon at a time, to thicken it. If your kitchen is hot, consider placing the bowl over an ice bath while mixing.
* Stiff Buttercream: Not enough liquid or too much powdered sugar. Gradually add more milk or heavy cream (1 teaspoon at a time) while mixing until it loosens up.
Storage Solutions: Freshly made buttercream is always best, but it can be prepared in advance. Store it in an airtight container at room temperature for up to 2 days, or in the refrigerator for up to 2 weeks. For longer storage, it can be frozen for up to 3 months. When ready to use chilled or frozen buttercream, let it come to room temperature completely, then re-whip it with an electric mixer for a few minutes until it regains its smooth, fluffy consistency. You might need to add a splash of milk or cream to bring it back to perfect piping consistency.
Your freshly made buttercream is now ready to be generously piped onto cupcakes, artfully spread onto cake layers, or used for any other delicious dessert creation!
I’ve carefully curated my favorite baking products, including the indispensable tools I use daily, all available on my amazon affiliate store. These products are chosen to help you achieve professional-level results in your home kitchen.
Browse Our Delicious Buttercream Selection for Inspiration!
Once you’ve mastered the basic American buttercream, the possibilities are endless. Get inspired by some of our favorite creative flavor combinations:
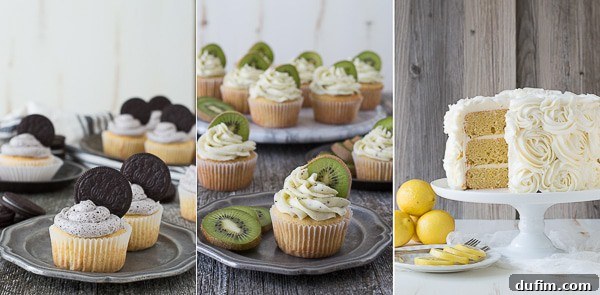 Oreo buttercream, a decadent treat for cookie lovers; kiwi buttercream, a unique and refreshing option; and lemon buttercream, bright and zesty for citrus enthusiasts.
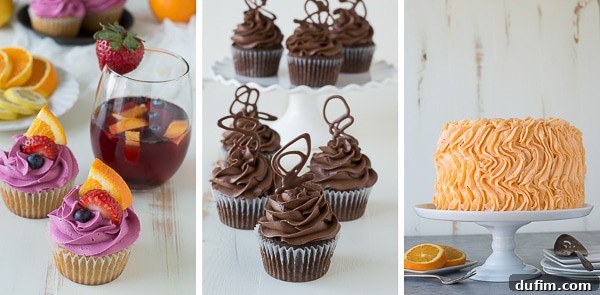 Sangria buttercream, for a sophisticated adult flavor; chocolate buttercream, a classic favorite that never disappoints; and fresh orange buttercream, bursting with sunny citrus notes.
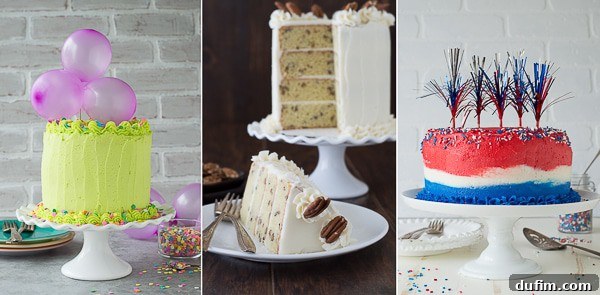 Lime green buttercream, vibrant and fun for any celebration; maple buttercream, cozy and rich for autumn desserts; and 4th of July buttercream, perfectly festive for patriotic treats.
Armed with these detailed instructions and expert tips, you are now well-equipped to create magnificent, fluffy, and flavorful American buttercream every time. So go ahead, unleash your inner baker and decorate those cakes and cupcakes with confidence and flair. Happy frosting!