

The Secret to Perfect Desserts: Unveiling the Ultimate Stabilized Whipped Cream
Have you ever spent precious time decorating a cake with fluffy whipped cream, only to watch it droop and deflate within hours? The struggle is real for many home bakers, but it doesn’t have to be your reality. I’ve dedicated countless hours in my kitchen to perfecting a stabilized whipped cream recipe that stands tall, maintains its exquisite texture, and elevates any dessert it graces. Through rigorous testing of two popular methods—one utilizing unflavored gelatin and another featuring cream cheese as a thickening agent—I’m now ready to share the definitive guide to achieving whipped cream perfection. My goal is to provide an honest, side-by-side comparison, empowering you to choose the method that perfectly aligns with your baking needs and taste preferences. While both offer impressive stability, I’m confident that once you experience the rich, full-bodied elegance of the cream cheese method, you’ll never look back!
“Such a simple yet delicious recipe!! Turned out great! I added cocoa powder to make it chocolate flavor and the flavor was soooo good! Highly recommend.” – Esmeralda

This easy-to-follow recipe for stabilized whipped cream isn’t just a homemade alternative to store-bought Cool Whip; it’s a superior, healthier, and far more delicious upgrade. Forget the artificial ingredients and questionable additives. With this recipe, you’re crafting a dessert topping that is fresh, natural, and incredibly satisfying.
My extensive testing involved evaluating both gelatin and cream cheese as stabilizers. While gelatin produces a wonderfully light and airy whipped cream, reminiscent of traditional unsweetened versions, the cream cheese iteration offers a distinctly richer, fuller mouthfeel. The beauty of the cream cheese method lies in its ability to enhance the creaminess without imparting any noticeable cream cheese flavor – a common concern I initially shared!
Accessibility was a key factor in my research. Not everyone keeps unflavored gelatin in their pantry, so I wanted to provide a comprehensive breakdown of the pros and cons of each option, keeping the home baker’s convenience in mind. My feedback isn’t just about the nuanced differences in taste and texture; it’s deeply rooted in practical kitchen experience, ensuring these recommendations are genuinely helpful and achievable for everyone.
I’m always transparent about my kitchen experiments, sharing what excelled and what presented challenges. This ensures that every tip and recommendation I offer comes from real-world testing. Whether your priority is the ultimate flavor profile, ease of preparation, or maximum stability for intricate decorations, my insights are here to guide you to a stabilized whipped cream you’ll absolutely adore and be proud to serve!
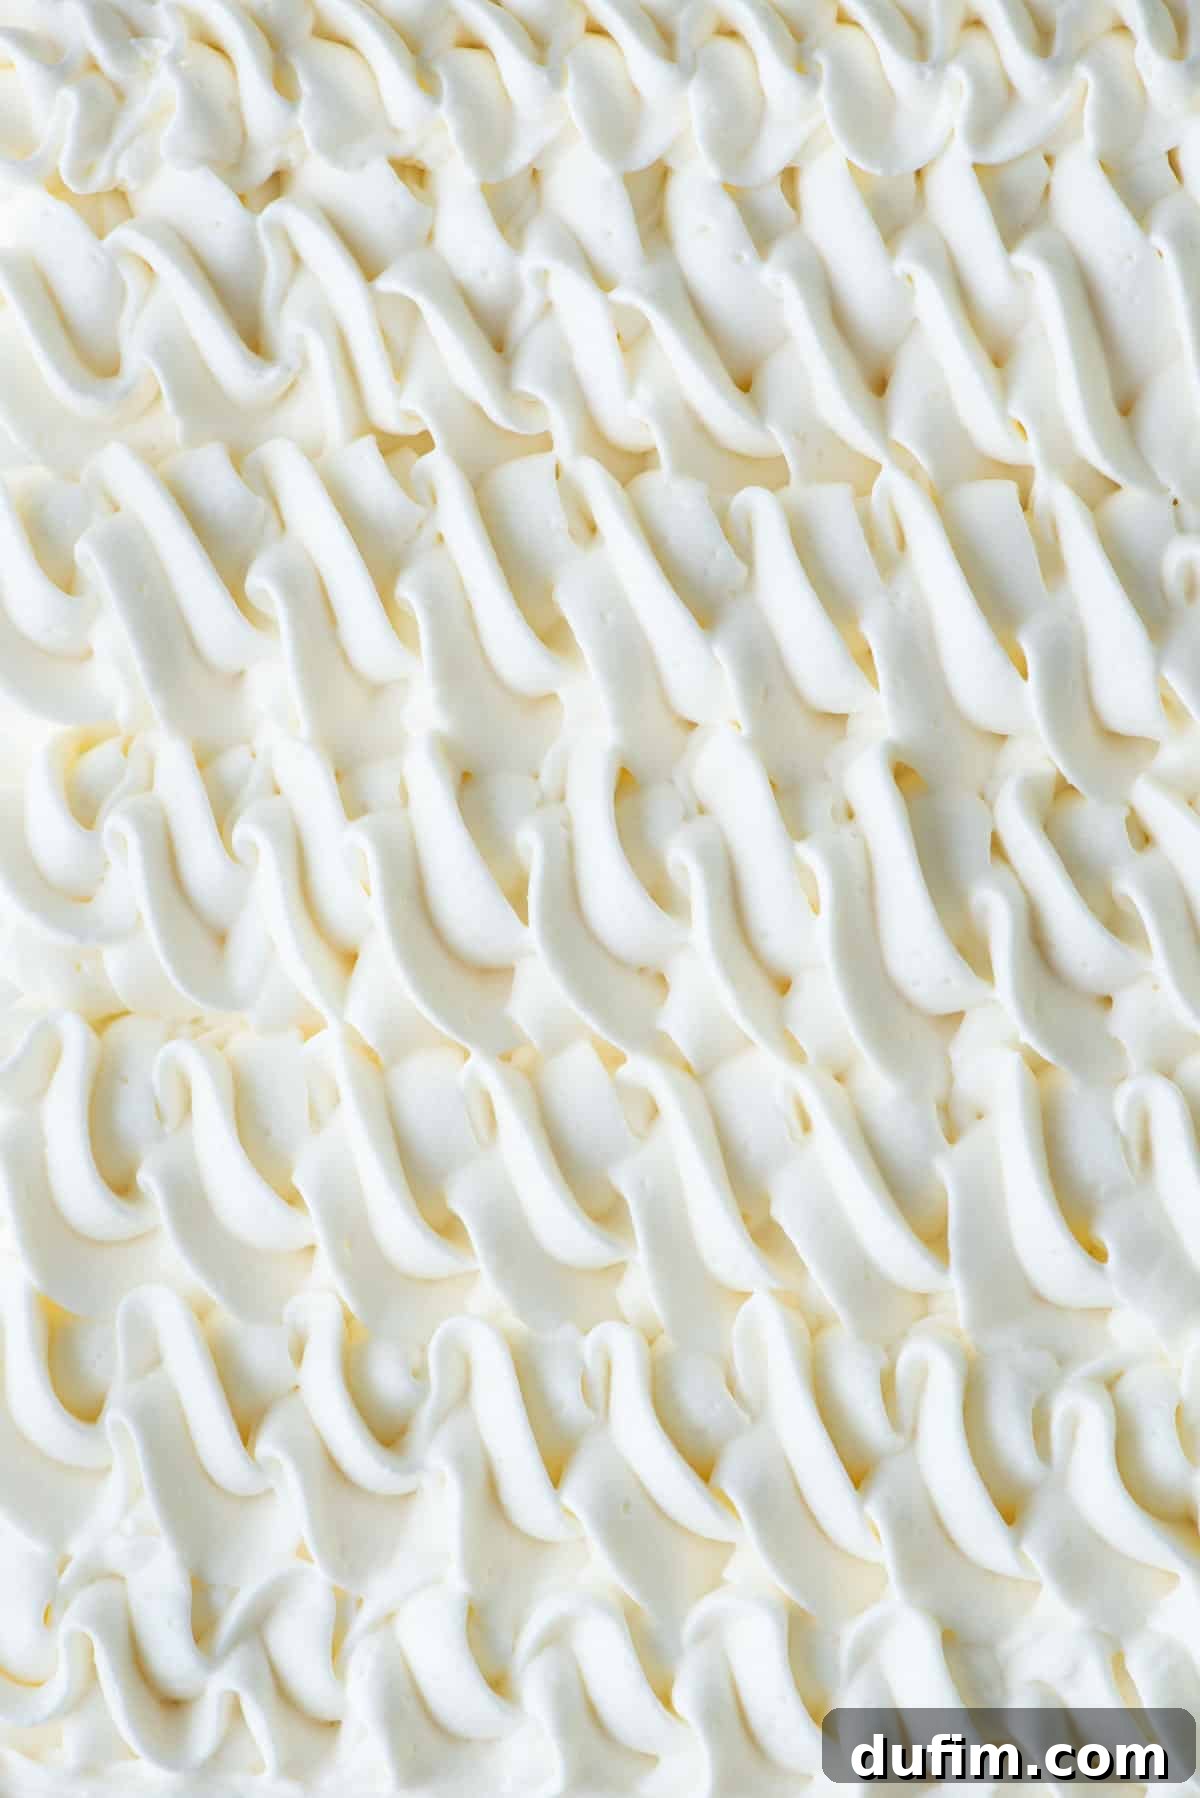
Unlock the Easiest & Most Reliable Stabilized Whipped Cream Recipe!
Imagine decadent, fluffy, and perfectly stable whipped cream ready in just a few minutes, using only four simple ingredients and four easy steps. This isn’t a dream; it’s the reality with my proven method. Prepare to transform all your favorite desserts into showstopping masterpieces!
We all have a soft spot for Cool Whip—its light, airy texture makes it the ideal topping for virtually everything from pies to fruit salads. But what if you could have that beloved fluffy topping anytime you desire, right in your own kitchen, free from artificial preservatives and with a superior taste? Now you can! Keep reading to discover how to become a whipped cream pro in mere minutes.
What Exactly is Stabilized Whipped Cream? Why Does It Matter?
Stabilized whipped cream is, at its core, classic whipped cream enhanced with a thickening agent. This agent gives it remarkable staying power, allowing it to maintain its volume, texture, and shape for significantly longer than traditional whipped cream. Common stabilizers include unflavored gelatin, a small amount of cornstarch, or, as my testing strongly suggests, cream cheese. The primary goal of stabilization is to prevent the whipped cream from deflating, weeping (separating liquid), or losing its structure, especially when used for piping, frosting, or served at room temperature.
Without stabilization, regular whipped cream quickly succumbs to gravity and temperature changes. The air pockets, which give it its light texture, begin to collapse, and the fat and water separate, leading to a watery mess. Stabilized whipped cream, however, forms a robust internal structure that locks in the air and moisture, keeping it fluffy and firm for extended periods. This makes it ideal for decorating cakes, filling pastries, topping pies, and ensuring your desserts look as good as they taste, even after several hours or a day in the refrigerator.
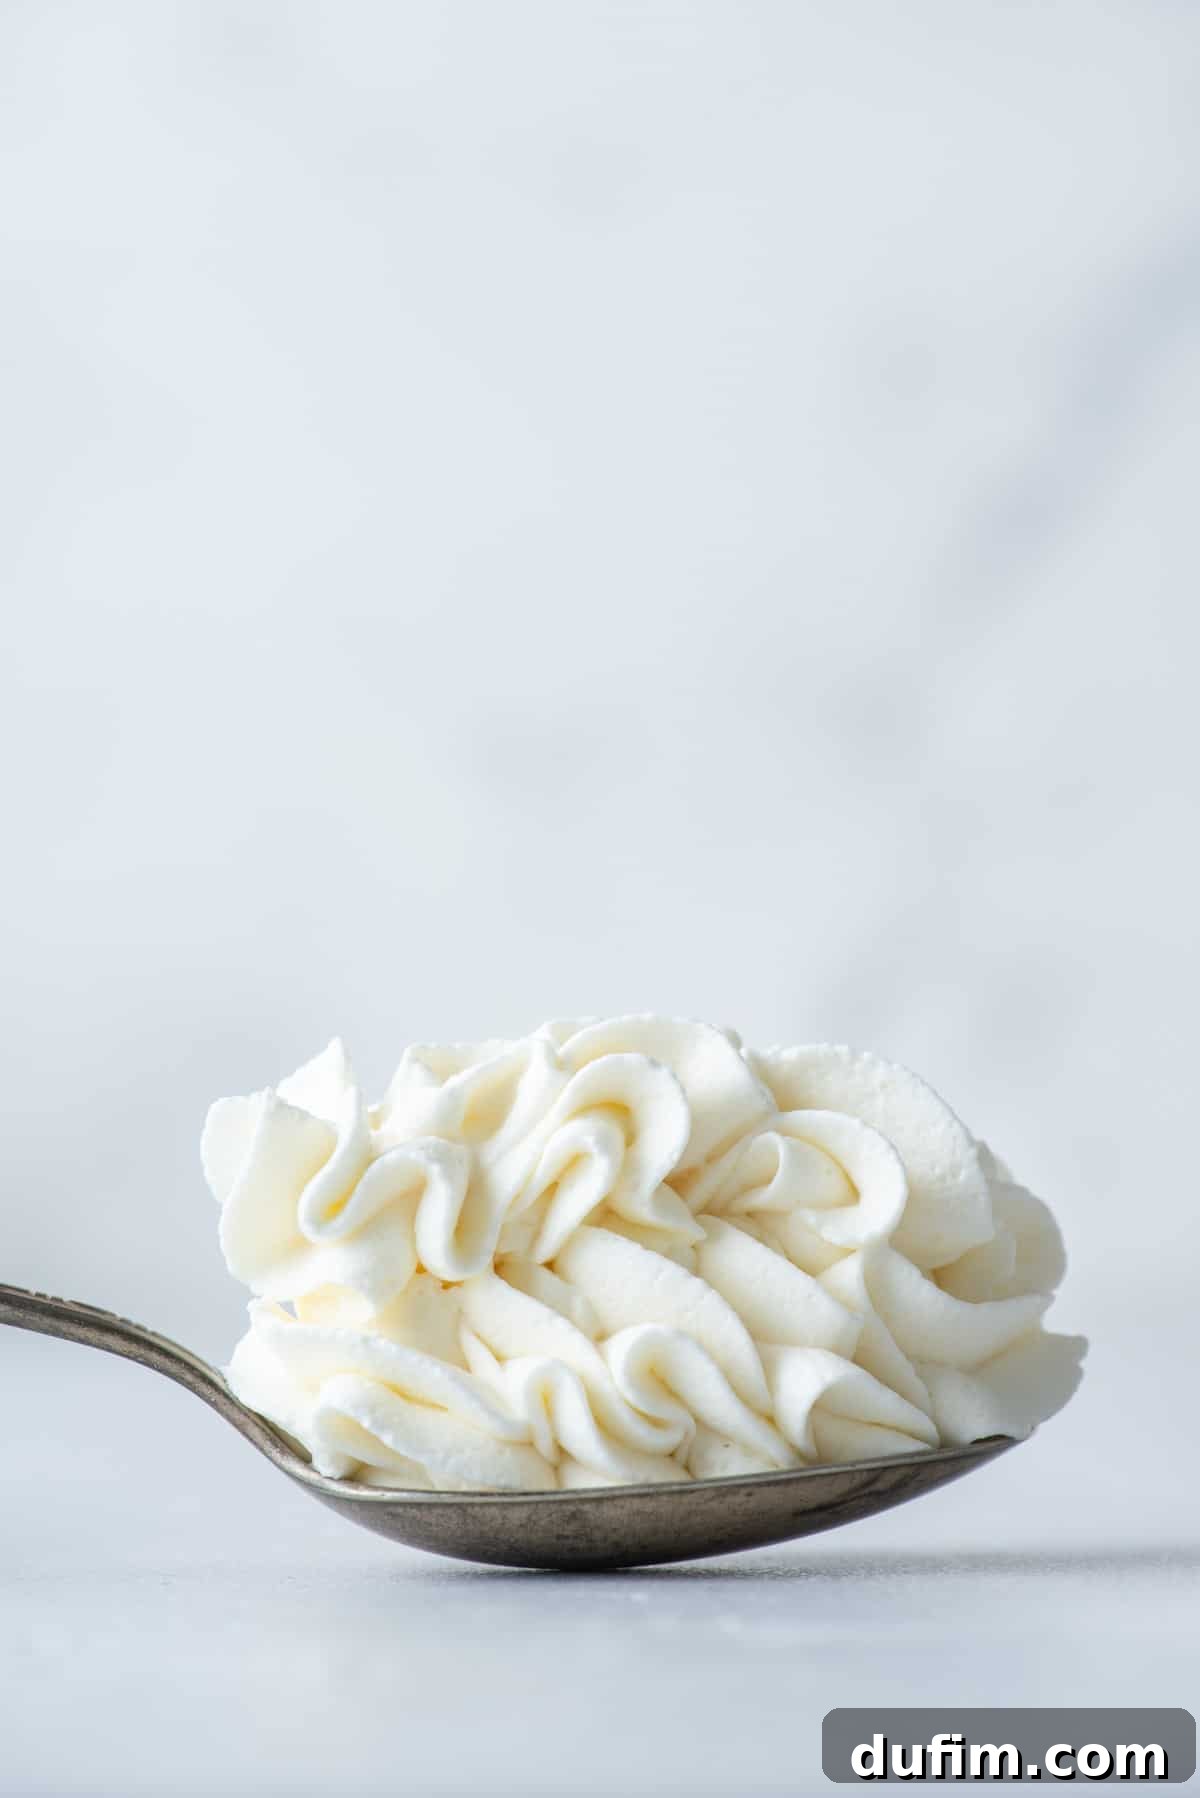
Exploring the Gelatin Method for Stabilized Whipped Cream
The gelatin method is a well-established technique for stabilizing whipped cream. It’s often favored for its ability to create a very light and airy product, closely resembling classic whipped cream while offering improved longevity. Here’s a brief overview of the process and my findings:
A Brief Overview:
- Begin by combining unflavored gelatin with a small amount of cold water (often referred to as “blooming” the gelatin). Let it sit for a few minutes until it thickens and solidifies.
- Meanwhile, in a separate chilled bowl, beat cold heavy cream, powdered sugar, and vanilla extract until soft peaks begin to form.
- Gently warm the bloomed gelatin in the microwave for a few seconds until it turns liquid again (be careful not to overheat it). With the mixer running on medium speed, slowly drizzle the warm, liquid gelatin into the whipping cream mixture. Increase the speed to high and continue beating until stiff peaks form.
- Taste: The gelatin itself is unflavored, so the resulting whipped cream tasted like normal, pure whipped cream, which is excellent. No off-putting flavors were detected.
- Texture: True to expectations, it produced a typical whipped cream texture—very airy, light, and delicate. It held its shape well but retained that characteristic melt-in-your-mouth quality.
- Overall Verdict: Good. This method is reliable for a light, stable whipped cream, but it does add an extra step and requires careful handling of the gelatin to avoid clumps or an overly firm texture.
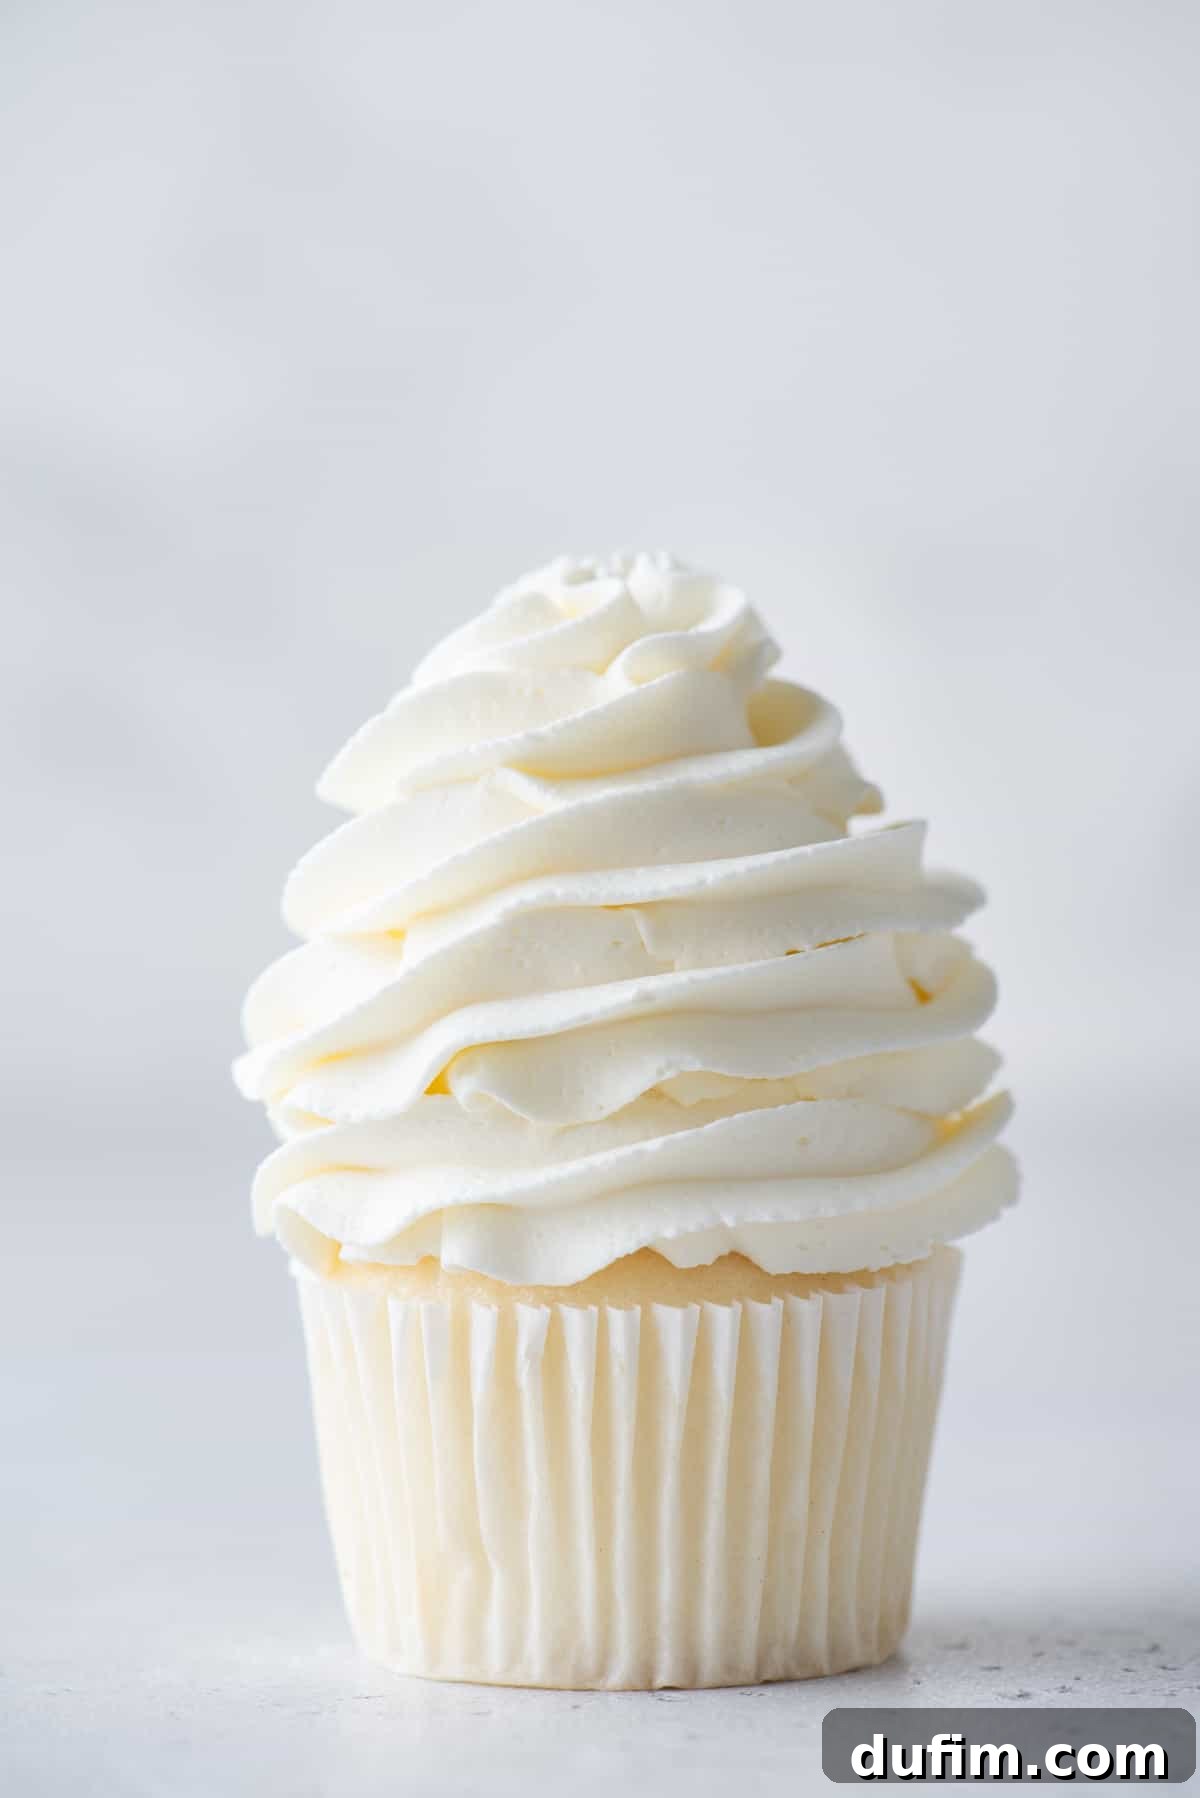
The Superior Choice: Stabilized Whipped Cream Using Cream Cheese
While gelatin offers reliable stabilization, I found the cream cheese method to be not only easier but also yielded a superior product in terms of taste and texture. This technique leverages the natural emulsifying and thickening properties of cream cheese to create a luxurious, exceptionally stable whipped cream.
A Brief Overview:
- In a chilled mixing bowl, beat softened cream cheese and powdered sugar together for approximately one minute, until the mixture is completely smooth and creamy, with no lumps.
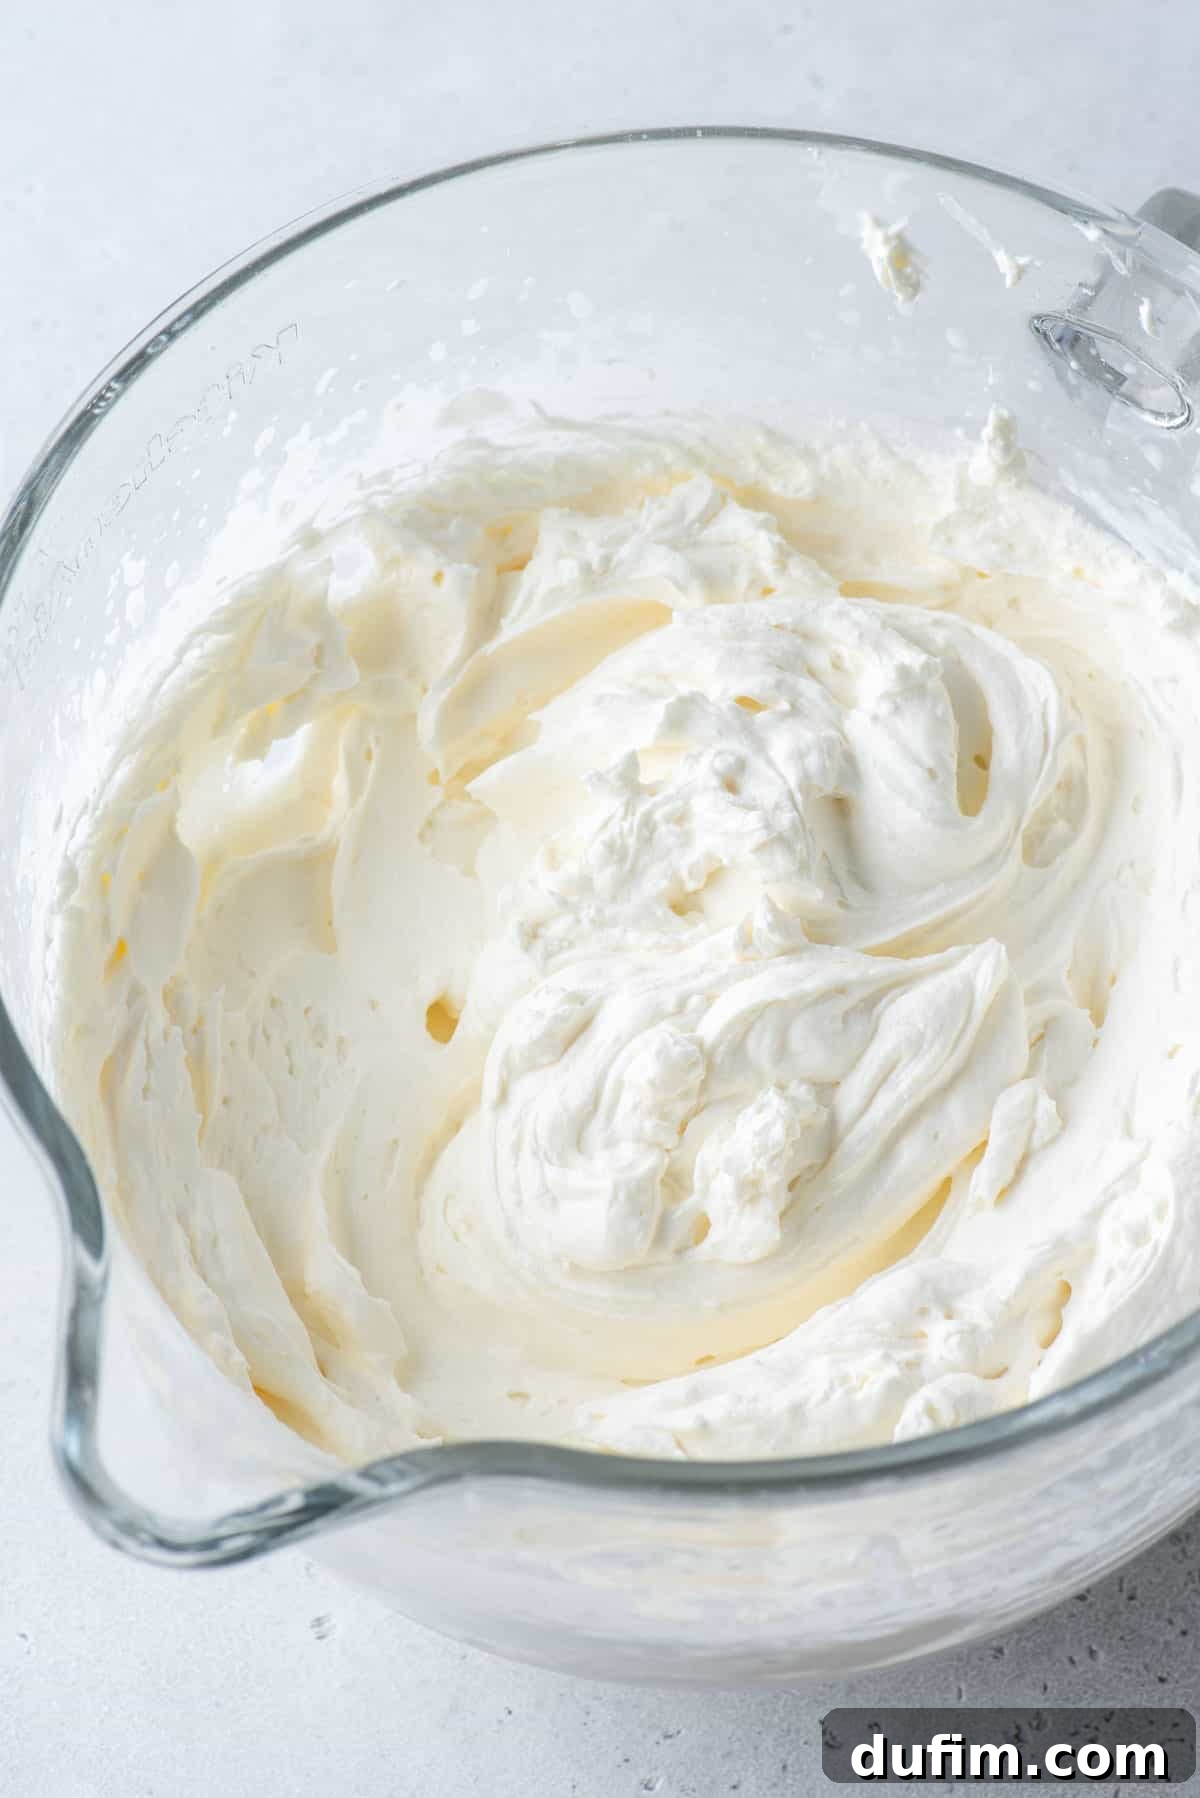
- Add the cold heavy whipping cream and vanilla extract to the cream cheese mixture. Beat on high speed for 4-5 minutes, or until stiff peaks form and the whipped cream is scoopable and holds its shape firmly.
- Taste: This version was undeniably creamier and richer than traditional whipped cream. Despite using cream cheese, it absolutely did not taste like cheesecake or possess a tangy cream cheese flavor. Instead, it tasted like an incredibly full-bodied, gourmet whipped cream.
- Texture: The texture was thick, velvety, and boasted a very full mouthfeel. It was silky smooth, incredibly substantial, and maintained its integrity beautifully, feeling much more decadent and luxurious than the gelatin version.
- Overall Verdict: Excellent! This method exceeded all expectations.
I must admit, I approached the cream cheese version with a degree of skepticism. My primary concern was that it would inherently taste like cream cheese, altering the classic whipped cream experience. However, my fears were completely unfounded! The result was a full, rich, and intensely creamy whipped cream that simply enhanced the natural flavor without any unwanted tang. This delightful discovery was a huge relief, especially since I found the cream cheese method to be considerably easier and more straightforward to execute. Unlike gelatin, cream cheese is a staple in most home pantries, eliminating the need for a special ingredient run. Furthermore, the cream cheese method consistently produced a visibly more stable whipped cream, making it my new undisputed go-to for frosting, piping, and topping any dessert that demands enduring beauty and flavor.
Yield: How Much Deliciousness Does This Recipe Produce?
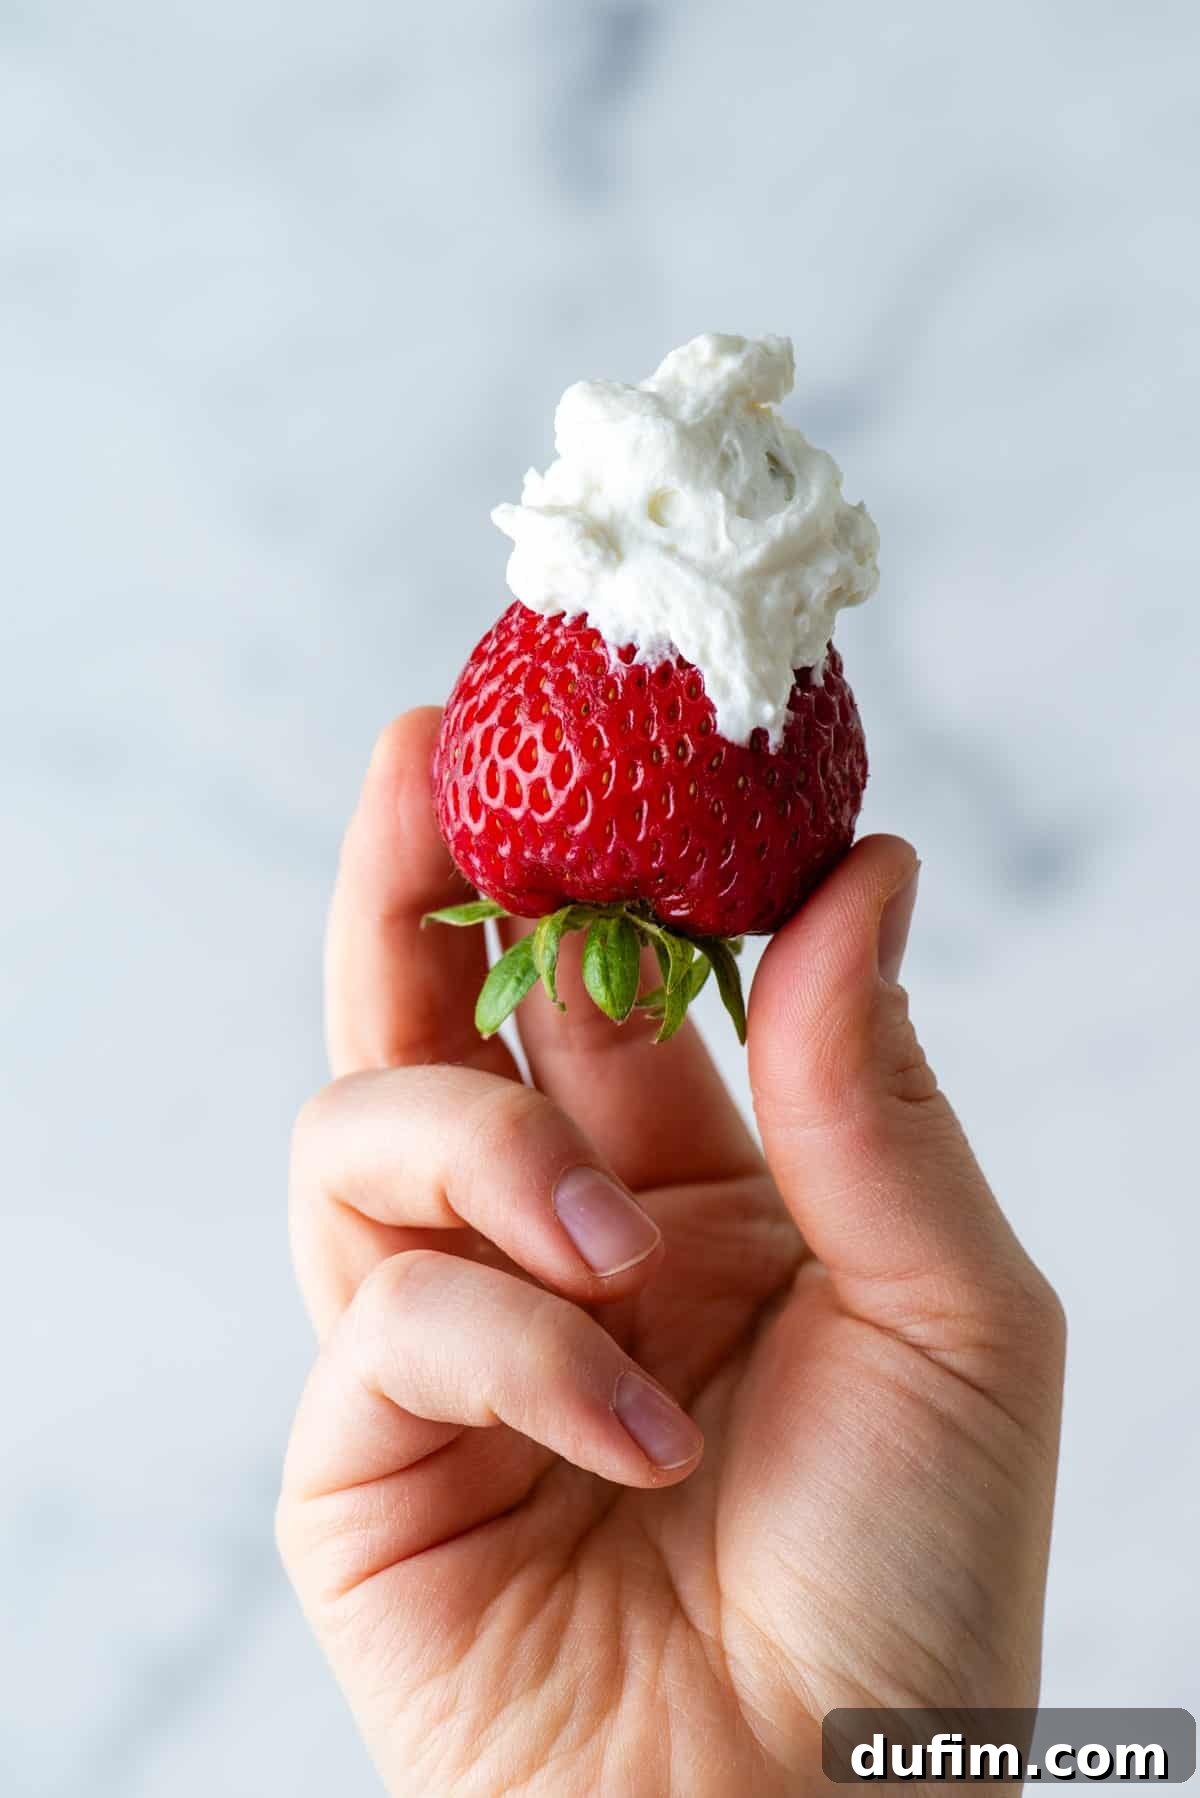
This fantastic recipe yields approximately 4 cups of stabilized whipped cream. This generous quantity is typically enough to beautifully frost a batch of 12 standard-sized cupcakes or elegantly cover a two-layer 8-inch cake. It also serves as a luxurious topping for a large 9-inch pie. If you’re planning a gathering and need a delightful fruit dip, this recipe will easily serve up to 24 people, making it incredibly versatile for any occasion.
Gather Your Essentials: Simple Ingredients for Stable Whipped Cream
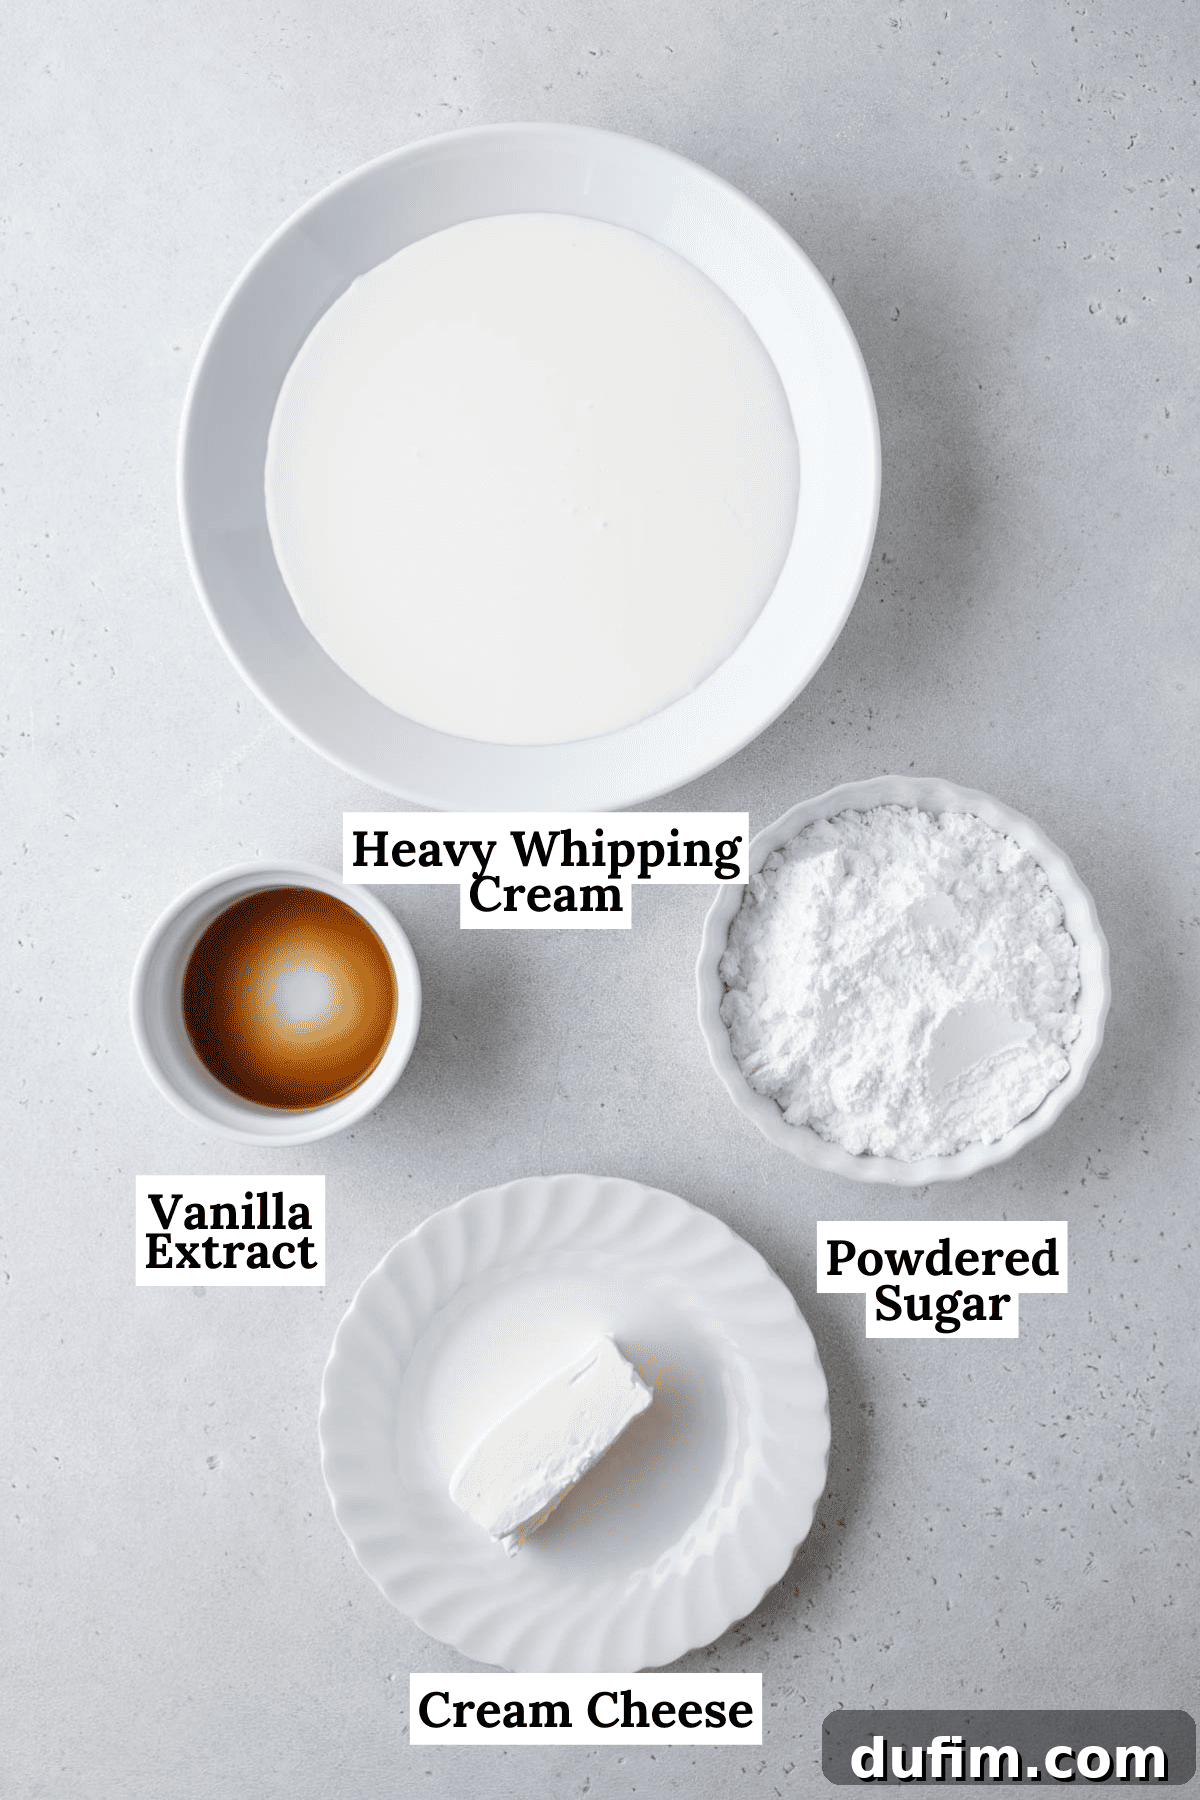
Creating this homemade, long-lasting whipped cream is surprisingly simple, requiring just a handful of common pantry staples and a few minutes of your time. For the precise measurements and detailed instructions, please refer to the full recipe card below.
- Cream Cheese: Opt for full-fat block cream cheese for the best results. Remember, allowing it to soften to room temperature is crucial for achieving a smooth, lump-free mixture. This step ensures it blends seamlessly with the other ingredients, creating that desired silky texture.
- Powdered Sugar: Also widely known as confectioner’s sugar, this fine sugar dissolves instantly, ensuring a smooth, granular-free whipped cream. It also contributes to the stability. Feel free to adjust the amount to your preferred level of sweetness.
- Heavy Whipping Cream: The colder, the better! Chilled heavy cream whips up faster and achieves stiffer peaks, which are essential for stable whipped cream. Look for a fat content of 36% or higher for optimal results.
- Vanilla Extract: A splash of good quality vanilla extract enhances all the flavors, adding a classic warmth and aroma. For a twist, consider experimenting with other extracts like almond, peppermint, or even a hint of rum for different dessert pairings.
Heavy Cream vs. Heavy Whipping Cream: What’s the Difference?
The distinction between heavy cream and heavy whipping cream is quite subtle, primarily revolving around a slight difference in their butterfat content. Heavy whipping cream typically contains between 30-36% milk fat, while heavy cream consistently boasts a minimum of 36% milk fat. This difference is often minor enough that the two can be used interchangeably in most recipes, including this one. Both will yield a rich, delicious, and stable whipped cream, provided they are well-chilled before whipping.
Step-by-Step Guide: Crafting Your Perfect Stabilized Whipped Cream Frosting
Making homemade “Cool Whip” like a seasoned pro is far simpler than you might imagine! By following these straightforward steps, you’ll achieve whipped cream perfection every single time. For the exact measurements and ingredient list, please refer to the comprehensive recipe card provided below.
- Chill Your Tools: For optimal whipping, place a metal or glass mixing bowl and your beaters (or whisk attachment for a stand mixer) in the freezer for a minimum of 15 minutes. This crucial step helps keep the heavy cream cold, which is essential for achieving the best volume and stiffest peaks.
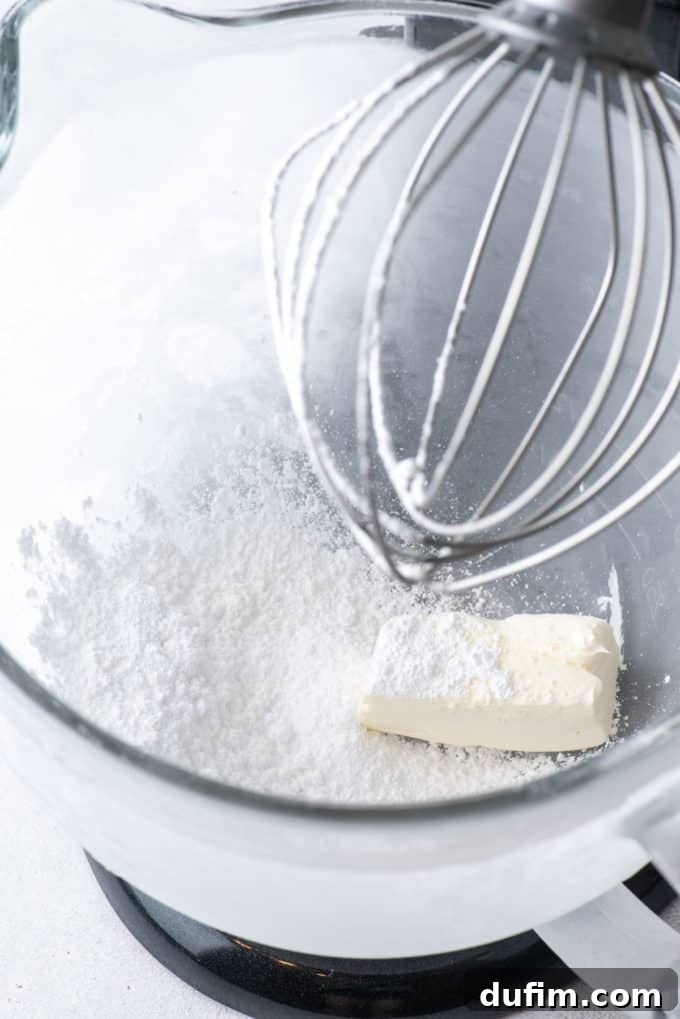
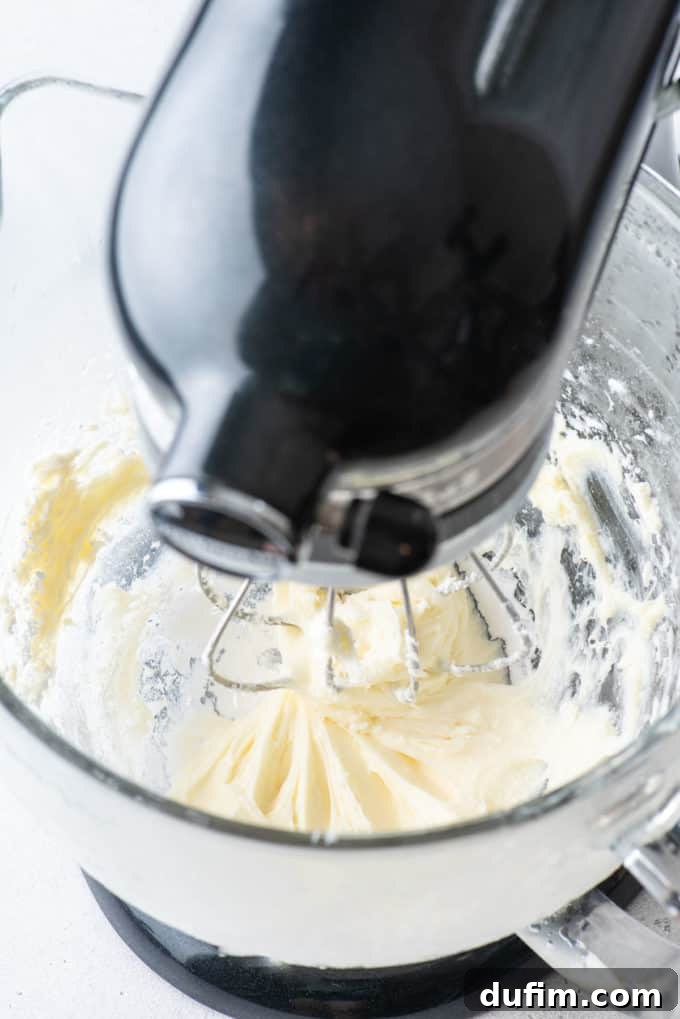
- Cream the Base: Remove the chilled bowl from the freezer. Add the softened cream cheese and powdered sugar. Using an electric mixer (handheld or stand mixer), beat these two ingredients together for approximately 1 minute, or until the mixture is completely smooth, light, and creamy with absolutely no lumps. Scrape down the sides of the bowl as needed to ensure everything is well combined. This creates a stable, flavorful foundation for your whipped cream.
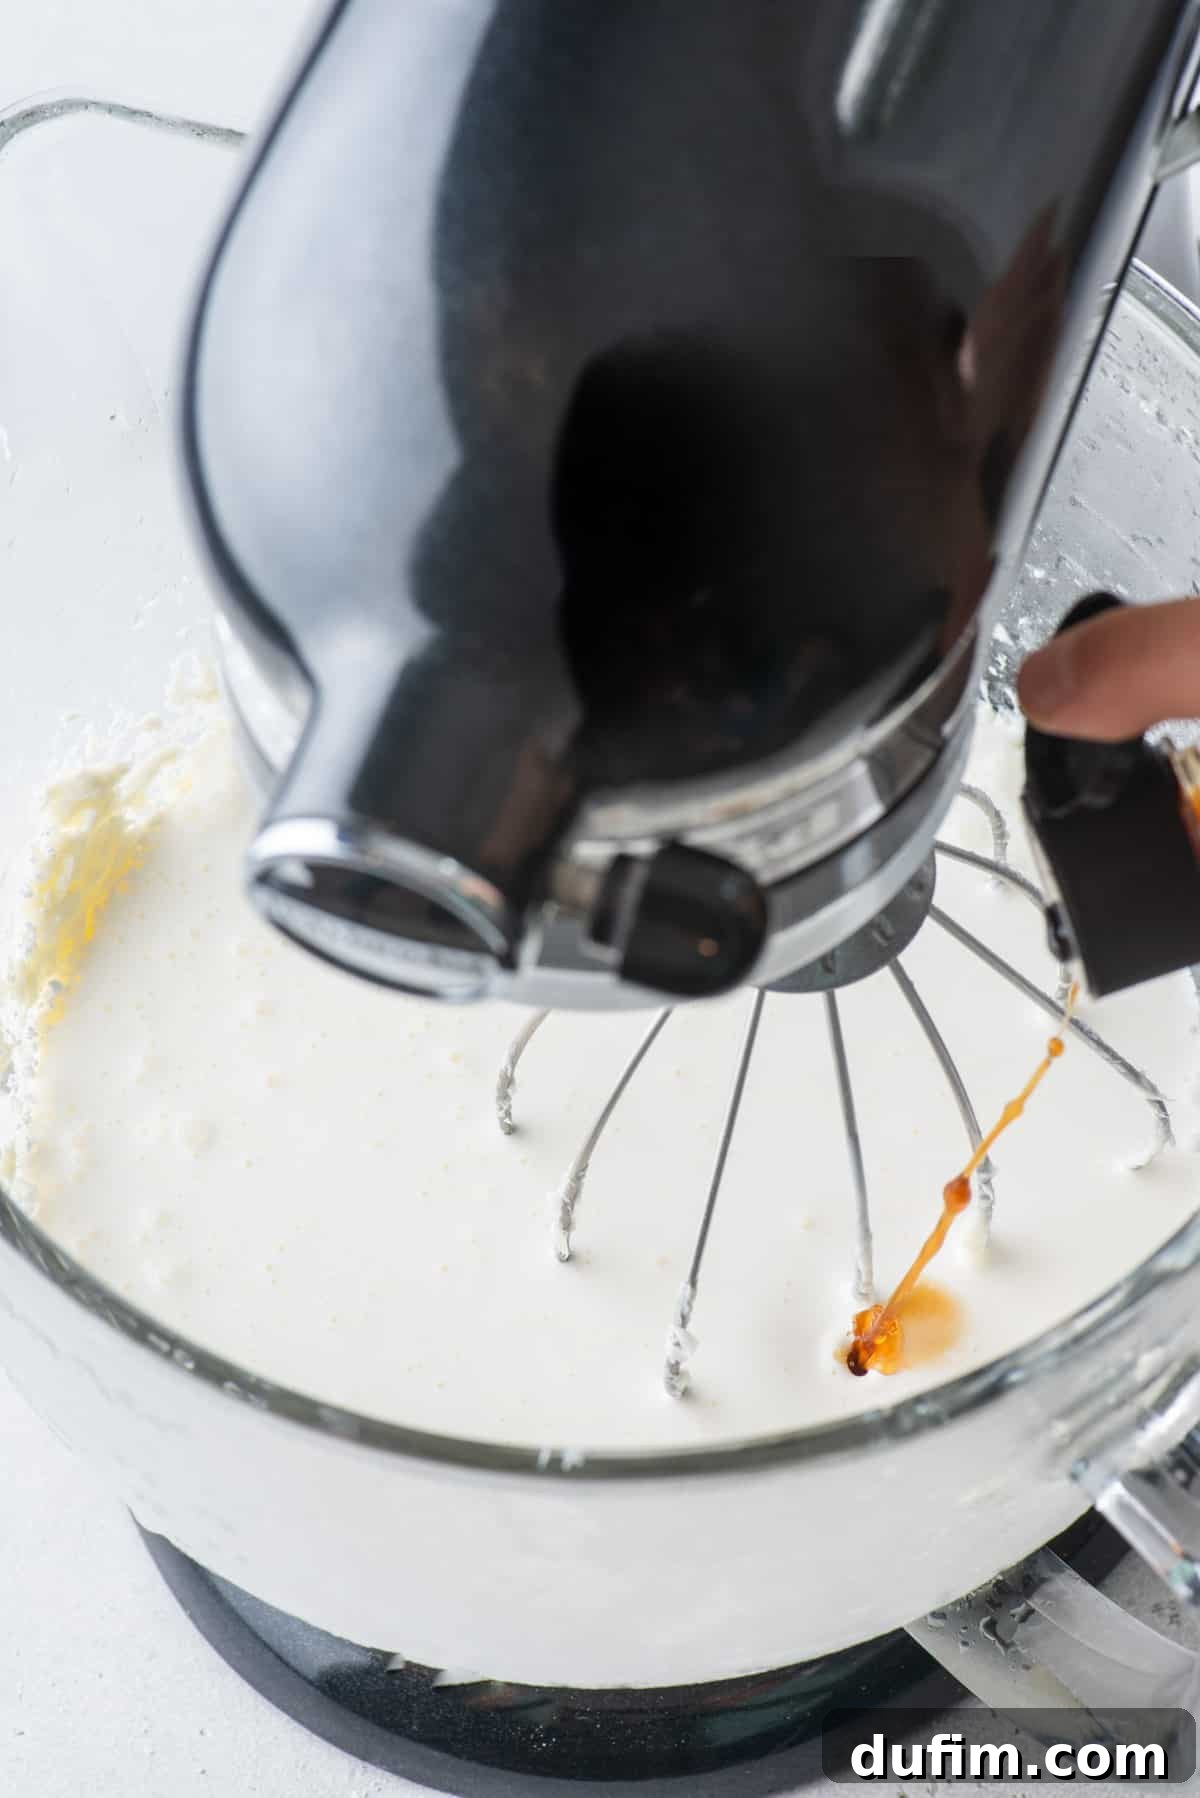
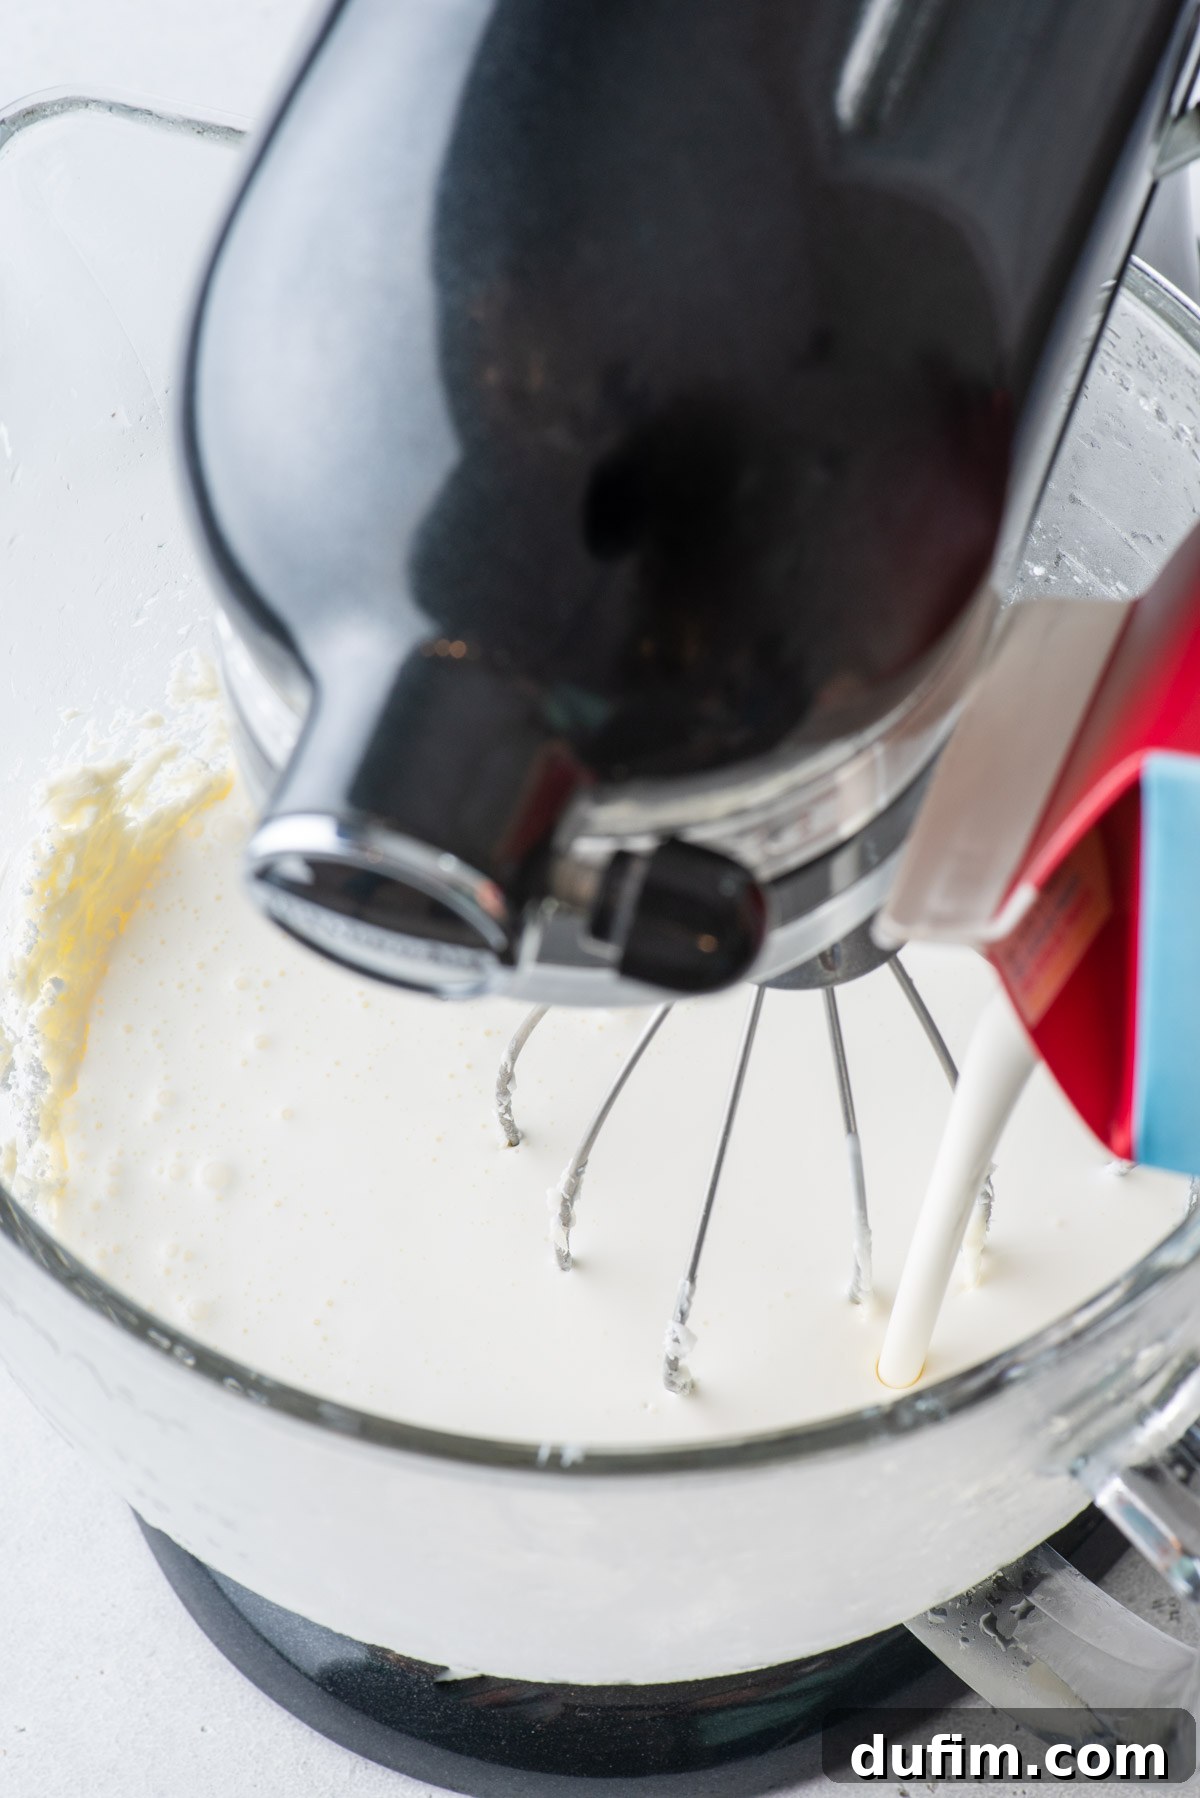
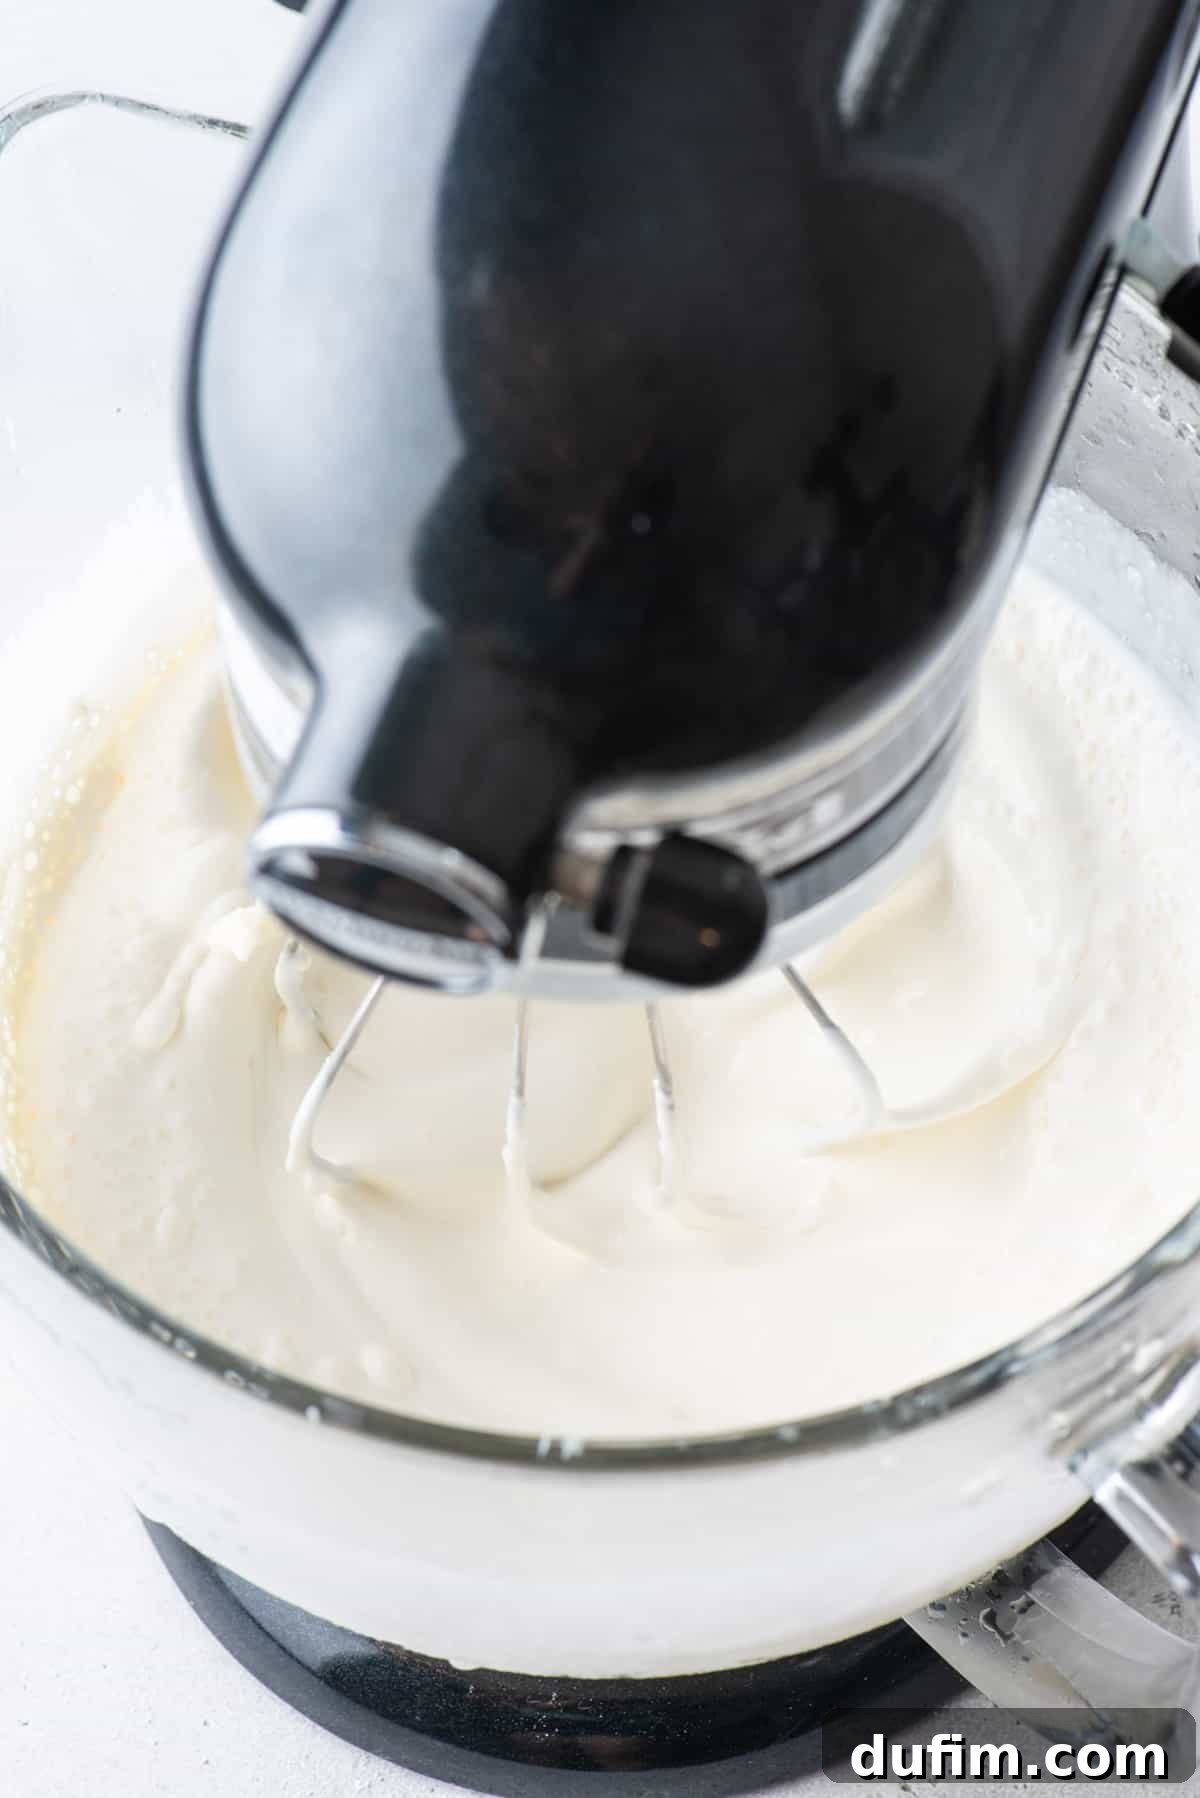
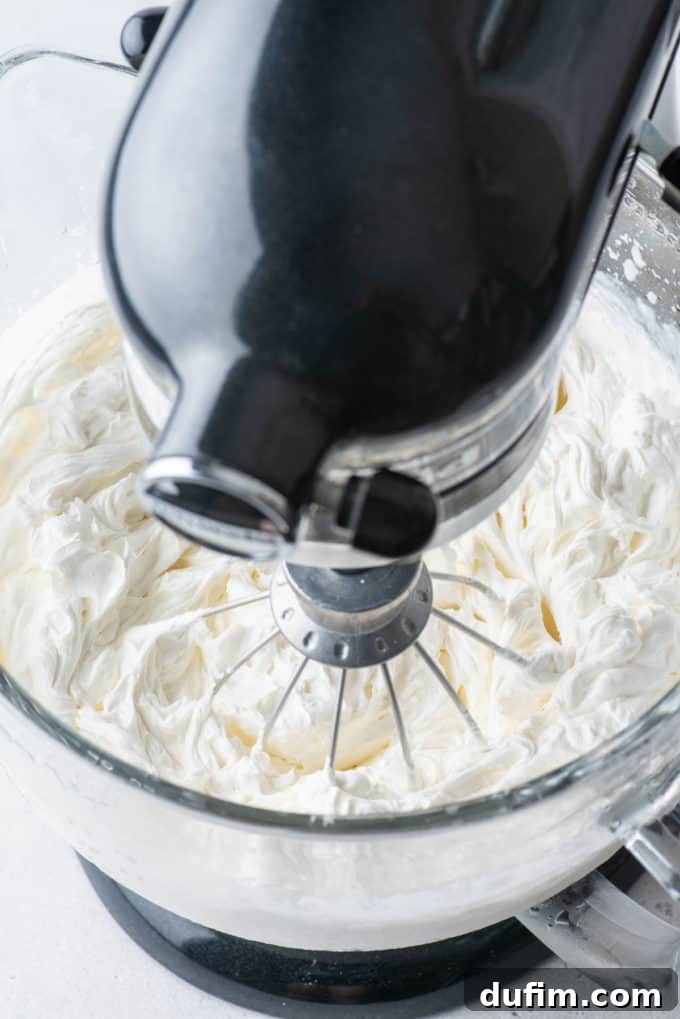
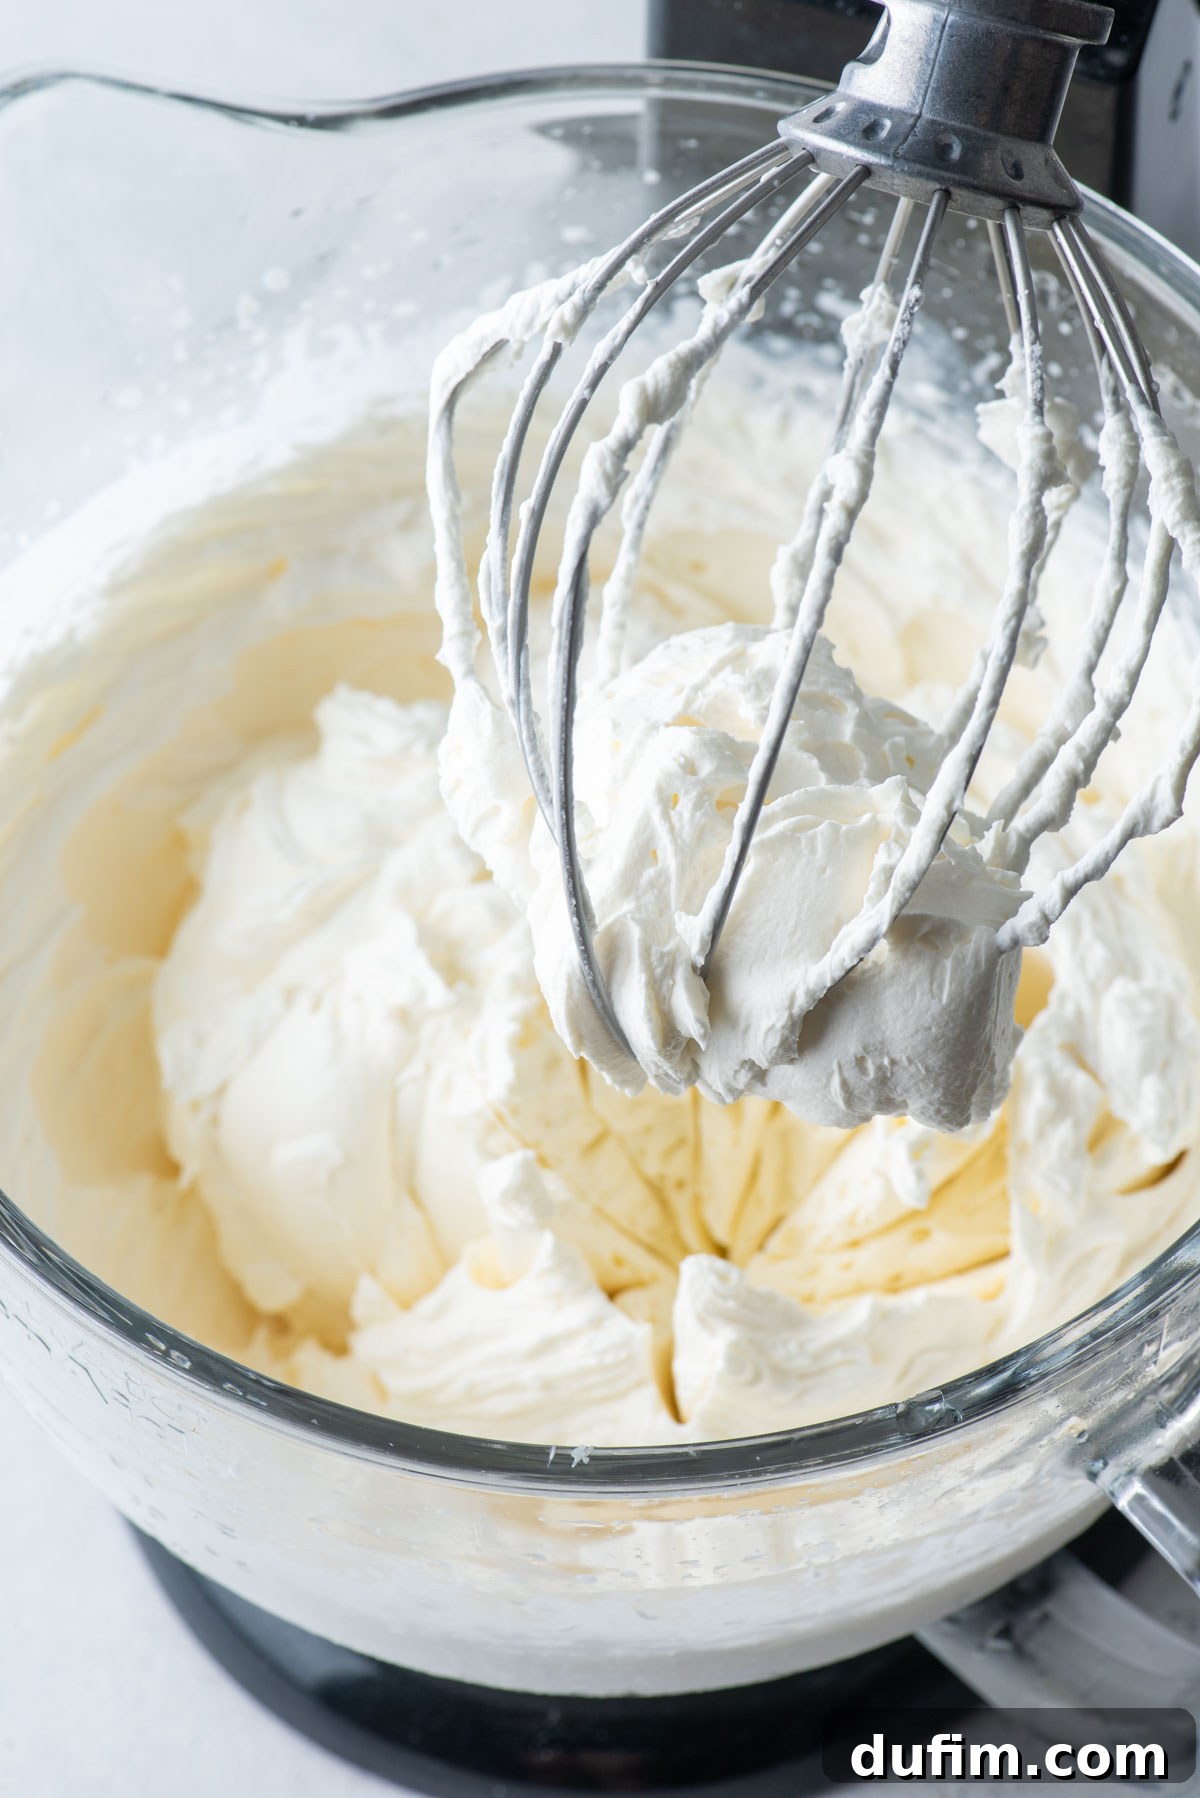
- Whip to Stiff Peaks: Pour the cold heavy whipping cream and vanilla extract into the bowl with the cream cheese mixture. Begin beating with your electric mixer on medium-low speed for about 30 seconds to combine the ingredients without splashing. Then, increase the speed to high and continue beating for 4-5 minutes. The whipped cream is ready when stiff peaks form—meaning when you lift the beaters, the peaks hold their shape firmly and do not droop. The mixture should also be scoopable with a spoon and retain its form. Be careful not to over-whip, as this can turn the cream grainy.
- Serve and Store: Your perfectly stabilized whipped cream frosting is now ready to be used! Pipe it onto cakes, swirl it over cupcakes, dollop it onto pies, or add a luxurious touch to hot cocoa. For any leftovers, transfer them to an airtight container and store in the refrigerator for up to 3 days. This stabilized version holds its shape much better than traditional whipped cream, making it excellent for make-ahead desserts.
Creative Ways to Utilize This Homemade Stabilized Whipped Cream
The versatility of this stabilized whipped cream recipe is truly remarkable. It goes far beyond a simple topping; it can act as a creamy dip, a robust frosting, or an elegant filling. Here are some of my favorite recipes and ideas that are simply perfect for pairing with your freshly made, stabilized whipped cream:
- Strawberry Pretzel Jello Salad: A classic layered dessert that absolutely sings with a stable, creamy topping.
- Fluff salad recipes like cherry fluff and pineapple fluff: These light, airy salads benefit immensely from whipped cream that holds its structure.
- Cookies and Cream Ice Cream Cake: Use it as a frosting or a luscious layer within the cake for added richness.
- Chocolate Lasagna: The perfect fluffy top layer for this indulgent no-bake dessert.
- Cherry Delight: A harmonious blend of sweet and tart, enhanced by creamy whipped topping.
- Paula Deen’s Banana Pudding: Elevate this Southern classic with a homemade, stable whipped cream layer instead of meringue.
- Strawberry Shortcake Cupcakes: The ideal fluffy “shortcake” topping that won’t melt away.
- Topping for Angel Food Cake: Its lightness pairs beautifully with the airy texture of angel food cake.
- Banana Cream Pie: A crucial, creamy element that brings the pie together.
- No Bake Pumpkin Pie: A seasonal favorite, perfectly complemented by a robust whipped topping.
- Kool Aid Pie: Add a burst of vibrant flavor with a creamy, stable crown.
- No Bake Lemon Pudding Pie: The tangy lemon finds a perfect partner in the sweet, creamy topping.
- No Bake Cheesecake: Use it as a light and airy topping or fold it into the cheesecake batter for an even lighter texture.
- Fruit Dip: Serve it alongside a platter of fresh berries, sliced bananas, apple wedges, and melon for an irresistible party appetizer or healthy dessert.
- Hot Beverage Topping: Spoon it generously onto hot cocoa, coffee, or even a fancy chai latte for a cafe-quality treat.
- Parfaits and Trifles: Layer it with fruit, cake pieces, and other creamy elements to create stunning individual desserts that hold up beautifully.
Storing Your Stabilized Whipped Cream Frosting
To keep your homemade stabilized whipped cream fresh and delicious, transfer any leftovers to an airtight container immediately after use. Store it in the refrigerator for up to three days. While it offers significantly better stability than regular whipped cream, it won’t last as long as store-bought versions due to the absence of the numerous artificial preservatives and stabilizers typically found in commercial products. Always enjoy your homemade creations fresh for the best taste and texture!
Frequently Asked Questions About Stabilized Whipped Cream
Stabilizing whipped cream is crucial for several reasons. It dramatically extends its shelf life, preventing it from deflating or losing its beautiful structure over time. This makes it ideal for decorating cakes and pastries that need to hold their shape, especially for events or when prepared in advance. Stabilization also prevents weeping, where liquid separates from the cream, ensuring a consistently pleasant texture.
Yes, absolutely. For the best results and food safety, stabilized whipped cream should always be refrigerated until you are ready to serve it. While its stabilization allows it to resist deflating for longer at room temperature, it is still a dairy product. Heat can significantly alter its taste, texture, and freshness. Avoid leaving it out for more than a few hours, especially in warm environments.
Stabilized whipped cream offers improved resilience compared to its unstable counterpart. It can generally remain stable at moderate room temperature (around 70°F or 21°C) for up to 2 hours. However, if your room is particularly warm or humid, it’s always safer to refrigerate your dessert until just before serving. Prolonged exposure to heat will eventually compromise its texture and freshness.
While both begin with heavy cream and sugar, their key difference lies in their stability and intended use. Regular whipped cream is a simple mixture, air-whipped to a light, fluffy texture, perfect for immediate consumption as a casual topping. It quickly loses its volume and can become watery. Stabilized whipped cream, on the other hand, incorporates a thickening agent like gelatin or cream cheese. This agent forms a robust structure that allows the whipped cream to maintain its texture and volume for much longer, even under warmer conditions, making it ideal for elaborate decorations, frosting, or make-ahead desserts. The choice depends entirely on your specific dessert needs.
Yes, cream of tartar can provide some level of stabilization for whipped cream. As an acidic ingredient, it helps to strengthen the protein structure within the cream, making it less likely to deflate rapidly. However, its stabilizing effect is generally milder compared to more robust agents like gelatin or cream cheese. It can help maintain volume for a short period, but for long-lasting stability, other methods are typically more effective.
Yes, cornstarch is a popular and relatively simple way to stabilize whipped cream. When added in small quantities (typically about 1 tablespoon per cup of heavy cream), cornstarch absorbs some of the excess liquid in the cream, helping it hold its shape for a longer duration. While cornstarch-stabilized whipped cream won’t be as firm or durable as versions made with gelatin or cream cheese, it provides a good level of light stability and is a convenient option if you don’t have other stabilizers on hand.
If you choose not to stabilize whipped cream, it will quickly begin to lose its delicate texture and deflate. Without a structural agent, the air whipped into the cream will escape, causing it to become flat, watery, and less appealing. This process accelerates at room temperature or even after some time in the refrigerator. Unstabilized whipped cream is prone to separating, becoming a liquidy mess, and failing to hold any decorative shape. This makes stabilization essential for desserts that require a firm, attractive topping or will be served over an extended period.

Tap stars to rate!
Stabilized Whipped Cream
Beth
10
4 cups
Rate Recipe
Print Recipe
Equipment
-
Glass Mixing Bowl
-
KitchenAid 9-Speed Mixer
-
My Favorite Spatula!
Ingredients
- 2 oz (57g) cream cheese, room temperature
- ½ cup (57g) powdered sugar
- 2 cups (473ml) cold heavy whipping cream
- 1 tsp vanilla extract
Instructions
-
Place a metal or glass mixing bowl and beaters in the freezer for 15 minutes.
-
Remove the bowl from the freezer. Add the cream cheese and powdered sugar, beat with an electric mixer for 1 minute or until smooth and creamy.2 oz (57g) cream cheese, ½ cup (57g) powdered sugar
-
Add in the heavy whipping cream and vanilla extract, beat with an electric mixer for 4-5 minutes on high speed, or until stiff peaks form / it’s scoop-able with a spoon and holds its shape.2 cups (473ml) cold heavy whipping cream, 1 tsp vanilla extract
-
Use on cakes, cupcakes, pies, hot cocoa, etc. Place leftovers in a container and store in the fridge for up to 3 days.
Video
Nutrition
Carbohydrates: 10g |
Protein: 2g |
Fat: 24g |
Saturated Fat: 15g |
Polyunsaturated Fat: 1g |
Monounsaturated Fat: 6g |
Cholesterol: 74mg |
Sodium: 38mg |
Potassium: 66mg |
Sugar: 9g |
Vitamin A: 965IU |
Vitamin C: 0.4mg |
Calcium: 46mg |
Iron: 0.1mg
Nutrition Disclosure
All nutritional values are approximate and provided to the reader as a courtesy. Changing ingredients and/or quantities will alter the estimated nutritional calculations.
Like this recipe? Rate and comment below!