
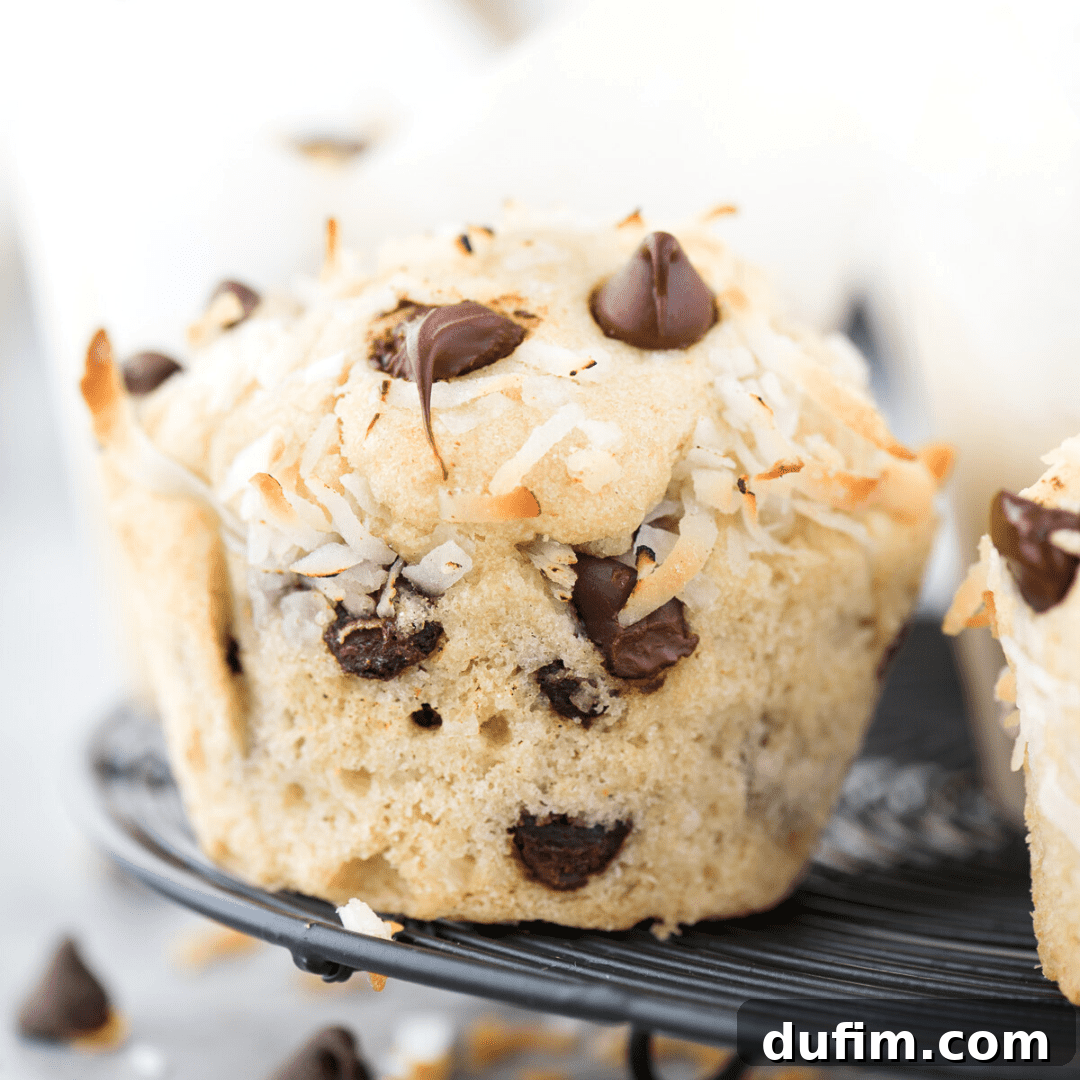
Indulge in the ultimate tropical escape with these exquisite Coconut Chocolate Chip Muffins, boasting an incredible four types of coconut for a truly unparalleled flavor experience. Each bite reveals a sweet, tender crumb infused with the perfect balance of rich coconut and decadent chocolate chips.
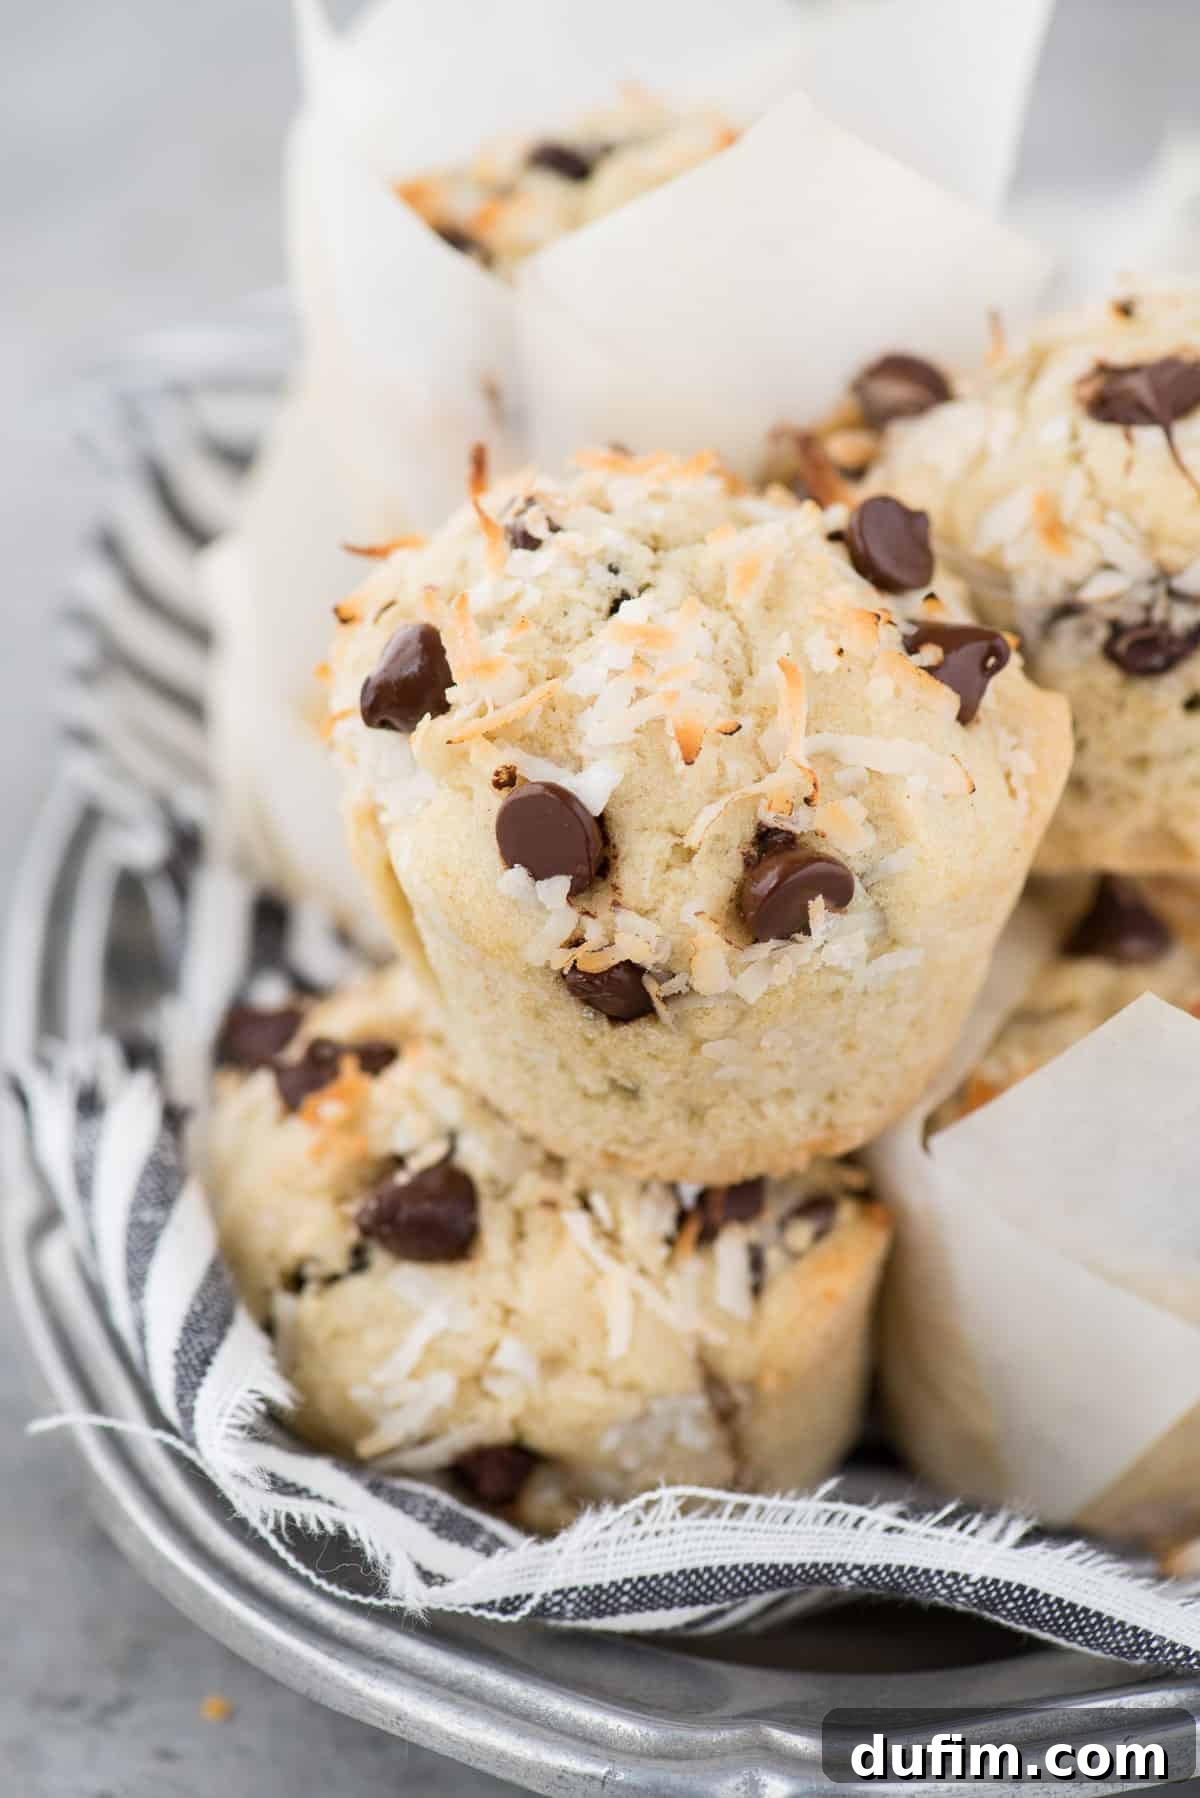
“I made these and they taste absolutely amazing! I can’t wait to bake more.”
– Angie
Are you ready to unlock the secrets to creating moist, fluffy, and flavor-packed coconut oil bakery-style muffins right in your own kitchen? This comprehensive guide provides all the expert tips, detailed explanations, and a foolproof recipe to transform your baking game. Muffins hold a special place in many hearts, and for good reason – they’re the quintessential anytime treat. Unlike brownies or cookies, which often feel reserved for specific occasions, muffins effortlessly fit into any part of the day, from a delightful breakfast to a satisfying afternoon snack. They truly are an irresistible indulgence, and I confess, a personal weakness I happily succumb to every time!
For a long time, I considered myself ambivalent about coconut. Its unique texture and robust flavor weren’t always my preference. However, my perspective completely shifted after trying some exceptional coconut cookies. That experience ignited a newfound appreciation for this tropical fruit, and it’s a love affair that deepens with every batch of these incredible coconut chocolate chip muffins. The flavor is so captivating that I’d even consider omitting the chocolate chips if I were aiming for a “healthier” version – though, let’s be honest, with half a cup of sugar, “healthier” remains a relative term when discussing these delightful baked goods!
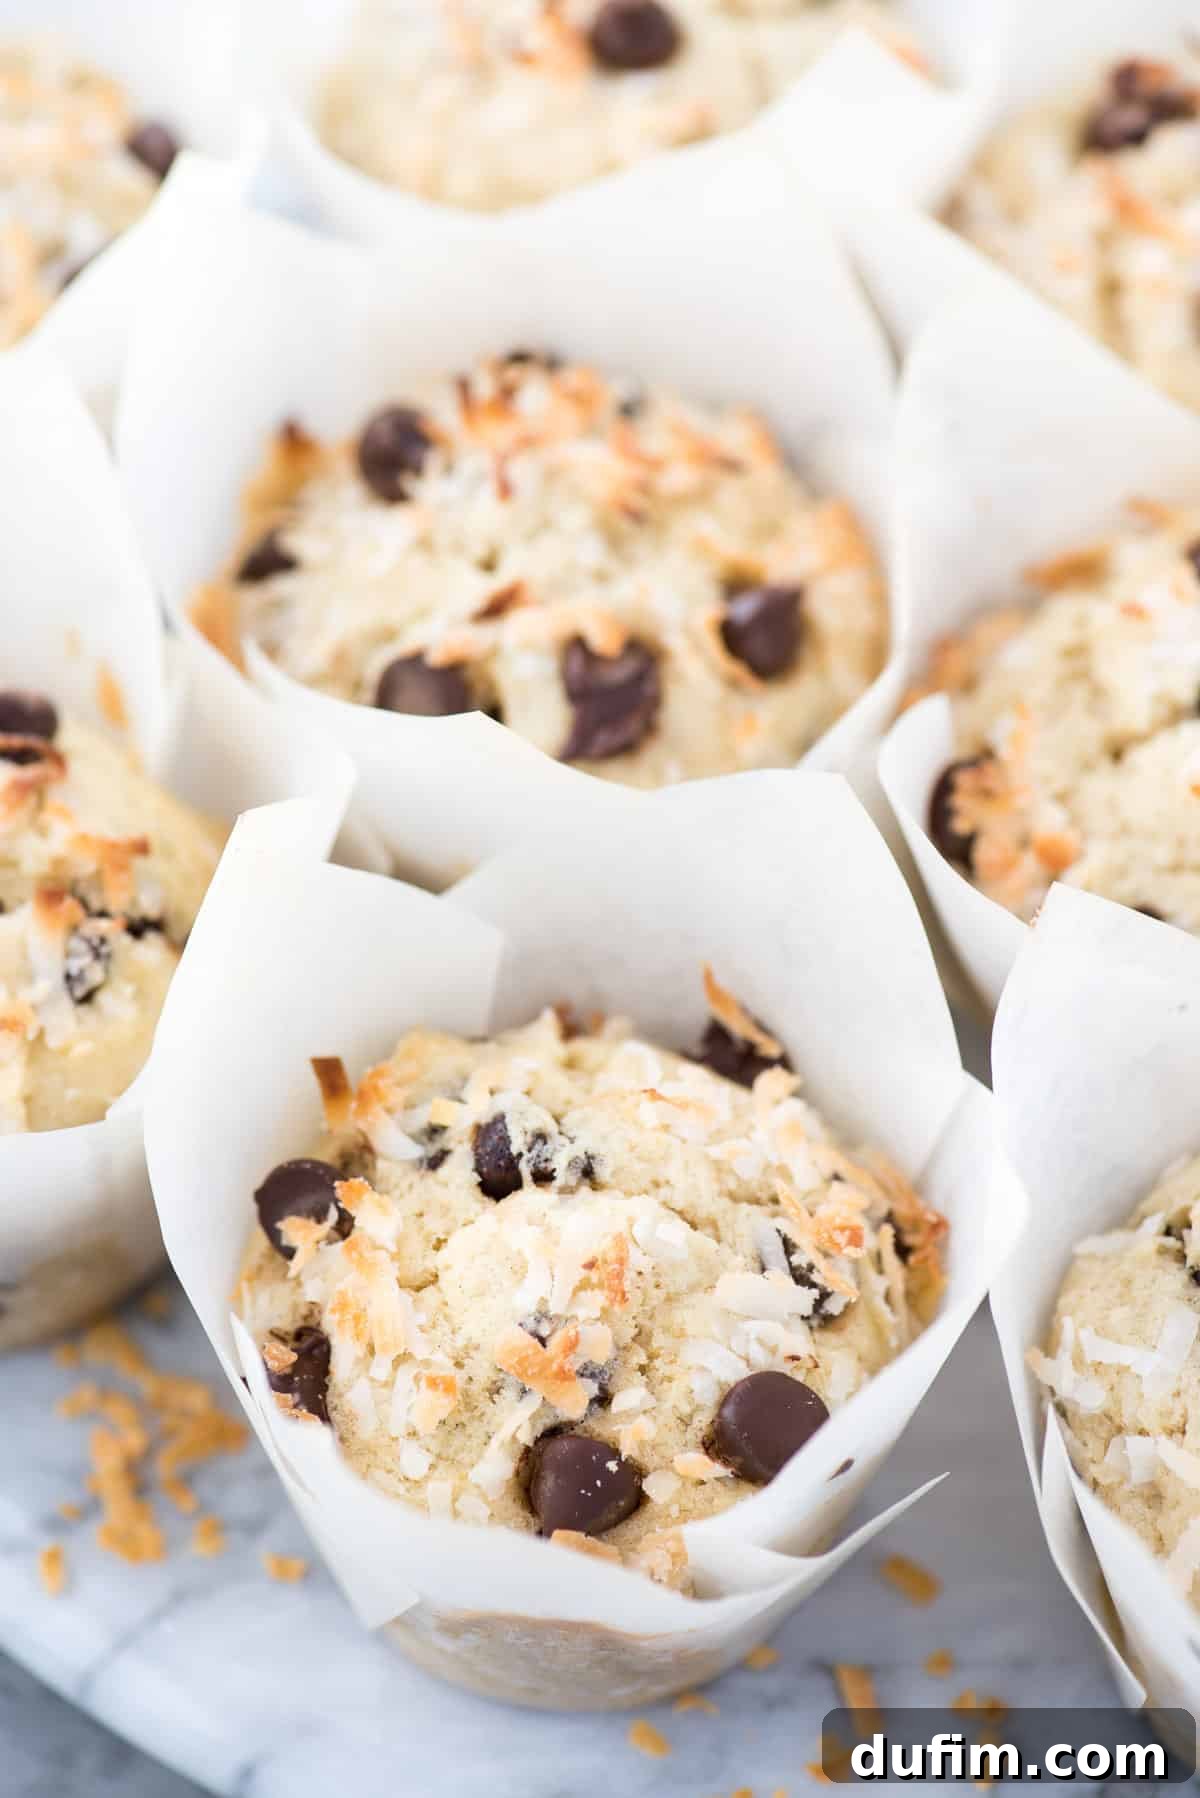
Crafting the Ultimate Coconut Muffins: A Symphony of Four Flavors
The secret to these truly exceptional coconut oil muffins lies in the careful layering of four distinct coconut elements. Each component plays a crucial role, contributing to the rich, multi-dimensional coconut flavor and perfect texture that sets these muffins apart. Understanding the contribution of each will help you appreciate the depth of flavor in every bite.
- Coconut Oil: More than just a fat, coconut oil adds a beautiful moistness to the muffins while imparting a delicate, subtle coconut undertone. It’s not meant to be the dominant coconut flavor, but rather a foundational note that enhances the overall profile. When choosing coconut oil, opt for virgin or unrefined coconut oil for a more pronounced flavor, or refined coconut oil if you prefer a less noticeable coconut essence. Should you need a substitute, an equal amount of vegetable oil or other neutral-flavored oil will work for texture, though you’ll miss the subtle coconut base.
- Coconut Milk: This ingredient is a game-changer for a rich, creamy texture and a significant boost of authentic coconut flavor. Using full-fat unsweetened canned coconut milk is key, as it provides a luxurious mouthfeel and healthy fats that keep the muffins incredibly tender. Unlike the thinner, refrigerated coconut beverages, canned coconut milk delivers concentrated flavor and richness. Shake the can well before opening to ensure the cream and liquid are thoroughly combined.
- Coconut Extract: A little goes a long way with coconut extract, which amplifies the tropical notes without overwhelming the other flavors. Just half a teaspoon can dramatically enhance the coconut aroma and taste, making the muffins truly sing. For me, the scent of coconut extract instantly conjures images of sun-drenched beach days and warm summer breezes, adding a sensory delight to the baking process. Ensure you use a high-quality extract for the best results.
- Shredded Coconut: Finally, shredded coconut brings both delightful texture and an additional layer of flavor. Whether you choose sweetened or unsweetened, fine or medium shreds, it adds a chewy element that perfectly complements the soft muffin crumb. Sweetened shredded coconut will add a touch more sweetness and moisture, while unsweetened will allow the pure coconut flavor to shine through. Don’t forget to sprinkle some on top before baking for a beautiful, golden finish!
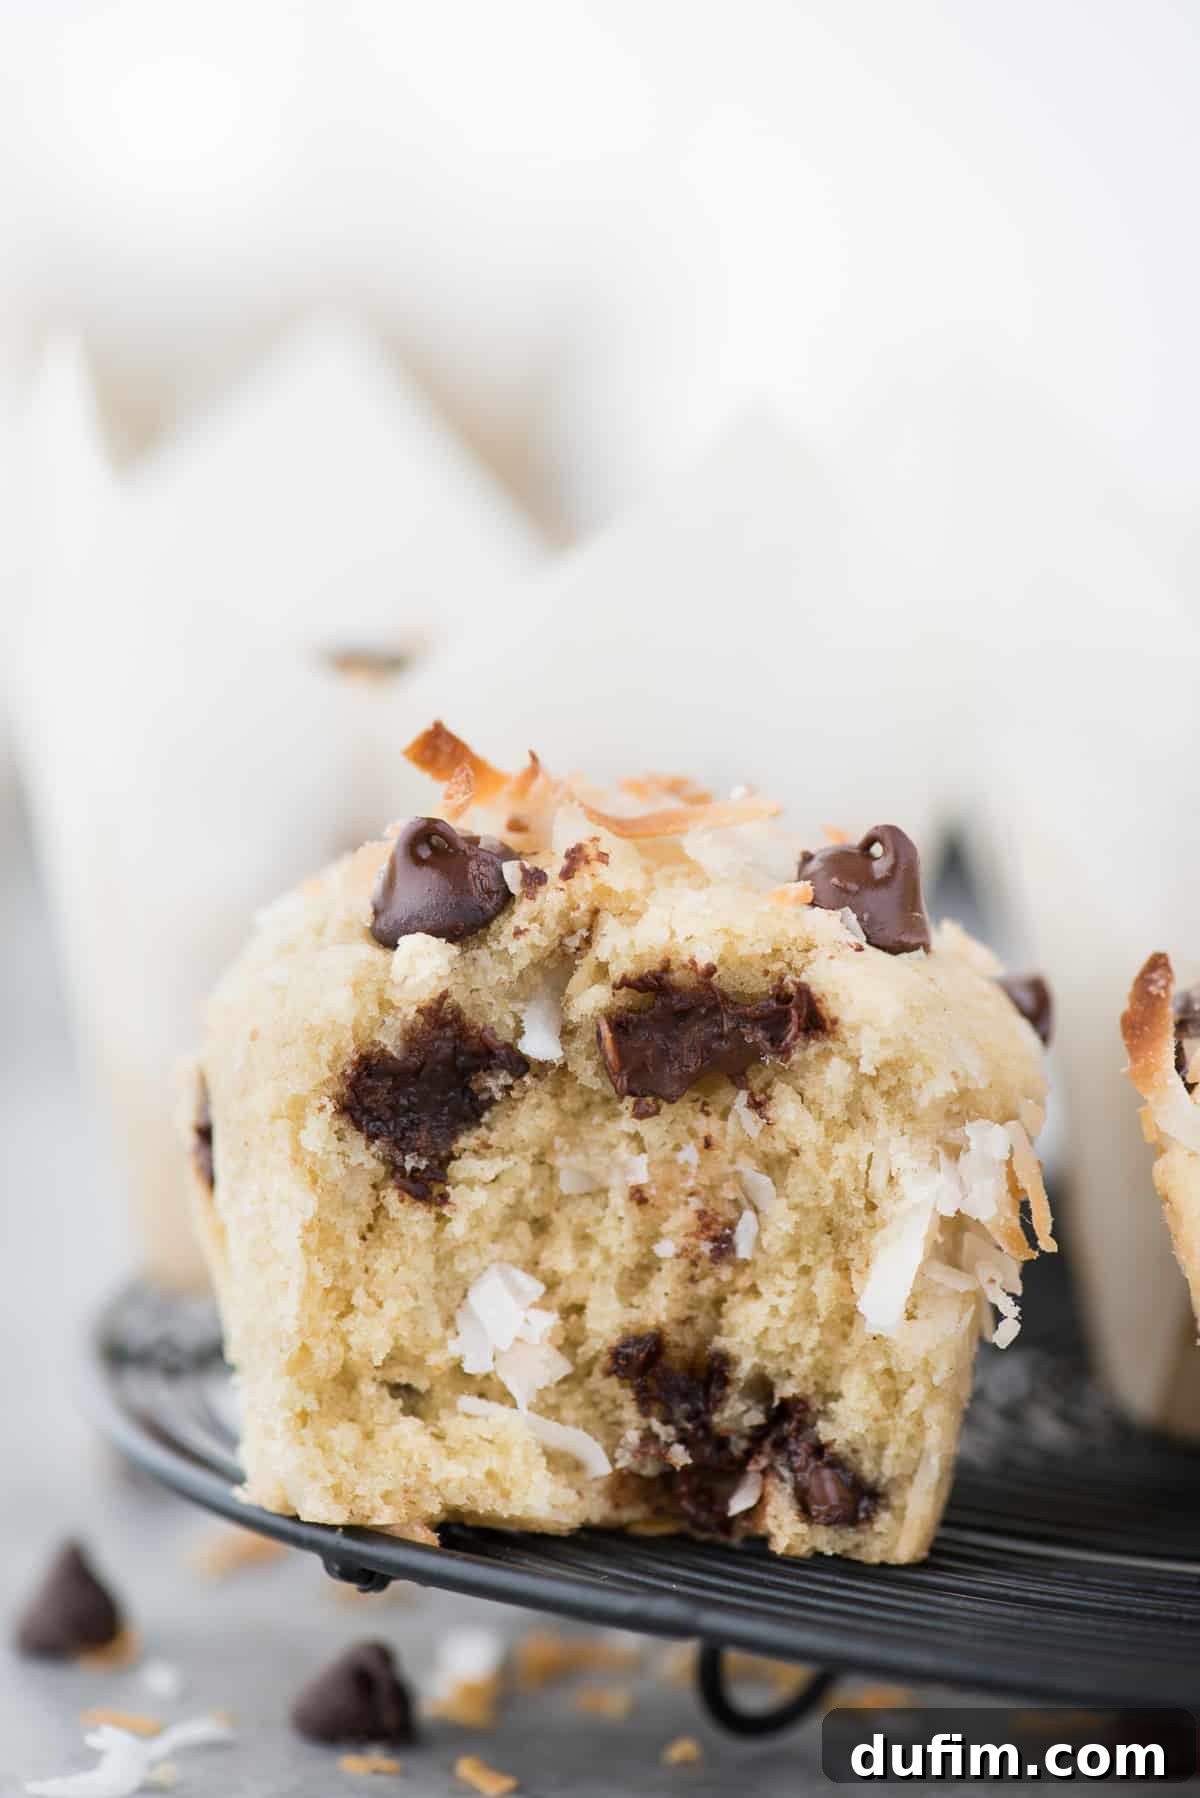
Mastering Bakery-Style Muffins: Achieving Those Signature Domed Tops
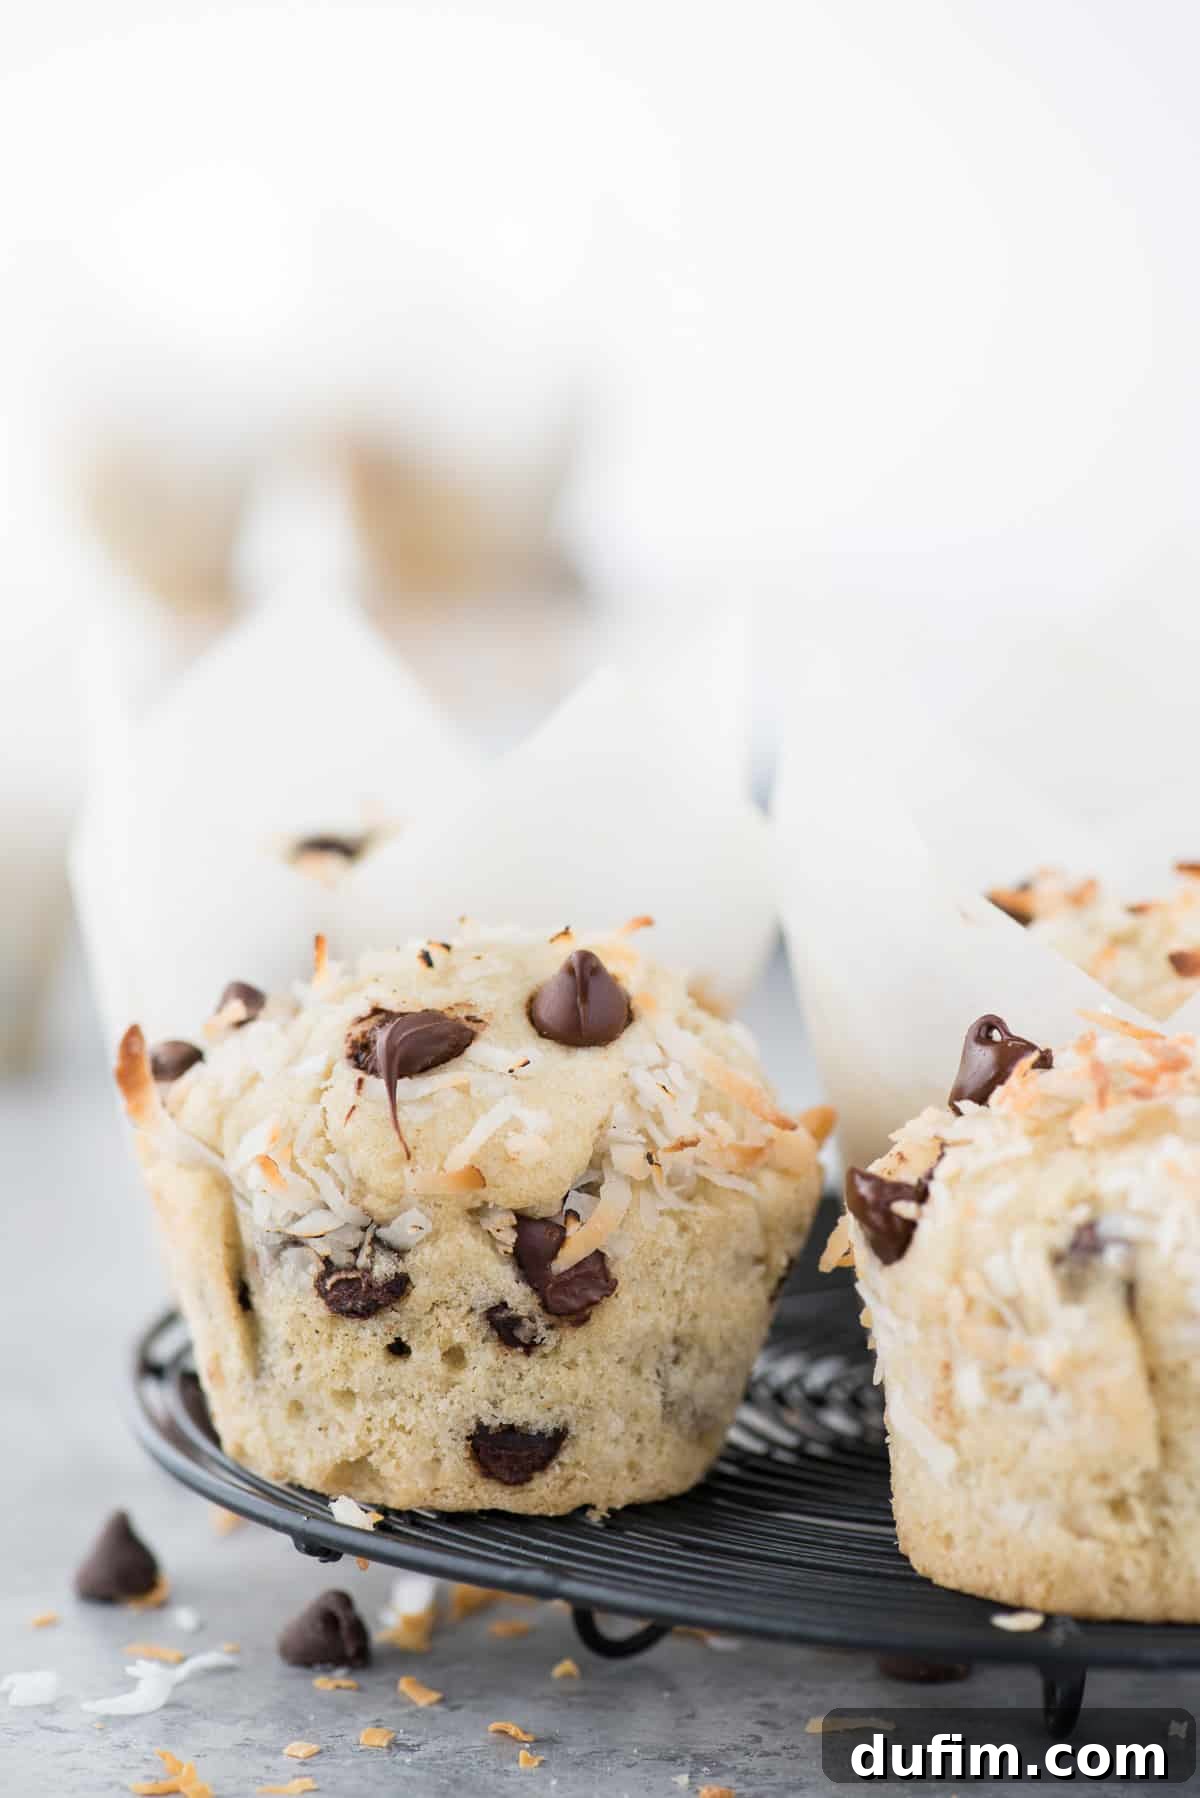
Everyone loves a muffin with that iconic, beautifully domed top – it’s a hallmark of a truly professional, bakery-style bake. Achieving this impressive lift isn’t just about aesthetics; it also contributes to the muffin’s overall texture and appeal. Fortunately, it’s a goal easily within reach with a few clever techniques that trick your batter into rising higher and prouder.
1. The Essential Rest Period for Muffin Batter
After you’ve gently mixed your muffin batter, resist the urge to immediately scoop it into the pan. Instead, cover the bowl with a clean towel and allow the batter to rest for at least 10 to 15 minutes. This seemingly simple step is a secret weapon. During this crucial resting period, the starch molecules in the flour begin to absorb the liquid components of the batter. As they absorb moisture, these starch molecules swell, leading to a noticeably thicker consistency in your batter (a technique often highlighted by baking experts like The Kitchen Whisperer). This thickening is vital; a denser batter holds its structure better and is more capable of creating those impressive domed tops.
For even more dramatic results, you can extend the rest period significantly. Covering the dough and refrigerating it for an hour, or even overnight, will allow for maximum hydration and thickening. The longer the batter rests, the more developed its structure becomes, translating directly into taller, more perfectly domed muffins. This extra waiting time is well worth the payoff!
2. Initiate Baking at a High Temperature
This technique is a cornerstone of bakery-style muffins. Begin by preheating your oven to a high temperature, specifically 425ºF (220ºC). Bake your muffins at this temperature for the initial 7 minutes. The sudden blast of high heat causes the outside of the muffin to set quickly, while the leavening agents (baking powder and baking soda) create a rapid burst of steam and carbon dioxide inside, forcing the batter to rise quickly and dramatically. This initial surge of heat is what creates that desirable domed shape. After 7 minutes, without removing the muffins from the oven, reduce the temperature to 375ºF (190ºC) and continue baking until they are golden brown and cooked through. This lower temperature allows the muffins to finish baking evenly without burning the tops.
3. Fill Your Muffin Liners to the Brim
Contrary to what many traditional recipes might suggest about filling liners only two-thirds full, for bakery-style muffins, you need to challenge that convention. To achieve maximum height and a grand dome, generously fill your muffin liners almost to the very top with batter. This abundance of batter provides more material to rise, pushing upwards and outwards to create those magnificent, overflowing muffin tops that are so characteristic of professional bakeries. Don’t be shy – this is a key step to impressive results!
Making Them Your Own: Gluten-Free and Dairy-Free Options
One of the joys of this recipe is its adaptability. I’ve successfully prepared these muffins using both traditional all-purpose flour and gluten-free alternatives on numerous occasions, always with fantastic results. For those following a gluten-free diet, I highly recommend using a high-quality “measure for measure” or “1:1” gluten-free flour blend. King Arthur’s Gluten Free Measure for Measure Flour has consistently delivered excellent outcomes, acting as a seamless one-for-one substitute for regular flour in this recipe. When baking with gluten-free flour, it’s particularly important not to overmix the batter, as this can lead to a dry or crumbly texture. Just mix until combined.
For a delicious dairy-free version, the transition is just as simple. The recipe already utilizes coconut oil and coconut milk, which are naturally dairy-free. The only remaining dairy component to address is the chocolate chips. Simply substitute the semi-sweet chocolate chips with your favorite dairy-free chocolate chips. Alternatively, if you prefer to omit the chocolate altogether, consider adding a handful of chopped nuts, such as almonds or macadamias, for a different but equally delightful texture and flavor profile. These adaptations ensure everyone can enjoy these heavenly coconut muffins!
Smart Storage: How to Freeze Muffins for Later Enjoyment
Yes, these delightful coconut milk muffins freeze beautifully, making them perfect for meal prep or ensuring you always have a delicious treat on hand. Proper freezing techniques are key to preserving their freshness and texture. First, allow the muffins to cool completely on a wire rack. Wrapping warm muffins will trap moisture, leading to sogginess or ice crystals.
Once fully cooled, I recommend wrapping two muffins together, bottom-to-bottom, in plastic wrap. This helps minimize surface exposure and prevents them from drying out or getting freezer burn. After individually wrapping, place all the wrapped bundles into a large freezer-safe ziplock bag or an airtight container. This double layer of protection is essential for long-term storage, keeping them fresh for up to 2-3 months.
When you’re ready to enjoy them, thawing is incredibly simple. You can either let them come to room temperature on the counter for a few hours, or for a quicker option, place as many as you need in the microwave. Heat them in 15-second intervals until they are warmed through and soft. For an extra touch of “freshly baked” goodness, you can also gently reheat them in a toaster oven for a few minutes until slightly crisp on the outside.
Those Charming Muffin Liners: Where Can I Find Them?
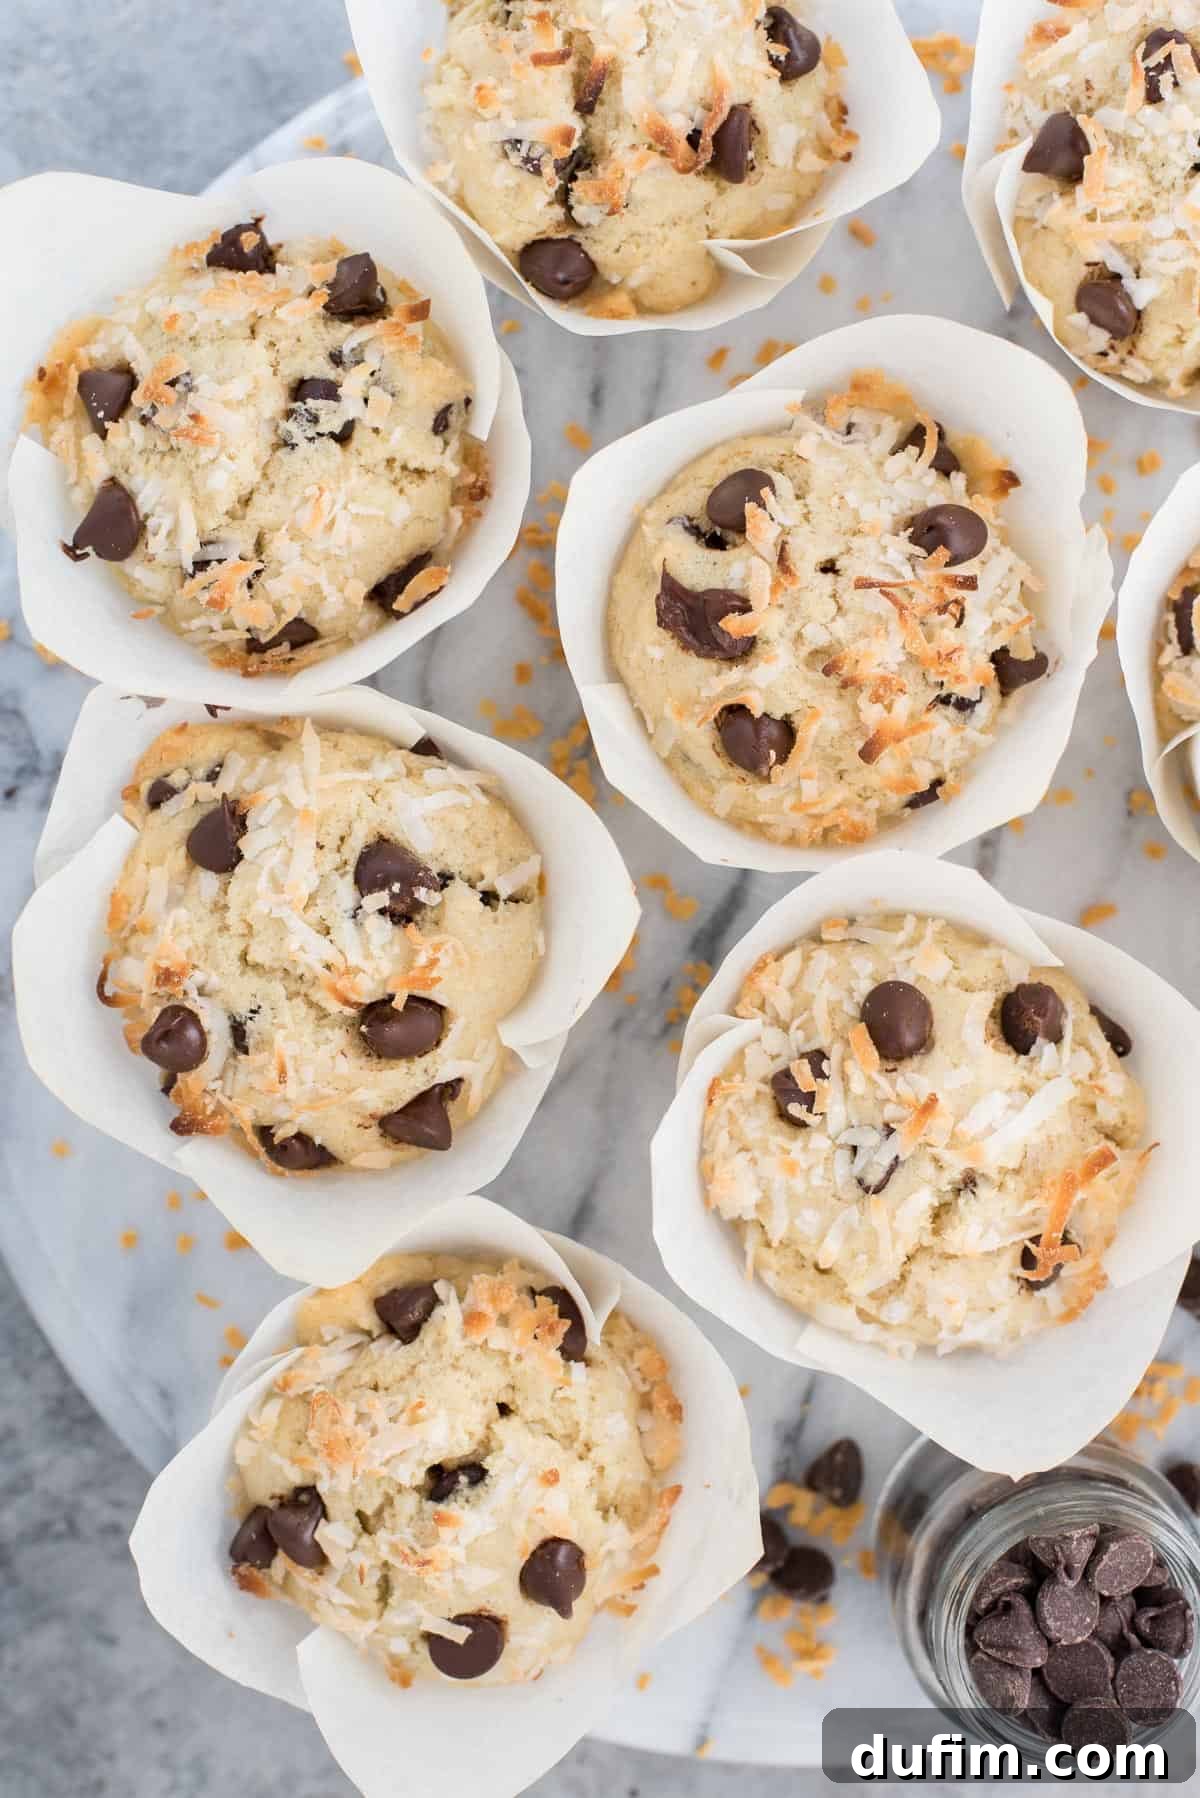
The elegant “tulip” style muffin liners add a lovely, professional touch to these bakery-style muffins. They not only look beautiful but also provide ample room for the muffins to rise and dome without overflowing. I sourced these tulip liners directly from Amazon, and they are widely available online through various baking supply retailers. They truly elevate the presentation of any muffin!
Explore More Muffin Recipes!
If you’ve fallen in love with these coconut chocolate chip muffins, you’re in for a treat! My collection of muffin recipes is constantly growing, offering a variety of flavors and styles to satisfy every craving. Here are some other beloved muffin recipes you might enjoy exploring:
- Pumpkin Muffins: A comforting fall favorite, perfect with a warm cup of coffee.
- Blueberry Muffins: A classic bakery staple, bursting with juicy blueberries.
- Lemon Poppy Seed Muffins: Zesty and bright, these are perfect for a refreshing breakfast or brunch.
- Strawberry Banana Muffins: A delightful combination of fruity flavors in a moist muffin.
- Banana Bread Muffins: All the goodness of banana bread, perfectly portioned into muffins.
Rated 4.50 from 32 ratings
Tap stars to rate!
Coconut Chocolate Chip Muffins
By: Beth
Additional Time: 30 minutes |
Total Time: 30 minutes |
Servings: 10-12 muffins
Rate This Recipe
Print Recipe
These coconut chocolate chip muffins feature FOUR types of coconut for a sweet, tender muffin with a perfect tropical flavor. Learn how to achieve bakery-style results with coconut oil in this detailed recipe!
Equipment
- My favorite spatula!
- Glass Mixing Bowl
- Muffin Pan
- KitchenAid 9-Speed Mixer
Ingredients
- 2 cups (240g) all-purpose flour **see note for gluten-free!
- 1 tsp baking powder
- ¼ tsp baking soda
- ½ cup (99g) granulated sugar
- ½ cup (113g) coconut oil, melted
- 1 cup (236ml) [unsweetened coconut milk from a can like this kind]
- 1 large egg
- 1 tsp vanilla extract
- ½ tsp coconut extract
- ½ cup (85g) semi-sweet chocolate chips, plus more for topping
- ⅓ cup (28g) sweetened shredded coconut, plus more for topping
Instructions
-
In a small mixing bowl, combine the flour, baking powder, and baking soda. Set aside.(2 cups all-purpose flour, 1 tsp baking powder, 1/4 tsp baking soda)
-
In a larger mixing bowl, combine the sugar, melted coconut oil, coconut milk, egg, vanilla extract, and coconut extract. Beat using an electric mixer for 1 minute, or until well combined.(1/2 cup granulated sugar, 1/2 cup coconut oil, 1 cup coconut milk, 1 large egg, 1 tsp vanilla extract, 1/2 tsp coconut extract)
-
Gradually add spoonfuls of the dry flour mixture to the wet ingredients, combining gently with a spatula. Be careful not to overmix; stop once just combined.
-
Fold in the chocolate chips and shredded coconut. Mix gently once more to distribute evenly.(1/2 cup semi-sweet chocolate chips, 1/3 cup sweetened shredded coconut)
-
Cover the bowl with a towel and allow the batter to rest for 15 minutes. During this time, preheat your oven to 425ºF (220ºC).
-
Line a muffin pan with muffin liners. We used these tulip liners. Fill the liners generously to the top with batter. Add a few extra chocolate chips and a sprinkle of shredded coconut to the tops of the muffins for an appealing finish.
-
Bake for 7 minutes at 425ºF (220ºC). Then, keeping the muffins in the oven, reduce the temperature to 375ºF (190ºC) and continue baking for 16-18 minutes, or until a toothpick inserted into the center comes out clean. Allow the muffins to cool for 10 minutes in the pan before carefully removing them to a wire cooling rack to cool completely.
Notes
This recipe yielded fantastic results when made with gluten-free flour! We highly recommend King Arthur Gluten Free Measure for Measure Flour for a successful one-to-one substitute.
Nutrition Information (Approximate Per Serving)
Calories: 345kcal | Carbohydrates: 36g | Protein: 4g | Fat: 21g | Saturated Fat: 17g | Polyunsaturated Fat: 1g | Monounsaturated Fat: 2g | Trans Fat: 1g | Cholesterol: 19mg | Sodium: 89mg | Potassium: 146mg | Fiber: 2g | Sugar: 15g | Vitamin A: 32IU | Vitamin C: 1mg | Calcium: 40mg | Iron: 3mg
Nutrition Disclosure
All nutritional values provided are approximate and are offered to the reader as a courtesy. Please note that changing ingredients and/or quantities will alter the estimated nutritional calculations.
Enjoyed this delightful recipe?
Please take a moment to rate it and share your thoughts in the comments below! Your feedback helps other bakers in our community.