
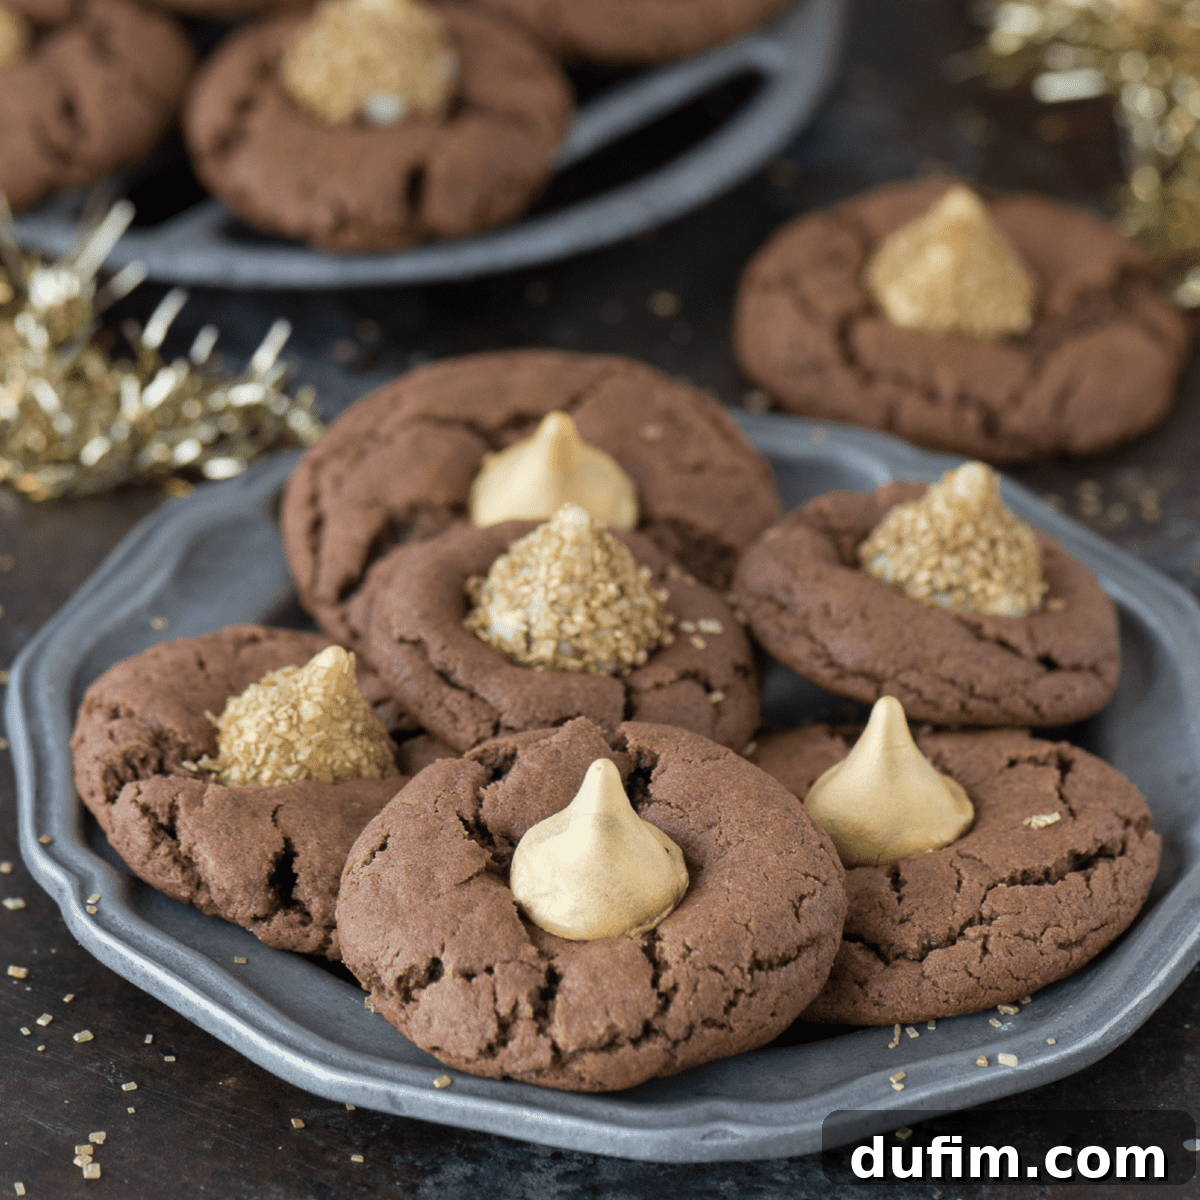
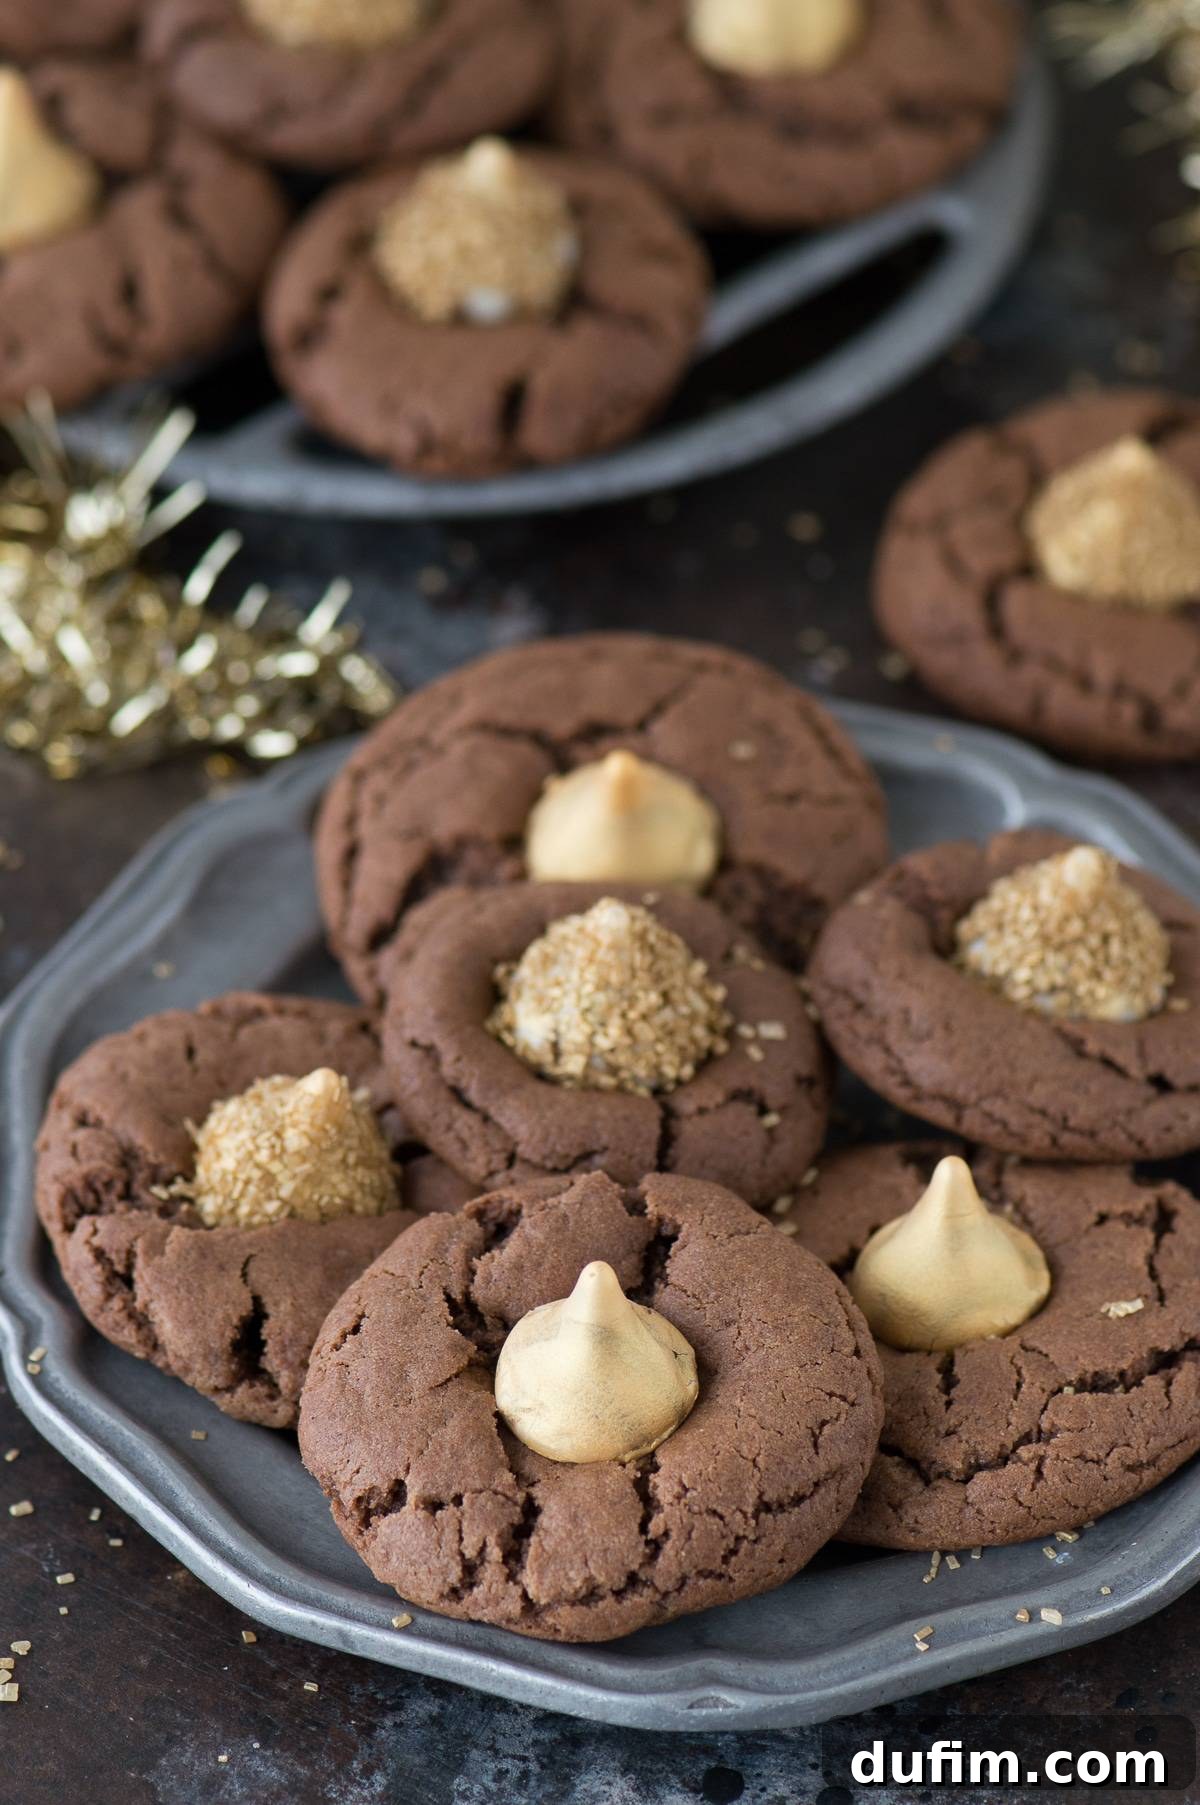
These Midnight Kiss Cookies are truly the best New Year’s Eve cookie! They offer a delightful spin on everyone’s favorite peanut butter blossoms, boasting a decadent chocolate cookie base crowned with shimmering gold Hershey’s Kisses.
I love this recipe. So easy and fun to make and eat!
-Hannah
Midnight Kiss Cookies: The Ultimate Sparkling Treat for New Year’s Eve
If you’ve followed my culinary adventures for a while, you know I have an undeniable passion for themed treats. There’s just something magical about baking and decorating desserts that perfectly capture the spirit of a holiday or special occasion. It’s a dream of mine to one day publish a cookbook entirely dedicated to themed desserts – envision sections overflowing with festive delights for Christmas, spooky sensations for Halloween, romantic confections for Valentine’s Day, and imaginative creations for various birthday party themes. Every holiday presents a unique opportunity to infuse creativity and joy into our kitchens, and New Year’s Eve is no exception.
As the year draws to a close, my mind naturally drifts to crafting the perfect celebratory dessert. This year, I donned my most (GOLD AND SPARKLY) thinking cap, determined to create something truly spectacular for New Year’s Eve. The result? These show-stopping Midnight Kiss Cookies, a recipe designed to bring sparkle and deliciousness to your countdown.
The Inspiration: A Dazzling Golden Vision for New Year’s Eve
Last year, my New Year’s Eve creations revolved around champagne. And while I may not be a drinker myself, I find that baking with champagne adds a wonderfully unique and festive flavor profile to desserts. It’s all about embracing the spirit of celebration in every bite!
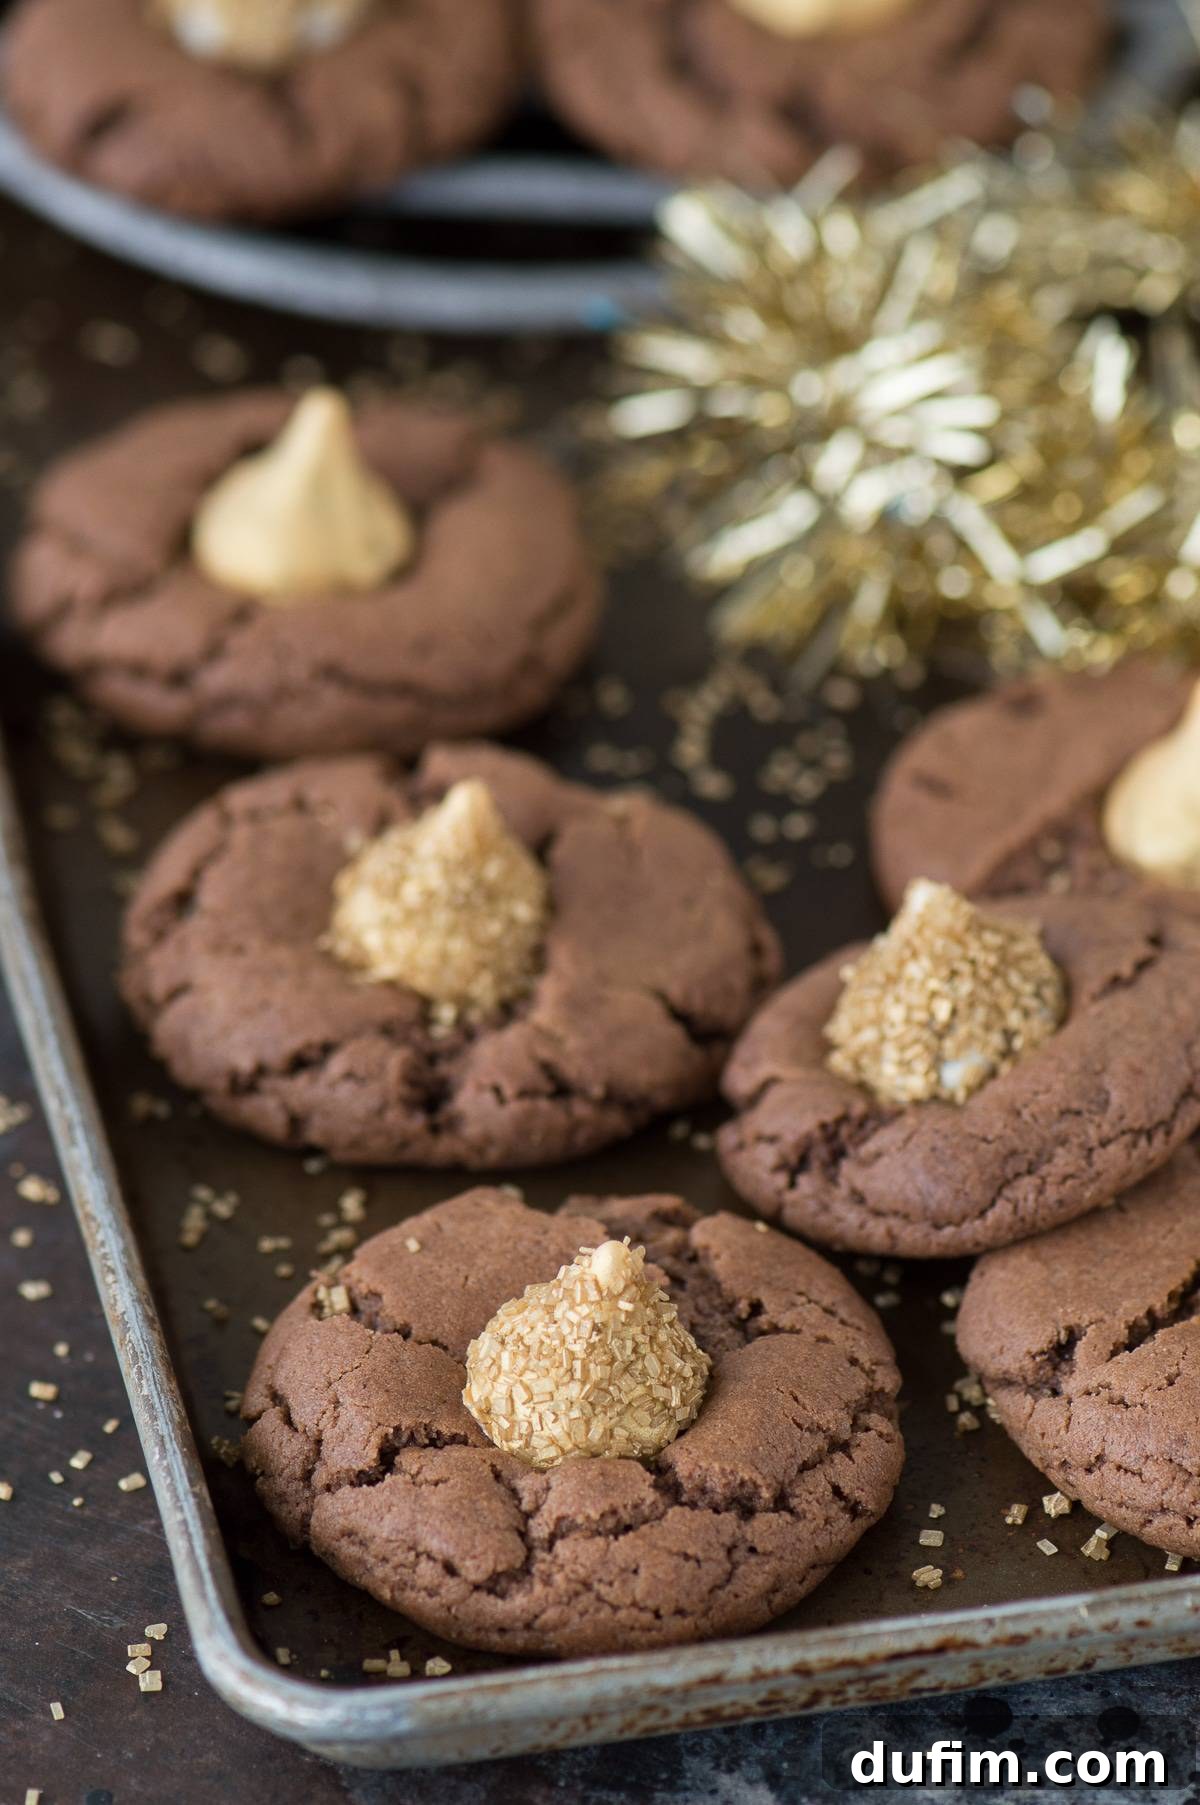
This year, however, my muse was undeniable: GOLD. And, naturally, sprinkles. So, primarily, gold sprinkles! My vision involved generously coating everything in edible gold spray paint. All these glistening elements converged beautifully to inspire this truly awesome recipe for Midnight Kiss Cookies. The idea was to create a cookie that not only tasted incredible but also looked absolutely stunning, perfectly embodying the glamour and excitement of welcoming a new year.
A Beloved Classic with a Festive Twist: The Chocolate Peanut Butter Blossom
At its heart, this Midnight Kiss Cookie recipe is a festive reimagining of the beloved peanut butter blossom – a classic cookie that holds a special place in the hearts of many, including my own! The traditional peanut butter blossom features a soft, chewy peanut butter cookie topped with a chocolate Hershey’s Kiss. For New Year’s Eve, I wanted to elevate this familiar favorite with a dramatic and celebratory flair.
Instead of a plain peanut butter cookie base, I decided to infuse it with rich cocoa powder, creating a decadent chocolate peanut butter foundation. This subtle yet significant change not only adds a deeper flavor dimension but also creates a beautiful dark contrast, allowing the vibrant gold Hershey’s Kisses to truly *pop* against the cookie. The rich chocolate base makes the gold shine even brighter, making these cookies an instant visual showstopper on any dessert table.
Crafting the Perfect Golden Kiss for a Midnight Moment
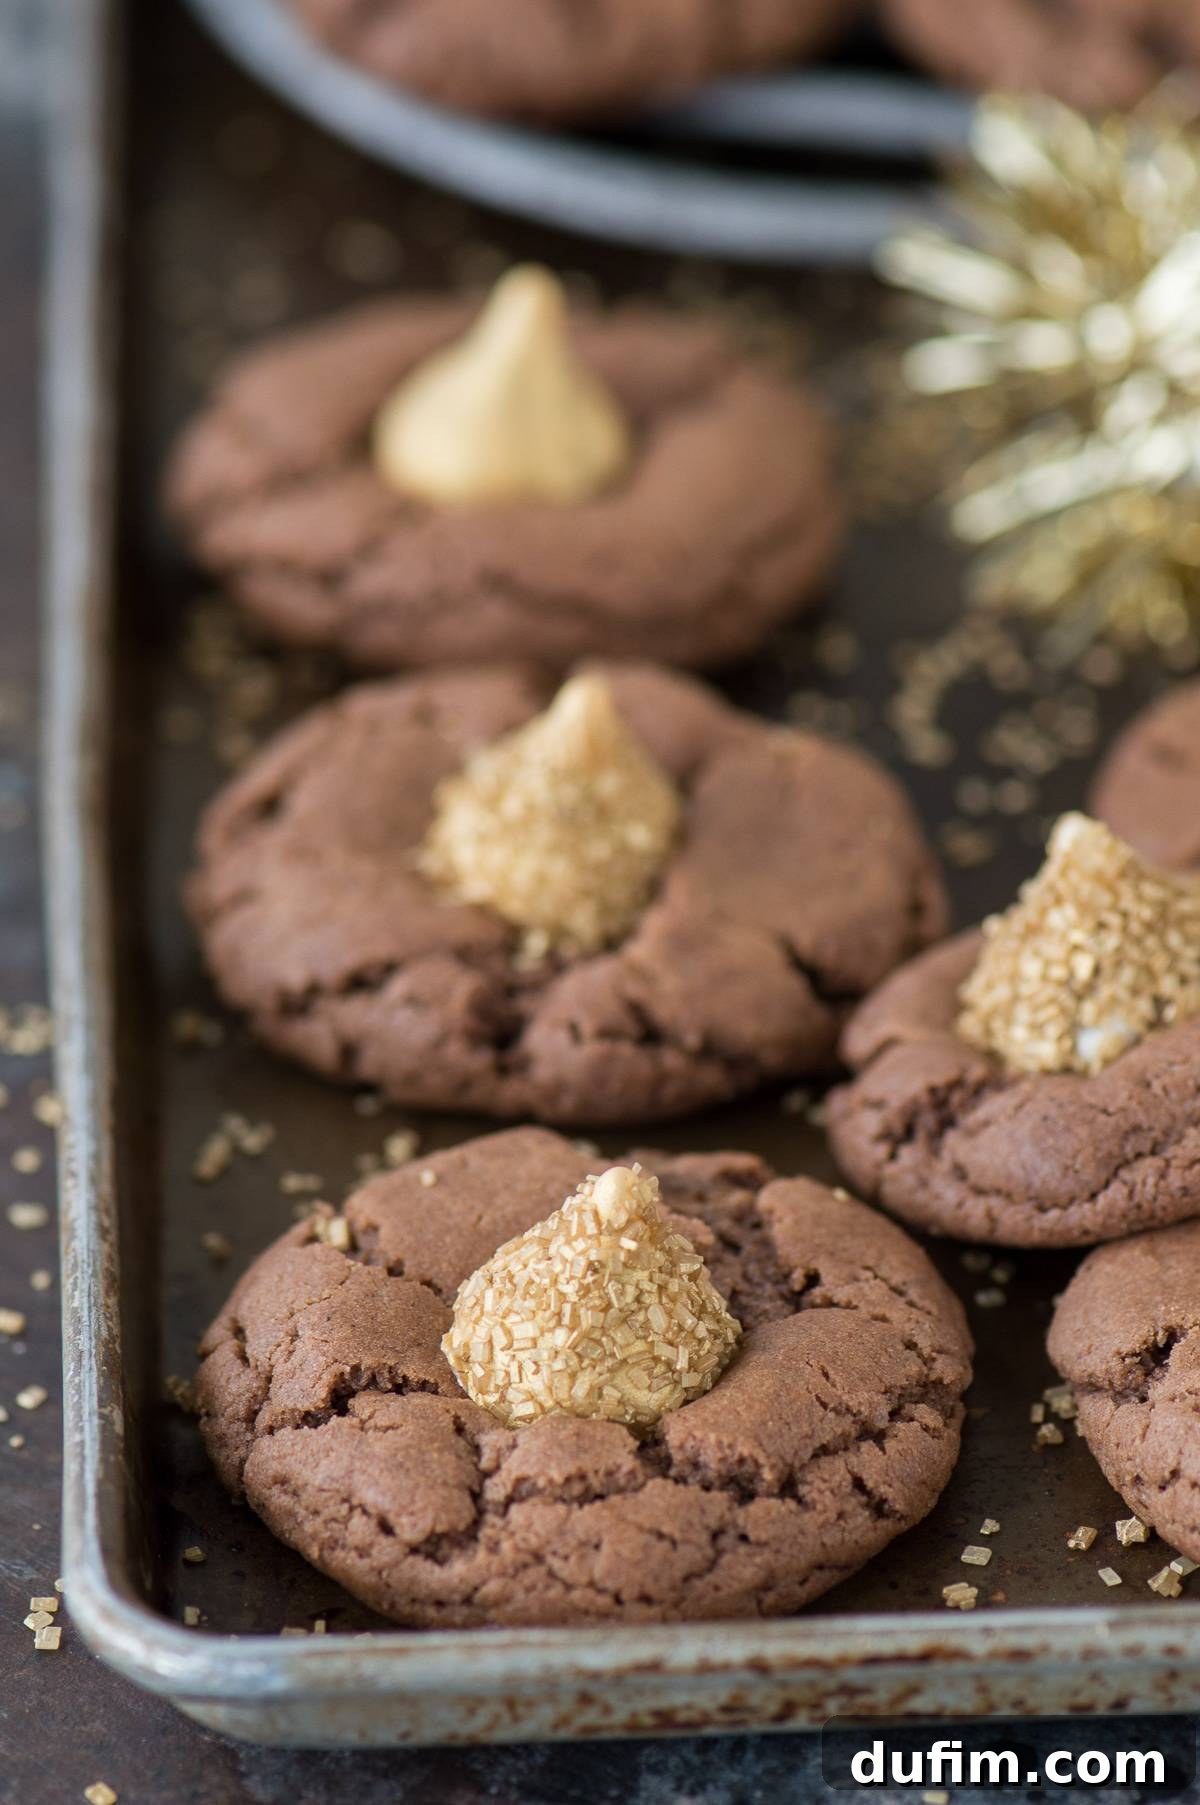
The signature element of these Midnight Kiss Cookies is, of course, the radiant gold Hershey’s Kiss. Achieving that perfect golden shimmer requires a little planning and the right ingredients. For the Kisses themselves, I opted for Hershey’s Hugs (those delightful white and chocolate striped ones). My original intention was to use the Cookies ‘n’ Creme variety, as their predominantly white exterior would provide an ideal light canvas for the edible gold spray paint. This would, I thought, ensure the gold appeared as brilliant as possible with fewer coats.
However, during a particularly hectic grocery store trip – the aisles crowded, a large shopping cart inconveniently blocking the view of the chocolate aisle – I momentarily forgot my specific plan. In a swift moment of decision, I grabbed the first bag of semi-white Kisses I could reach, which turned out to be the Hugs.
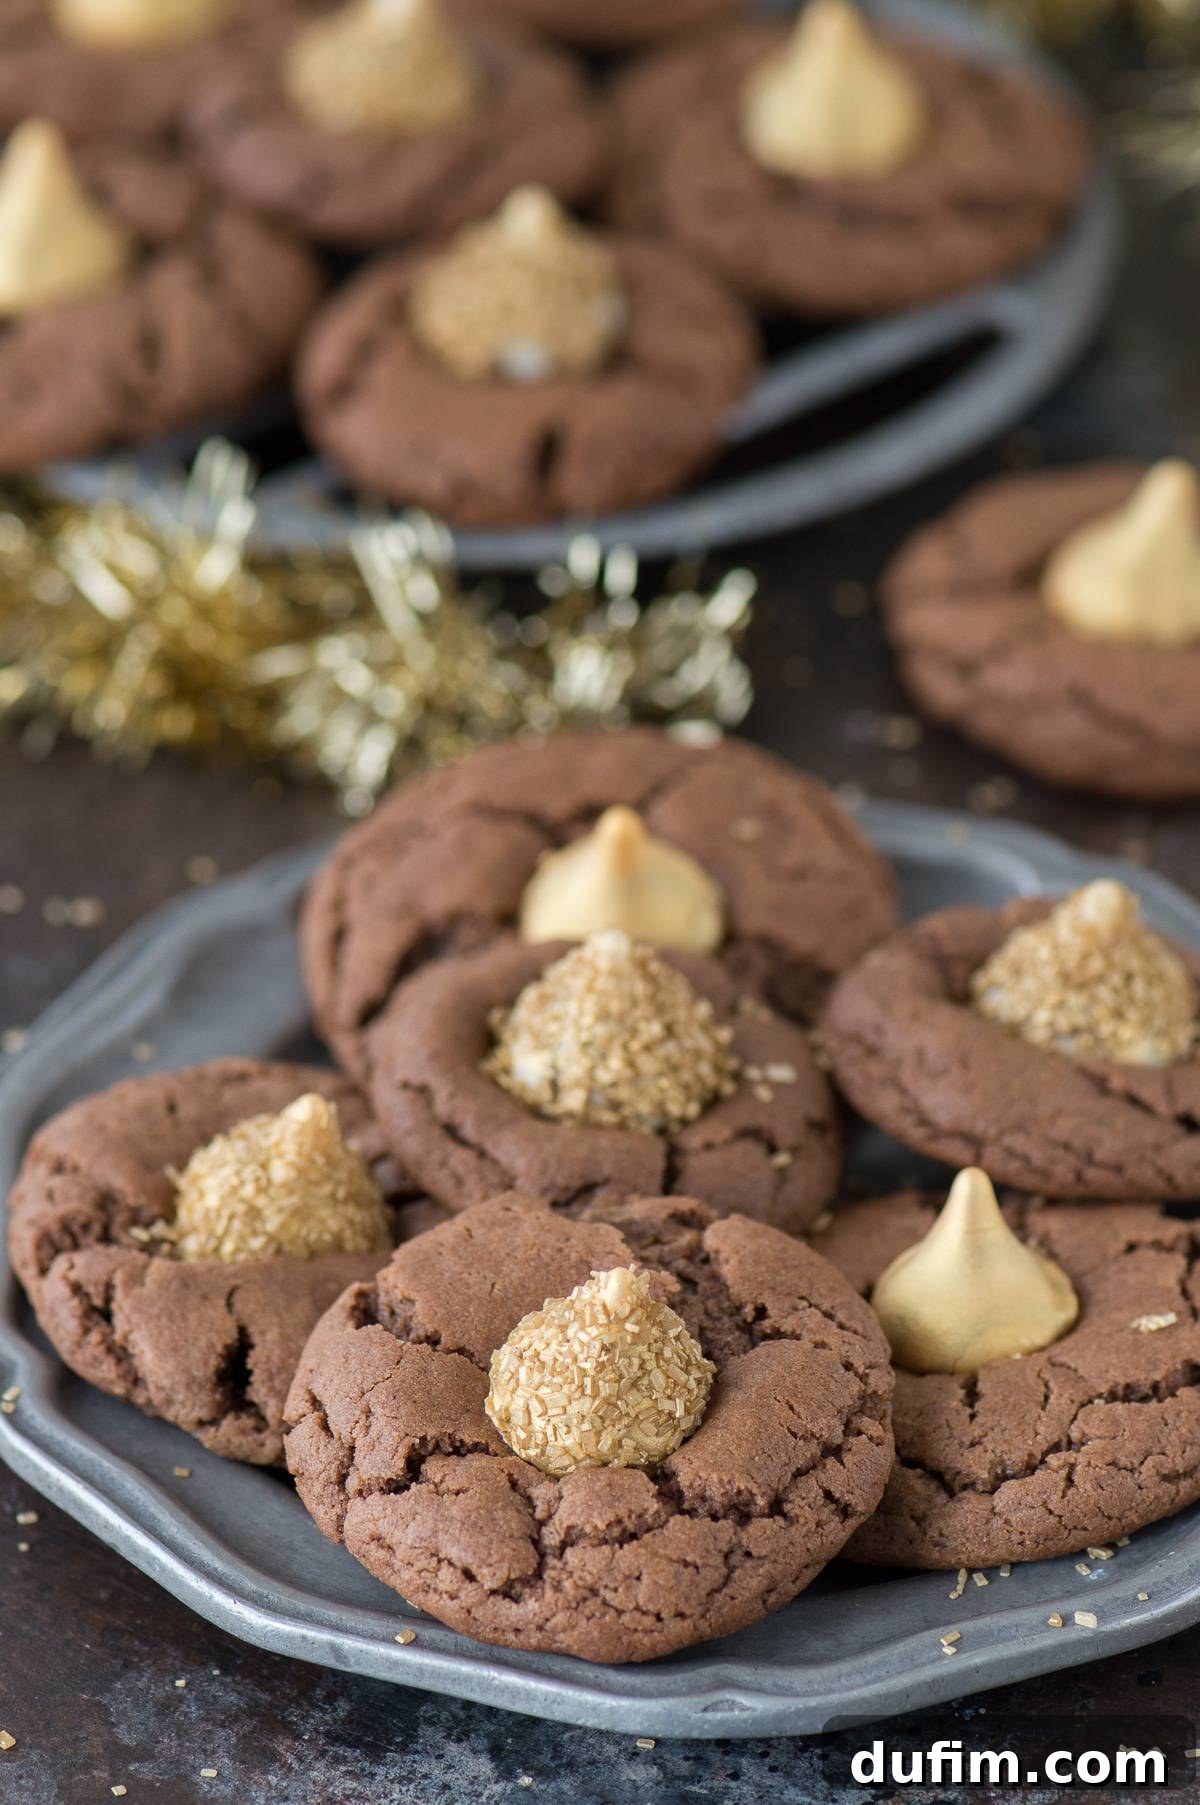
Despite the slight deviation from my initial plan, the Hugs worked out wonderfully! The Kisses shown in the photos, however, did require about three coats of edible gold spray paint to achieve that deep, lustrous golden hue. If you’re truly aiming for eye-catching, intensely GOLD Kisses, be prepared to apply a few layers. The key is patience: make sure to allow each coat of spray paint to dry completely before applying the next. This prevents streaking and ensures an even, brilliant finish.
For an extra touch of sparkle, I experimented with rolling some of the Kisses in gold sprinkles. Even with the sprinkles, I still applied three coats of spray paint. The trick here is timing: immediately after applying the third coat of spray, quickly roll each Kiss in a bowl of gold sprinkles. The edible spray paint dries relatively fast, so promptness is essential to ensure the sprinkles adhere beautifully. This creates an absolutely dazzling effect, making each cookie a mini work of art perfect for a celebratory toast.
And there you have it – the recipe for truly unforgettable Midnight Kiss Cookies!
Why Midnight Kiss Cookies Are Your New Year’s Eve Must-Have
These Midnight Kiss Cookies aren’t just delicious; they’re a statement. Their striking appearance, with the deep chocolate contrasting against the sparkling gold, makes them an instant centerpiece on any New Year’s Eve dessert spread. They’re also incredibly fun to make, offering a delightful baking project for individuals or families looking to get into the festive spirit. Beyond their visual appeal, the combination of rich chocolate, creamy peanut butter, and the sweet surprise of a Hershey’s Kiss creates a flavor profile that is universally loved. They strike the perfect balance between classic comfort and celebratory extravagance, ensuring everyone will want a second (or third!) cookie as they ring in the new year.
Tips for Perfect Midnight Kiss Cookies
- Softened Butter is Key: Ensure your butter is truly softened to room temperature for a smooth, fluffy dough. Cold butter won’t cream properly, and melted butter will result in greasy cookies.
- Don’t Overmix: Once you add the dry ingredients, mix just until combined. Overmixing develops gluten, leading to tougher cookies. A few small flour streaks are perfectly fine.
- Even Scoops: Use a cookie dough scoop to ensure all your cookies are uniform in size, which helps them bake evenly.
- Batch Baking: Avoid crowding your baking sheets. Bake in batches to allow for proper air circulation, which promotes even baking and browning.
- Quick Kiss Placement: The Kisses need to be pressed into the hot cookies immediately after they come out of the oven. This allows the residual heat to slightly melt the chocolate, helping it adhere and soften for that classic blossom texture.
- Edible Gold Spray Tips: For best results with the edible gold spray, work in a well-ventilated area. Hold the can about 6-8 inches away from the Kisses and apply light, even coats. Multiple thin coats are better than one thick, drippy coat.
- Sprinkle Adhesion: If adding sprinkles, have them ready in a shallow bowl. After the final coat of gold spray, immediately roll the Kisses in the sprinkles before the spray dries.
Serving and Storage Suggestions
These Midnight Kiss Cookies are best served at room temperature, allowing the chocolate and cookie to be perfectly soft and chewy. Arrange them on a beautiful platter for an impressive display, perhaps alongside other festive treats. They pair wonderfully with a glass of milk, coffee, or even a sparkling non-alcoholic cider for a complete New Year’s Eve experience.
To store these delicious cookies, place them in an airtight container at room temperature for up to 3-4 days. If you need to store them for longer, they can be frozen for up to 2 months. Simply thaw them at room temperature before serving. Be mindful that if freezing, the gold spray might slightly lose a tiny bit of its initial luster upon thawing, but the taste will remain delightful!
More Festive New Year’s Eve Delights
- Easy Champagne Cupcakes
- New Year’s Eve White Chocolate Puppy Chow
- New Year’s Eve Pretzels
- Champagne Jello Cups
- New Year’s Eve Oreo Balls
Tap stars to rate! (This functionality is removed as per instructions to remove JS, but the prompt to rate is kept for context.)
Midnight Kiss Cookies
Beth
1 hour
1 hour
24 cookies
These Midnight Kiss Cookies are the best New Year’s Eve cookie! They are a spin on everyone’s favorite peanut butter blossoms, with a chocolate cookie base and gold Hershey’s Kisses!
Equipment
- Glass Mixing Bowl
- KitchenAid 9-Speed Mixer
- Cookie Dough Scoop
- Baking Sheet
- Silicone Baking Mat
Ingredients
- ½ cup (99g) granulated sugar
- ½ cup (107g) brown sugar
- ½ cup (113g) butter, 1 stick, softened
- ½ cup (135g) peanut butter
- 1 large egg
- 2 Tbsp milk
- 1 tsp vanilla extract
- 1 ½ cups (180g) all-purpose flour
- ¼ cup (21g) cocoa powder
- 1 tsp baking soda
- 1 tsp baking powder
- Hershey’s Kisses, the Hugs or Cookies ‘n’ Cream ones – something light in color
- Gold sprinkles (these are the ones I used)
- Edible gold color mist (Wilton makes a whole line of edible color mist)
Instructions
- Unwrap about 24 Hershey’s Kisses and use the edible gold spray paint to spray them gold. I did 3 coats of paint on mine. Decide if you want to add gold sprinkles to some Kisses. If so, I still sprayed them 3 times, but immediately after the 3rd spray, I quickly rolled each Kiss in a bowl of gold sprinkles. The spray actually dries somewhat quickly, so you need to add the sprinkles as soon as you’re done spraying.
- Allow the Kisses to dry completely before adding them to the cookies.
- Preheat the oven to 375º F (190°C).
- In a mixing bowl, combine the granulated sugar, brown sugar, and butter. Beat with an electric mixer for 1 minute, until smooth and fluffy. Add in the peanut butter, egg, milk, and vanilla extract, beat again for less than 1 minute until just combined. Add in the flour, cocoa powder, baking soda, and baking powder, mixing with a spatula just until there are small flour streaks left – it’s okay if the batter has small clumps! Be careful not to overmix.
- Use a small cookie scoop to form 24 balls from the dough. Place the cookies on a silicone-lined baking sheet and bake for 10-12 minutes or until the edges of the cookies begin to crack slightly. Bake the cookies in batches so you don’t crowd the baking sheet.
- Add a Kiss to the center of each cookie as soon as they come out of the oven. Allow the cookies to cool completely before serving.
Video
While the interactive video player functionality has been removed, you can usually find a demonstration of these cookies on the original blog or related platforms for a visual guide to the recipe.
Nutrition
Carbohydrates: 19g |
Protein: 3g |
Fat: 8g |
Saturated Fat: 4g |
Polyunsaturated Fat: 1g |
Monounsaturated Fat: 2g |
Trans Fat: 1g |
Cholesterol: 19mg |
Sodium: 131mg |
Potassium: 69mg |
Fiber: 1g |
Sugar: 12g |
Vitamin A: 131IU |
Calcium: 31mg |
Iron: 1mg
Nutrition Disclosure
All nutritional values are approximate and provided to the reader as a courtesy. Changing ingredients and/or quantities will alter the estimated nutritional calculations.
Like this recipe? Rate and comment below! Your feedback helps other bakers discover and enjoy these festive treats.