
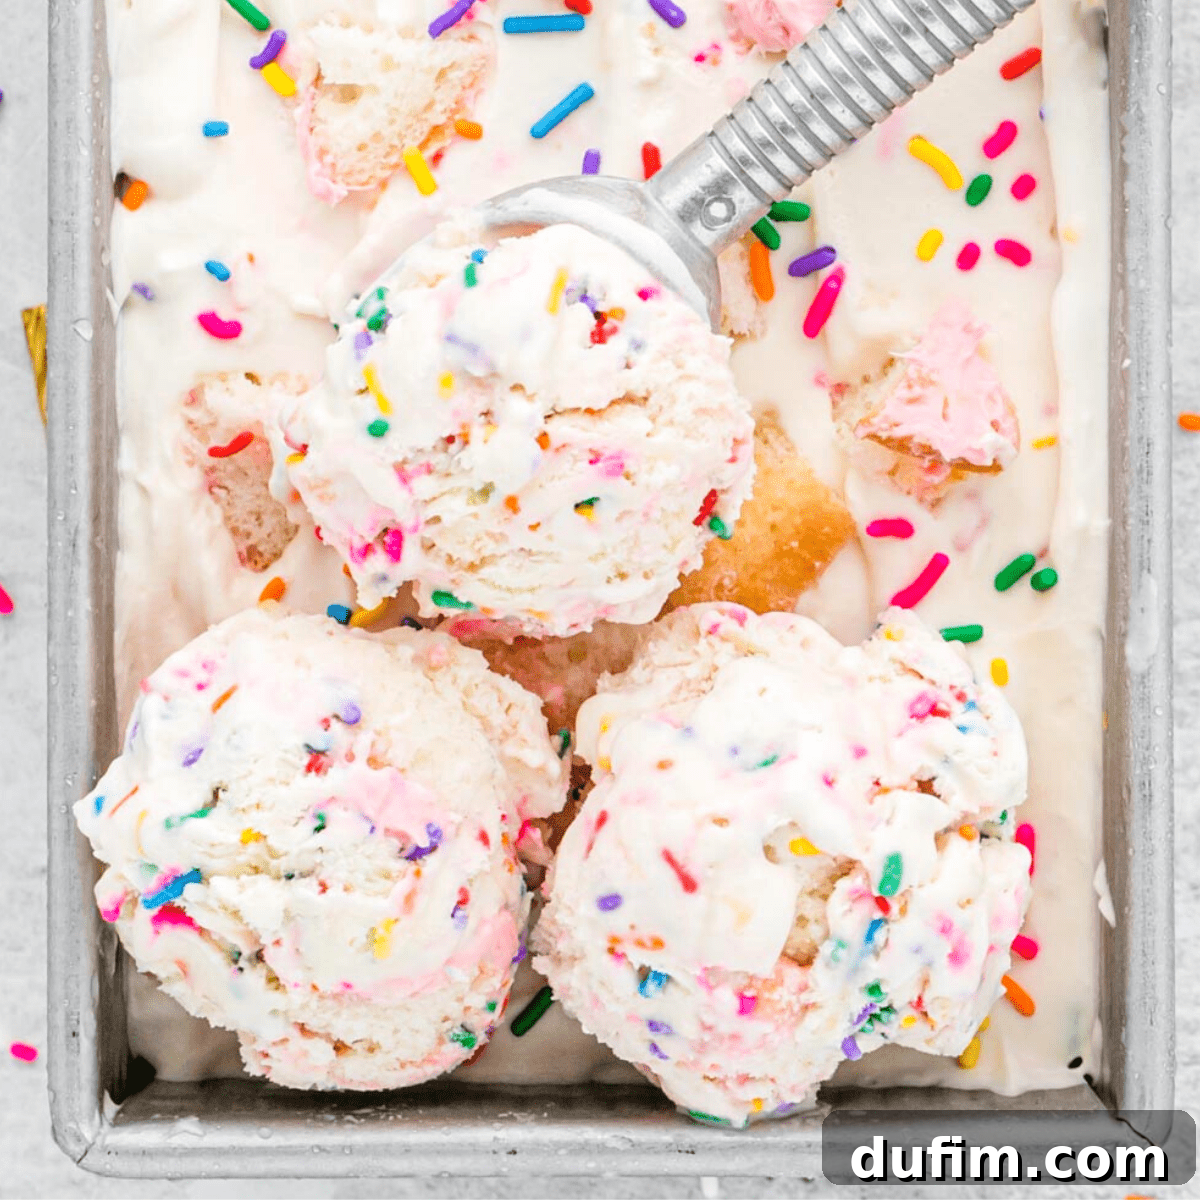
Imagine crafting your own vibrant, homemade birthday cake ice cream, without needing a fancy ice cream maker. The secret? A simple loaf pan and this incredibly easy no-churn recipe! This isn’t just another dessert idea; it’s a brilliant “mom hack” that transforms humble leftover cupcakes into an extraordinary frozen treat. I’ve perfected this method over the years and I’m thrilled to share all my insider tips and tricks with you, ensuring your homemade ice cream is nothing short of spectacular.
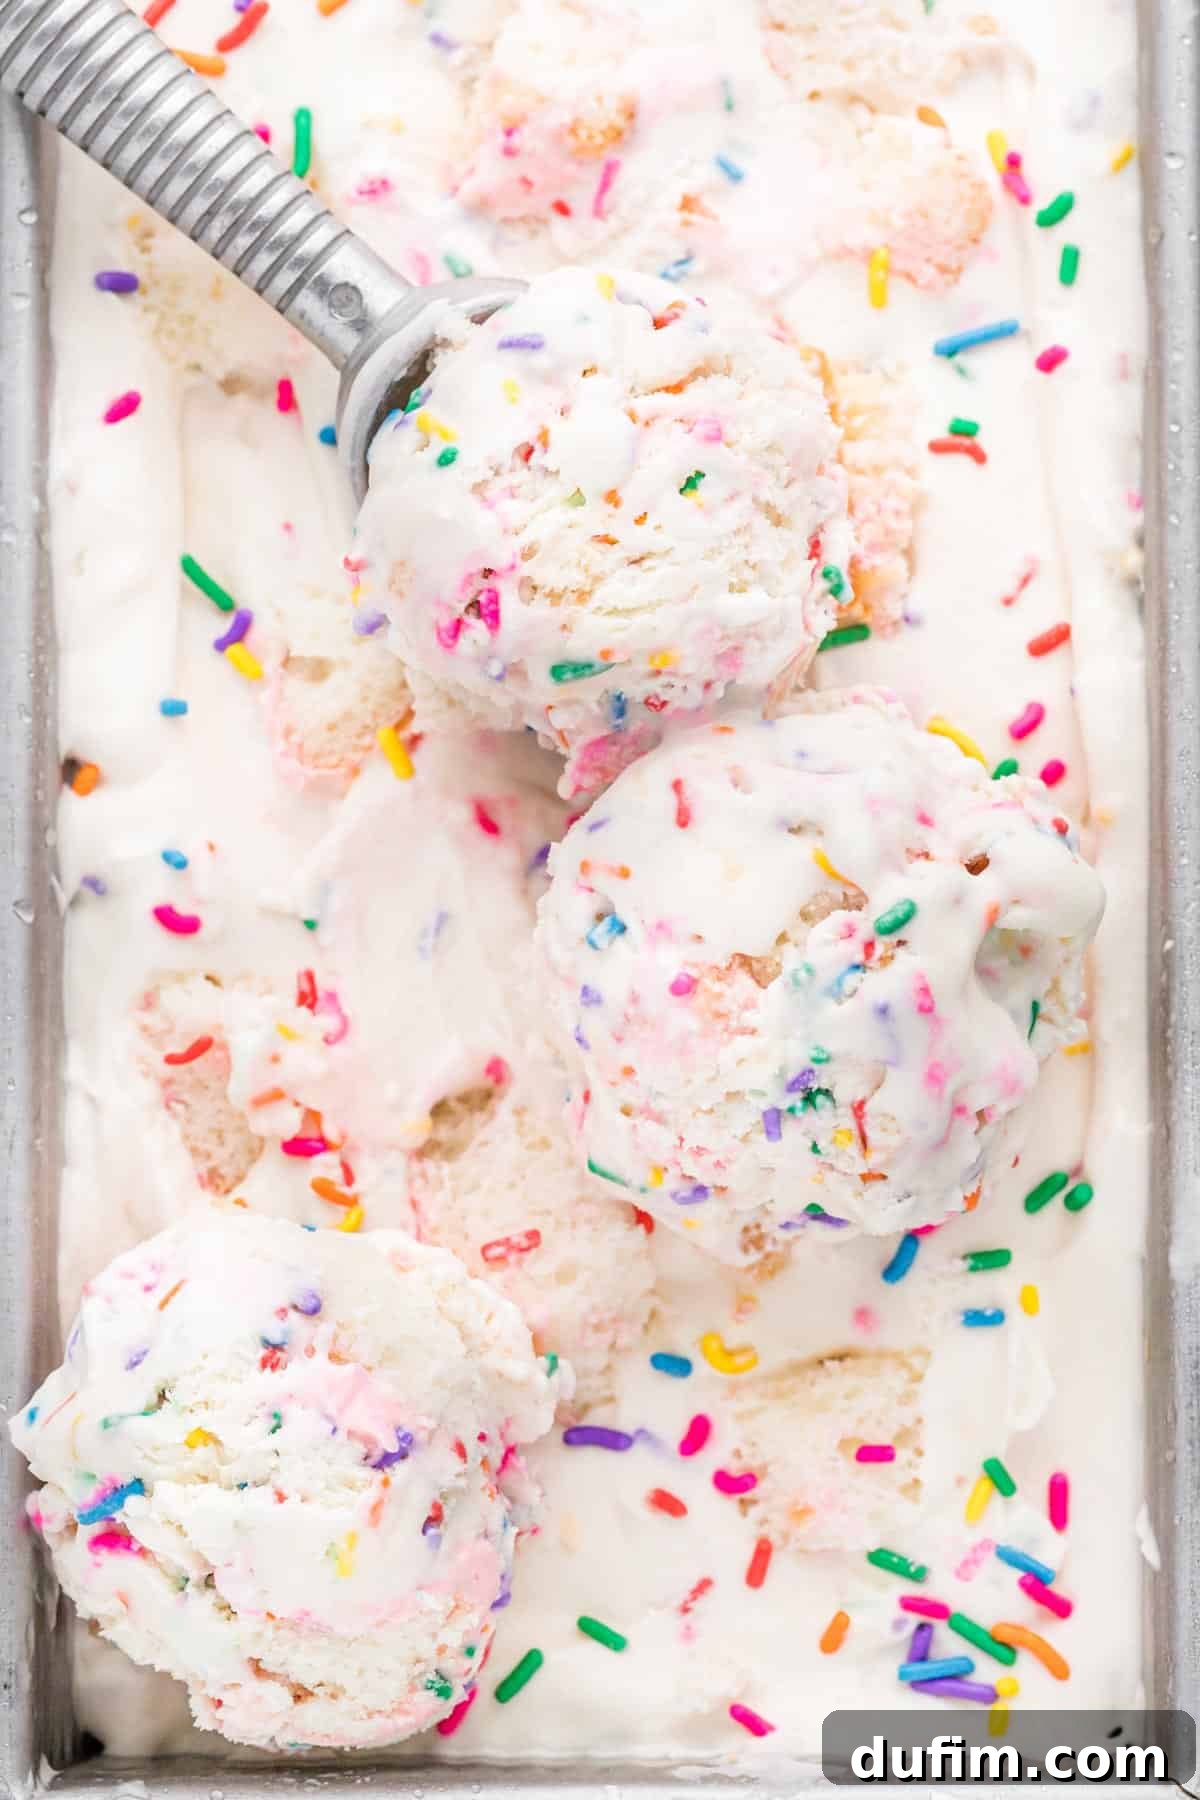
If the thought of making ice cream at home seems daunting, don’t worry! I’m here to guide you through every step. Having made countless batches of homemade ice cream, I’ve gathered all the essential knowledge to help you achieve perfect results. This homemade birthday cake ice cream isn’t just a treat; it’s the ultimate solution for those leftover cupcakes from a party. With my easy-to-follow instructions and proven tips, you’ll create a dessert that boasts a wonderfully smooth texture, an explosion of flavor, and is guaranteed to impress everyone who tries it.
Forget about tossing those delicious leftover cupcakes! Whether they’re from a birthday bash, a bake sale, or just an experimental baking session, transforming them into a decadent batch of birthday cake ice cream is pure genius. This homemade version surpasses any store-bought alternative, primarily because you get to infuse it with generous, real pieces of cake and luscious frosting. The beauty of this recipe is its adaptability; any cupcake flavor works wonders here. Imagine vanilla, classic chocolate, elegant white cake, or even playful Oreo cupcakes swirling through creamy goodness. For those with dietary considerations, this recipe is incredibly versatile. Simply use your favorite gluten-free cupcakes, and you’ll have a fantastic gluten-free birthday cake ice cream that’s just as delightful.
The magic of this recipe lies in its “no-churn” nature. There’s no need to drag out a bulky ice cream maker or endure the tedious process of churning and re-freezing every half hour. Instead of an egg-based custard, we create a rich, stable whipped cream base that sets beautifully in a simple loaf or cake pan. This method naturally yields a fluffy, incredibly smooth texture without the crystallization often associated with traditional homemade ice cream, making it a truly effortless and rewarding experience.
This birthday cake ice cream is always a show-stopper at celebrations, bringing smiles and a burst of joyful flavor. But its ease of preparation means it’s also the perfect recipe for satisfying an impromptu sweet craving. Whenever you find yourself with a few spare cupcakes and a desire for something extraordinary, this recipe is your go-to. And if you’re keen to explore more homemade ice cream adventures, be sure to try my equally delicious Cookie Monster Ice Cream and Oreo Ice Cream too!
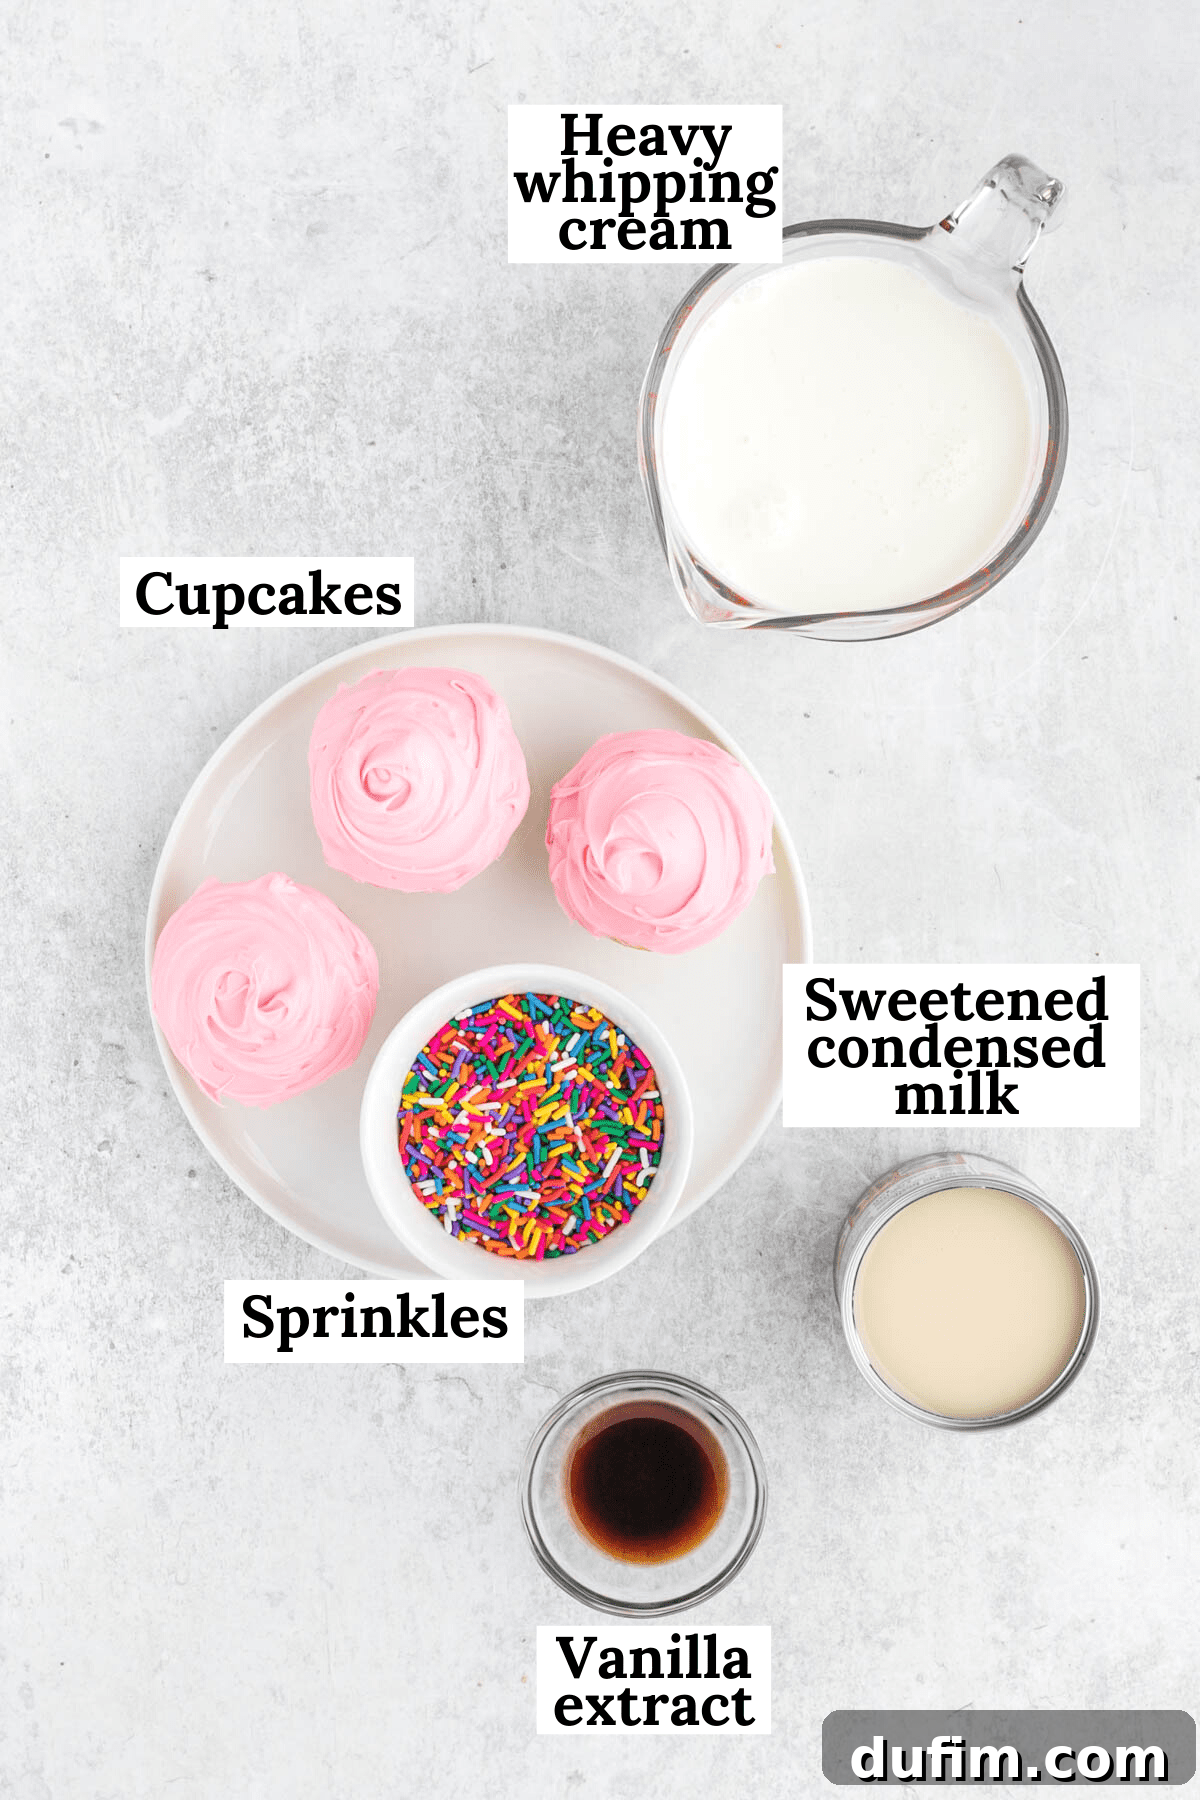
Essential Birthday Cake Ice Cream Ingredients
Crafting this delectable no-churn ice cream requires just a few key ingredients. Each plays a vital role in achieving that perfect creamy consistency and signature birthday cake flavor. Here’s a closer look at what you’ll need:
- Heavy Whipping Cream: This is the foundation of our no-churn ice cream. It provides the essential fat content that, when whipped, creates the light, airy, and rich base needed for a smooth frozen dessert. Please note, half-and-half or whole milk simply won’t work as a substitute; you need the high fat content of heavy cream for the recipe to properly set and achieve the desired texture.
- Vanilla Extract: A crucial flavor enhancer, vanilla extract brings warmth and depth to the ice cream base, complementing the sweet notes of the condensed milk and cupcakes. Use a good quality pure vanilla extract for the best flavor.
- Sweetened Condensed Milk: This ingredient serves two important functions: it acts as the primary sweetener and contributes significantly to the ice cream’s luxurious, dense texture. Its thick, syrupy consistency is key to a smooth, no-churn result.
- Frosted Cupcakes: The star of our show! These can be store-bought for ultimate convenience or homemade for a personal touch. The frosting on the cupcakes adds an extra layer of sweetness and creaminess, making each bite an authentic birthday cake experience. Cutting them into pieces ensures a delightful distribution throughout the ice cream.
- Rainbow Jimmies: What’s birthday cake anything without sprinkles? These colorful jimmies add a festive visual appeal and a slight textural crunch, making the ice cream even more fun and celebratory.
Is Evaporated Milk the Same as Condensed Milk?
This is a common question, and the answer is an important “No.” Evaporated milk and sweetened condensed milk are distinctly different products. While both are concentrated milks, sweetened condensed milk has a significant amount of added sugar, giving it a thick, sweet, syrupy consistency. Evaporated milk, on the other hand, is unsweetened. Since this no-churn recipe relies solely on sweetened condensed milk for its sweetness and much of its body, using evaporated milk would result in an unsweetened, improperly textured ice cream. Always ensure you’re using sweetened condensed milk for this recipe.
How to Make Homemade Birthday Cake Ice Cream
Making this birthday cake ice cream is surprisingly straightforward, but patience is key, especially during the freezing stage. To ensure your ice cream is perfectly solid and scoopable, especially if you’re preparing it for a party, allow ample freezing time. Six hours is the absolute minimum, but for the best texture and firmness, an overnight freeze is highly recommended.
Step 1: Flash-Freeze the Cupcakes. Begin by preparing your cupcakes. Cut your frosted cupcakes into small, bite-sized pieces. Arrange these pieces in a single layer on a baking sheet lined with parchment paper or a silicone mat. Flash-freeze them for approximately 20-30 minutes. This crucial step prevents the cake pieces from crumbling and dissolving into the ice cream base, ensuring you get distinct, delicious chunks of cake throughout your finished dessert.
Step 2: Whip the Heavy Cream. In the chilled bowl of a stand mixer fitted with the whisk attachment, or using a handheld electric mixer, combine the cold heavy whipping cream and vanilla extract. Beat on medium-high speed until the mixture forms stiff peaks. You’ll know it’s ready when you lift the beaters and the peaks stand tall and hold their shape without drooping.
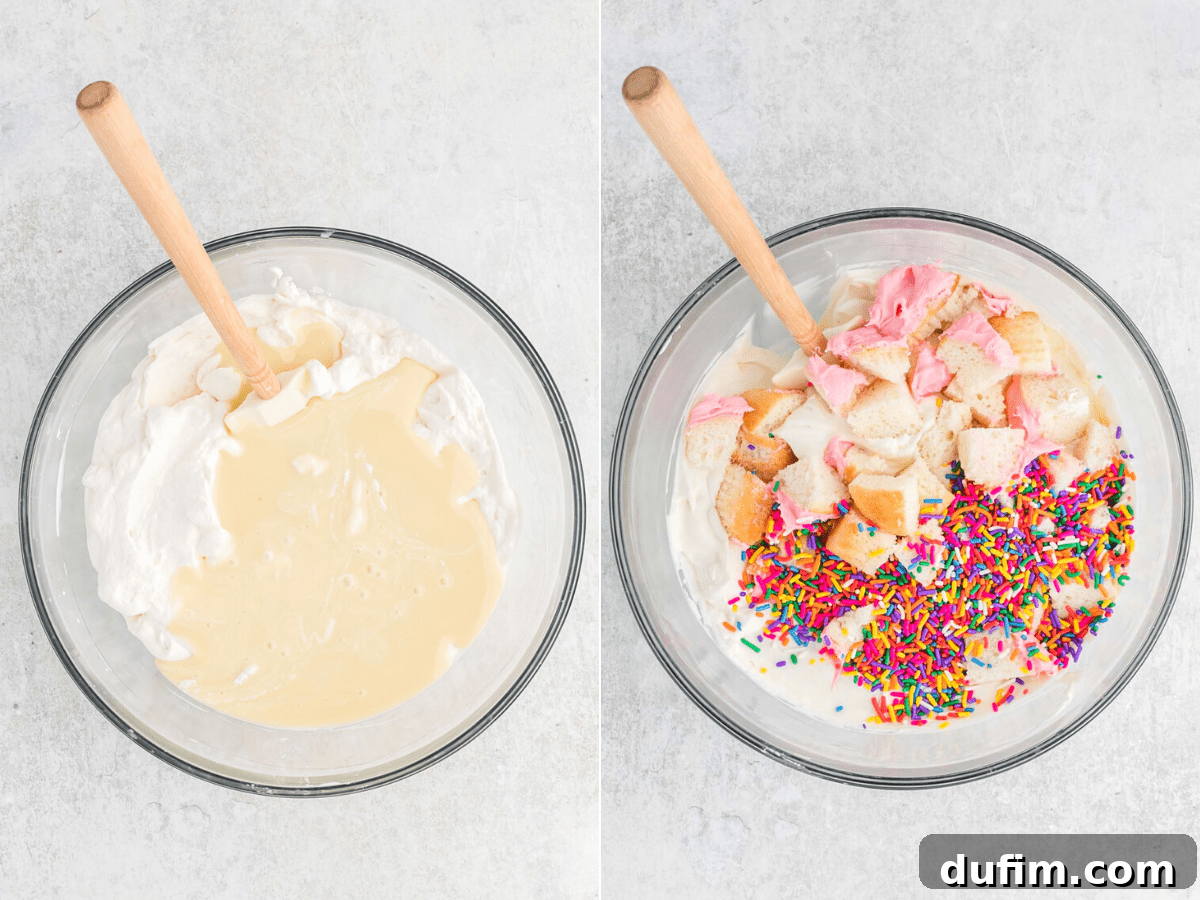
Step 3: Combine Remaining Ingredients. Reduce the mixer speed to low and slowly pour in the sweetened condensed milk. Beat just until it is fully incorporated into the whipped cream, being careful not to overmix. Next, remove the bowl from the mixer and, using a spatula, gently fold in the flash-frozen cupcake pieces and the majority of the rainbow jimmies. Reserve a small amount of both for scattering over the top for decoration.
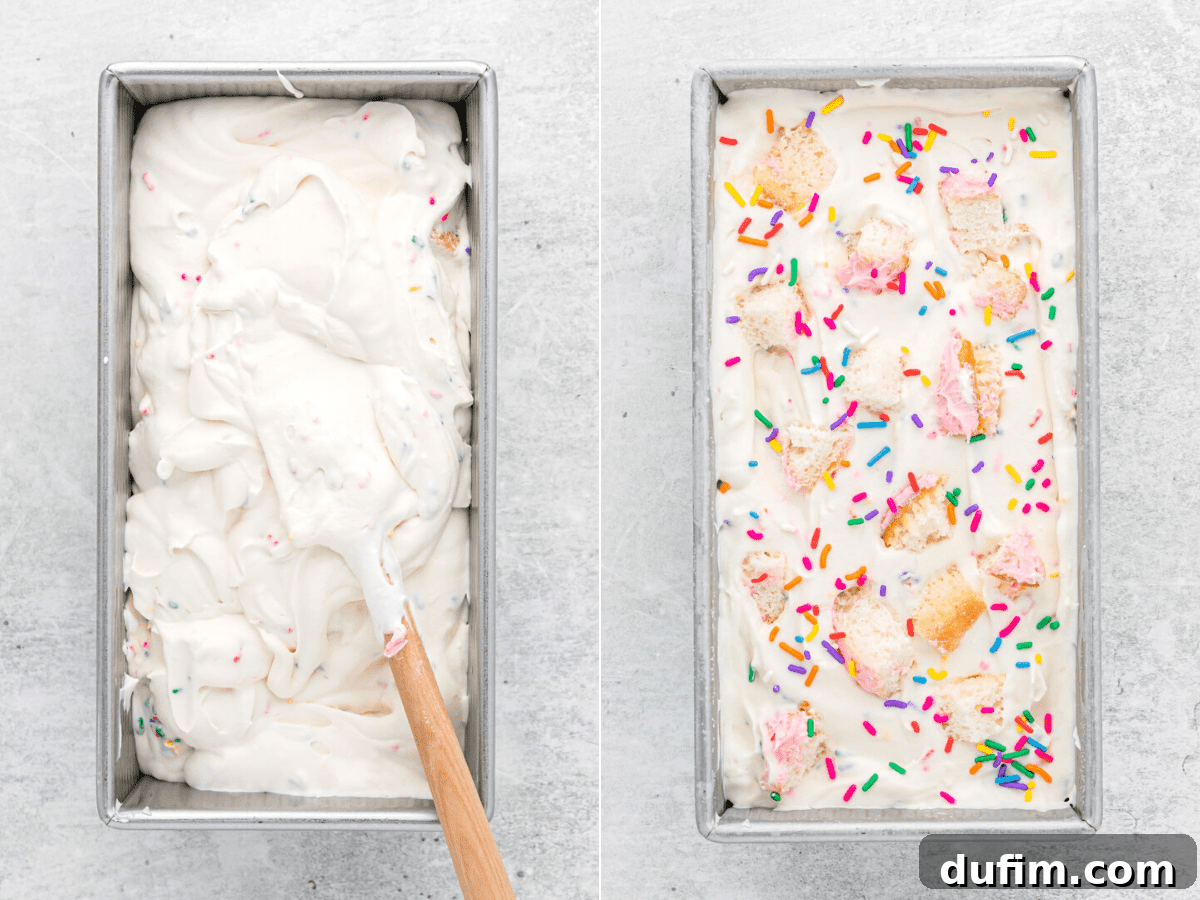
Step 4: Freeze the Ice Cream. Carefully transfer the creamy ice cream mixture into a standard loaf pan (approximately 9×5 inches), an 8-inch cake pan, or a similar freezer-safe container. Smooth the top with your spatula. Generously scatter the reserved cupcake pieces and rainbow jimmies over the surface for a beautiful finish. Cover the pan tightly with plastic wrap or a lid to prevent ice crystals from forming. Place the pan in the freezer for a minimum of 6 hours, though ideally, allow it to freeze overnight for optimal consistency.
Expert Tips for Perfect No-Churn Birthday Cake Ice Cream
Achieving that perfectly creamy, flavorful, and cake-filled ice cream requires a few simple but important techniques. Here are my best tips to ensure your homemade birthday cake ice cream is a success every time:
- Always Freeze the Cupcakes First: This step is genuinely optional but highly recommended for superior results. When you flash-freeze the cupcake pieces, they firm up, preventing them from crumbling and dissolving into the soft whipped cream mixture. This technique ensures that you end up with distinct, satisfying pieces of cake throughout your ice cream, rather than just cake crumbs, enhancing both texture and flavor.
- Whip Until Stiff Peaks Form: The texture of your whipped cream is paramount to the success of this no-churn recipe. You need to whip the heavy cream and vanilla extract until it reaches stiff peaks. This means when you lift the beaters out of the cream, the peaks should stand straight up firmly, without curling or flopping over. This firm consistency provides the necessary structure to the ice cream, preventing it from becoming too icy or melting too quickly.
- Fold, Don’t Stir: Once the whipped cream base is ready and the sweetened condensed milk is gently incorporated, it’s crucial to fold in the cupcake pieces and sprinkles rather than vigorously stirring them. Vigorous stirring can deflate the air you’ve worked so hard to incorporate into the whipped cream, resulting in a denser, less fluffy, and potentially icier ice cream. A gentle folding motion preserves the airy texture, leading to a much creamier final product.
- Use Cold Ingredients (Especially Cream): Ensure your heavy whipping cream, and ideally your mixing bowl and whisk attachment, are very cold before you start whipping. Cold temperatures help the cream whip up faster and achieve stiffer, more stable peaks, which is essential for the no-churn method.
- Cover Tightly for Freezing: Preventing ice crystals is key for smooth ice cream. Always cover your pan with plastic wrap, pressing it directly onto the surface of the ice cream before adding a lid or another layer of plastic wrap. This barrier minimizes air exposure and moisture loss, keeping your ice cream wonderfully creamy.
Creative Homemade Birthday Cake Ice Cream Variations
While the classic birthday cake ice cream with vanilla cupcakes and rainbow sprinkles is undeniably delicious, this recipe serves as a fantastic base for endless flavor experimentation. If you’re looking to expand beyond the traditional, here are some exciting variations and substitutions you can try to personalize your no-churn ice cream:
Chocolate Birthday Cake Ice Cream:
- To achieve a rich chocolate experience, simply substitute the vanilla or funfetti cupcakes with your favorite chocolate cupcakes.
- Elevate the chocolate factor by folding in chocolate chips, chocolate chunks, or even a swirl of chocolate fudge sauce along with the cupcake pieces.
Red Velvet Birthday Cake Ice Cream:
- Start with the classic ice cream base, then crumble in luscious red velvet cupcakes. The hint of cocoa and the vibrant color will make this a showstopper.
- For an authentic red velvet flavor profile, gently swirl in a few tablespoons of cream cheese frosting (store-bought or homemade) before freezing.
Cookies and Cream Birthday Cake Ice Cream:
- Combine two dessert favorites by mixing crumbled chocolate or vanilla sandwich cookies (like Oreos) into the ice cream base alongside your chosen crumbled cupcakes.
- For an ultimate cookies-and-cream twist, use actual Oreo cupcakes in the batter, maximizing the cookie goodness in every bite.
Peanut Butter Birthday Cake Ice Cream:
- For peanut butter lovers, gently swirl 1/2 to 3/4 cup of creamy peanut butter into the ice cream mixture.
- Then, fold in crumbled chocolate or vanilla cupcakes for a delightful salty-sweet, nutty flavor combination that’s truly addictive.
Mint Chocolate Chip Birthday Cake Ice Cream:
- Infuse your ice cream with refreshing mint by adding 1/2 to 1 teaspoon of mint extract to the heavy cream as it whips.
- Fold in chopped chocolate chips or mini chocolate chips along with crumbled chocolate cupcakes for a cool, decadent treat reminiscent of classic mint chocolate chip ice cream.
Lemon Birthday Cake Ice Cream:
- For a bright and tangy dessert, add the zest of one lemon and a splash (1-2 teaspoons) of fresh lemon juice to the ice cream base.
- Mix in crumbled lemon-flavored cupcakes to reinforce that zesty citrus flavor, creating a wonderfully refreshing treat perfect for warmer days.
Coconut Birthday Cake Ice Cream:
- Bring a tropical twist to your birthday ice cream by folding in 1/2 cup of shredded sweetened coconut into the mixture.
- Combine with crumbled vanilla or coconut-flavored cupcakes for a creamy, tropical delight that feels like a mini-vacation in a bowl.
Time Commitment for Homemade Birthday Cake Ice Cream
This no-churn recipe is straightforward and requires minimal active preparation time, though it does need significant freezing time. Here’s a breakdown:
- Flash Freezing Cupcakes: Approximately 20-30 minutes.
- Whipping Heavy Cream: About 5 minutes of active beating.
- Combining All Ingredients: Roughly 3 minutes for gentle folding.
- Freezing Time: A crucial minimum of 6 hours, with overnight being the preferred duration for the best texture.
How to Serve Your Birthday Cake Flavored Ice Cream
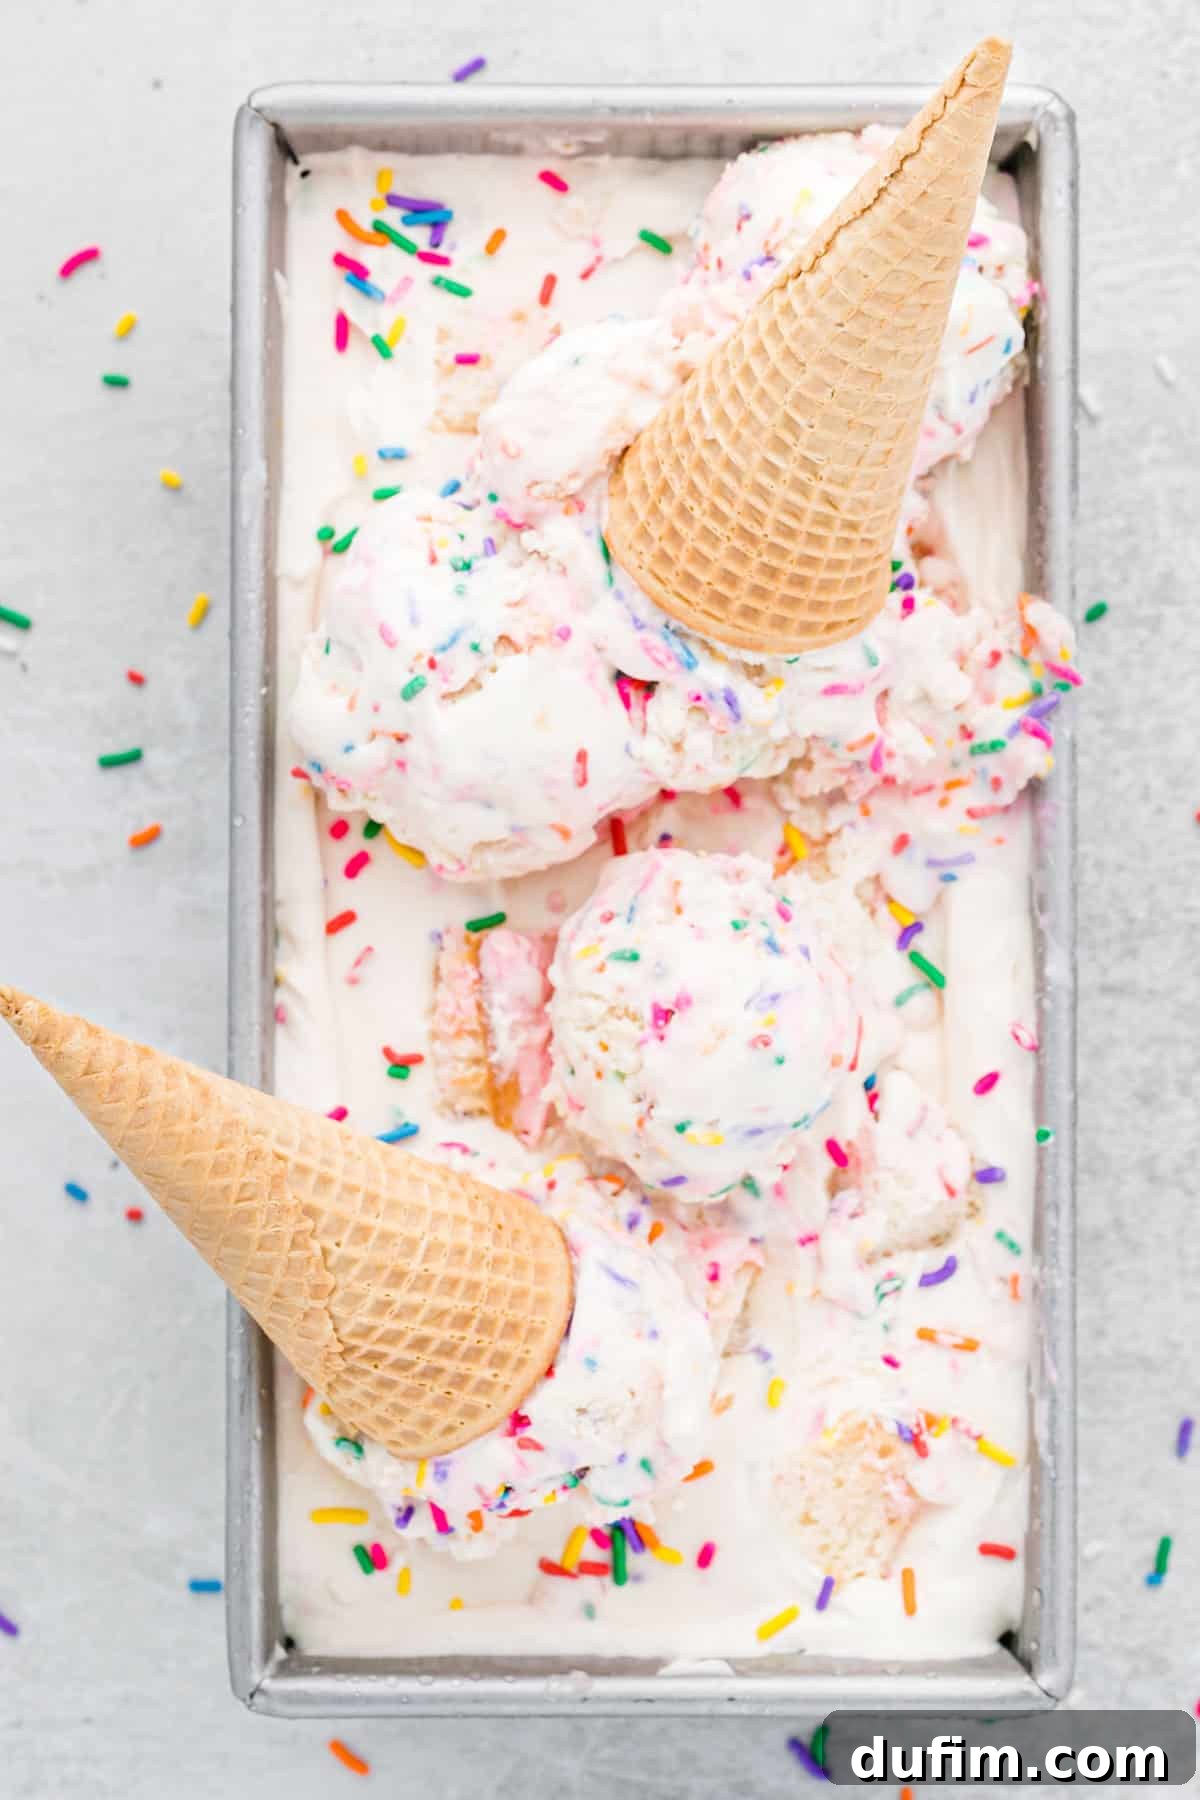
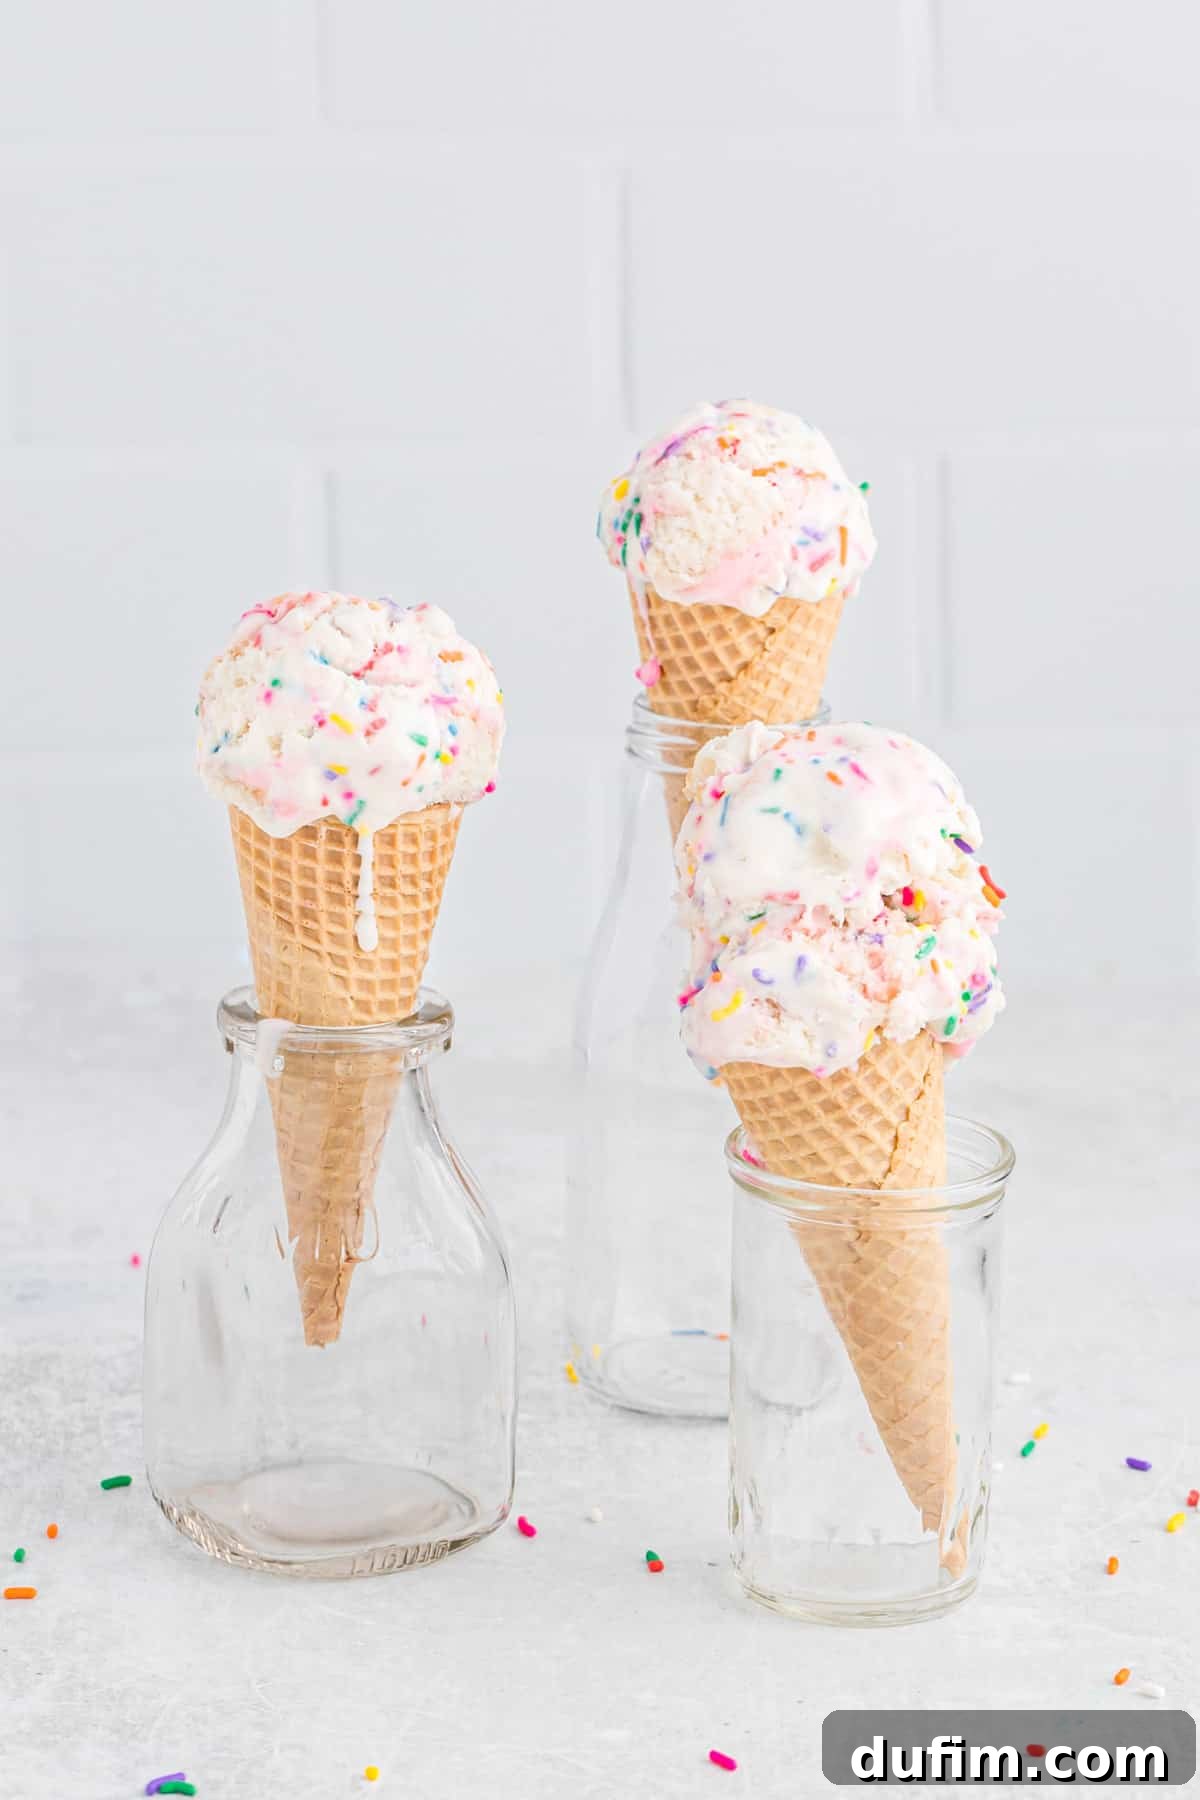
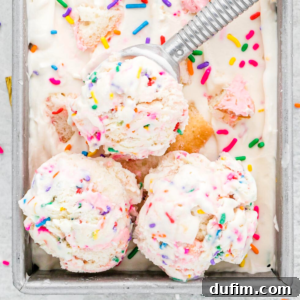
Once your homemade birthday cake ice cream is perfectly set, it’s time to serve it up with flair! This festive dessert is wonderful served simply in classic bowls or nestled into crispy ice cream cones. For an added touch of fun and visual appeal, garnish each serving with a generous sprinkle of colorful rainbow jimmies or a few crushed pieces of birthday cake to highlight its origins. To truly elevate the indulgence, consider topping your scoops with a dollop of freshly whipped cream, a drizzle of rich chocolate sauce, or a luscious caramel swirl. A maraschino cherry on top can add that final classic sundae touch. This ice cream is also fantastic as an accompaniment to a warm brownie, a slice of pie, or even a fresh fruit salad.
Storing Homemade Birthday Cake Ice Cream
Proper storage is essential to keep your homemade birthday cake ice cream fresh and delicious for as long as possible. Store any leftover ice cream directly in the loaf pan (or container) it was frozen in, ensuring it is tightly covered with plastic wrap, pressed directly onto the surface of the ice cream, and then sealed with a lid or aluminum foil. This prevents freezer burn and the formation of ice crystals. When stored correctly, this no-churn ice cream will maintain its quality in the freezer for up to 2 weeks. Before scooping, allow the ice cream to sit on the counter for about 10-15 minutes to soften slightly, making it easier to scoop and enhancing its creamy texture.
Average Rating: 4.67 out of 5 stars based on 3 ratings.
Homemade No-Churn Birthday Cake Ice Cream
Beth
10 minutes
6 hours
6 hours 10 minutes
10 servings
Print Recipe
Equipment
-
Large Glass Mixing Bowl
-
Stand Mixer or Handheld Mixer
-
Rubber Spatula
-
Loaf Pan (9×5 inch) or 8-inch Cake Pan
-
Baking Sheet
-
Parchment Paper or Silicone Mat
Ingredients
- 2 cups (473ml) heavy whipping cream (1 pint)
- 1 Tbsp vanilla extract
- 14 oz sweetened condensed milk
- 3 frosted cupcakes, cut into pieces and frozen (store-bought or homemade)
- ¾ cup rainbow jimmies (sprinkles)
Instructions
- Cut the frosted cupcakes into small pieces. Arrange them in a single layer on a baking sheet lined with parchment paper or a silicone mat. Flash freeze for 20-30 minutes until firm.
- In a large, chilled mixing bowl, combine the heavy whipping cream and vanilla extract. Using a stand mixer or a handheld mixer, beat on medium-high speed until stiff peaks form. The peaks should hold their shape when the beaters are lifted.
- Reduce the mixer speed to low and slowly add the sweetened condensed milk. Beat just until the condensed milk is fully incorporated and the mixture is smooth. Be careful not to overmix.
- Gently fold in the flash-frozen cupcake pieces and ¾ of the rainbow jimmies using a rubber spatula. Reserve the remaining cupcake pieces and jimmies for topping.
- Transfer the ice cream mixture to a loaf pan, an 8-inch cake pan, or any similar freezer-safe container. Smooth the top surface. Scatter the reserved cupcake pieces and rainbow jimmies evenly over the top for decoration.
- Cover the pan tightly with plastic wrap, pressing it directly onto the surface of the ice cream to prevent ice crystals. Cover again with a lid or foil. Freeze for a minimum of 6 hours, or ideally, overnight, until completely solid.
Notes
Nutrition
Calories: 436kcal | Carbohydrates: 34g | Protein: 3g | Fat: 32g | Saturated Fat: 20g | Polyunsaturated Fat: 2g | Monounsaturated Fat: 8g | Cholesterol: 90mg | Sodium: 92mg | Potassium: 99mg | Fiber: 0.2g | Sugar: 28g | Vitamin A: 1170IU | Vitamin C: 1mg | Calcium: 80mg | Iron: 0.4mg
Nutrition Disclosure
All nutritional values are approximate and provided to the reader as a courtesy. Changing ingredients and/or quantities will alter the estimated nutritional calculations.