
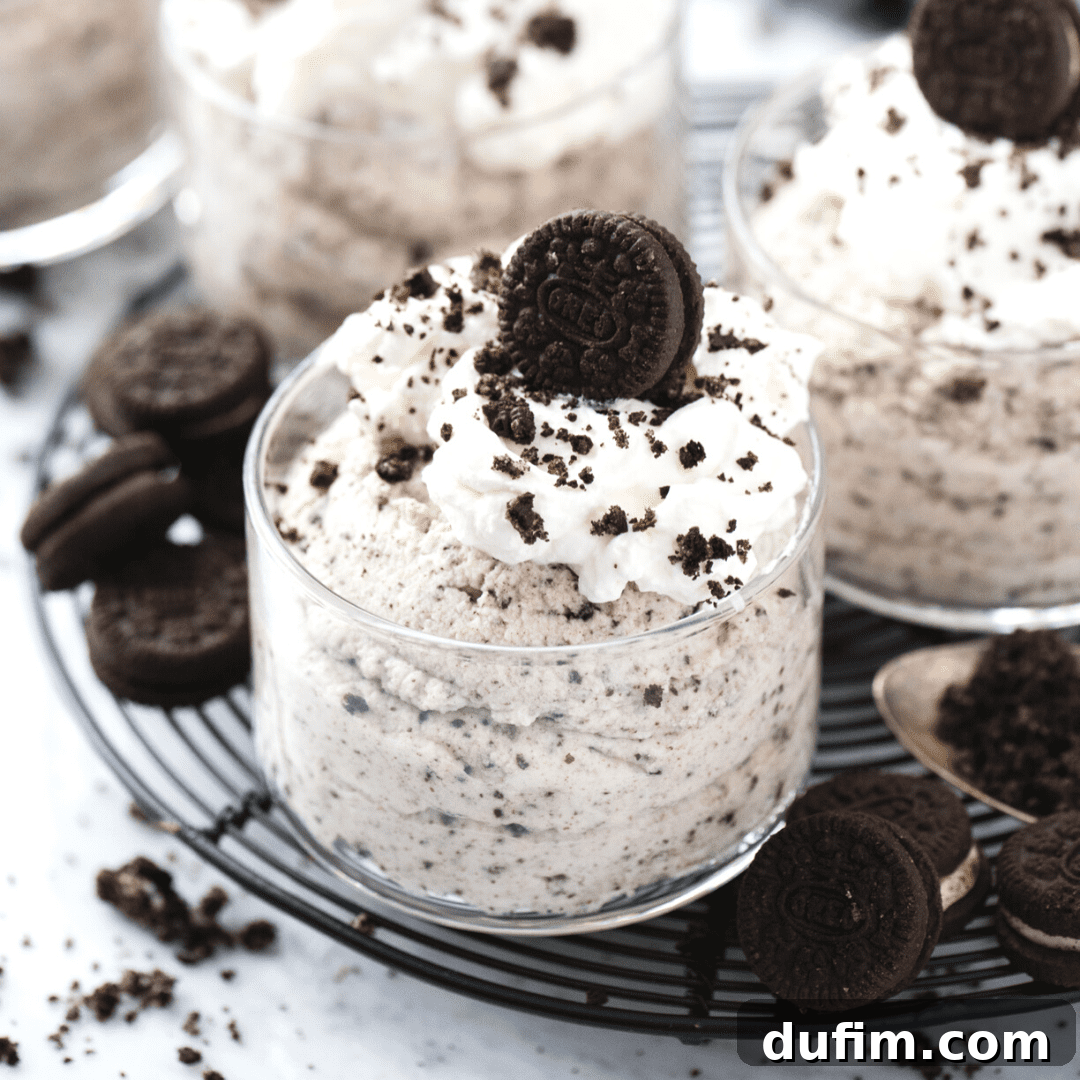
The Ultimate 3-Ingredient Oreo Mousse: Your New Favorite Easy Dessert
Prepare to be amazed by this incredibly simple yet irresistibly delicious 3-ingredient Oreo mousse. It’s wonderfully creamy, delightfully light, and bursting with rich chocolatey flavor. This isn’t just another dessert recipe; it’s a revelation! Once you try this effortless method, you’ll wonder why you ever bothered with more complicated versions. Our recipe stands out because it requires no raw eggs and no gelatin, making it an incredibly easy and universally loved eggless mousse that’s safe for everyone to enjoy.
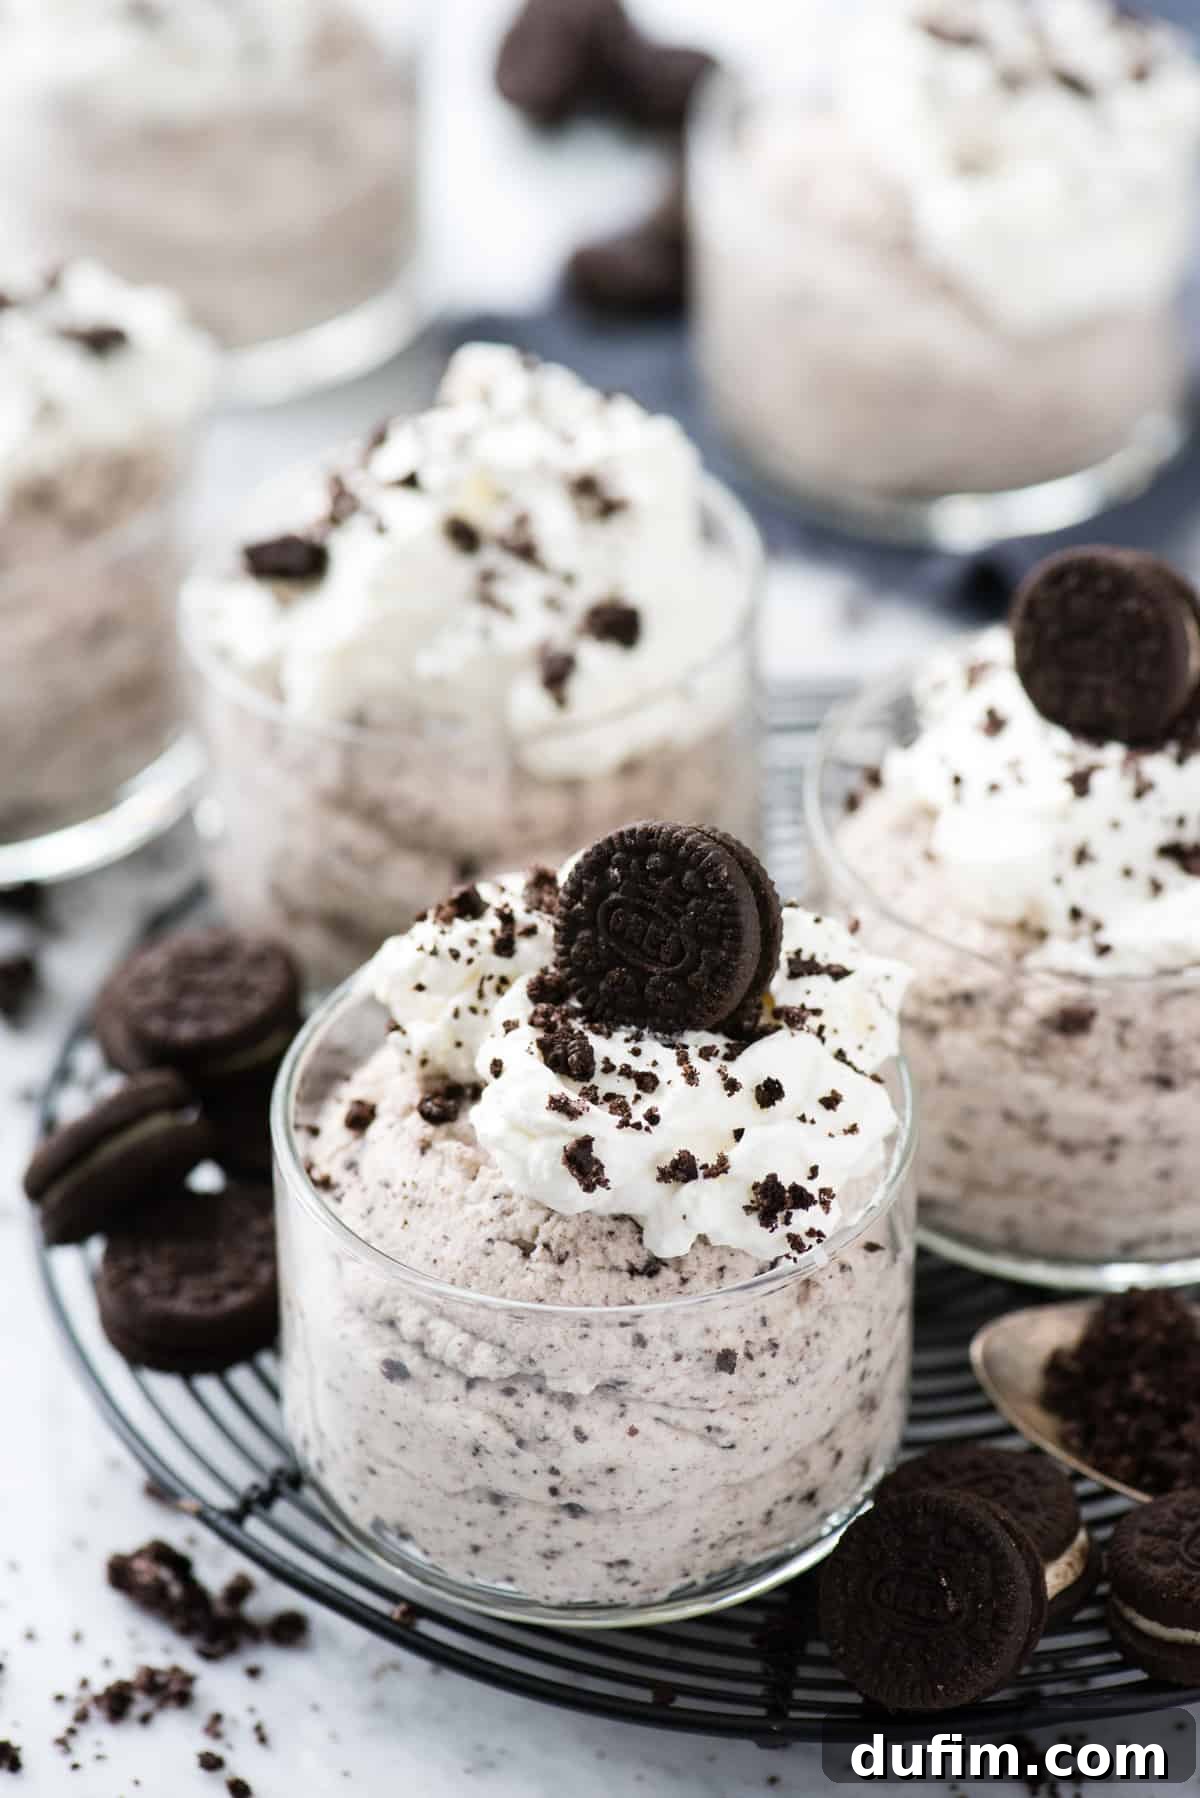
“This was so tasty and easy! The cream from the Oreos gives such a light texture and flavor. My husband said it was the best mousse he has ever had!”
– Sakina
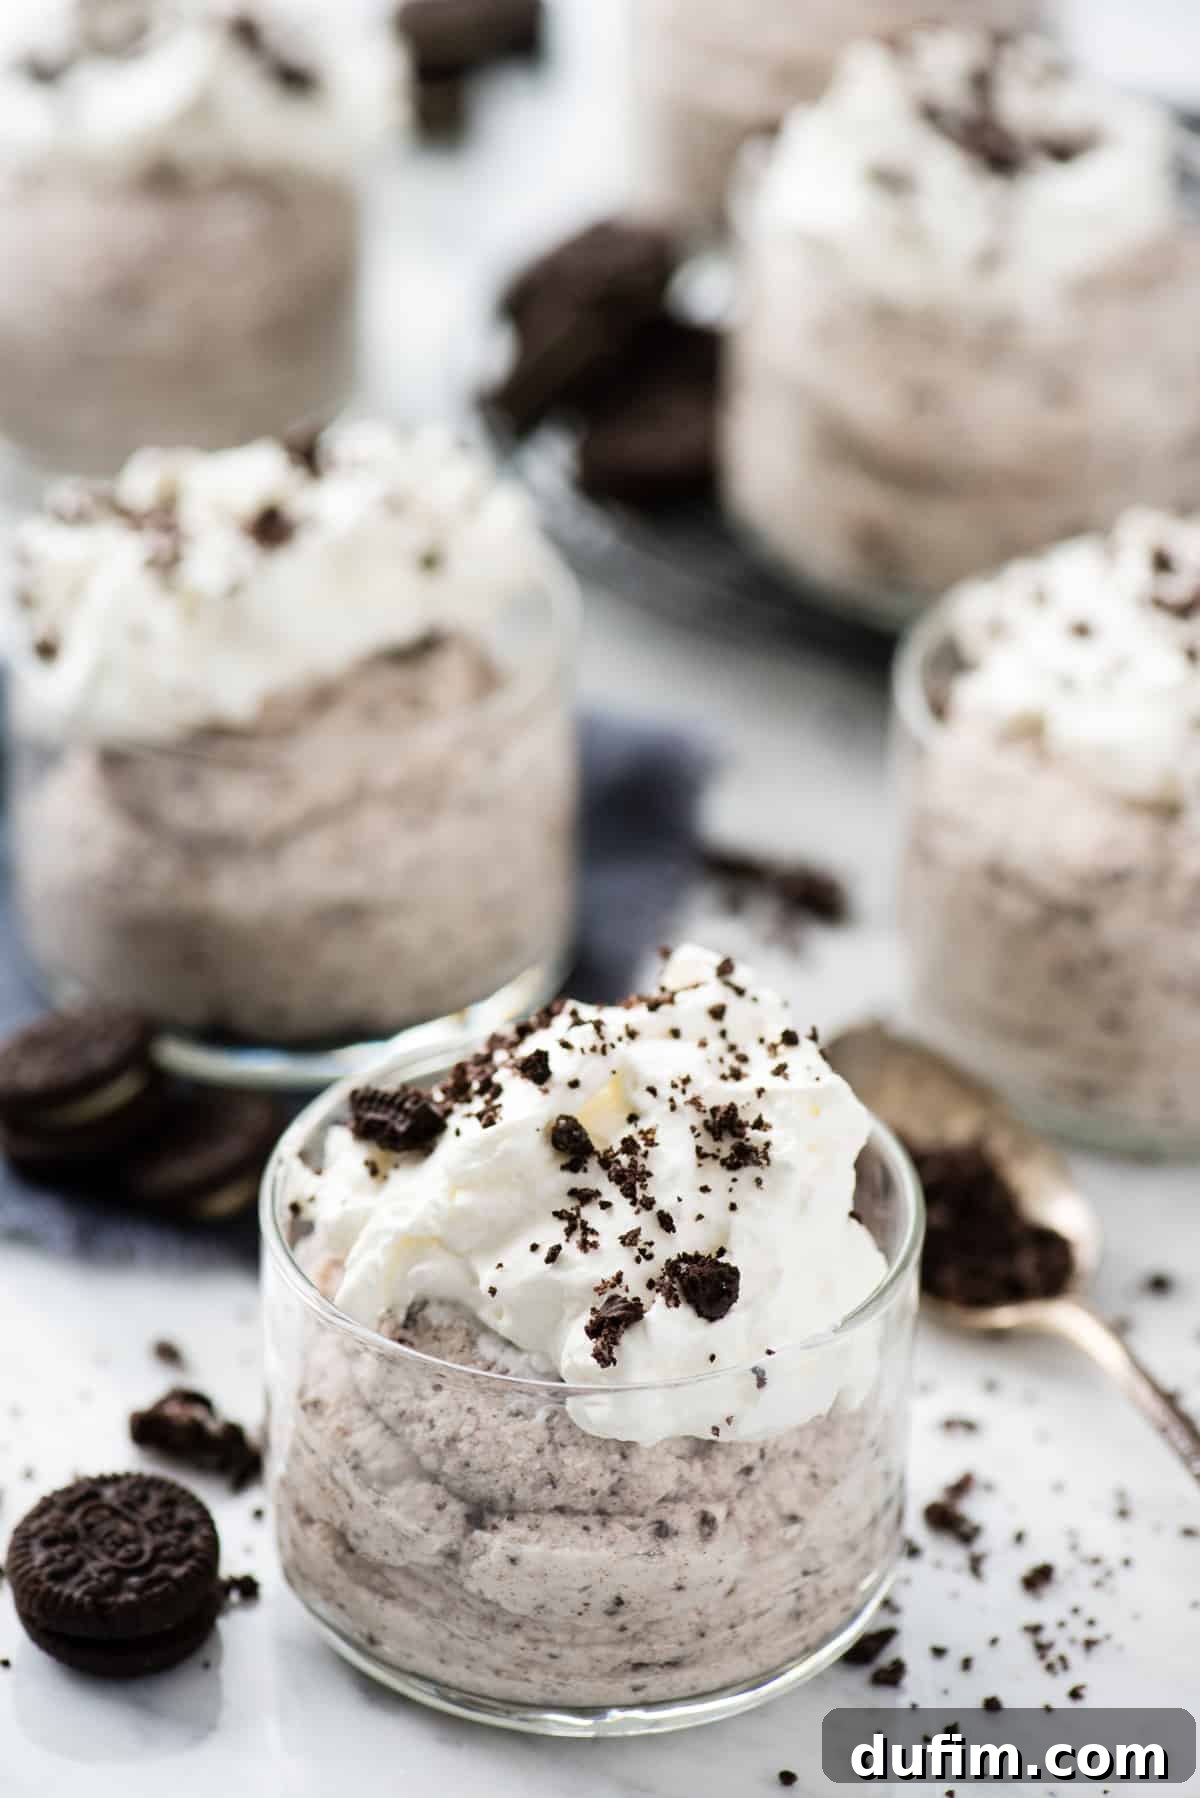
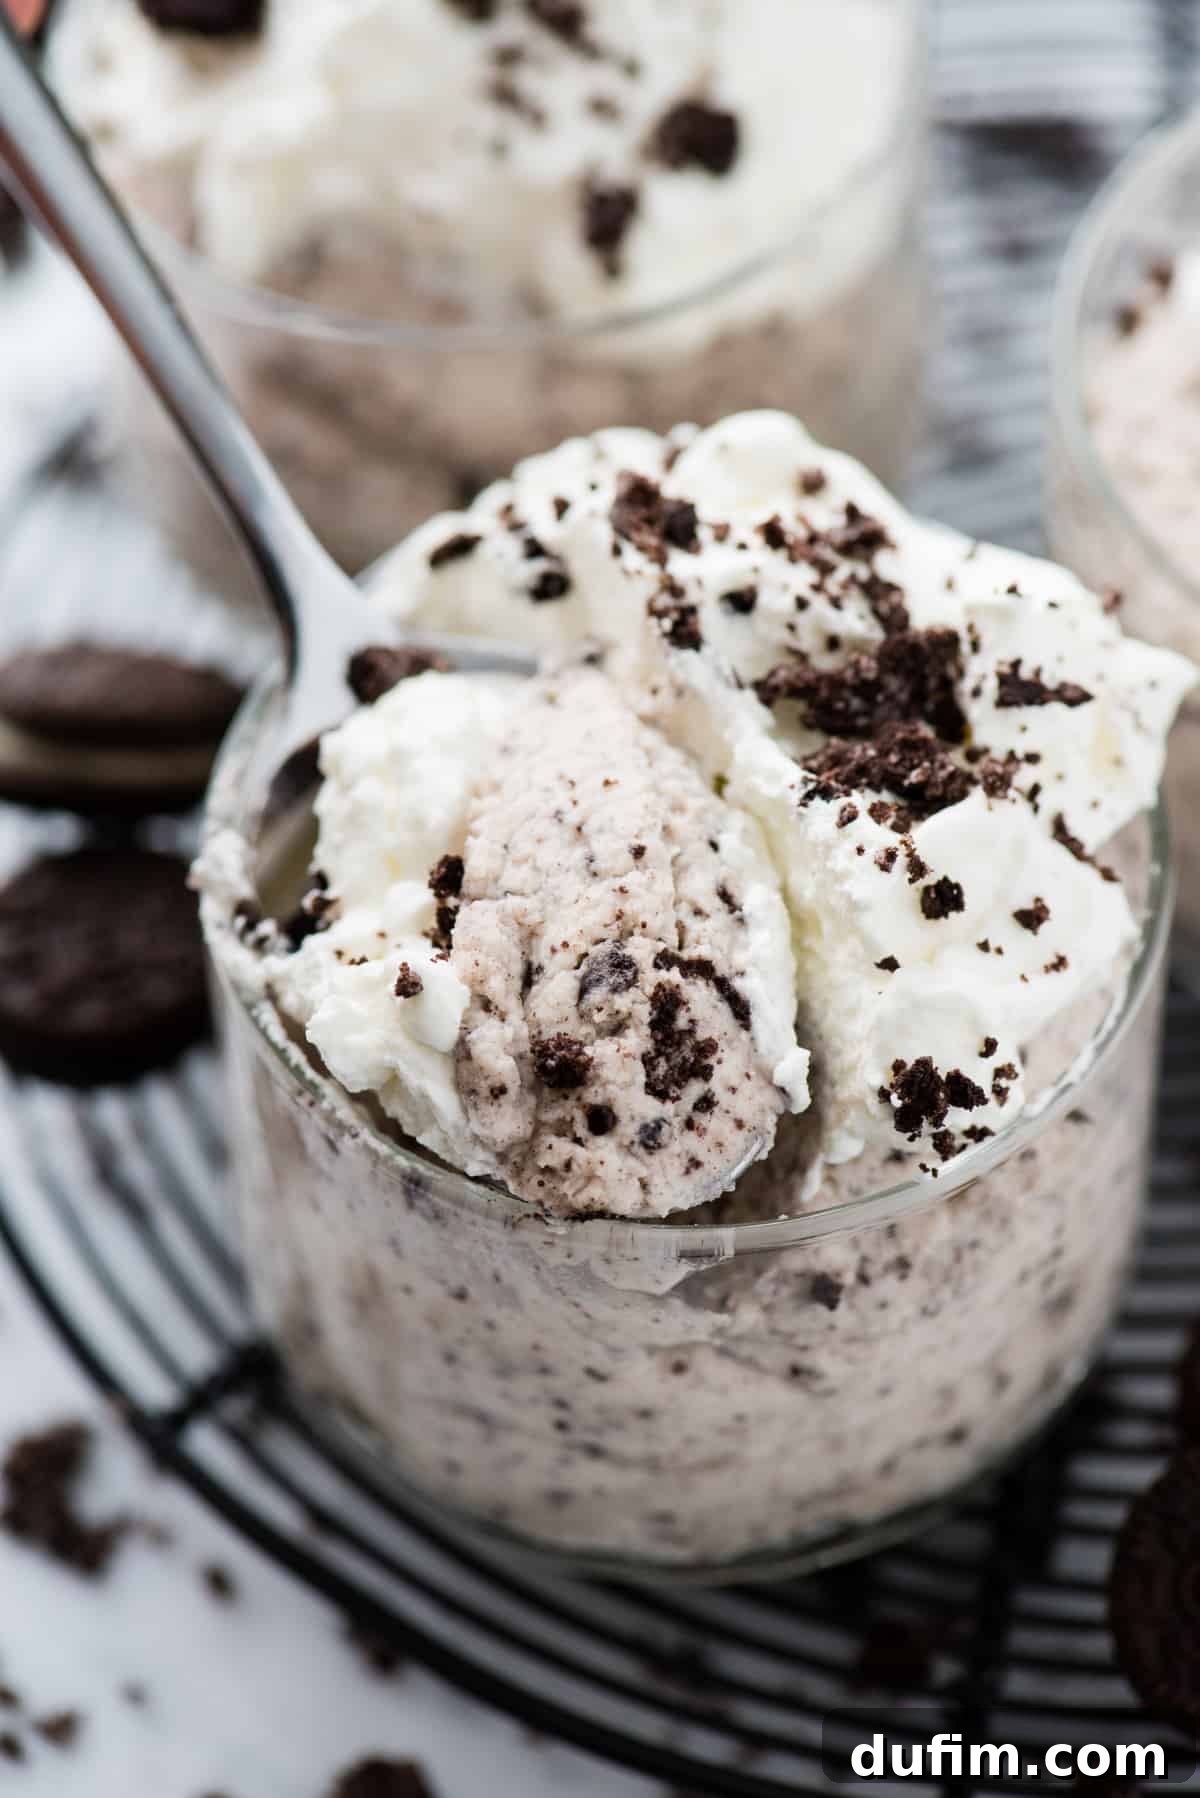
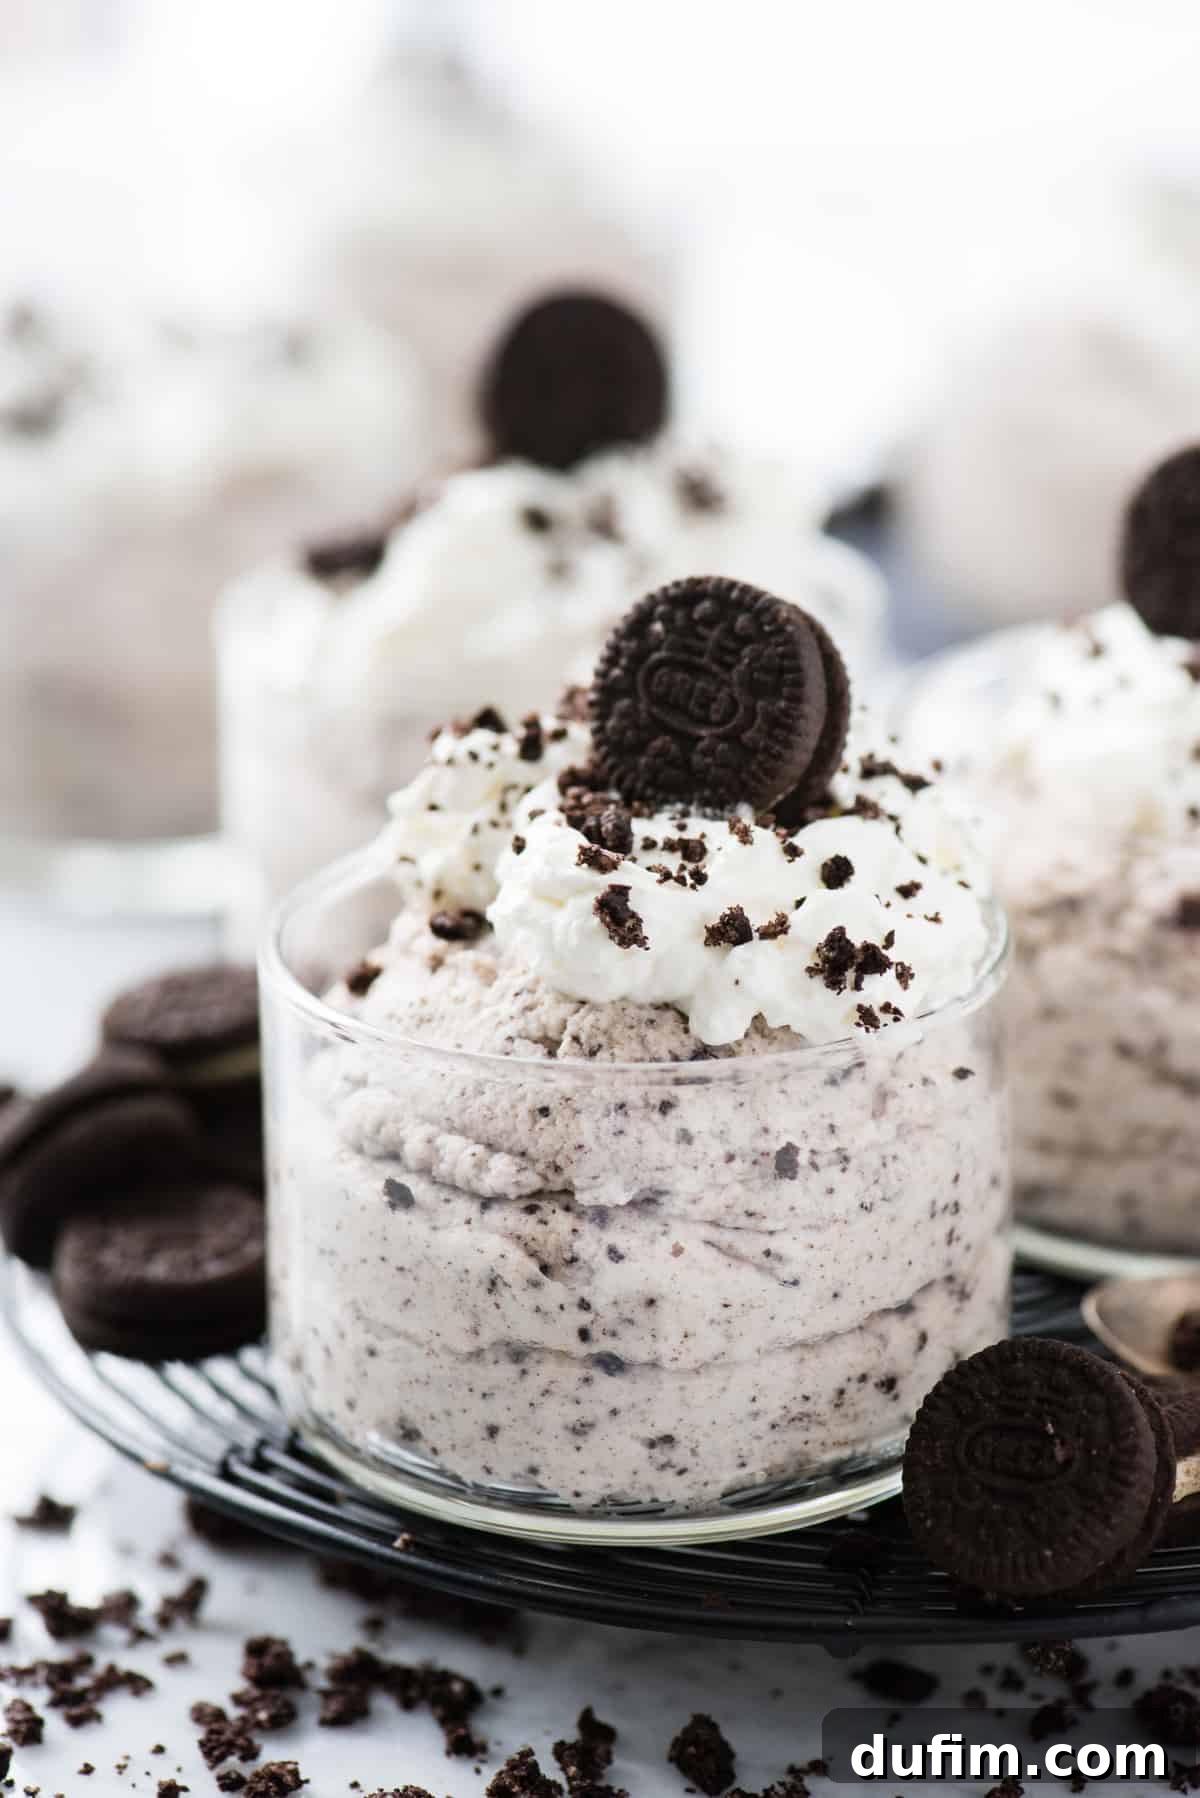
Imagine sinking your spoon into a cloud of pure Oreo deliciousness. That’s precisely the experience this mousse offers. It boasts a perfectly thick, fluffy texture and an intensely rich chocolate and iconic Oreo flavor profile. While divine on its own, I particularly love enhancing this mousse with a generous topping of homemade whipped cream. The delicate airiness and subtle sweetness of the whipped cream create a delightful contrast against the deep, rich flavor of the Oreo mousse, elevating each bite into a symphony of textures and tastes. This simple addition truly completes the dessert, making it not just a treat, but an experience.
Whether you’re hosting a dinner party, looking for a quick weeknight treat, or simply craving something sweet and satisfying, this Oreo mousse fits the bill perfectly. It’s an ideal choice for bakers of all skill levels, from beginners to seasoned pros, thanks to its straightforward process and minimal ingredient list. Dive into the details below to master this delightful dessert!
Why This Oreo Mousse Is a Game-Changer: Eggless and Gelatin-Free Perfection
Many traditional mousse recipes rely on raw eggs for their airy texture or gelatin for stability. While these methods are tried and true, they can be intimidating for some home cooks and pose dietary concerns for others. Our Oreo mousse recipe brilliantly sidesteps these challenges, offering a dessert that is equally luxurious and satisfying without any raw eggs or gelatin. This means:
- **No Raw Eggs:** Eliminates concerns about salmonella, making it a safe dessert for pregnant women, young children, and anyone with a compromised immune system.
- **Gelatin-Free:** Perfect for vegetarians and those avoiding animal-derived products. You get a perfect set without any animal ingredients.
- **Simpler Process:** Without the need for tempering eggs or carefully dissolving gelatin, the preparation becomes significantly easier and quicker.
- **Wider Appeal:** This recipe caters to a broader audience, ensuring everyone at your table can indulge in its creamy goodness without worry.
The secret lies in the combination of heavy whipping cream and white chocolate, which naturally create a stable, airy, and rich base when properly prepared and chilled. The crushed Oreos not only infuse the mousse with their iconic flavor but also add a delightful textural element, making every spoonful an adventure.
Essential Oreo Mousse Ingredients
The magic of this mousse comes from just three simple ingredients, carefully chosen to deliver maximum flavor and texture. Understanding each component is key to achieving the perfect result:
- Heavy Whipping Cream: This is the foundation of our mousse, providing its signature light and airy texture. For optimal whipping and stability, always use heavy whipping cream with a fat content of at least 36%. Don’t confuse it with regular whipping cream, which has a lower fat percentage (30-35%) and won’t yield the same stiff peaks or stable mousse.
- White Chocolate Chips: Beyond adding sweetness, white chocolate plays a crucial role in providing structure and richness to the mousse. When melted and combined with cream, its cocoa butter content helps to set the mousse beautifully without the need for gelatin. Opt for good quality white chocolate chips or a chopped white chocolate bar for the best flavor and melting consistency.
- Oreos: The star of the show! We’re using whole Oreos – cookies and cream filling – crushed to infuse the mousse with that unmistakable cookies and cream flavor and a delightful textural contrast. The cream filling in the Oreos also contributes to the overall creaminess and unique taste of the mousse.
The Science Behind Chilled Equipment: Why Cold is Key for Perfect Whipped Cream
Achieving perfectly whipped cream is a fundamental step for this mousse, and using chilled equipment is absolutely critical for success. This isn’t just a chef’s whim; there’s real science behind it:
- **Fat Globules and Stability:** Heavy cream is an emulsion of fat globules suspended in water. When you whip cream, air is incorporated, and these fat globules begin to clump together, stabilizing the air bubbles and forming a foam.
- **Maintaining Temperature:** Cold cream is essential because the fat globules are firmer when cold. This allows them to maintain their structure and trap air more effectively. If the cream gets too warm, the fat globules soften, making it difficult for them to hold their shape and incorporate air, resulting in a runny, unstable whipped cream that quickly deflates.
- **Increased Volume and Stiffer Peaks:** A cold environment ensures the cream stays at an optimal temperature throughout the whipping process. This leads to a significantly increased volume – often tripling in size – and allows you to achieve those desirable stiff peaks that are crucial for a light, airy, and stable mousse. Stiffer peaks mean the whipped cream has enough structural integrity to hold its shape and support the other ingredients without collapsing.
For the best results, I highly recommend placing your metal or glass mixing bowl and the beaters from your electric mixer in the freezer for at least 15 minutes before you begin whipping the cream. This simple step makes a profound difference in the texture and stability of your final mousse.
How To Make This Luscious Eggless Oreo Mousse
Making this delightful Oreo mousse is surprisingly straightforward, essentially consisting of two main components: a rich white chocolate base and perfectly whipped cream, elevated by the addition of crushed Oreos. Follow these steps for a foolproof dessert:
- Prepare the White Chocolate Base: In a small saucepan, gently heat 1/3 cup of heavy cream over low heat, stirring occasionally, just until it begins to simmer and small bubbles appear around the edges. Do not let it boil vigorously. Remove from heat immediately and pour the hot cream over your white chocolate chips placed in a heatproof bowl. Let it sit undisturbed for 1 minute to allow the heat to melt the chocolate. Then, using a spatula, stir gently until the chocolate chips are completely smooth and melted, creating a luscious, uniform ganache-like mixture. It’s crucial to let this melted chocolate cool down to room temperature before combining it with the whipped cream. If it’s too warm, it will melt the whipped cream, causing your mousse to lose its airy texture.
- Whip the Heavy Cream to Stiff Peaks: Retrieve your thoroughly chilled mixing bowl and beaters from the freezer. Pour the remaining 1 & 2/3 cups of heavy cream into the cold bowl. Using an electric mixer, start on a low speed to prevent splattering, then gradually increase to high. Beat continuously until stiff peaks form. This typically takes about 3-5 minutes, depending on your mixer and cream temperature. Stiff peaks mean that when you lift the beaters, the cream stands up firmly and holds its shape without collapsing. Be careful not to overbeat, as this can turn the cream grainy and eventually into butter.
- Combine and Chill: Once your white chocolate mixture is at room temperature and your cream is whipped to stiff peaks, it’s time to combine them. Gently fold the cooled white chocolate and the crushed Oreos into the whipped cream. Use a spatula and a light hand, folding until just combined. Overmixing will deflate the whipped cream and result in a less airy mousse. Once fully incorporated, spoon the mousse into individual serving bowls or a larger serving dish. Cover each bowl tightly with plastic wrap to prevent a skin from forming and to absorb any fridge odors. Refrigerate the mousse for at least 3 hours.
Chilling the Mousse: A Critical Step for Perfect Texture and Stability
Just as chilling your equipment is vital for whipping cream, chilling the assembled mousse is an equally critical step that transforms it from a liquid mixture into a firm, yet irresistibly light and airy dessert. This setting process is essential for several reasons:
- **Stabilization:** The fat in the heavy cream and the cocoa butter in the white chocolate need time to firm up and stabilize the air bubbles incorporated during whipping. As the mousse cools in the refrigerator, these fats solidify, creating a sturdy matrix that holds the mousse’s structure.
- **Texture Development:** Chilling allows the flavors to meld and deepen, but more importantly, it develops the characteristic mousse texture. It becomes firm enough to be scooped cleanly but retains its delicate, airy quality, avoiding any dense or heavy consistency.
- **Optimal Enjoyment:** A properly chilled mousse offers the best sensory experience – it’s cool, refreshing, and its textures are perfectly balanced. Serving it before it’s fully set will result in a runny, less satisfying dessert.
While the recipe calls for at least 3 hours of refrigeration, allowing the mousse to chill overnight is often ideal. Longer chilling times only enhance its stability and overall texture, ensuring a truly scoopable, yet melt-in-your-mouth experience. Patience in this step will be richly rewarded.
How Long Does Oreo Mousse Last in the Fridge? Storage and Shelf Life
One of the many advantages of this no-bake Oreo mousse is its excellent shelf life, allowing you to prepare it ahead of time for entertaining or to enjoy individual servings throughout the week. When stored correctly, your delicious mousse will maintain its freshness and delightful texture for **2-3 days in the refrigerator.**
To ensure your mousse stays as fresh and appealing as possible:
- **Individual Containers:** If you’ve divided the mousse into individual serving bowls, cover each one tightly with plastic wrap, pressing the wrap gently onto the surface of the mousse to prevent a skin from forming and to shield it from absorbing any odors from other foods in the fridge.
- **Large Serving Dish:** If storing in a larger dish, ensure the entire surface is covered completely with plastic wrap, again making contact with the mousse.
- **No Toppings Until Serving:** If you plan to add whipped cream or additional Oreo crumbs as a topping, it’s best to do so just before serving. Whipped cream can soften and deflate over time, and crushed Oreos can become soggy when exposed to moisture in the fridge.
- **Freezing (Optional):** While mousse is traditionally a chilled dessert, this Oreo mousse can also be frozen for longer storage. Transfer the set mousse into freezer-safe containers, leaving a little headspace. Cover tightly and freeze for up to 1 month. Thaw in the refrigerator overnight before serving. Note that the texture might be slightly different after freezing and thawing, but it will still be delicious!
Expert Tips for the Best Oreo Mousse Every Time
While this recipe is incredibly simple, a few expert tips can elevate your Oreo mousse from great to absolutely exceptional:
- **Choose the Right Cream:** This cannot be stressed enough – always use heavy cream or heavy whipping cream. Both terms refer to cream with a fat content of at least 36%, which is crucial for achieving stiff peaks and a stable mousse. Standard “whipping cream” with 30-35% fat will not yield the same robust results and may lead to a looser, less airy mousse. Check the label carefully!
- **Embrace the Chill:** The importance of chilling your mixing bowl and beaters cannot be overstated. A cold environment prevents the cream from warming up too quickly during whipping, ensuring it reaches its maximum volume and stiffness. Pop them in the freezer for 10-15 minutes before you start.
- **Perfect Oreo Crushing:** For optimal texture and flavor distribution, crush your Oreos (the entire cookie, including the cream filling) finely enough to mix smoothly into the mousse, but leave some slightly larger crumbs for textural interest. A food processor makes quick work of this, but a Ziploc bag and a rolling pin work just as well for a more rustic crush.
- **Cool the White Chocolate Completely:** Before folding the melted white chocolate into your whipped cream, ensure it has cooled to room temperature. Introducing warm chocolate to cold whipped cream will cause the cream to melt and deflate, ruining the mousse’s airy structure. Patience here is key!
- **Gentle Folding is Essential:** Once your components are ready, combine them with a light hand. Use a spatula to gently fold the completely cooled white chocolate mixture and crushed Oreos into the whipped cream. Overmixing will knock out all the air you worked so hard to incorporate, resulting in a dense mousse. Fold just until no streaks remain.
- **Mind Your Portions:** This recipe yields approximately 2-3 cups of mousse, which is perfect for serving in six 5.3 oz bowls, providing generous individual portions. Adjust serving sizes as needed for your desired yield.
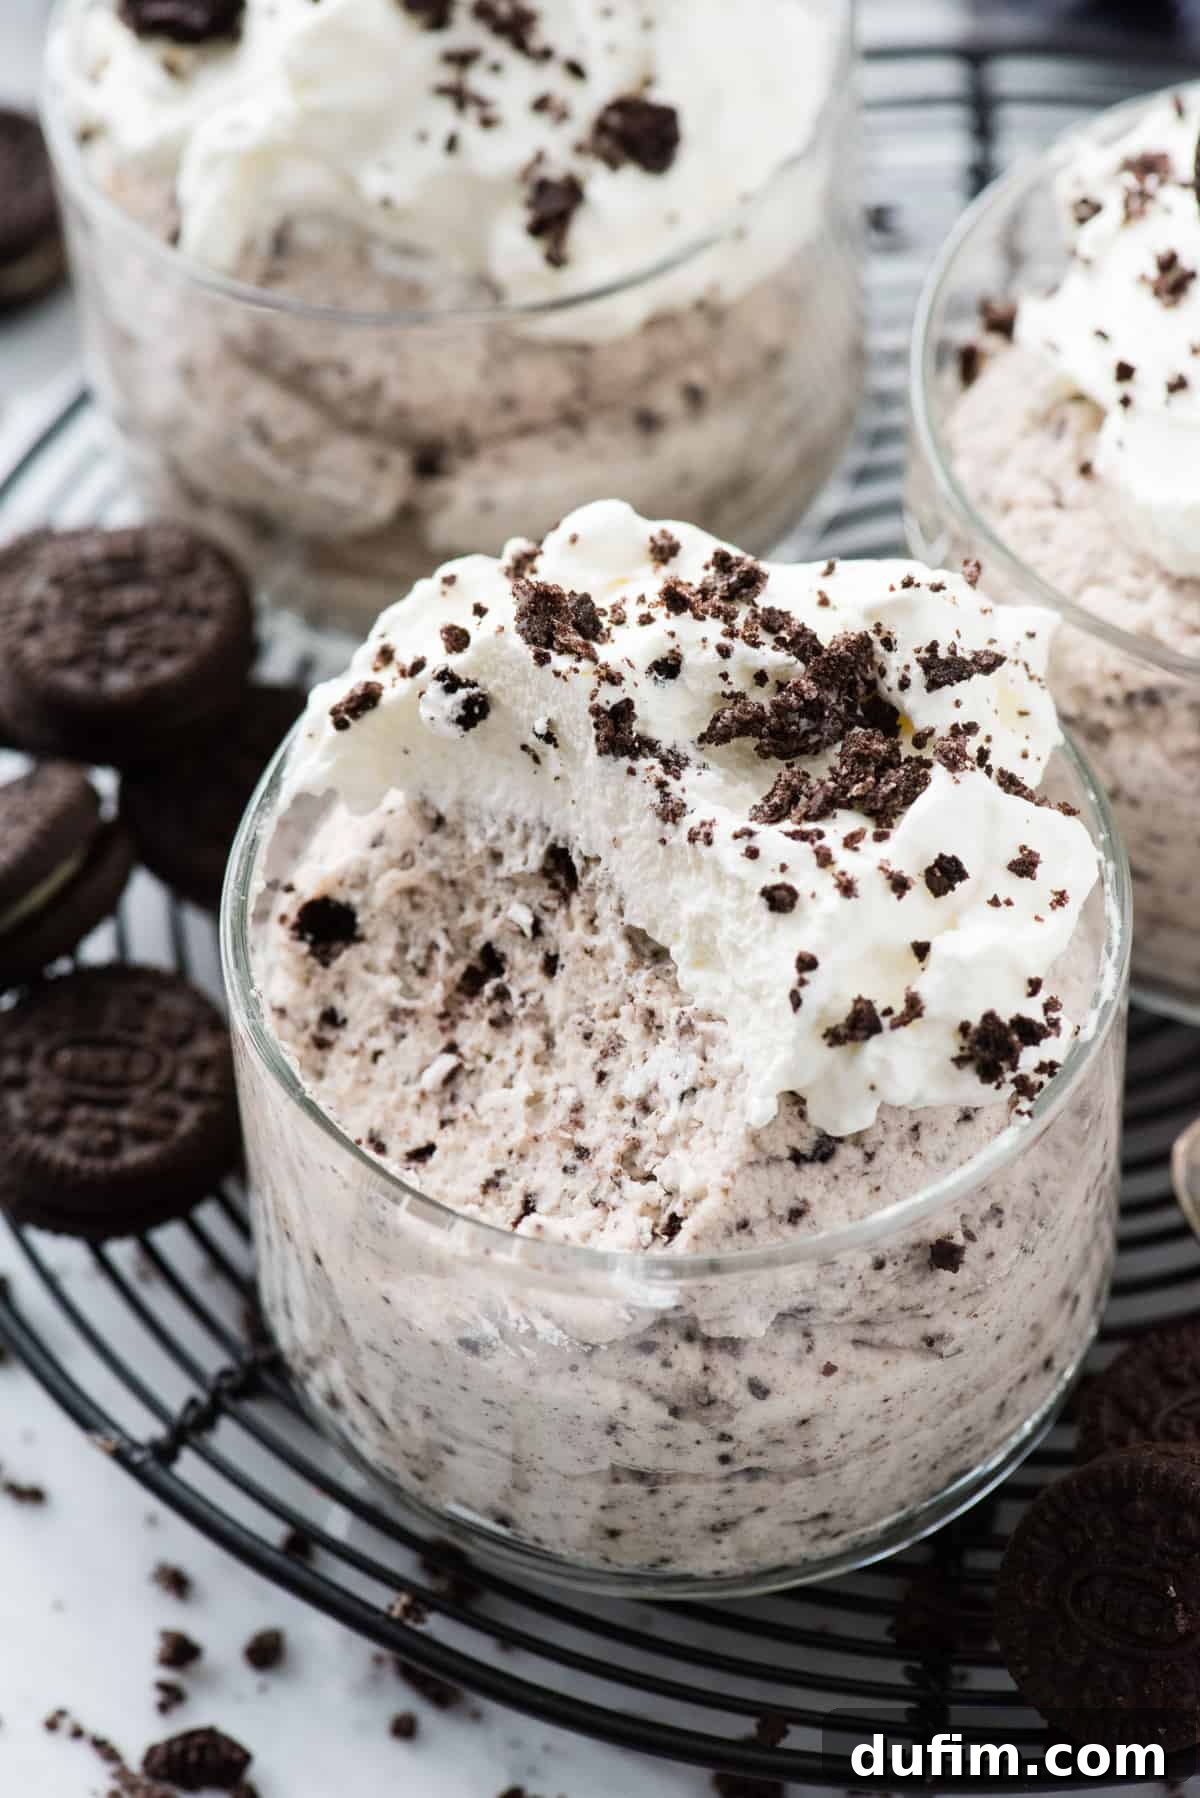
- **Enhance with Toppings:** While delicious on its own, a swirl of freshly made homemade whipped cream and a sprinkle of extra crushed Oreos or even a whole mini Oreo cookie adds a beautiful visual appeal and an extra layer of texture and flavor. The contrast between the rich mousse and light topping is truly delightful.
- **Plan Ahead:** This mousse is an excellent make-ahead dessert. Preparing it the day before or even a few hours in advance allows it ample time to chill and set properly, ensuring perfect texture and flavor development when you’re ready to serve.
Craving More Oreo Delights? Explore These Recipes!
If you’ve fallen in love with the magic of Oreo desserts, you’re in luck! There’s a whole world of incredible recipes waiting to be explored. From rich cheesecakes to delightful cupcakes, Oreos can transform any dessert into an unforgettable treat. Here are some of our other favorite Oreo-inspired creations you simply must try:
- Decadent Oreo Cheesecake
- Light and Fluffy Oreo Angel Food Cake
- Irresistible Cookies and Cream Cupcakes
- Homemade Oreo Ice Cream
★★★★☆
Rate this recipe!
Oreo Mousse
Beth
10 minutes
3 hours
3 hours
10 minutes
9
servings
Leave a Review
Print Recipe
Equipment
-
Electric Mixer (handheld or stand mixer)
-
Small Dessert Glasses or Bowls
-
Chilled Glass Mixing Bowl
-
Small Pot & Spatula
Ingredients
For the Oreo Mousse:
- 2 cups (473ml) heavy whipping cream (minimum 36% fat)
- 1 cup (170g) white chocolate chips
- ¾ cup (90g) crushed Oreos (whole cookies with cream)
For the Optional Whipped Cream Topping:
- ½ cup (118ml) heavy whipping cream
- 3 Tbsp powdered sugar
Instructions
-
Prepare Equipment: Place a metal or glass mixing bowl and the beaters from your electric mixer in the freezer for 10-15 minutes. This crucial step ensures your heavy cream whips perfectly.
-
Crush Oreos: Crush the Oreos (the whole cookie, including the cream filling) using your preferred method – chop them with a knife, lightly blend them in a food processor, or place them in a Ziploc bag and crush them with a rolling pin until you have fine crumbs with some small chunks. Set aside.
-
Melt White Chocolate: In a small pot over low heat on the stove, gently heat 1/3 cup of heavy cream just until it begins to simmer (small bubbles around the edges). Do not bring to a rolling boil. Immediately remove from heat and pour it over the white chocolate chips placed in a heatproof bowl. Let the chips sit for 1 minute without stirring. Then, use a spatula to mix until the chips are completely smooth and melted. Allow this melted white chocolate mixture to cool down completely to room temperature. This is essential to prevent melting the whipped cream later.⅓ cup heavy whipping cream (from the 2 cups total),
1 cup (170g) white chocolate chips -
Whip Remaining Cream: Pour the remaining 1 & 2/3 cups of heavy cream into your chilled mixing bowl. Using an electric mixer, beat on high speed until stiff peaks form. This usually takes 3-5 minutes. The cream should hold its shape firmly when the beaters are lifted.
-
Combine Mousse Ingredients: Gently fold the completely cooled white chocolate mixture and the crushed Oreos into the whipped cream. Use a spatula to fold until the mixture is fully combined and uniform, being careful not to overmix and deflate the cream.¾ cup (90g) crushed Oreos
-
Chill the Mousse: Divide the mousse evenly among individual serving containers (yields about 6 servings in 5.3 oz bowls). Cover each container tightly with plastic wrap, pressing it gently onto the surface of the mousse to prevent a skin from forming. Refrigerate for at least 3 hours, or ideally, overnight, to allow the mousse to set completely and achieve its perfect texture. The mousse will keep well for 2-3 days in the fridge.
-
Prepare Topping and Serve (Optional): If desired, make the whipped cream topping just before serving. In a separate chilled bowl, combine ½ cup heavy cream and 3 Tbsp powdered sugar. Beat on high with an electric mixer until stiff peaks form (2-3 minutes). Top each serving of chilled mousse with a dollop of fresh whipped cream and a sprinkle of extra crushed Oreos. Serve immediately. Cover any leftovers with plastic wrap and refrigerate.½ cup (118ml) heavy whipping cream,
3 Tbsp powdered sugar
Notes
- Be sure to use heavy cream or heavy whipping cream, where the fat content is at least 36%. These terms are often interchangeable. However, “whipping cream” or “light whipping cream” only contains 30-35% fat and may not provide the desired stability.
- This recipe yields approximately 2-3 cups of mousse, enough for 6 generous servings in 5.3 oz bowls, or 9 smaller servings.
- For an even richer chocolate flavor, you can substitute dark chocolate for white chocolate. Adjust sweetness to taste.
Nutrition Information (Estimated per Serving)
Calories: 409kcal |
Carbohydrates: 26g |
Protein: 3g |
Fat: 34g |
Saturated Fat: 20g |
Polyunsaturated Fat: 2g |
Monounsaturated Fat: 10g |
Trans Fat: 1g |
Cholesterol: 95mg |
Sodium: 105mg |
Potassium: 136mg |
Fiber: 1g |
Sugar: 20g |
Vitamin A: 978IU |
Vitamin C: 1mg |
Calcium: 86mg |
Iron: 1mg
Nutrition Disclosure
All nutritional values are approximate and provided to the reader as a courtesy. Changing ingredients and/or quantities will alter the estimated nutritional calculations. This information is for general guidance only and not a substitute for professional nutritional advice.
Loved this recipe? Share your thoughts below!
Your feedback helps others discover delicious desserts!