Mastering the Art of Baking a Perfect Cake: A Comprehensive Step-by-Step Tutorial
For many home bakers, the thought of creating a beautiful, multi-layered cake can feel daunting. There was a time when I, too, was intimidated by the precision and technique required for layer cakes. However, having conquered that fear, our blog has seen an exciting explosion of cake recipes. While I’ve previously shared extensive guides on how to frost a layered cake, it’s become clear that a foundational tutorial on the baking process itself is absolutely essential. After all, a flawlessly frosted cake begins with a perfectly baked foundation!
While every cake recipe we share includes detailed instructions for preparing the batter and baking, visual guidance often clarifies the process in a way words alone cannot. This tutorial is designed to demystify cake baking, providing clear, step-by-step instructions accompanied by helpful photos. While our white cake recipe is featured in the images, the fundamental techniques apply to almost all of our cake recipes, ensuring consistent success no matter which delicious flavor you choose.
So, let’s dive in and transform your baking experience. Prepare to bake cakes that are not just delicious, but also boast beautiful, even layers every single time!
Essential Tools for Flawless Cake Baking
Before you even begin mixing ingredients, having the right equipment can make all the difference in achieving bakery-quality results. Investing in a few key items will elevate your cake baking from good to truly exceptional.
The Versatile Springform Pan
A springform pan is an indispensable tool for baking layer cakes. Its unique design features a removable bottom and sides that clasp together, allowing you to easily release your delicate cakes without inverting them or risking damage. This is particularly advantageous for tall, tender layer cakes that might otherwise stick or break. Springform pans are widely available in various stores, and I personally recommend owning at least two in both 8-inch and 6-inch sizes to accommodate different recipe yields and design preferences. While round cake pans can be used, the springform pan offers unparalleled convenience and gentleness during demolding.
The Magic of Parchment Paper Circles
A simple yet incredibly effective tool, a parchment paper circle is precisely what it sounds like: a round piece of parchment paper cut to fit the bottom of your baking pan. This small addition makes a monumental difference in preventing your cake from sticking and ensures effortless removal after baking. I consider parchment paper circles an absolute non-negotiable step in my cake baking process. They create a non-stick barrier, protecting the bottom of your cake and guaranteeing a clean release every single time. You can purchase pre-cut circles or easily cut your own from a roll of parchment paper.
Achieve Even Baking with Bake Even Strips
One of the secrets to perfectly flat, evenly baked cake layers, free from doming or dry edges, is the bake even strip. These ingenious strips insulate the sides of your cake pan, causing the cake to bake more uniformly from the edges to the center. Without them, the outer edges of the cake tend to bake and set faster than the center, leading to a domed top that requires leveling. Bake even strips eliminate this issue, resulting in flatter layers that are much easier to stack and frost. You can conveniently purchase high-quality bake even strips on Amazon. Alternatively, you can easily craft your own homemade version:
- Cut an old, clean towel into a long, skinny strip that can wrap around the circumference of your pan.
- Thoroughly wet the fabric strip, then squeeze out excess water until it’s damp but not dripping.
- Secure the damp strip around the exterior edge of your pan with a safety pin.
Voila! Your homemade bake even strip will work wonders in promoting even baking, ensuring your cake layers rise beautifully and uniformly.
Step-by-Step Cake Batter Preparation: The Heart of Your Cake
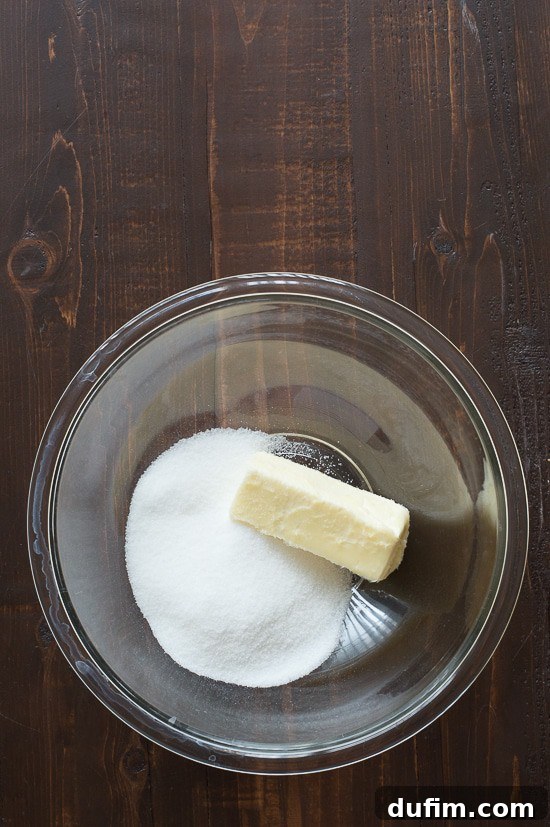
The batter preparation is where your cake truly begins to take shape. Precision and technique here are paramount to achieving the desired texture and flavor. Remember, always start with high-quality ingredients at the correct temperature.
Creaming Butter and Sugar: The Foundation of Flavor and Texture
Almost all of our layered cake recipes begin by creaming together butter and sugar. This crucial step incorporates air into the mixture, which is essential for a light and tender crumb. Use an electric mixer (either hand-held or stand mixer) and beat the butter and sugar on medium-high speed until the mixture becomes visibly light, fluffy, and creamy. This typically takes anywhere from 1 to 2 minutes. The color should noticeably lighten, and the texture should be aerated. As you mix, frequently scrape down the sides and bottom of the bowl with a spatula to ensure all ingredients are thoroughly incorporated. Bits of butter and sugar tend to cling to the bowl’s edges, and scraping ensures a uniform mixture.
A Critical Note: Always, and I mean always, use room temperature butter when creaming with sugar. Butter that is too cold will not cream properly and will result in a dense cake, while butter that is too soft or melted will not incorporate enough air. If you’re unsure about the ideal butter temperature, refer to your specific recipe; I always clarify this detail in our instructions.
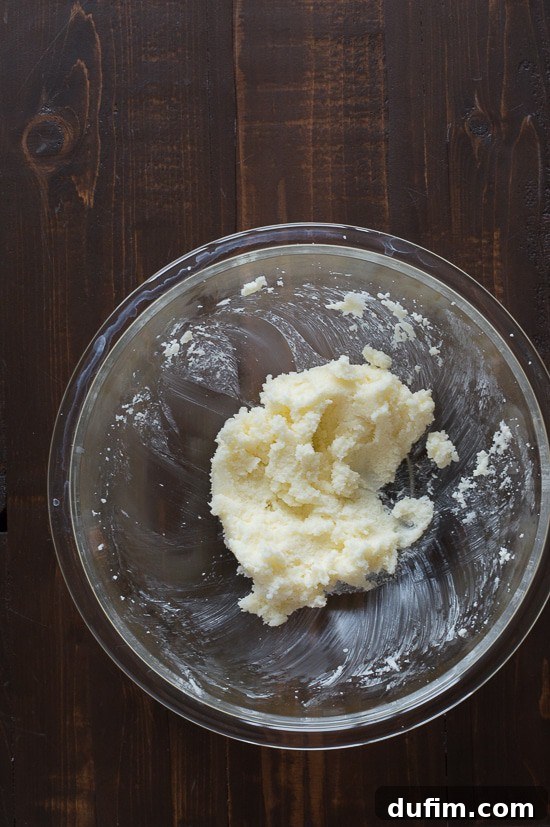
This image demonstrates the ideal consistency of creamed butter and sugar: pale, airy, and uniform.
Incorporating Eggs for Structure and Moisture
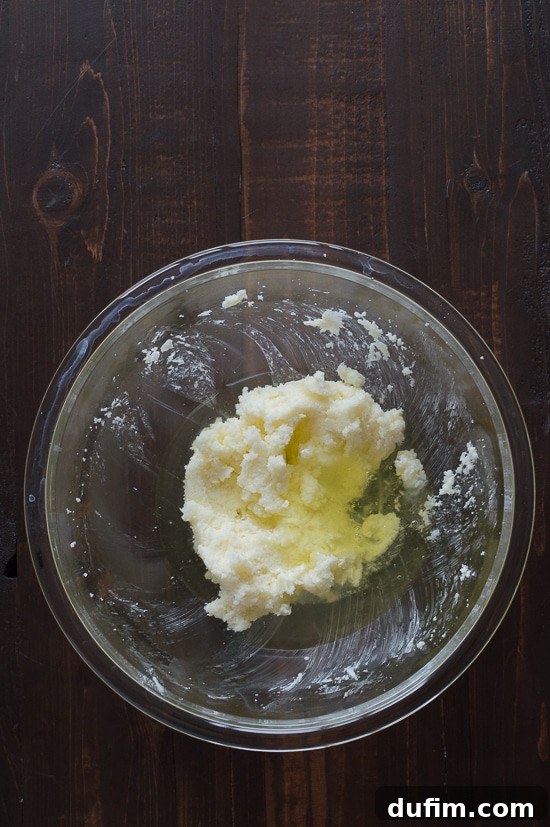
The next step in nearly all our layered cake recipes is the addition of eggs, which provide structure, moisture, and richness. For our white cake recipe, we specifically use egg whites for a lighter color and delicate texture. Unless the recipe explicitly instructs you to add eggs one at a time, you can typically add them all at once. Beat the mixture again with your electric mixer until the eggs are fully combined, usually about 1 minute. The batter will become smoother and slightly more cohesive.
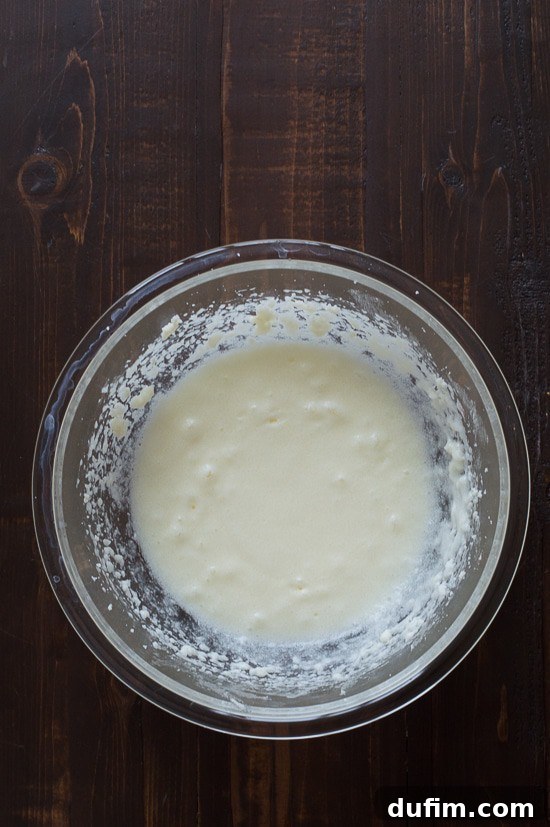
After beating in the eggs, the batter will appear a bit more liquidy. However, if you use your spatula to scrape down the sides, you’ll notice a “globbier” texture, indicating the eggs are properly emulsifying with the butter and sugar mixture. This is exactly what you want to see.
Adding Wet Ingredients: Enhancing Texture and Flavor
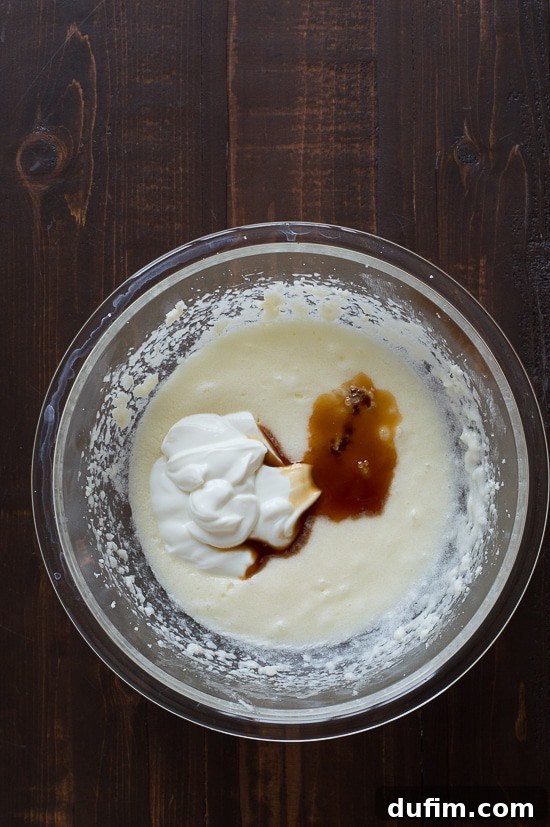
Now, it’s time to incorporate additional wet ingredients that contribute to the cake’s moisture and flavor. For many recipes, this means sour cream and vanilla extract. Use a spatula to gently stir these ingredients into the batter for about 20-30 seconds, just until combined. It’s important not to overmix at this stage. Keep in mind that specific recipes may vary; for instance, our chocolate cake recipe calls for adding eggs and vanilla, beating them, and then manually mixing in sour cream and melted chocolate. Always adhere to the specific directions of the cake recipe you are following.
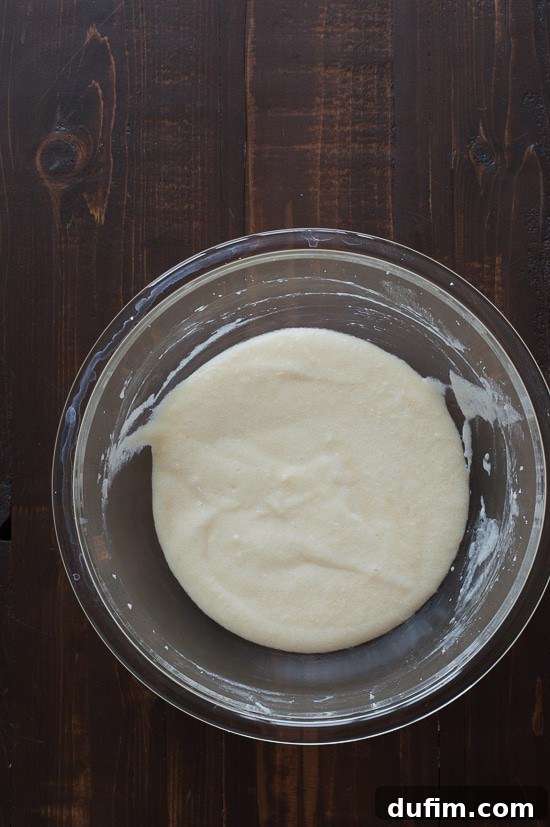
Observe how the batter transforms into a noticeably smoother and more homogenous mixture after this step.
Combining Dry Ingredients: Ensuring Uniformity
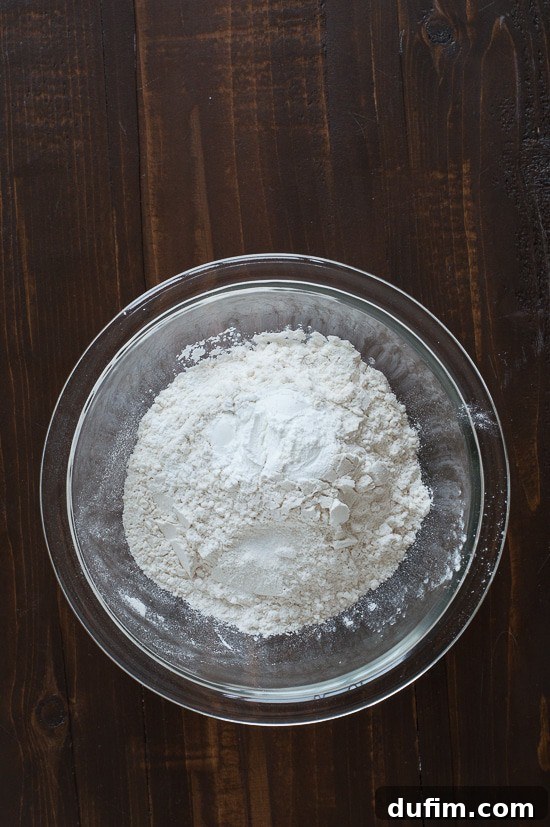
In a separate bowl, meticulously combine all your dry ingredients. This typically includes flour, baking powder and/or baking soda (the leavening agents), and salt. Use a spoon or whisk to gently but thoroughly mix these ingredients together. This step is crucial to ensure that the leavening agents and salt are evenly distributed throughout the flour, preventing pockets of uneven rise or flavor. If you were preparing our decadent chocolate cake, you would also add the cocoa powder to these dry ingredients at this stage.
Gradually Folding Dry into Wet: The Art of Mixing
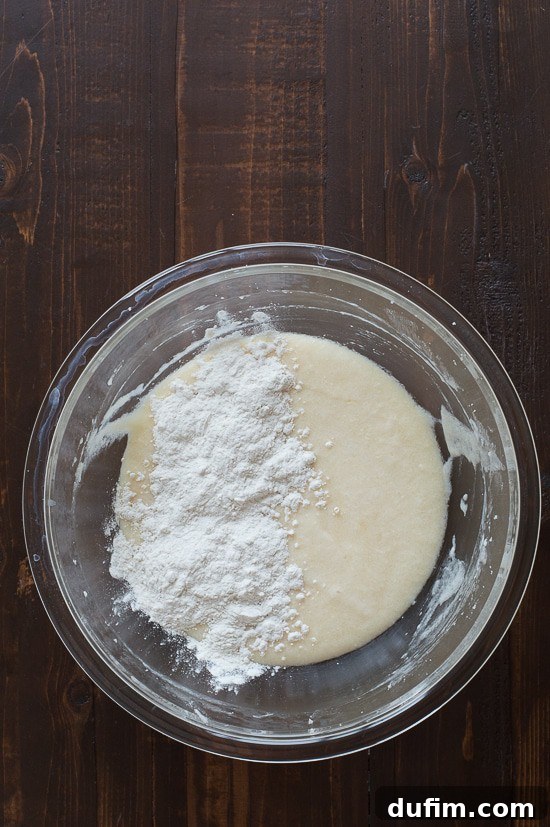
Now comes the delicate process of combining your wet and dry ingredients. The key here is to add the dry mixture in batches to prevent overmixing, which can lead to a tough cake. I typically divide my flour mixture into three batches. Start by sprinkling a few spoonfuls of the flour mixture over the wet batter, then gently fold it in with a spatula until just combined. Repeat this process with the remaining flour, adding a small amount, mixing, then adding more. Ensure you scrape the bottom and sides of the bowl to fully incorporate all the dry ingredients without leaving any pockets of unmixed flour. For our chocolate cake, I find it beneficial to use a mesh strainer to gently shake the flour mixture over the batter in batches. This technique helps to break up any clumps of cocoa powder, ensuring a silky-smooth batter.
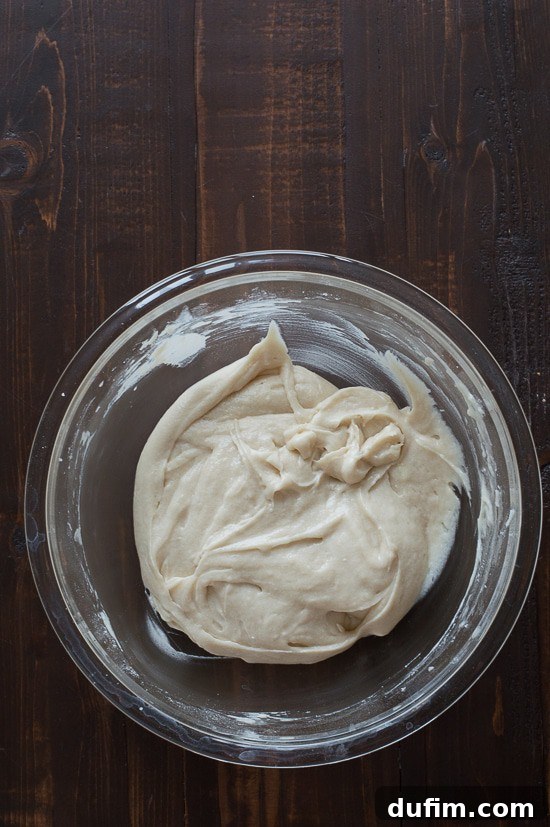
Your batter is now perfectly smooth, uniform, and ready for the pans!
Preparing Your Cake Pans for Baking
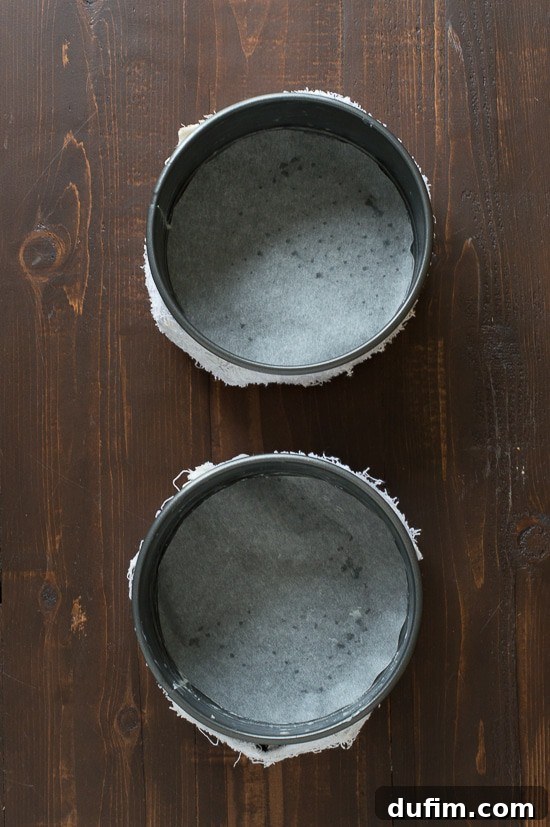
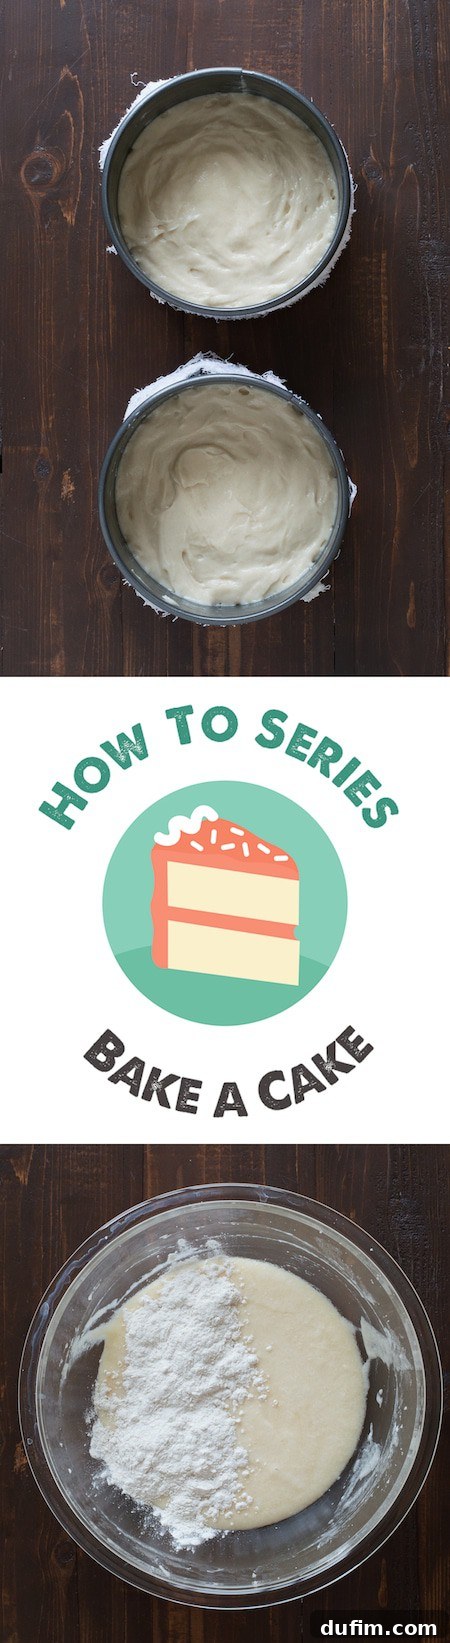
Proper pan preparation is crucial for ensuring your cakes don’t stick and release cleanly. Begin by generously buttering the sides and bottom of your springform pans. This creates an initial non-stick layer. Next, place a parchment paper circle directly onto the buttered bottom of each pan. For using the bake even strip, thoroughly wet the fabric and squeeze out any dripping water, ensuring it remains damp but not soaked. Secure this damp strip around the exterior edge of the pan with a safety pin. If you’re using a store-bought bake even strip, simply follow the manufacturer’s instructions for application.
Dividing and Baking Your Cake to Perfection
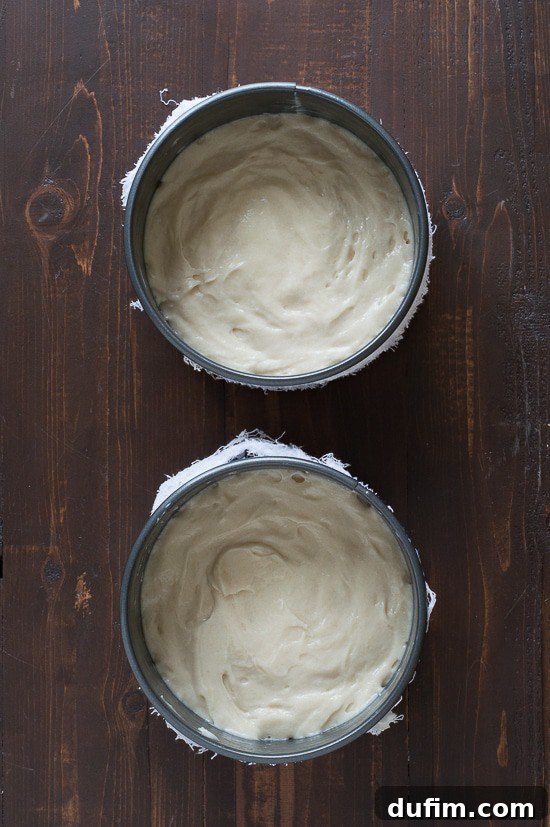
If your recipe calls for dividing the batter among multiple pans (as most layer cake recipes do), precision here is key for even layers. I highly recommend using a kitchen scale to measure the batter into each pan, ensuring that each layer contains exactly the same amount. This guarantees that your cakes bake at the same rate and come out with consistent heights. Once the batter is divided, use a spatula to gently spread it evenly to the sides of the pan, smoothing the top surface as you go. This helps create a flat top and uniform thickness.
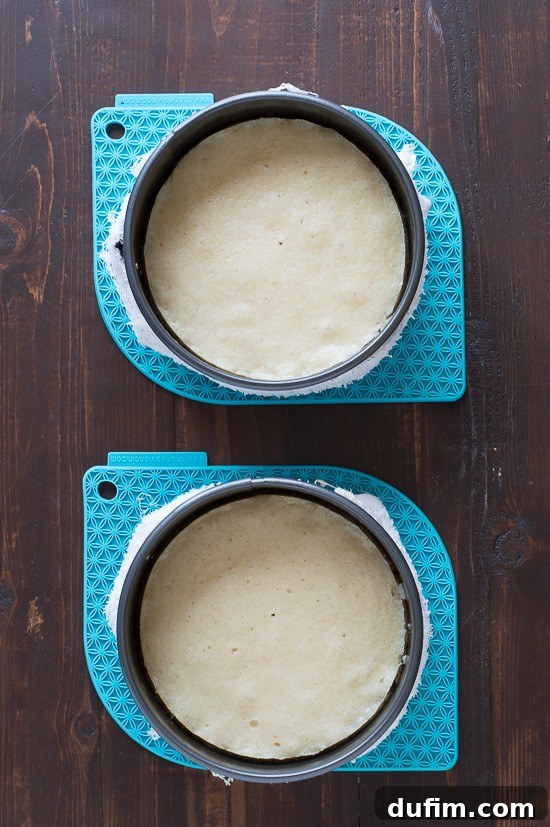
Bake your cakes according to the temperature and time specified in your recipe. I always place my cake pans directly in the middle rack of my oven for optimal heat distribution. It’s important to resist the urge to open the oven door while the cakes are baking, especially during the first two-thirds of the baking time, as this can cause them to sink. To check for doneness, gently insert a toothpick into the center of a cake. If it comes out clean or with a few moist crumbs attached (but no wet batter), your cake is ready. Immediately remove the baked cakes from the oven and place them on a cooling rack or silicone hot pads.
Cooling Your Cakes: A Crucial Step for Structure
Allow the cakes to cool in their pans on the cooling rack for approximately 10 minutes. This brief cooling period allows the cake’s structure to set, making it less fragile. After 10 minutes, carefully run a thin knife or a skinny metal spatula around the inner edge of each cake to loosen it from the pan sides. Then, gently unclasp the springform pan and remove the side ring. I always allow my cake layers to cool completely, still on the bottom of the springform pan, before attempting to remove them fully. This ensures maximum structural integrity and prevents any tearing or breakage.
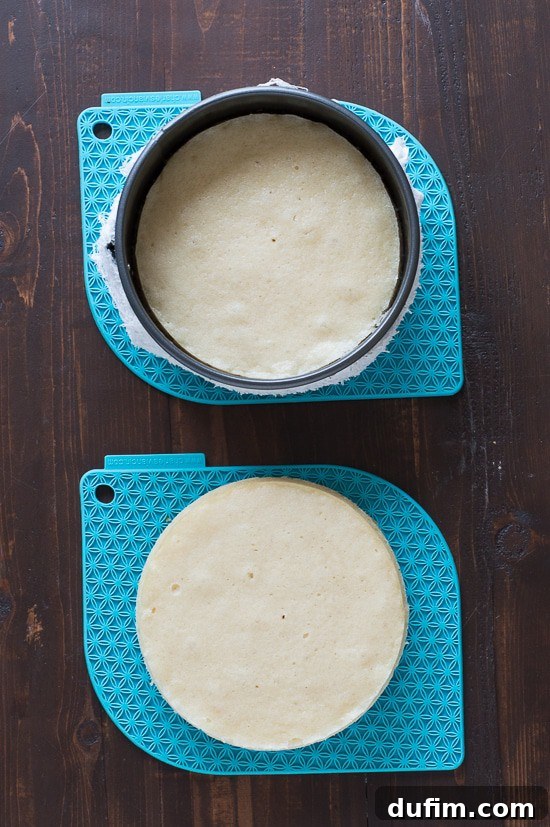
Look at these beautifully baked, even layers! Thanks to the bake even strips and proper technique, my cakes consistently come out perfectly flat, often eliminating the need for any leveling or trimming. This saves time and ensures a professional finish.
Storing and Chilling for the Best Results
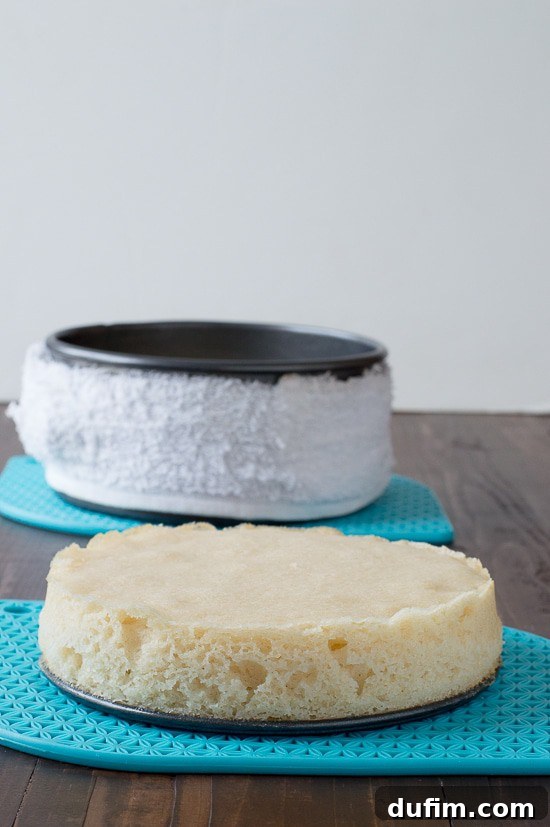
Once your cake layers have cooled completely to room temperature, it’s time for another crucial step: chilling them. Wrap each cooled cake layer tightly in plastic wrap to prevent them from drying out. Then, place them in the refrigerator. I highly recommend chilling your cake layers before you attempt to assemble and frost your cake. Cold cake layers are much firmer, easier to handle, and less prone to tearing or crumbling when you apply frosting. Most often, I prepare my cake layers and leave them in the fridge overnight, or sometimes for up to two days, allowing them to firm up perfectly.
Pro Tips for Cake Baking Success
- Invest in an Oven Thermometer: Oven temperatures can vary significantly from what the dial indicates. An inexpensive oven thermometer will ensure you’re baking at the precise temperature specified in your recipe.
- Do Not Overmix: Overmixing the batter, especially after adding flour, develops gluten excessively, leading to a tough, chewy cake. Mix only until ingredients are just combined.
- Quality Ingredients Matter: Using fresh, good-quality butter, eggs, and leavening agents makes a noticeable difference in the final taste and texture of your cake.
- Patience is a Virtue: Resist the urge to rush the cooling process. A properly cooled and chilled cake is easier to work with and yields a much more professional-looking finished product.
- Read the Recipe Twice: Before you even start, read through your chosen recipe entirely, once to understand the process and a second time to ensure you have all ingredients and equipment ready.
Ready to Bake? Explore Our Delicious Cake Recipes!
Now that you’re equipped with the knowledge and techniques for baking perfect cake layers, you’re ready to create some masterpieces! You can find a curated selection of my favorite baking products, including the tools I use daily, at my Amazon Affiliate Store.
Embark on your next baking adventure by trying one of our delectable cake recipes:
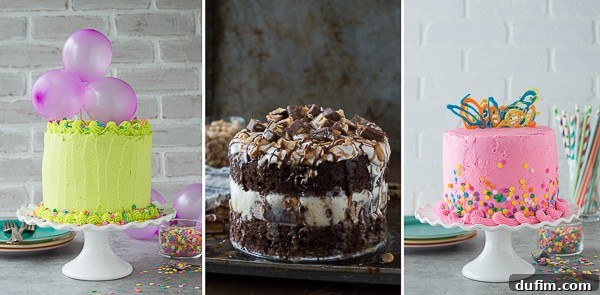
- Vibrant Funfetti Cake
- Decadent Chocolate Cake
- Sweet Chocolate Chip Cake
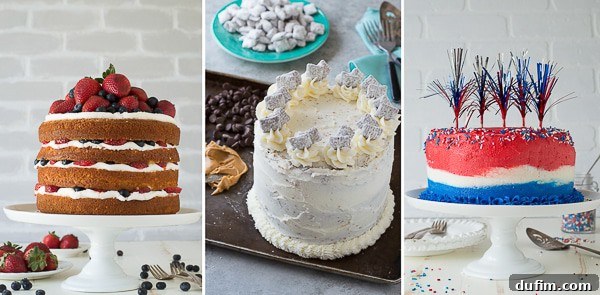
- Classic Vanilla Cake
- Rich Chocolate and Peanut Butter Cake
- Elegant White Cake
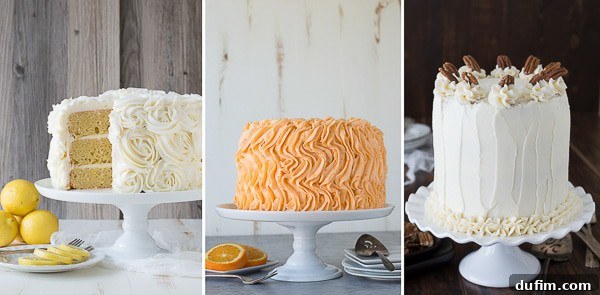
- Zesty Lemon Cake
- Fragrant Orange Poppyseed Cake
- Cozy Maple Pecan Cake