

Embark on a delightful baking journey with our meticulously crafted Chocolate Orange Thumbprint Cookies. After extensive testing, iterating through four distinct dough versions, we’ve perfected a recipe that yields a tender, rich chocolate base, perfectly cradling a luscious, bright citrus-infused chocolate orange filling. Each bite promises a harmonious blend of deep cocoa and zesty orange, delivering a nostalgic yet impressively sophisticated flavor. This isn’t just a recipe; it’s a testament to rigorous testing, ensuring that your cookies will turn out flawlessly every single time, delighting both your palate and your guests.

The Quest for the Perfect Chocolate Orange Thumbprint Cookie
My adventure into the world of thumbprint cookies began with a familiar friend: my original chocolate cookie dough. Known for its rich, chewy texture and consistent performance in countless experiments, it seemed like an obvious starting point for these festive treats. I confidently rolled the dough in sugar, pressed the classic thumbprint indentations, and eagerly baked the first batch. To my dismay, the cookies spread significantly in the oven, completely obliterating the carefully formed indents, leaving behind only flat chocolate rounds. A delicious failure, but a failure nonetheless.
Undeterred, I decided to tackle the spreading issue head-on. My next attempt involved freezing the dough for thirty minutes before baking, hoping the chilling process would help the cookies retain their shape. Unfortunately, they spread just as much. It became clear that a fundamental change to the dough’s structure was necessary. This led me to develop an entirely new base recipe, specifically engineered for stability and shape retention.
The new formula involved several key adjustments. I increased the proportion of flour to provide more structure, incorporated baking powder for a subtle lift without excessive spread, and maintained the cornstarch, which I knew from previous baking experiences was excellent for dough stability. To achieve the desired chewiness and richness without relying on corn syrup, I made a crucial swap, replacing part of the liquid with two egg yolks. This combination aimed to create a dough that would hold its thumbprint throughout the baking process.

The initial test of this revamped dough, while improved in terms of shape, was too dry and prone to cracking around the edges. It possessed the structure I sought, but lacked the tender softness essential for a truly exceptional thumbprint cookie. To address this, I increased the butter content, which not only added crucial moisture and flavor but also contributed to a more tender crumb. I also switched to using all brown sugar, which, thanks to its molasses content, is known for adding moisture and preventing excessive spreading, further aiding in maintaining the cookie’s integrity. However, the dough still needed a touch more fat to achieve that perfect balance of soft and sturdy.
The breakthrough came with one final, intuitive adjustment: adding one more egg yolk. This seemingly small change delivered precisely the moisture and richness the dough needed. The result was a dough that was wonderfully soft, easy to work with, and most importantly, baked into perfectly round thumbprints that held their shape beautifully. This iterative process, moving from initial concept to multiple rounds of refinement, ultimately led to the consistently perfect cookie base you’ll find in this recipe.
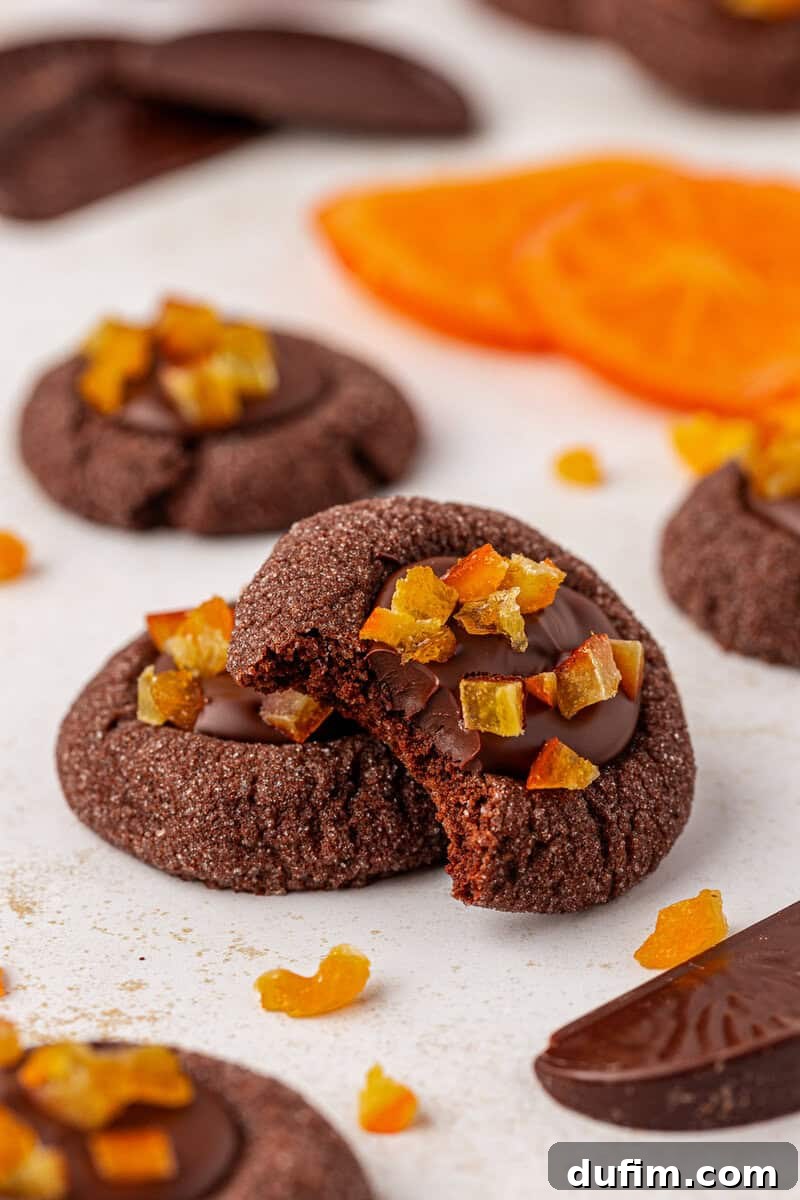
Discovering the Iconic Chocolate Orange Filling
With the cookie base finally perfected, my thoughts turned to flavor. I reached out to my vibrant Instagram community for inspiration, and their suggestions flooded in. Among hundreds of creative ideas, one instantly jumped out: chocolate orange. This flavor combination holds a special place in my heart, evoking warm memories of childhood holidays and finding those iconic chocolate oranges in my Christmas stocking. The decision was instantaneous; I knew I had to test it as the star filling for these thumbprints.
The classic chocolate orange segments, when melted, transformed into the most incredibly smooth and creamy citrus chocolate center. A gentle microwave melting process – at fifty percent power for two minutes, followed by stirring and additional short bursts – yielded a glossy, liquid gold that set perfectly, creating a filling with an unmistakable bright, zesty note that beautifully complemented the rich chocolate cookie. It tasted nostalgic, sophisticated, and utterly irresistible.
To elevate the visual appeal and add another layer of texture and flavor, I finished each cookie with a scattering of diced candied orange pieces. These not only contributed a lovely sweetness and a delightful chew but also provided a vibrant pop of color, making each cookie a feast for the eyes as well as the palate. When I presented this flavor alongside five other variations, the chocolate orange quickly became the undeniable crowd favorite. Every component of this cookie, from the foundational dough to the delectable filling and finishing garnish, has been rigorously tested and refined, guaranteeing a truly exceptional baking experience for home bakers.
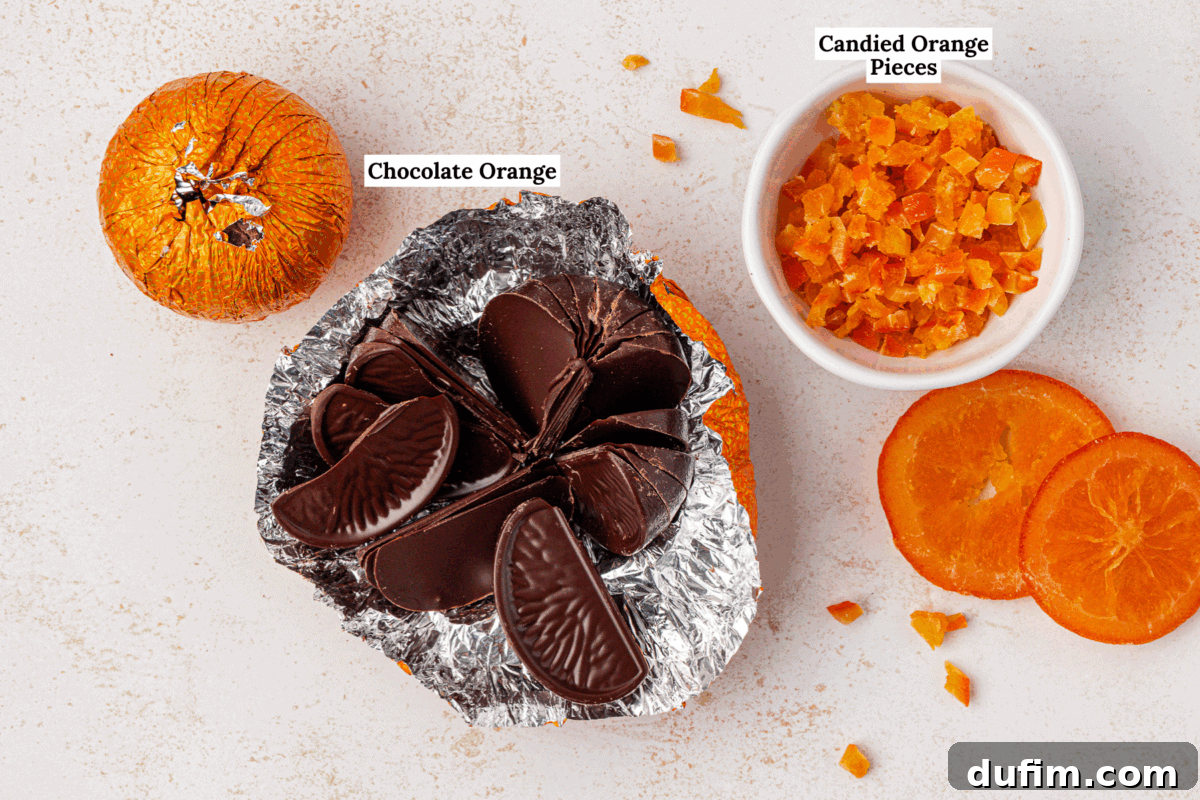
Key Ingredients & The Science Behind Their Role
Understanding the function of each ingredient is essential for successful baking and allows for informed adjustments if needed. Here’s a breakdown of the critical components that make these Chocolate Orange Thumbprint Cookies truly special:
- Dutch Processed Cocoa Powder: Unlike natural cocoa, Dutch-processed cocoa has been treated with an alkali to neutralize its acidity. This results in a darker color, a smoother, less bitter chocolate flavor, and also influences how it interacts with leavening agents. In this recipe, it ensures a deep, rich chocolate taste and a beautiful dark hue for your cookies.
- Brown Sugar: The molasses in brown sugar is a game-changer. It not only imparts a wonderful caramel-like depth of flavor that harmonizes beautifully with chocolate and orange, but also adds significant moisture to the dough. This moisture is crucial for creating a soft, chewy texture and preventing the cookies from becoming dry or crumbly.
- Unsalted Butter: Butter is the foundation of flavor and texture in many baked goods. It provides richness, helps tenderize the crumb, and, when properly creamed with sugar, creates air pockets that contribute to the cookie’s final structure and melt-in-your-mouth quality. Using unsalted butter allows you to control the exact amount of salt in the recipe.
- Cornstarch: A secret weapon in many cookie recipes, cornstarch is vital for dough stability. It helps to prevent the cookies from spreading too much during baking, ensuring that your thumbprint indentations remain defined and intact, giving these cookies their signature look.
- Egg Yolks: While whole eggs provide structure and moisture, egg yolks are rich in fat and lecithin. In this recipe, they are specifically used to add incredible richness, enhance tenderness, and act as an emulsifier, contributing to a smooth, soft dough that resists cracking during baking. This is a key factor in achieving that perfect thumbprint shape.
- Terry’s Chocolate Orange: The heart of the filling! This nostalgic confectionery melts down into a beautifully smooth, creamy, and distinctively citrus-infused chocolate ganache. It provides the unique, bright orange flavor that makes these thumbprints so memorable and sets with a delightful truffle-like consistency.
- Candied Orange Pieces: These delightful little morsels serve multiple purposes. They add a vibrant visual appeal, a burst of concentrated citrus flavor that enhances the filling, and a pleasant chewy texture on top, making every bite a multi-sensensory experience.
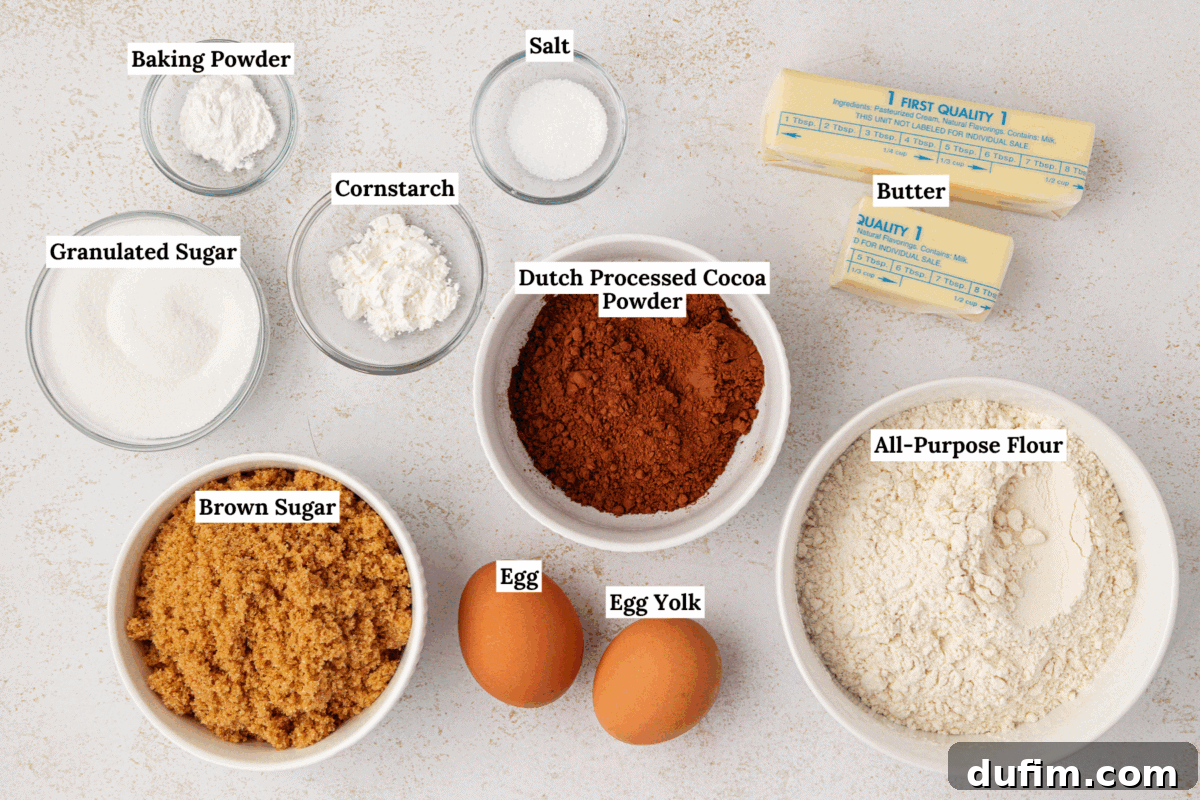
How to Make Irresistible Chocolate Orange Thumbprint Cookies
Creating these delightful cookies is a straightforward process, guided by our thoroughly tested steps. For full measurements and a printable version, refer to the detailed recipe card below.
For the Chocolate Cookie Base
- Prepare Baking Sheets: Begin by lining your baking sheets with parchment paper or silicone baking mats. This prevents sticking and ensures even baking.
- Combine Dry Ingredients: In a medium-sized bowl, whisk together the all-purpose flour, Dutch-processed cocoa powder, salt, baking powder, and cornstarch. Whisking ensures these ingredients are evenly distributed, which is crucial for uniform cookie texture. Set this mixture aside.
-

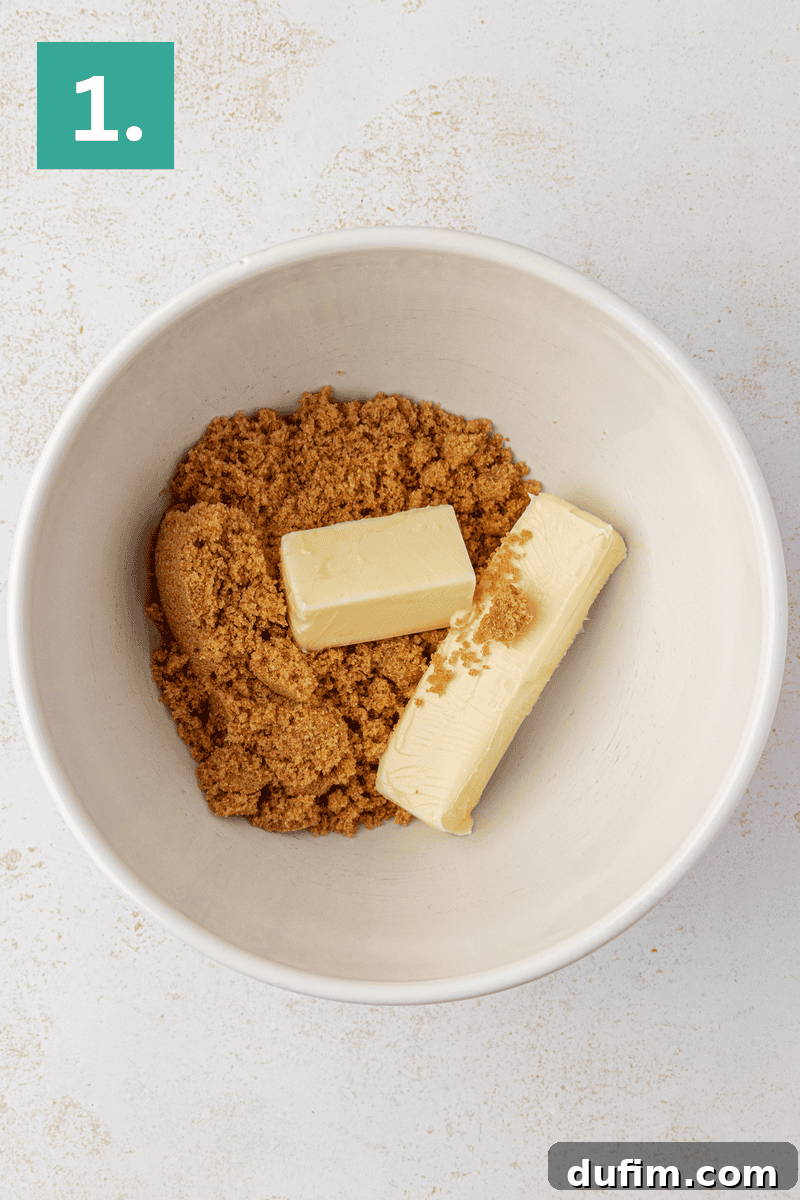
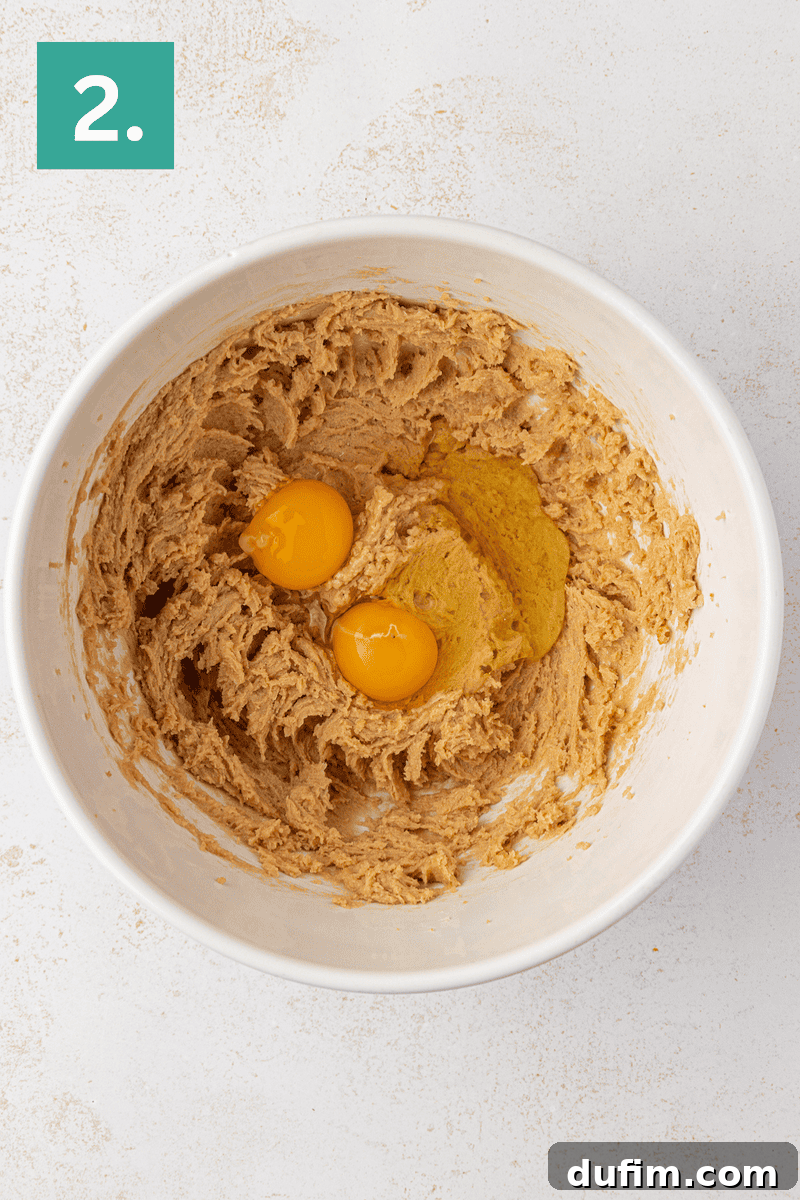
Step 1: Creaming butter and brown sugar. Step 2: Adding eggs to the butter mixture. Cream Butter and Sugar: In a large mixing bowl, using an electric mixer, beat the softened unsalted butter and brown sugar together on medium speed. Continue mixing for 1-2 minutes until the mixture is light, fluffy, and well combined. This process incorporates air, contributing to the cookie’s tender texture.
- Incorporate Eggs: Add the large egg and the additional egg yolk to the butter mixture. Beat for about 30 seconds, making sure to scrape down the sides of the bowl as needed to ensure all ingredients are fully incorporated. The egg yolks add richness and help prevent cracking.
-
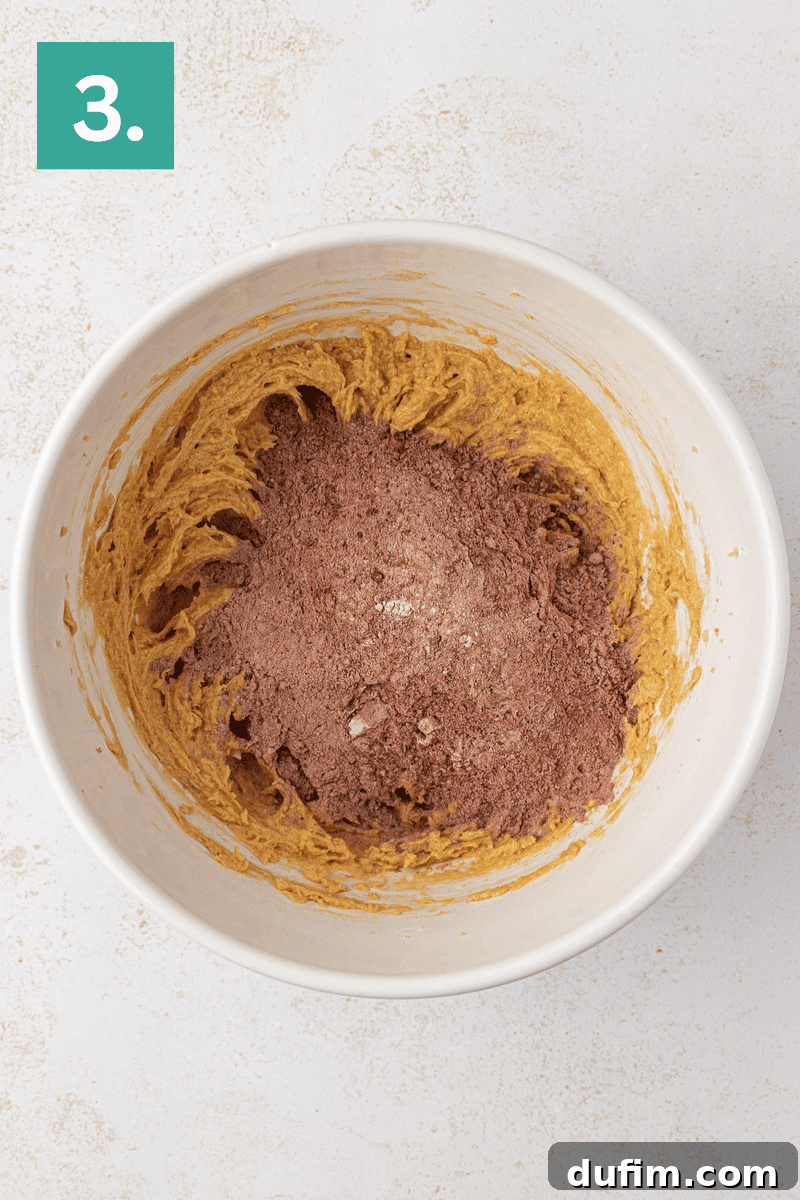
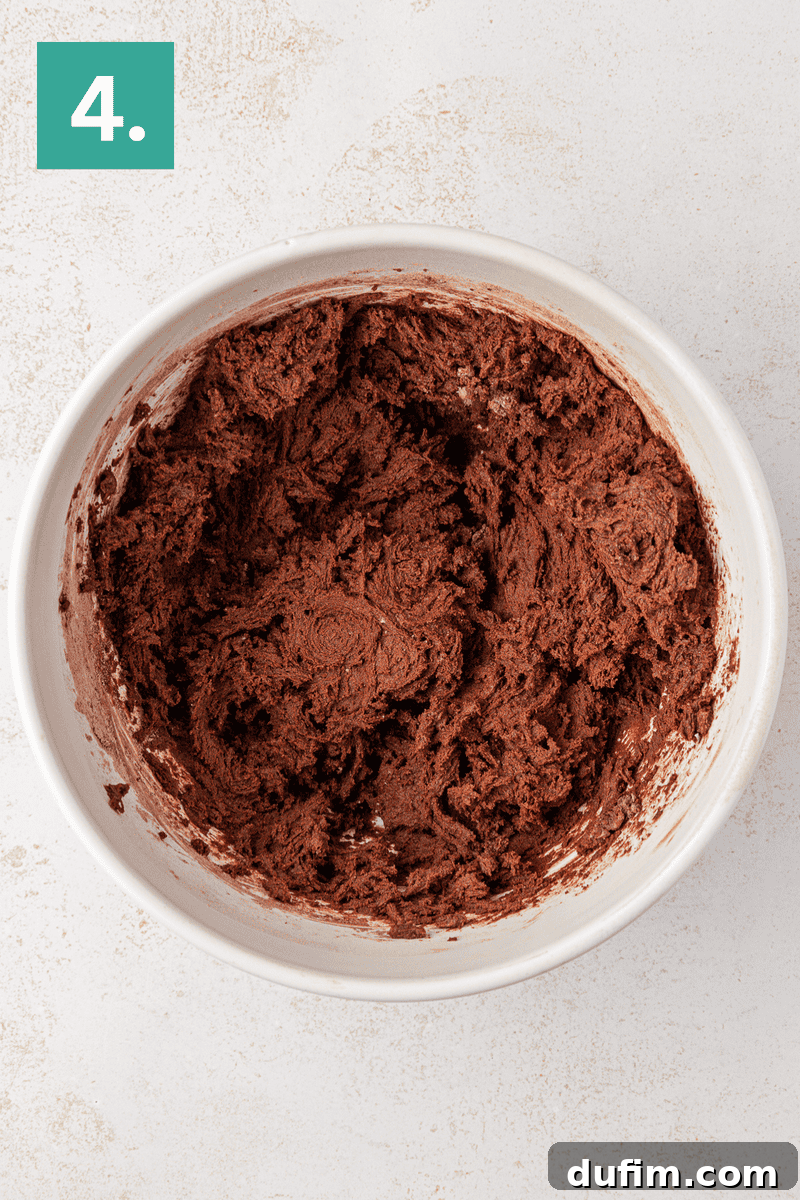
Step 3: Gradually adding dry ingredients. Step 4: Fully combined chocolate cookie dough. Combine Wet and Dry Ingredients: Gradually add the whisked dry mixture to the wet ingredients in the large mixing bowl. Mix on low speed, just until the ingredients are combined and no streaks of flour remain. Be careful not to overmix, as this can lead to tough cookies. The resulting dough will be notably thick.
-
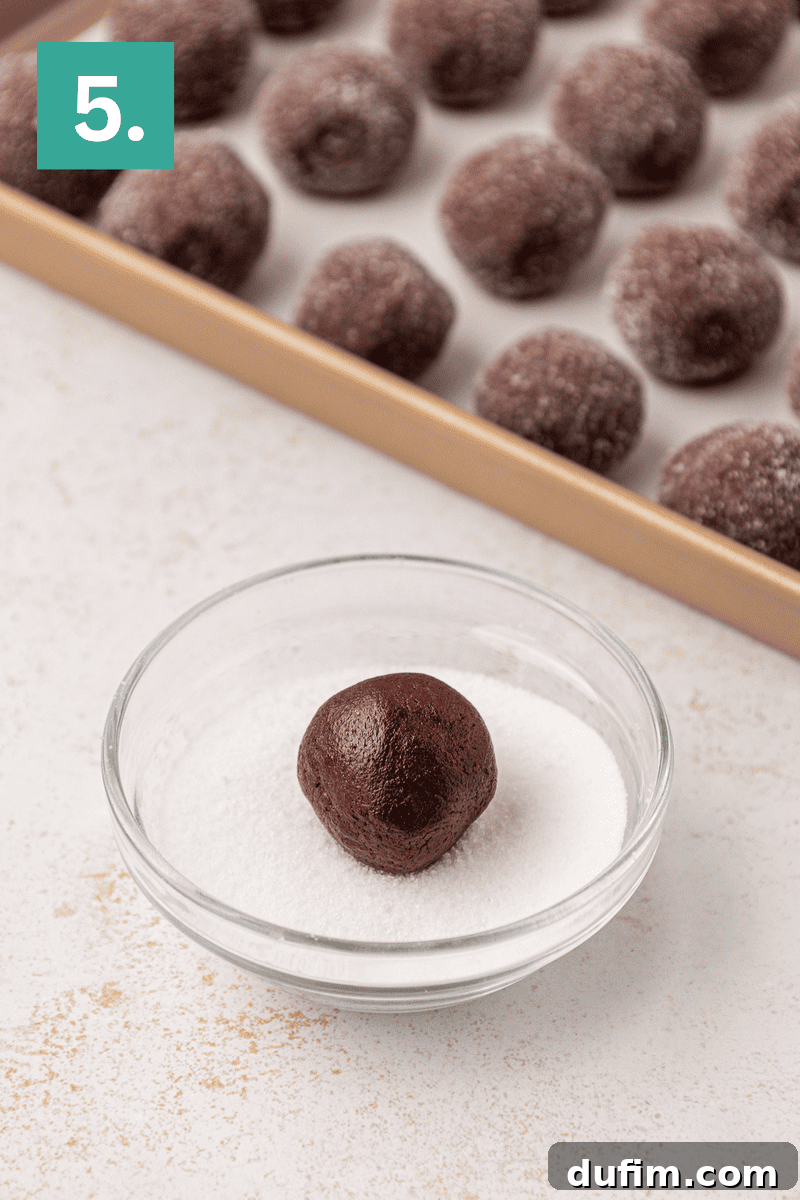
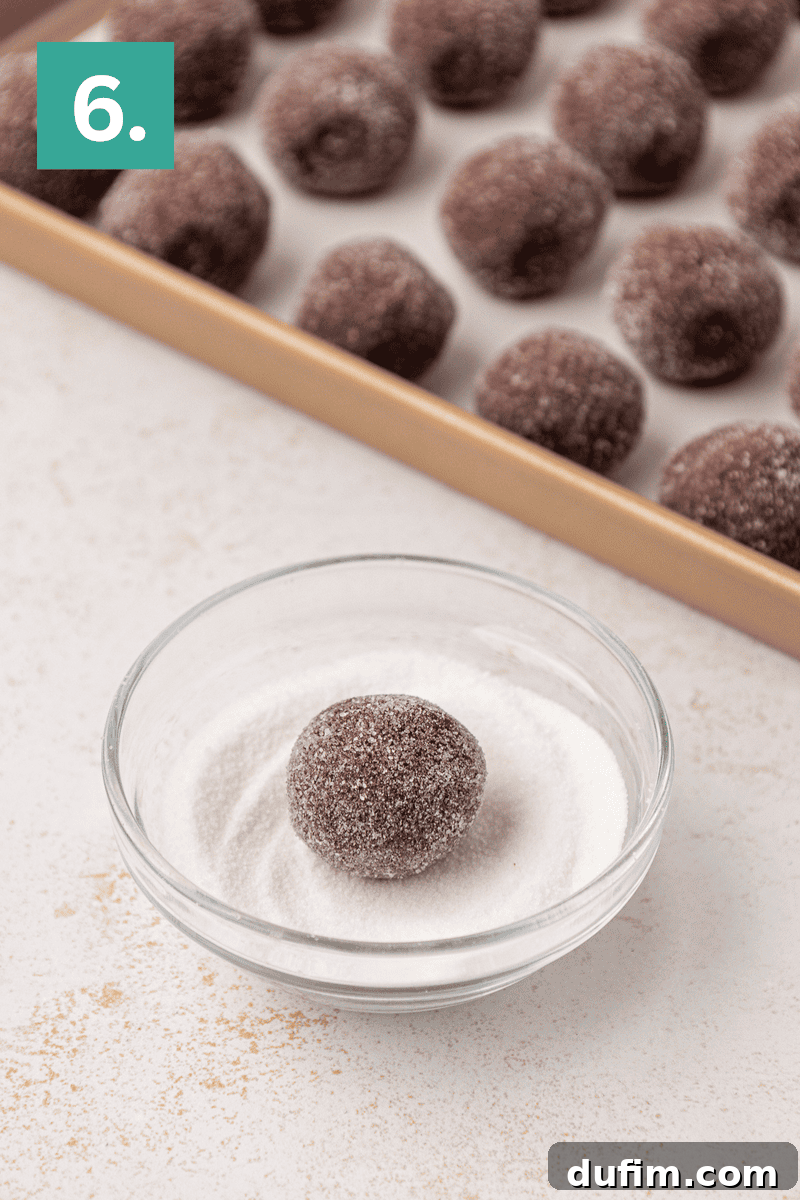
Step 5: Rolling cookie dough in granulated sugar. Step 6: Sugar-coated dough balls on a baking sheet. Form and Sugar Coat Dough Balls: Using a #60 cookie scoop (approximately 1 tablespoon), scoop out portions of dough and roll them into smooth, uniform balls. Next, roll each dough ball generously in granulated sugar. This adds a delightful sparkle and a slight textural crunch. Place the sugar-coated balls about 2 inches apart on your prepared baking sheets.
-
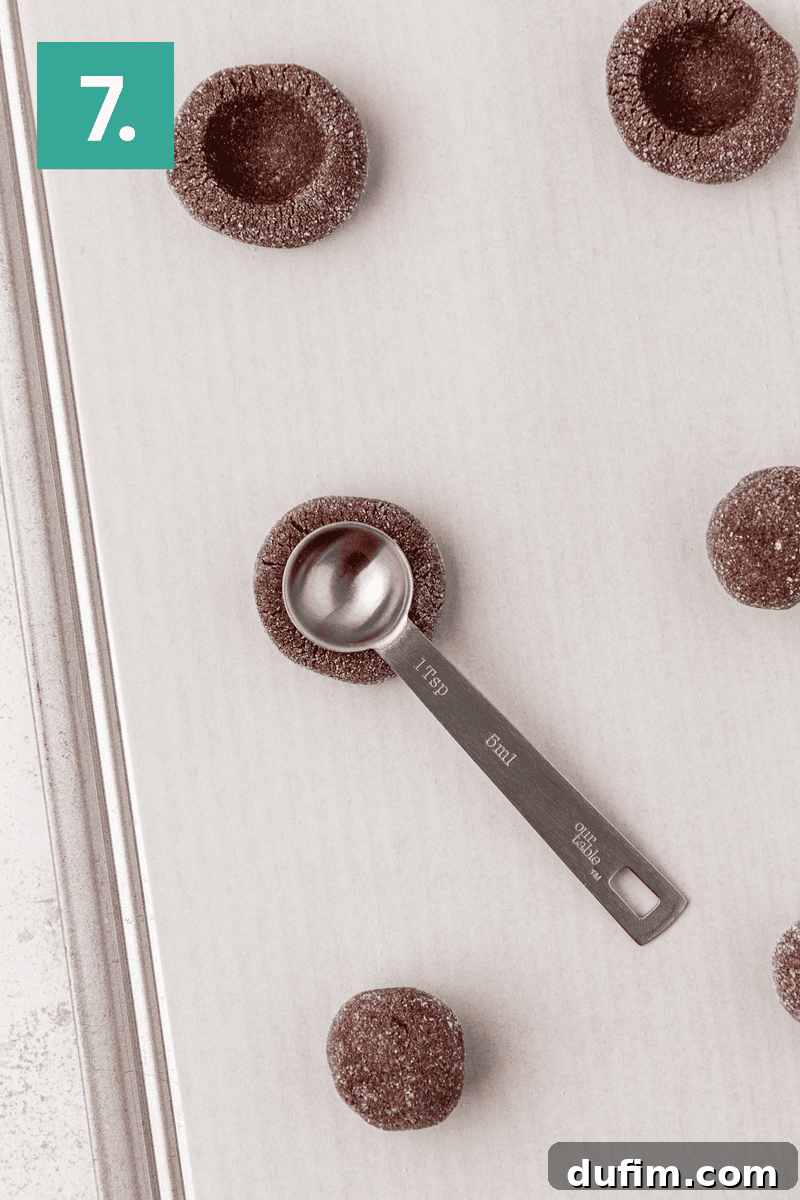
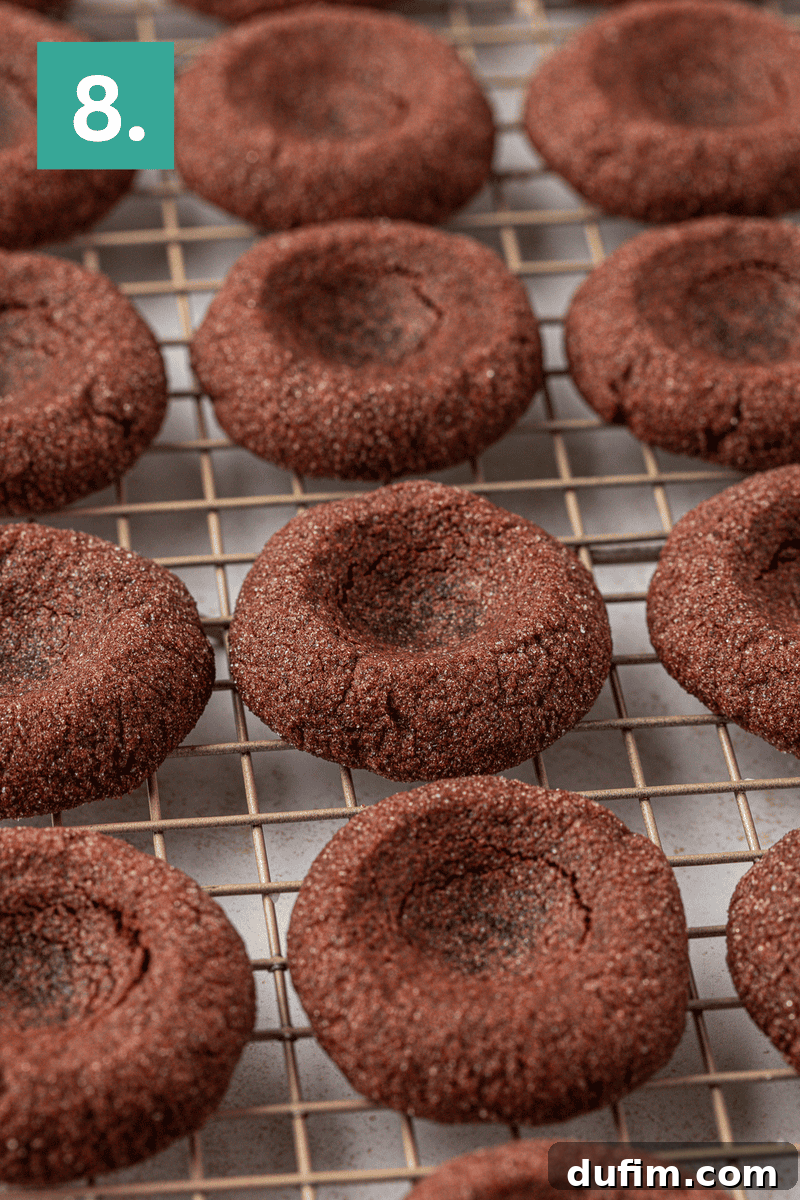
Step 7: Pressing the thumbprint indentation. Step 8: Freshly baked cookies cooling, with indents ready for filling. Press Indents and Chill: Use the back of a teaspoon (or your thumb, for a truly “thumbprint” cookie!) to gently press a divot into the center of each dough ball. Make sure the indentation is deep enough to hold a generous amount of filling. Immediately after forming the indents, place the entire baking sheet into the freezer for 10 minutes. This crucial chilling step helps the dough firm up, preventing further spreading and ensuring the indentations remain distinct during baking. You can chill longer if you need to work in batches.
- Bake and Re-Deepen: Preheat your oven to 350°F (177°C). Bake the chilled cookies for 10-11 minutes. They are done when the edges are set but the centers still look slightly soft. Upon removing the cookies from the oven, immediately use the back of the teaspoon again to gently re-deepen the center indentation. This is important because the cookies will puff up slightly during baking, causing the indent to diminish.
- Cool Completely: Transfer the cookies to a wire rack and allow them to cool completely. It’s vital that they are fully cooled before adding the filling, otherwise, the warm cookies will cause the chocolate orange filling to melt excessively.
For the Luscious Chocolate Orange Filling
-
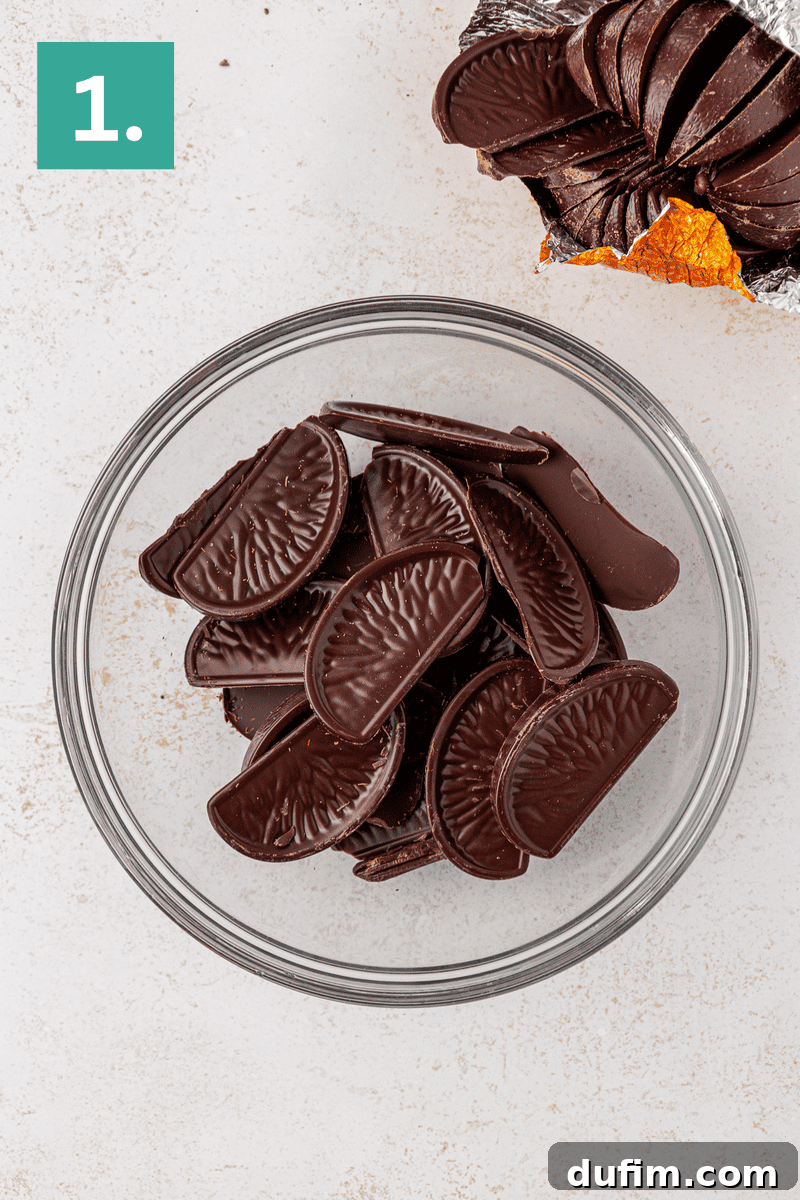
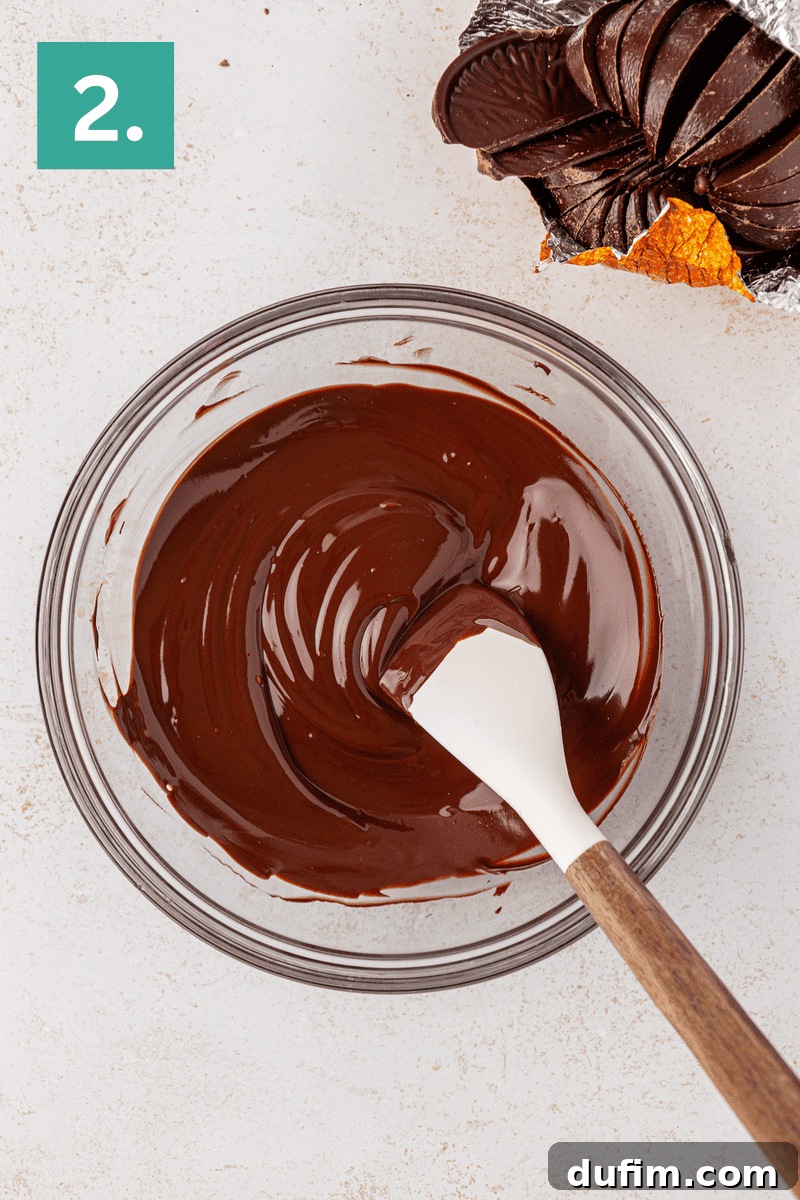
Step 1: Terry’s Chocolate Orange segments ready for melting. Step 2: The chocolate orange melting into a smooth, glossy filling. Melt the Chocolate Orange: Unwrap two Terry’s Chocolate Oranges and break them into individual segments. Place these pieces in a microwave-safe bowl. Microwave at 50% power for 1 minute. Remove and stir well. Return to the microwave for another 1 minute at 50% power. Continue microwaving in short bursts of 20-30 seconds at 50% power, stirring thoroughly between each burst, until the chocolate is completely melted and beautifully smooth. This gradual melting prevents scorching.
-
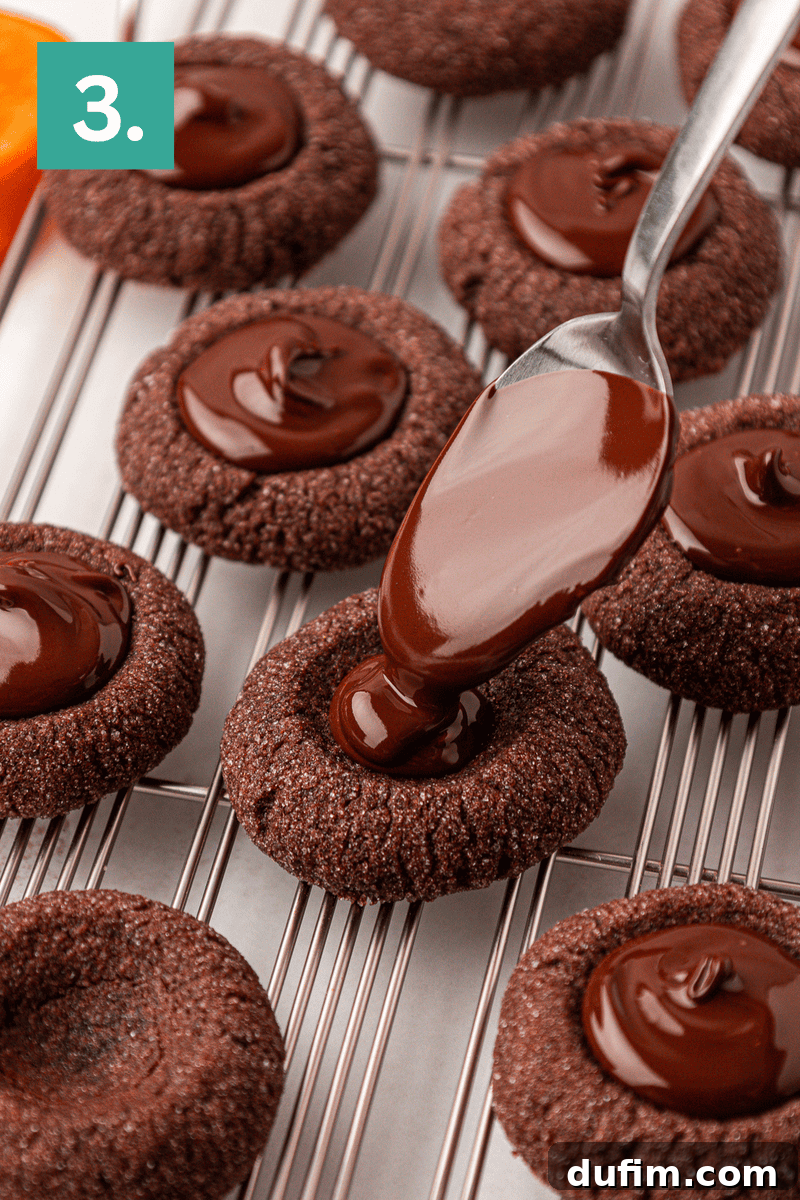
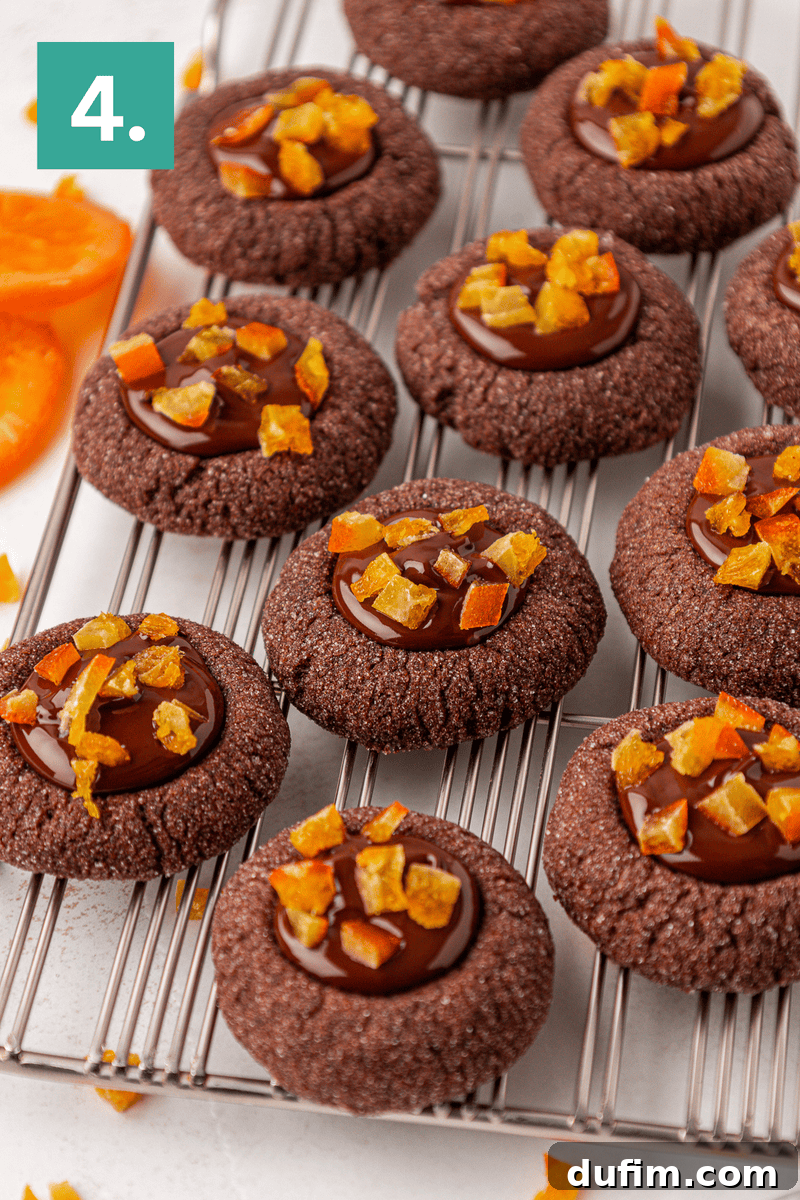
Step 3: Filling the cooled cookies with melted chocolate orange. Step 4: The finished Chocolate Orange Thumbprint Cookies, garnished with candied orange. Fill and Garnish: Once the cookies are fully cooled, spoon approximately 1 teaspoon of the smooth, melted chocolate orange filling into the center of each indentation. While the chocolate is still wet, gently place a few candied orange pieces on top of the filling in each cookie. This adds a beautiful finish and a delightful textural contrast. Allow the chocolate filling to set completely at room temperature or in the refrigerator before serving or storing. This ensures the filling is firm and doesn’t smudge.

Essential Baking Tools for Success
- Silicone Baking Mat (or high-quality parchment paper): For non-stick baking and easy cleanup.
- Baking Sheets: Sturdy sheets for even heat distribution.
- Electric Mixer (stand or hand-held): Essential for properly creaming butter and sugar.
- Cookie Dough Scoop (approximately 1 tablespoon or #60): Ensures uniform cookie size for consistent baking.
- Microwave-safe bowl: For melting the chocolate orange filling gently.
- Wire rack: For cooling cookies evenly and preventing soggy bottoms.
Pro Tips for Flawless Chocolate Orange Thumbprint Cookies
Achieve bakery-quality results with these expert tips:
- Gluten-Free Adaptation: For a gluten-free version, simply substitute the all-purpose flour with a good quality 1:1 gluten-free baking flour blend. Brands like King Arthur’s Measure for Measure Gluten Free Flour typically yield excellent results, maintaining the soft texture and structure of the original.
- Proper Flour Measurement is Key: The most accurate way to measure flour is by weight using a kitchen scale (grams are ideal). If you don’t have a scale, always use the “spoon and level” method. First, aerate your flour by whisking or stirring it, as flour compacts when it sits. Then, gently spoon the flour into your measuring cup until it’s overflowing, without tapping or shaking the cup. Finally, level off the top with the straight edge of a butter knife. Re-fluff the flour before each scoop for consistency.
- Preventing Spread: The combination of increased flour, baking powder, cornstarch, extra egg yolks, and brown sugar is specifically designed to minimize spreading. The crucial 10-minute freezer chill before baking is also non-negotiable for maintaining those perfect indentations. Don’t skip it!
- Melting Chocolate Orange: Patience is a virtue here. Melting at 50% power in short bursts prevents the chocolate from seizing or burning, ensuring a smooth, glossy, and perfectly pourable filling. Always stir between bursts to distribute heat evenly.
Storage and Make-Ahead Instructions
Plan your baking and enjoy these cookies at their best with these helpful tips:
- To Store Baked Cookies: Keep the finished Chocolate Orange Thumbprint Cookies in an airtight container at room temperature for up to four days. For longer freshness, they can be refrigerated for up to a week.
- To Make Ahead (Dough): You can prepare the cookie dough up to 24 hours in advance. Once the dough is mixed, wrap it tightly in plastic wrap and refrigerate. When ready to bake, let it sit at room temperature for about 15-20 minutes to soften slightly before scooping and shaping.
- To Freeze Baked Cookies: Once the cookies are completely cooled and the filling has set, arrange them in a single layer on a baking sheet and flash freeze for about 1-2 hours until solid. Transfer the frozen cookies to a freezer-safe airtight container or bag, separating layers with parchment paper. They can be stored for up to 2-3 months. To thaw, simply place a single layer on the counter overnight.
- To Freeze Cookie Dough: Roll the dough into individual balls as per the recipe, then flash freeze them on a baking sheet until solid. Transfer the frozen dough balls to a freezer-safe container or bag. They can be stored for up to 3 months. To bake from frozen, thaw the dough balls in the refrigerator overnight, then roll them in granulated sugar, create the indentations, and bake as directed. You might need to add an extra minute or two to the baking time.
Explore More Delicious Thumbprint Cookie Creations
If you love the concept of these filled delights, you might enjoy exploring other variations from our collection:
- Chocolate Peanut Butter Thumbprint Cookies: A classic combination loved by all.
- Eggnog Thumbprint Cookies: Perfect for holiday festivities with a spiced, creamy center.
- Black Forest Thumbprint Cookies: A decadent fusion of chocolate, cherry, and cream.
- Chocolate Orange Thumbprint Cookies: Our star recipe, ready for you to master!
We invite you to try this meticulously developed recipe and experience the joy of baking perfect Chocolate Orange Thumbprint Cookies. Each bite is a testament to flavor, texture, and a touch of nostalgic magic.
Chocolate Orange Thumbprint Cookies
Tap stars to rate! (Feature not interactive in this static HTML)
I tested four versions of this dough before landing on the one that keeps a perfect thumbprint with a soft and rich chocolate texture. The chocolate orange filling melts beautifully and gives you a bright citrus note that tastes nostalgic and impressive.
Rate Recipe
Print Recipe

Equipment
- Electric Mixer
- Cookie Dough Scoop
- Silicone Baking Mat (or parchment paper)
- Baking Sheets
- Microwave-safe bowl
- Wire Rack
Ingredients
Cookies
- 1 ¾ cup (210g) all-purpose flour
- ½ cup (40g) Dutch-processed cocoa powder
- ½ tsp salt
- ½ tsp baking powder
- 1 tsp cornstarch
- ¾ cup (170g) unsalted butter, softened
- 1 cup (213g) brown sugar, packed
- 1 large egg
- 1 large egg yolk
- ¼ cup (50g) granulated sugar, for rolling
Filling
- 2 Terry’s Chocolate Oranges (or similar chocolate orange segments)
- Candied orange pieces, for garnish
Instructions
Cookies
- Line baking sheets with parchment paper or silicone mats.
- In a medium bowl, whisk together the flour, cocoa powder, salt, baking powder, and cornstarch. Set aside.
- In a large mixing bowl, beat the softened butter and brown sugar on medium speed until light and fluffy, about 1–2 minutes.
- Beat in the egg and egg yolk for 30 seconds, scraping down the sides as needed.
- Gradually add the dry mixture to the wet ingredients, mixing on low speed until just combined. The dough will be very thick.
- Scoop 1 tablespoon of dough (using a #60 cookie scoop) and roll into smooth balls. Roll each ball in granulated sugar and place 2 inches apart on prepared baking sheets.
- Use the back of a teaspoon to press a divot into the center of each cookie before baking. Place the baking sheet in the freezer for 10 minutes to firm up the dough. You can freeze longer if needed.
- Preheat the oven to 350°F (177°C). Bake for 10-11 minutes or until the edges are set but the centers still look soft. Remove from the oven and immediately use the teaspoon again to gently deepen the center indentation as it disappears while baking.
- Allow cookies to cool completely before filling.
Filling
- Unwrap 2 chocolate oranges and break them into pieces. Place the pieces in a microwave-safe bowl. Microwave for 1 minute at 50 percent power. Stir, then microwave for another 1 minute at 50 percent power. Continue microwaving in 20 to 30 second bursts at 50 percent power, stirring between each, until the chocolate is completely melted and smooth.
- Spoon about 1 teaspoon of melted chocolate orange into the center of each cooled cookie. Top each cookie with a few candied orange pieces. Let the chocolate set before serving or storing.
Notes
- Gluten Free: Use a 1:1 gluten-free baking flour blend in place of all-purpose flour. We recommend King Arthur’s Measure for Measure Gluten Free Flour.
- To Store: Keep in an airtight container at room temperature for up to four days, or in the refrigerator for up to a week.
- To Make Ahead: Chill the dough, wrapped tightly, for up to twenty-four hours before shaping and baking.
- To Freeze:
- Baked Cookies: Flash freeze the finished cookies until solid, then transfer to a freezer-safe container or bag. To thaw, place a single layer of cookies on a baking sheet and thaw on the counter overnight.
- Cookie Dough: Roll dough into balls and flash freeze on a baking sheet. Then transfer to a freezer-safe container or bag. To thaw, place in the refrigerator overnight, then roll in granular sugar, make the indent and bake as directed.
- How to Properly Measure Flour: The most accurate way to measure flour is by using a kitchen scale and weighing it in grams. If you do not have a scale, use the spoon and level method: aerate the flour with a whisk, spoon it into your measuring cup without tapping or shaking, and then level off the top with the back of a butter knife.
Nutrition
Serving: 1 cookie | Calories: 94kcal | Carbohydrates: 13g | Protein: 1g | Fat: 4g | Saturated Fat: 3g | Polyunsaturated Fat: 0.2g | Monounsaturated Fat: 1g | Trans Fat: 0.2g | Cholesterol: 21mg | Sodium: 44mg | Potassium: 37mg | Fiber: 1g | Sugar: 8g | Vitamin A: 136IU | Calcium: 14mg | Iron: 1mg
Nutrition Disclosure: All nutritional values are approximate and provided to the reader as a courtesy. Changing ingredients and/or quantities will alter the estimated nutritional calculations.
Like this recipe? Rate and comment below!
Your feedback is invaluable and helps other bakers discover delicious new treats.