
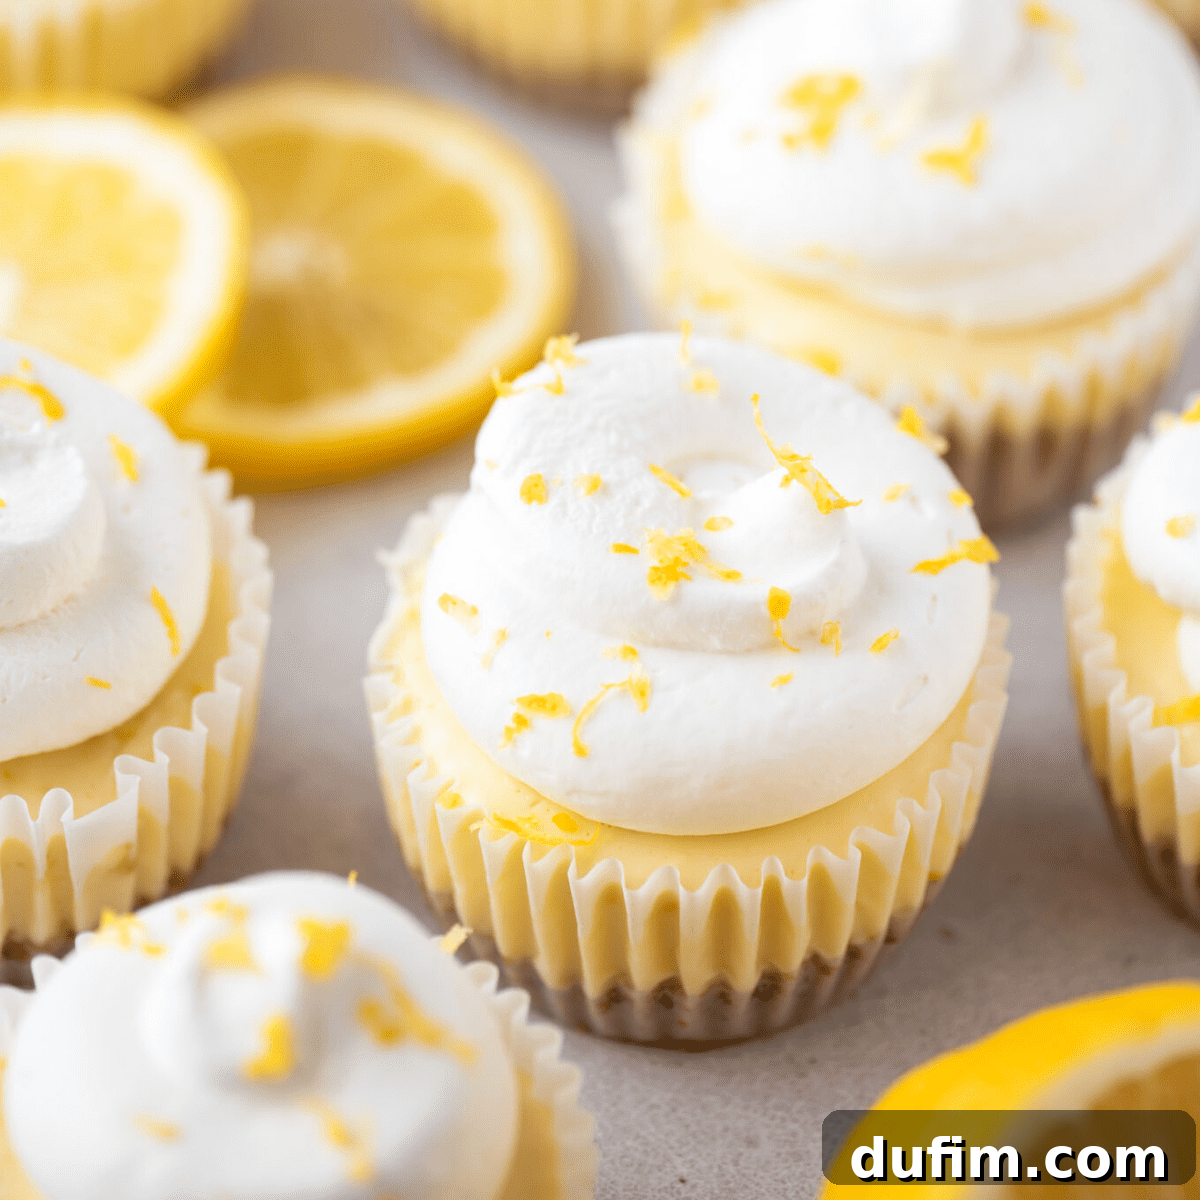
Irresistible Mini Lemon Cheesecakes: Your Ultimate Guide to Sweet & Tart Bites
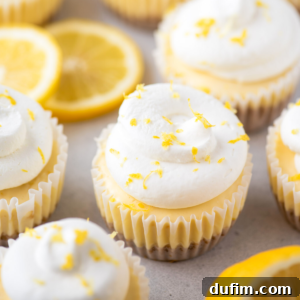
Prepare to fall in love with these absolutely irresistible mini lemon cheesecakes! Perfectly portioned and bursting with bright, zesty lemon flavor, these individual treats are a delightful balance of sweet and tart that will brighten any day. Featuring a buttery, crisp graham cracker crust and a creamy, citrus-infused cheesecake filling, they are the ideal dessert for spring gatherings, summer parties, or simply a refreshing indulgence. Forget complicated water baths or tedious slicing; this recipe for individual cheesecakes makes baking a breeze, promising flawless results every time.
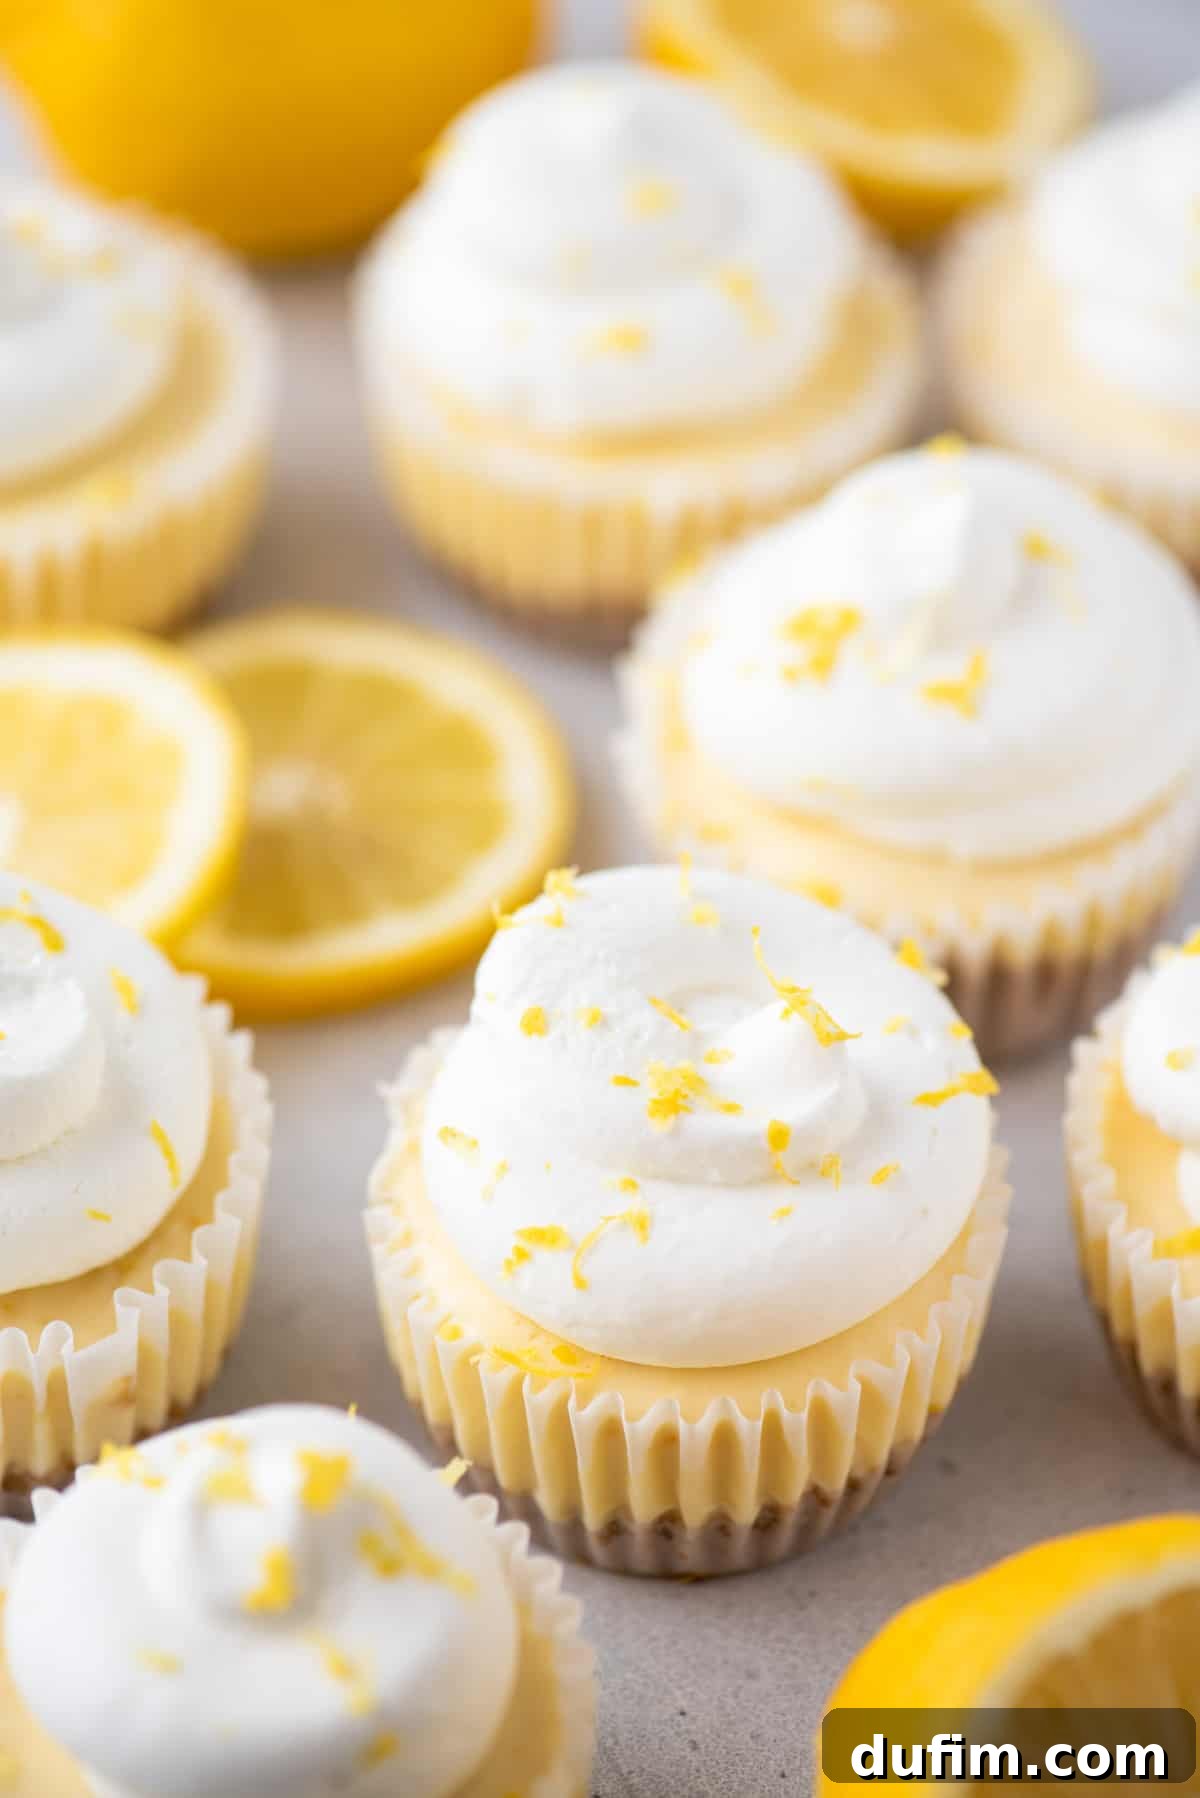
Why You’ll Love These Bright & Sunny Lemon Cheesecakes
As the weather warms and longer days beckon us outdoors, our cravings naturally shift towards lighter, fruit-based desserts. While my heart usually belongs to rich chocolate creations (like my beloved mini chocolate cheesecakes), there’s something truly magical about the vibrant flavor of lemon, especially in a creamy cheesecake. These mini lemon cheesecakes offer a burst of sunshine in every bite, making them a perfect companion for a sunny afternoon or a refreshing conclusion to any meal. They embody everything you love about classic cheesecake, but in a charming, easy-to-serve individual format.
What makes these mini cheesecakes stand out? Firstly, their convenient size makes serving effortless – no need for intricate slicing or messy plates. Each person gets their own perfectly portioned dessert, which is fantastic for gatherings, picnics, or even just for portion control. Secondly, they bake much faster than a full-sized cheesecake, cutting down on oven time significantly. And unlike traditional cheesecakes that often require a tricky water bath, these mini versions are far more forgiving, making them an excellent choice for bakers of all skill levels. They truly are the ideal citrusy dessert to enjoy year-round, but they shine particularly bright alongside a refreshing lemon cheesecake pie during the summer months.
Mastering the Timeline: Quick Prep and Bake for Perfect Mini Cheesecakes
One of the many benefits of baking mini cheesecakes is the considerably shorter active time required in the kitchen. You’ll be surprised how quickly you can get these delightful treats from prep to oven. While there is a chilling period involved, the hands-on work is minimal, allowing you more time to enjoy your day!
- Crust Preparation: A mere 3 minutes is all it takes to combine your graham cracker crumbs and butter, then press them into the muffin liners.
- Crust Pre-Bake: Just 5 minutes in the oven gives the crust a firm, golden base, ready to hold your creamy filling.
- Cheesecake Filling Prep: Whip up the luscious lemon cheesecake batter in about 5 minutes. The key here is room temperature ingredients for ultimate smoothness.
- Cheesecake Baking: These small wonders bake quickly, needing only 15-20 minutes in your preheated oven. Keep an eye on that signature “slight jiggle” for perfect doneness.
- Essential Chilling Time: This is arguably the most crucial step for texture and flavor development. While 4 hours is the minimum, I highly recommend refrigerating them overnight for the best possible results. Patience is a virtue, especially when it leads to such delicious rewards!
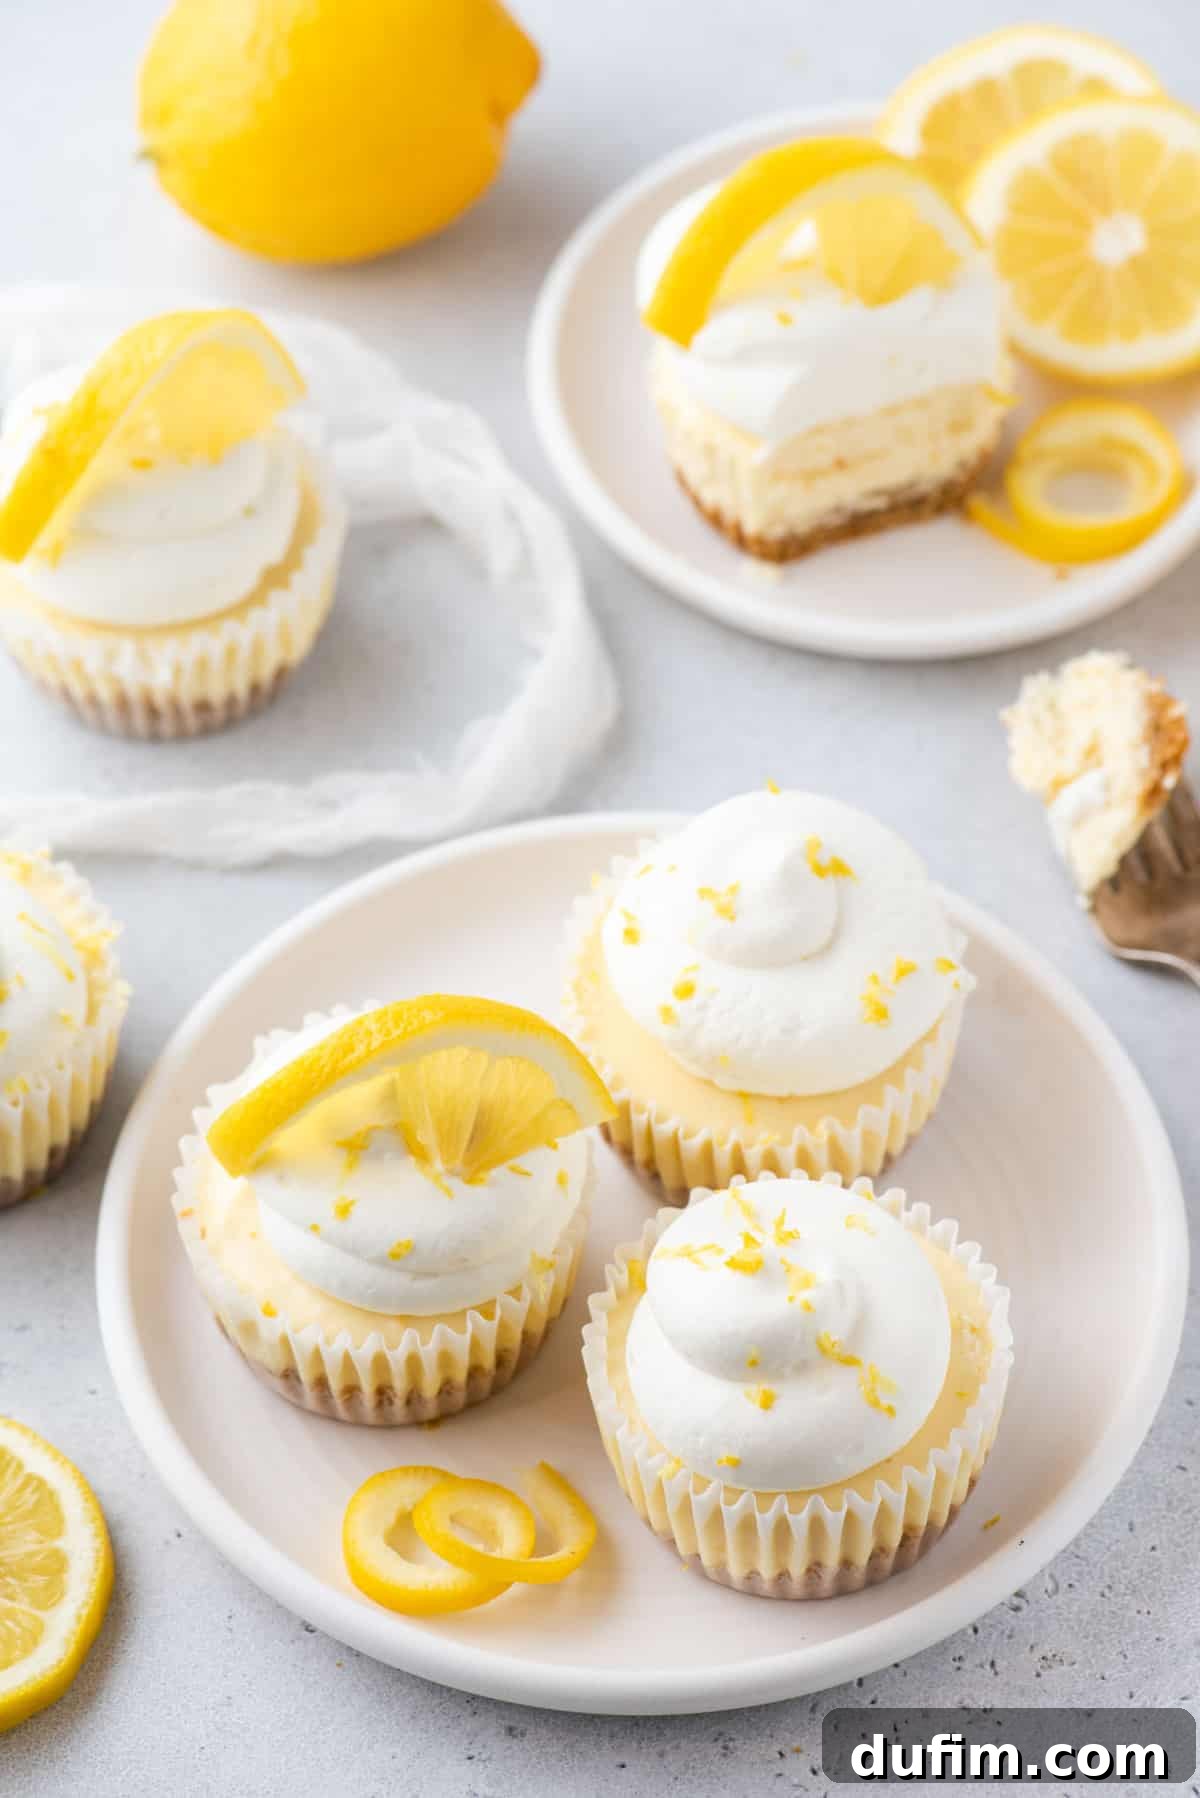
Gather Your Ingredients: What You’ll Need
Creating these heavenly mini lemon cheesecakes starts with selecting quality ingredients. Each component plays a vital role in achieving that perfect sweet, tart, and creamy texture. Always refer to the recipe card below for exact quantities and detailed instructions.
FOR THE CRUST:
- Graham Cracker Crumbs: The foundation of our delicious crust. You can effortlessly make your own by pulsing whole graham crackers in a food processor until fine crumbs form, or for ultimate convenience, pick up a box of pre-crushed graham cracker crumbs at your local grocery store. Either option works beautifully!
- Unsalted Butter: Melted butter binds the crumbs together, creating a sturdy yet tender crust. Using unsalted butter gives you control over the overall saltiness of the dessert. Melt it gently in the microwave or a small saucepan.
FOR THE ZESTY CHEESECAKE FILLING:
- Full-Fat Cream Cheese: This is the heart of any good cheesecake. Ensure your cream cheese is full-fat for the best richness and texture. It’s crucial to let it come to room temperature before mixing. This prevents lumps and ensures a silky-smooth batter. Opt for cream cheese in block form, not the whipped or tub varieties, which have a different consistency.
- Granulated Sugar: Provides the perfect level of sweetness, balancing the tanginess of the lemon.
- Vanilla Extract: A touch of vanilla complements the lemon, adding depth and warmth to the flavor profile without overpowering it.
- Fresh Lemon Juice: The star of the show! Freshly squeezed lemon juice is non-negotiable for that bright, authentic lemon flavor. Lisbon or Eureka lemons are commonly available and perfect for juicing. You might even consider adding a bit of lemon zest for an extra aromatic punch.
- Eggs: Act as a binder and contribute to the cheesecake’s creamy texture. Like the cream cheese, allow your eggs to come to room temperature for easier incorporation and a smoother batter, which helps prevent cracking.
FOR THE ELEGANT TOPPING:
- Whipped Cream: A cloud of whipped cream provides a lovely contrast in texture and a touch of extra sweetness. You can easily make your own homemade whipped cream for unparalleled freshness. Alternatively, a store-bought refrigerated can or frozen whipped topping works well in a pinch. If preparing in advance, frozen whipped topping tends to hold its shape longer.
- Fresh Fruit: A medley of fresh berries (strawberries, raspberries, blueberries) is always a classic choice and visually appealing. However, feel free to get creative! Use whatever seasonal fruit looks best at your grocery store or local farmers’ market. Slices of kiwi, segments of orange, or even a sprinkle of pomegranate seeds can add beautiful color and flavor.
- Lemon Zest or Slices: A little sprinkle of fresh lemon zest or a delicate lemon slice can elevate the presentation and reinforce the lemon theme.
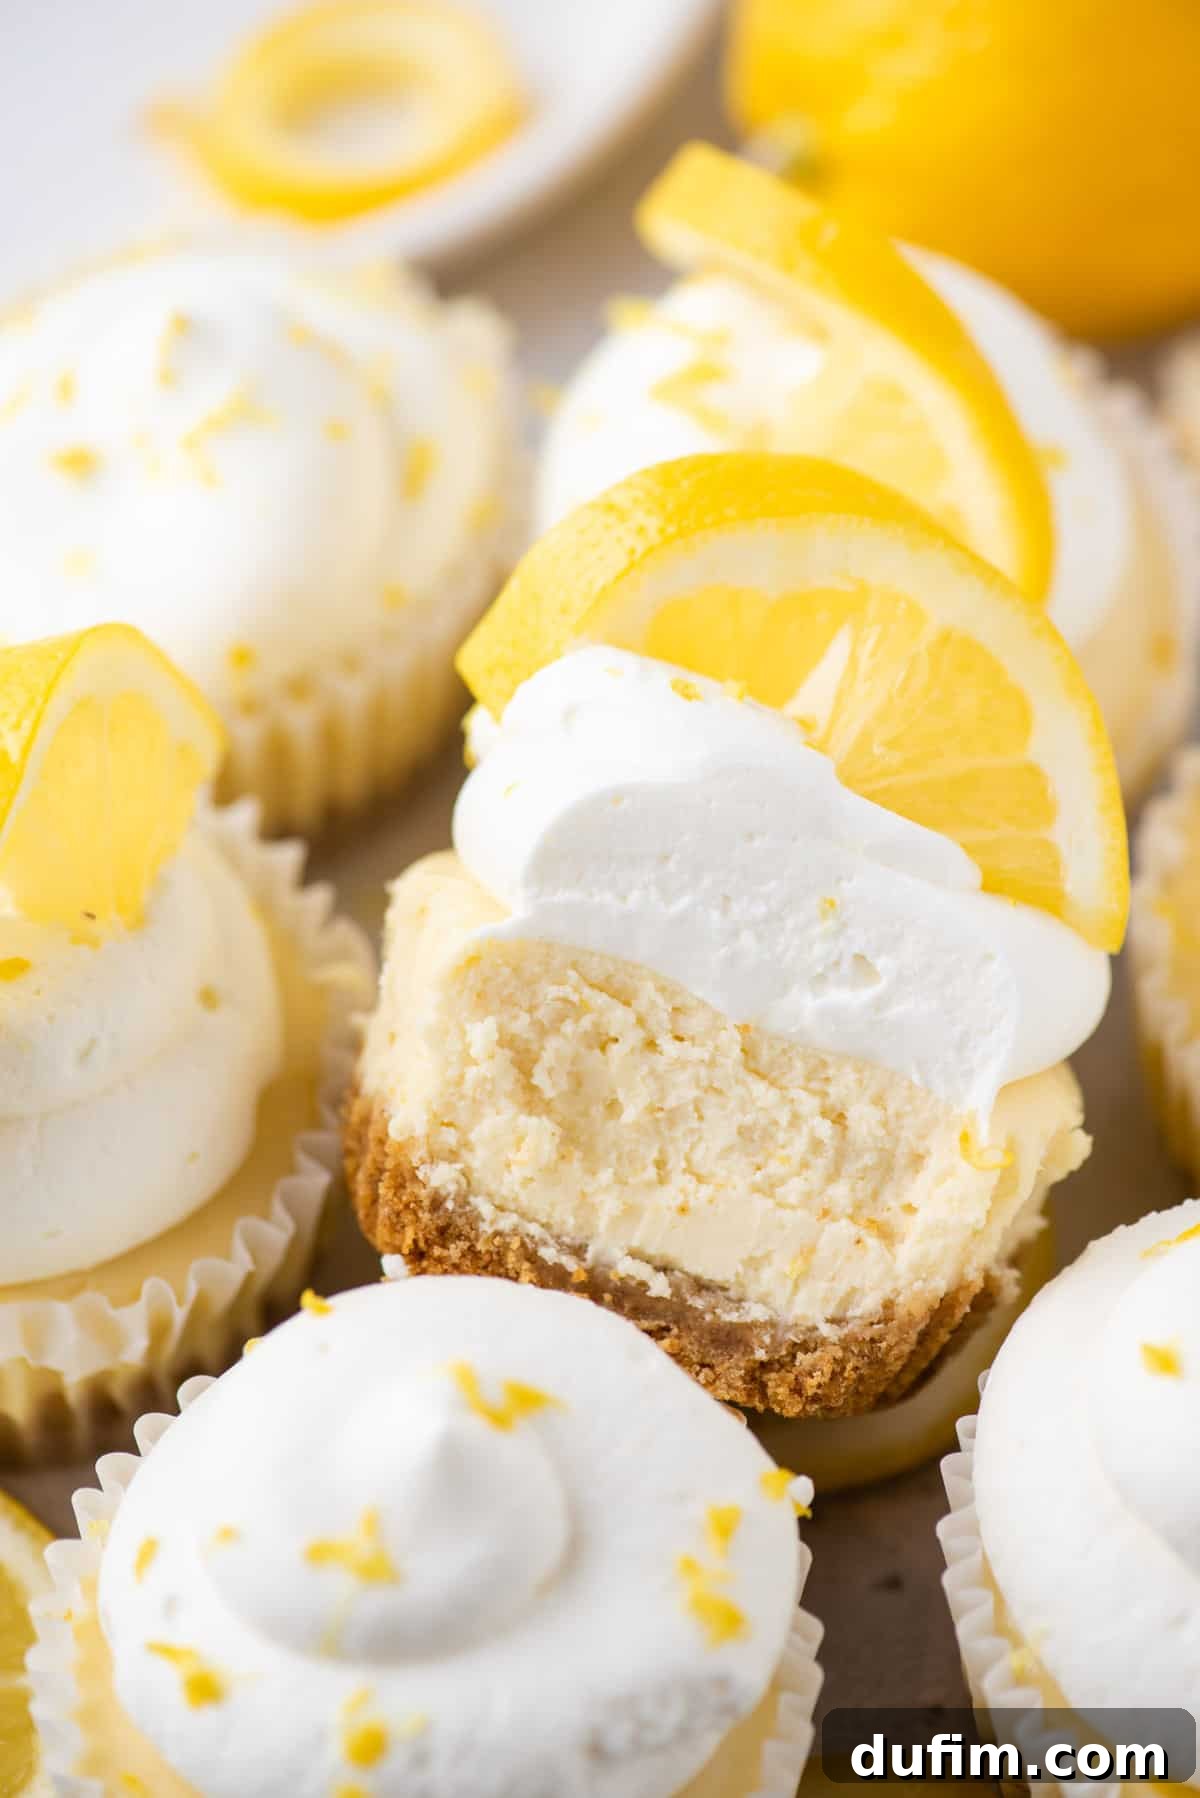
Essential Tools for Flawless Mini Cheesecakes
Making individual cheesecakes is remarkably simple and doesn’t require any fancy equipment. In fact, one of the biggest advantages is that you won’t need a water bath, which can often be intimidating for new bakers. Here’s what you’ll need to get started:
- Standard Size Muffin Pan: This is the star of the show! A regular 12-cup muffin pan is perfect for creating perfectly portioned mini cheesecakes.
- Paper Muffin / Cupcake Liners: These are essential for easy removal and serving. Choose standard-sized liners that fit snugly into your muffin pan.
- Mixing Bowls: You’ll need at least two – one for the crust mixture and one for the cheesecake batter.
- Electric Mixer: A hand mixer or stand mixer will make quick work of creaming the cream cheese and sugar, ensuring a smooth, lump-free filling.
- Measuring Cups and Spoons: For accurate ingredient measurements.
- Spatula: For scraping down the sides of the bowl and folding ingredients.
- Small Object for Pressing Crust: The bottom of a 1/3 cup measuring cup, a shot glass, or even your fingers work well for firmly pressing the crust mixture into the muffin liners.
The beauty of mini cheesecakes lies in their simplicity. They scale down a regular cheesecake recipe beautifully, eliminating the need for complex techniques and special tools like springform pans or a water bath. Plus, they bake significantly faster, allowing you to enjoy your delicious creations sooner!
Step-by-Step: How to Make These Delightful Mini Cheesecakes
Even if you typically gravitate towards no-bake desserts during the warmer months, this recipe is so quick and straightforward that you’ll be in and out of the kitchen with minimal effort. Let’s break down the process into simple, manageable steps.
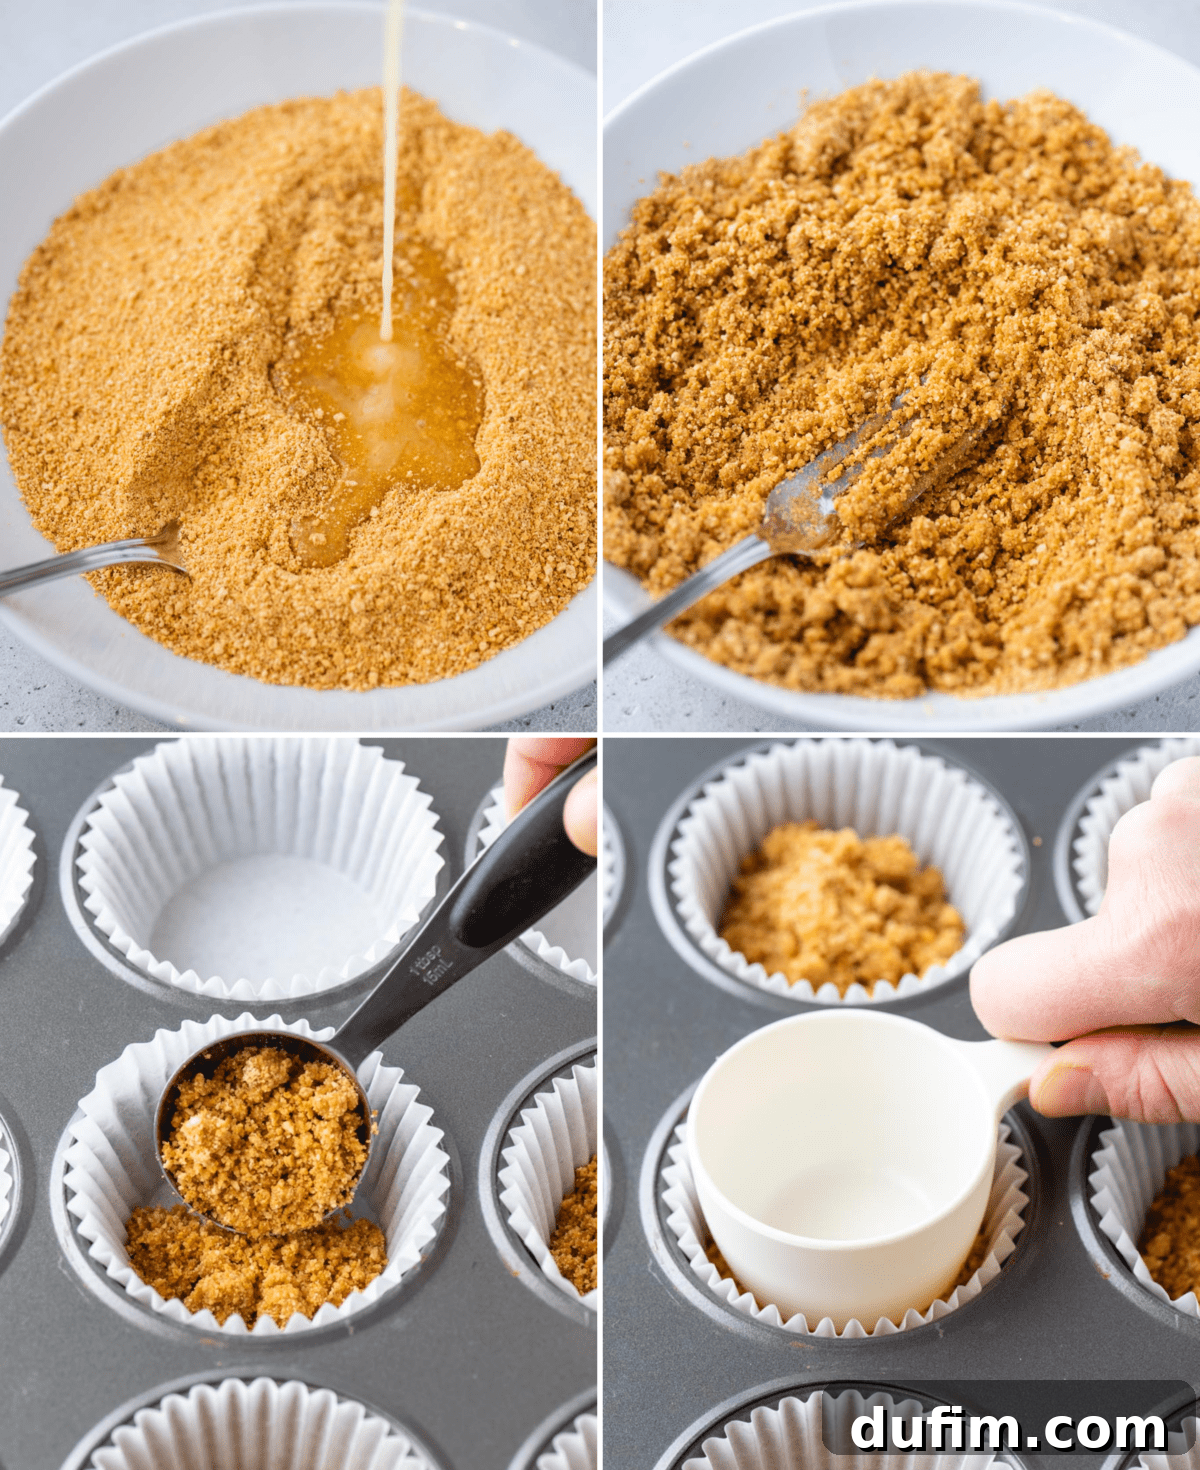
TO MAKE THE CRUST:
- Prepare Your Baking Set-up: Begin by preheating your oven to 350º F (175º C). Line a standard 12-cup muffin pan with paper muffin liners. These liners are crucial for easy removal of your baked cheesecakes.
- Craft the Crumb Mixture: In a medium mixing bowl, combine the graham cracker crumbs and the melted unsalted butter. Stir thoroughly with a fork or spatula until the mixture is evenly moistened and resembles coarse, wet sand.
- Form the Bases: Distribute 1 to 2 tablespoons of the crumb mixture into the bottom of each prepared muffin cup. Using the bottom of a 1/3 cup measuring cup, a shot glass, or your fingers, firmly press the crumbs down to create a compact, even layer. This creates a solid foundation for your cheesecake.
- Pre-Bake the Crusts: Place the muffin pan in your preheated oven and bake for just 5 minutes. This brief baking time helps to set the crust, making it crisp and flavorful. Once baked, remove the pan from the oven and allow the crusts to cool completely while you prepare the cheesecake filling.
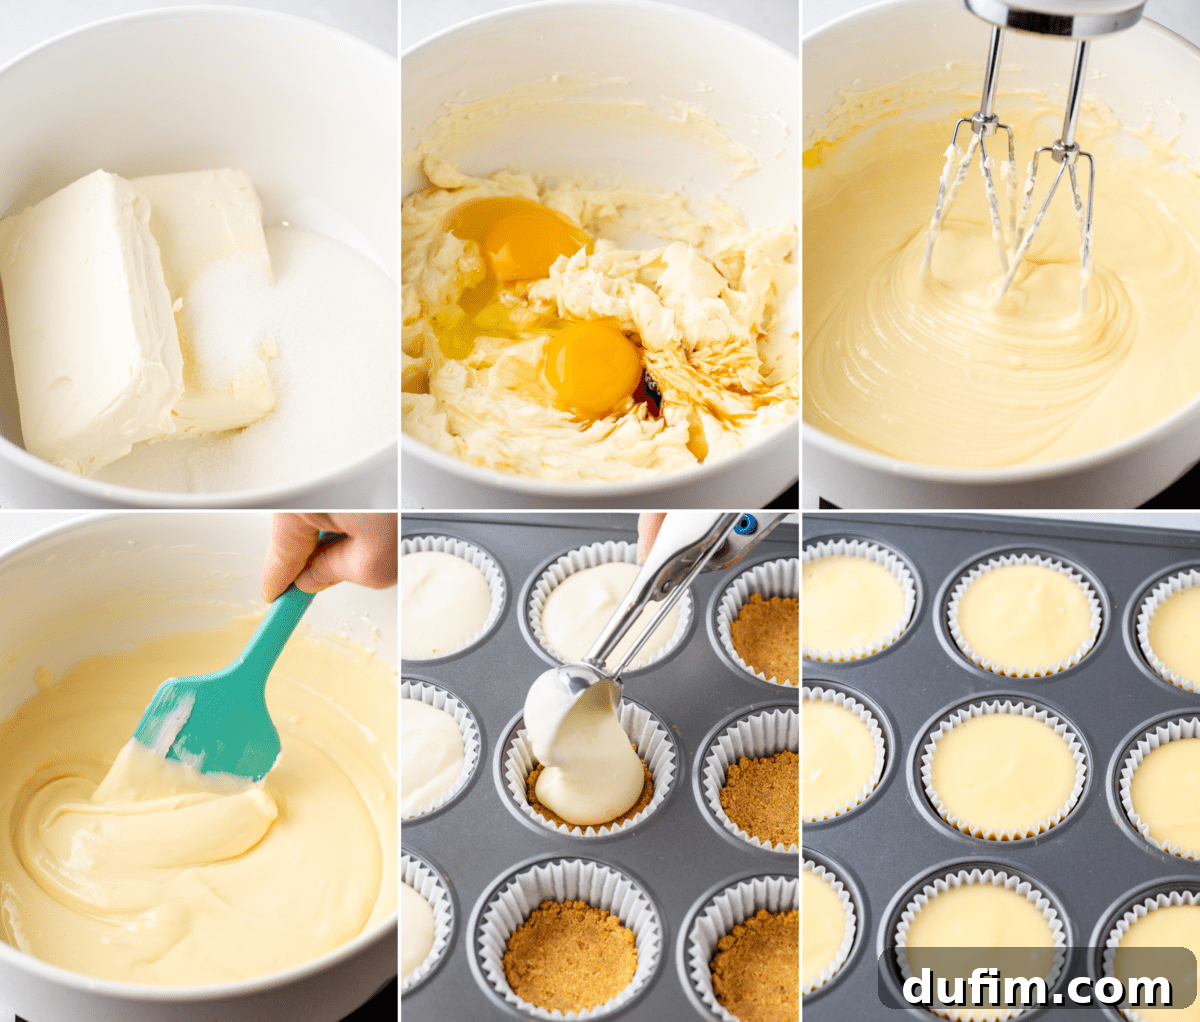
TO MAKE THE CHEESECAKES:
- Cream the Cheese and Sugar: In a large mixing bowl, using an electric hand mixer (or a stand mixer with the paddle attachment), beat the softened full-fat cream cheese and granulated sugar together. Mix for 1 to 2 minutes, or until the mixture is completely smooth, light, and fluffy, with no lumps remaining.
- Incorporate Flavorings and Eggs: Add the vanilla extract and freshly squeezed lemon juice to the cream cheese mixture and beat until just combined. Next, gently beat in the eggs. This is a crucial step: only beat the eggs until the yolks have just broken and are incorporated into the batter. Over-beating the eggs can introduce too much air, leading to air bubbles and potential cracking on the surface of your cheesecakes.
- Assemble the Mini Cheesecakes: Carefully divide the smooth cheesecake batter among the cooled, crust-lined muffin cups. Fill each paper liner almost to the top.
- Bake to Perfection: Return the muffin pan to the oven and bake for 15 to 17 minutes. The cheesecakes are done when the edges appear set and slightly puffed, but the centers still have a slight, gentle jiggle when the pan is gently shaken.
- Cool and Chill: Once baked, remove the pan from the oven and let the cheesecakes cool completely to room temperature on a wire rack. This gradual cooling helps prevent cracks. Once at room temperature, transfer the muffin pan to the refrigerator and chill the cheesecakes for a minimum of 4 hours. For the absolute best texture and flavor, chilling them overnight is highly recommended. If chilling overnight or longer, loosely cover the entire pan with plastic wrap to prevent the cheesecakes from absorbing refrigerator odors.
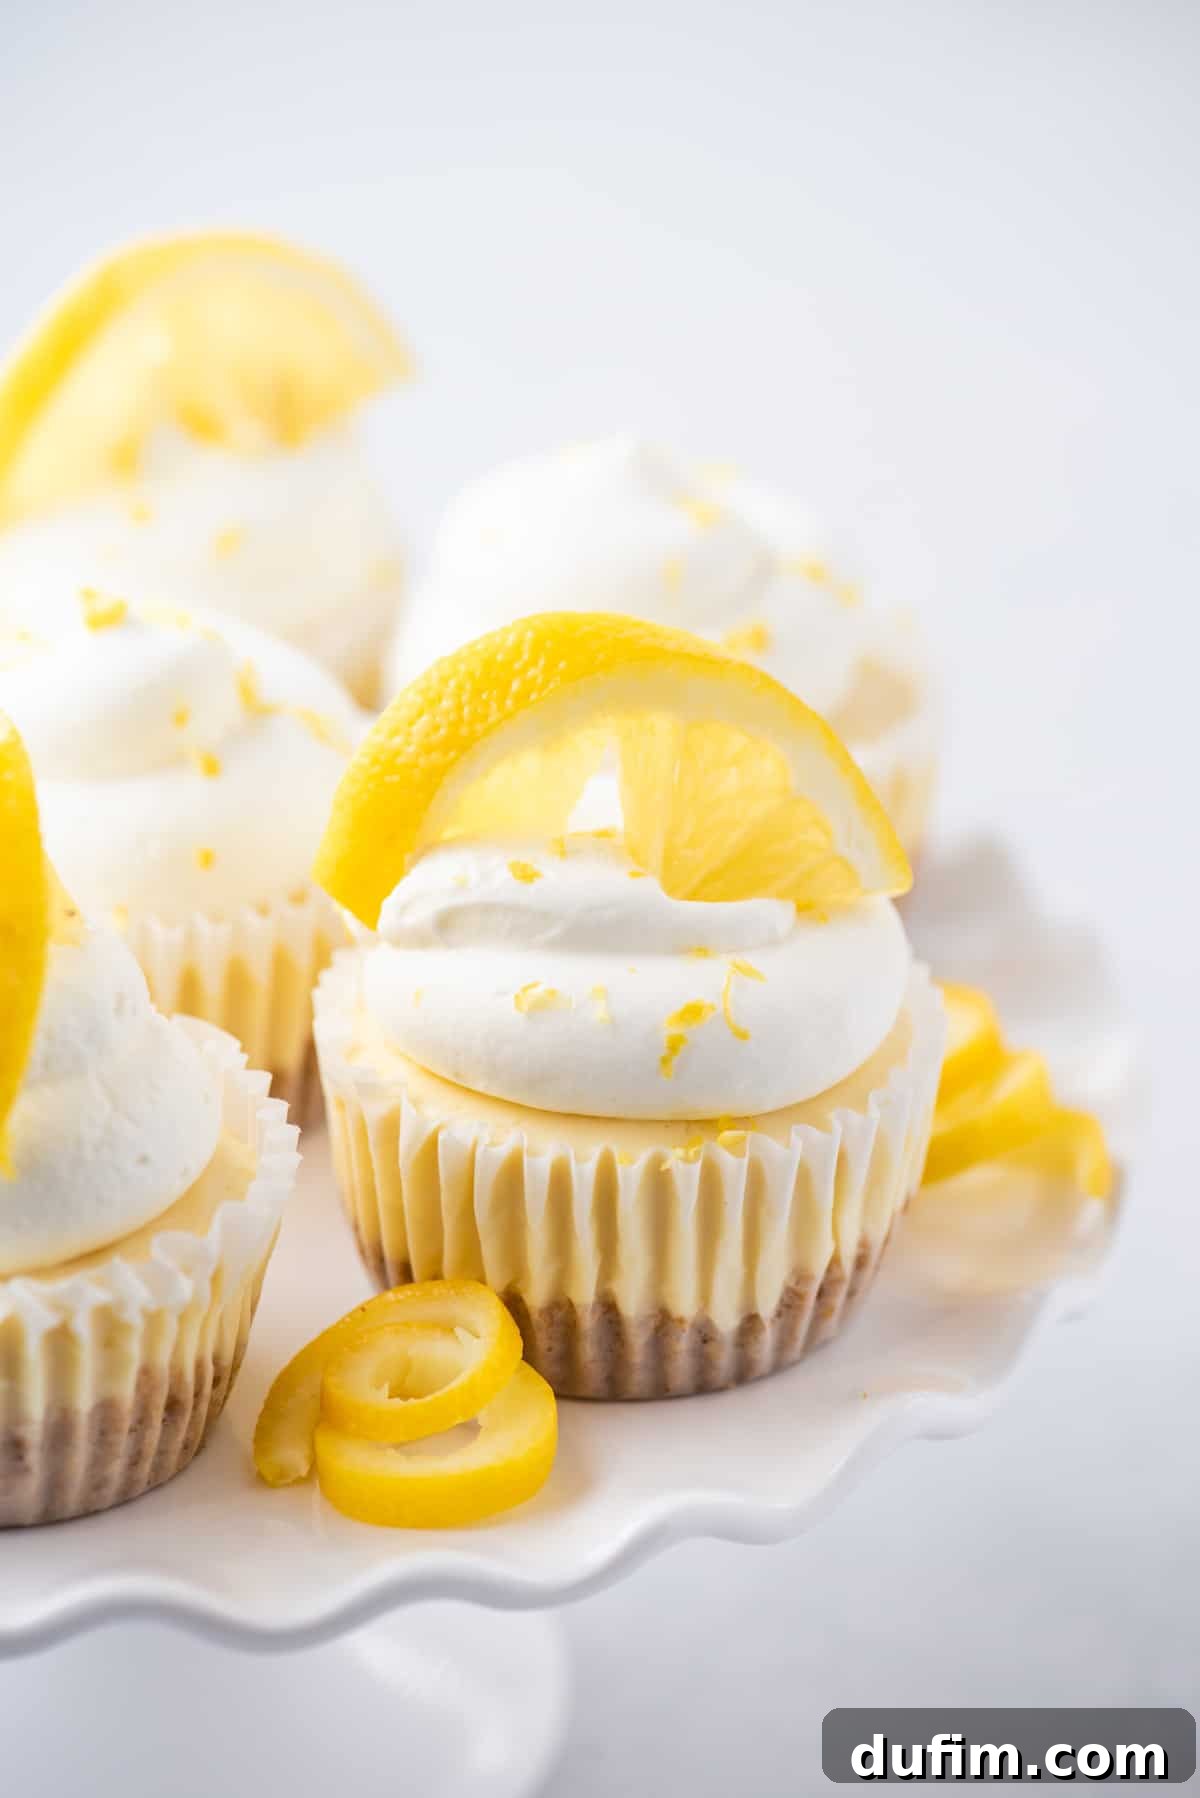
- Garnish and Serve: Just before serving, carefully remove the mini cheesecakes from their muffin liners. Top each with a dollop of homemade whipped cream, a scattering of fresh berries, a sprinkle of lemon zest, or a thin lemon slice. Enjoy!
Pro Tips for Cheesecake Success
Achieving perfect mini lemon cheesecakes is easier than you think, especially with these insider tips:
- Room Temperature Ingredients are Key: This cannot be stressed enough! Ensure your cream cheese and eggs are at room temperature. Cold ingredients don’t emulsify properly, leading to a lumpy batter and a less smooth cheesecake texture. Plan ahead and take them out of the fridge at least 30-60 minutes before you start baking.
- Don’t Over-Mix the Batter: Once you add the eggs, beat them in *just* until the yolk breaks and is barely incorporated. Over-mixing the batter, especially after adding eggs, is the most common culprit for introducing too much air, which can cause air bubbles, cracks on the surface, or a “soufflé” effect where the cheesecake rises too much then falls.
- Master the “Jiggle Test”: Avoid over-baking your cheesecakes! When you gently shake the baking pan, the centers of the cheesecakes should still have a slight, delicate jiggle, while the edges appear set. If the centers move like a liquid, they need a few more minutes. If there’s no jiggle at all, they’re likely over-baked, which can result in a dry texture.
- Allow Ample Chilling Time: Warm or even slightly cool cheesecake simply isn’t as enjoyable. The chilling process is vital for the cheesecake to fully set, firm up, and allow its flavors to meld beautifully. Factor in at least 4 hours of refrigeration, but if you have the luxury, chilling overnight truly yields the best results. Waiting is indeed the hardest part, but it’s worth it!
- Don’t Fret Over Cracks (If They Happen): Even experienced bakers can occasionally get cracks. If the tops of your mini cheesecakes develop small cracks or seem to have a few bubbles, don’t despair! That’s what the delicious toppings are for. A generous dollop of whipped cream, fresh fruit, or a sprinkle of zest will beautifully conceal any imperfections, and no one will ever know.
- Experiment with Zest: For an even more intense lemon flavor, consider adding 1-2 teaspoons of finely grated lemon zest to your cheesecake batter along with the lemon juice. The oils in the zest carry a powerful aromatic punch.
- Prevent Sticking: Always use paper muffin liners. For an extra layer of protection, you can lightly spray the inside of the liners with non-stick cooking spray before adding the crust.
Frequently Asked Questions (FAQs) About Mini Lemon Cheesecakes
The most reliable way to determine if your mini cheesecakes are done is by performing the “jiggle test.” Gently shake the muffin pan; the center of each cheesecake should have a slight jiggle, resembling a firm custard, while the edges will appear more set and slightly puffy or airy. If the center is still very liquidy, it needs more time. If there’s no jiggle at all, it’s likely over-baked.
Once fully chilled, your mini lemon cheesecakes can be stored in an airtight container in the refrigerator for up to a week. For optimal freshness and flavor, especially if you’re preparing them for a special event or party, I recommend making them no more than 3 to 4 days in advance.
Absolutely! Mini cheesecakes freeze beautifully for up to 3 months. For best results, freeze them without any toppings. You can individually wrap each cheesecake tightly in plastic wrap, then place them in an airtight freezer-safe container or a freezer bag. If layering, place parchment paper between each cheesecake to prevent sticking. When you’re ready to enjoy them, simply transfer them to the refrigerator to thaw overnight before adding your desired toppings.
Expand Your Lemon Repertoire: More Zesty Dessert Ideas
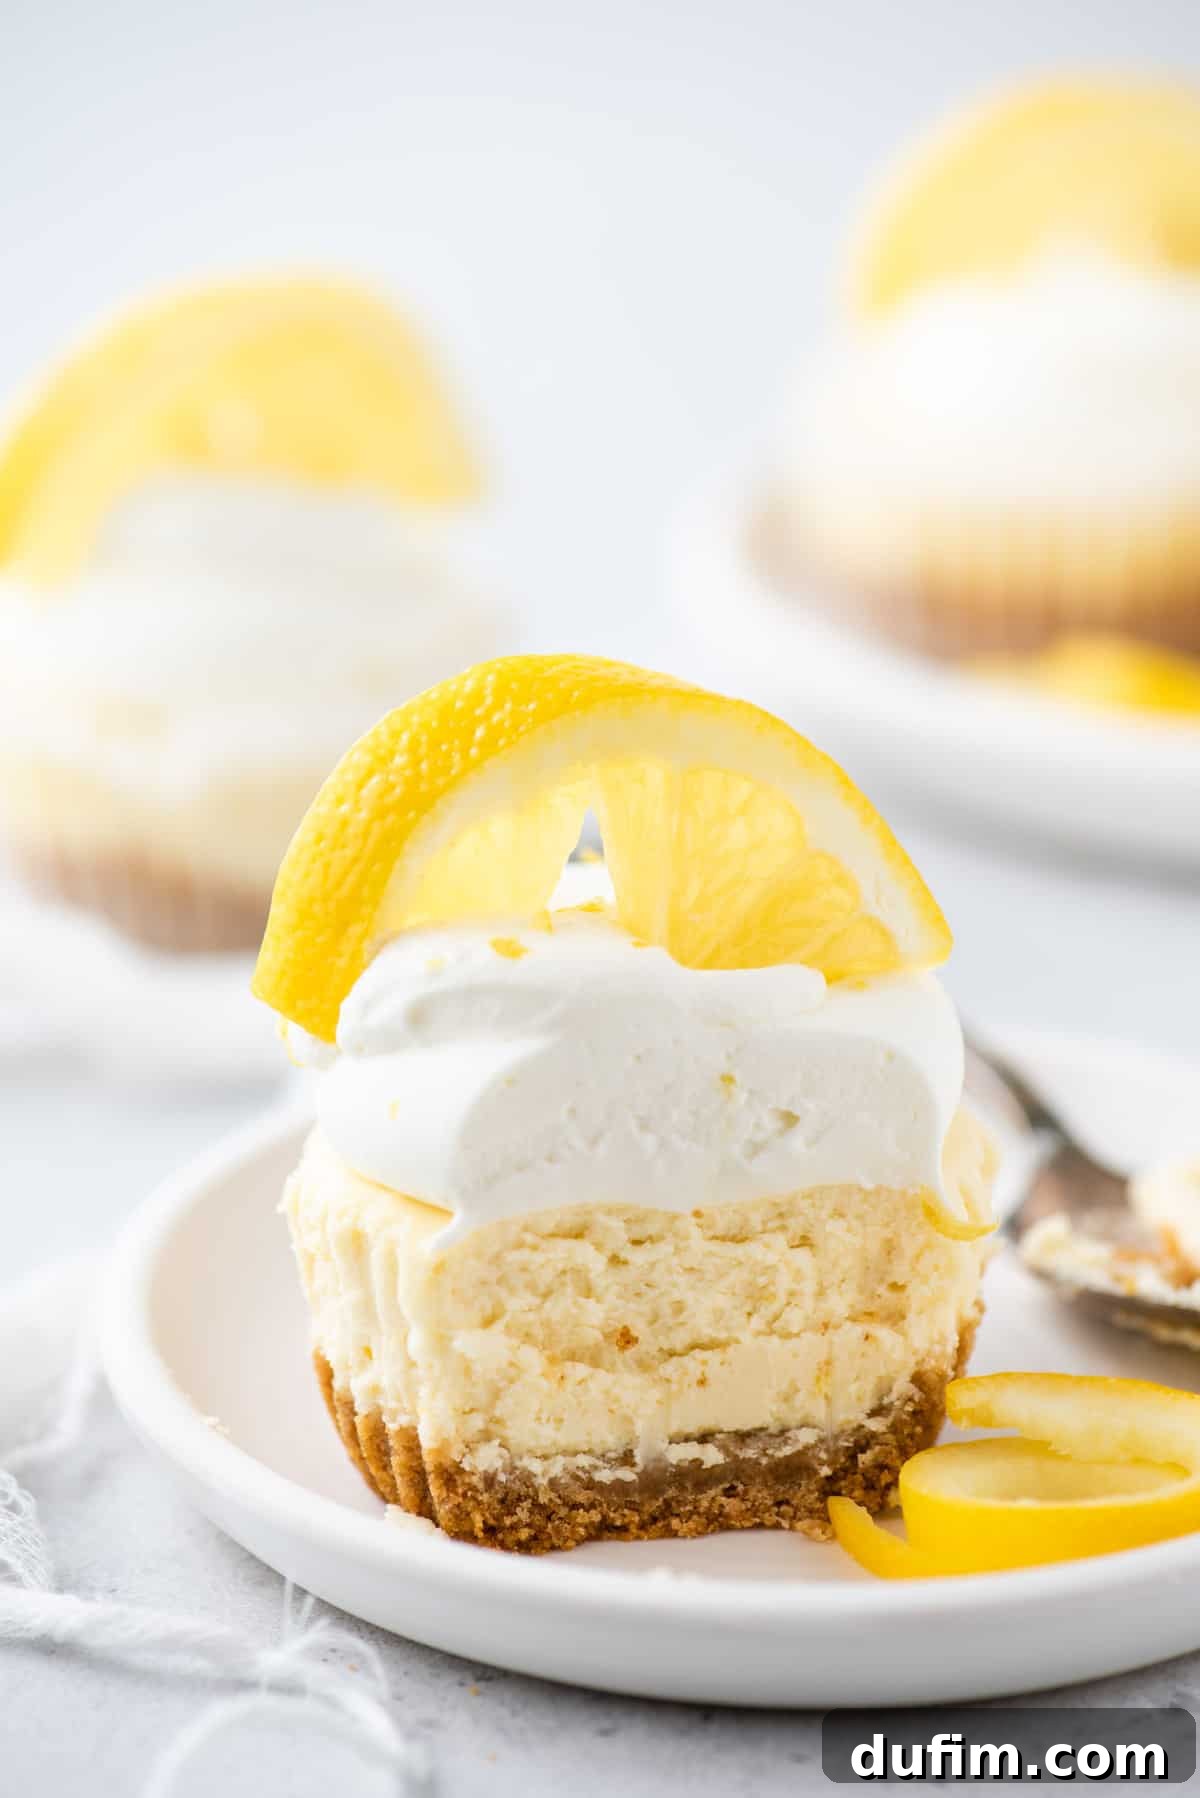
If these mini lemon cheesecakes have sparked a love for baking with lemons, you’re in for a treat! Lemons are incredibly versatile and lend themselves to a myriad of delicious desserts. If you’ve got extra lemons after making this recipe, don’t let them go to waste. Some of my all-time favorite lemon desserts include a fluffy lemon layer cake, delightfully chewy lemon sugar cookies, and moist, tender lemon muffins – perfect for breakfast or an afternoon snack. For another charming mini dessert that pairs wonderfully with mini cheesecakes, consider making elegant lemon tarts. The possibilities are endless when you have such a bright and flavorful ingredient on hand!
★★★★★
Tap stars to rate!
Mini Lemon Cheesecakes
Rate
Equipment
-
Muffin Pan
-
Glass Mixing Bowl
-
KitchenAid 9-Speed Mixer
Ingredients
Crust
- 1 cup (113g) graham cracker crumbs
- 4 Tbsp (57g) unsalted butter, melted, 1/2 stick
Cheesecake
- 16 oz (452g) full fat cream cheese, softened to room temperature
- ½ cup (99g) granulated sugar
- 1 tsp vanilla extract
- 2 tbsp lemon juice, fresh squeezed
- 2 large eggs, room temperature
Topping
- whipped cream (1 pint heavy whipping cream, 1/2 cup powdered sugar, & 1 tsp vanilla extract)
- lemon slices
Instructions
Crust
-
Preheat the oven to 350º F (175°C). Line a regular sized muffin pan with paper muffin liners. In a mixing bowl, combine the graham cracker crumbs and melted butter until it resembles coarse sand. Put 1-2 tbsp of crumbs in each muffin cup. Use a 1/3 cup (or similar) to press the crumbs down firmly into the pan, creating an even layer. Bake the crust for 5 minutes. Remove the pan from the oven and allow it to cool completely while prepping the cheesecake filling.1 cup (113g) graham cracker crumbs, 4 Tbsp (57g) unsalted butter
Cheesecake
-
In a mixing bowl, beat the softened cream cheese and granulated sugar with an electric mixer until smooth and creamy, about 1-2 minutes. Ensure there are no lumps.16 oz (452g) full fat cream cheese, ½ cup (99g) granulated sugar
-
Beat in the vanilla extract and fresh lemon juice until just combined. Then, add the room temperature eggs, beating them in *just* until the yolk breaks and is incorporated into the batter. Be careful not to over-beat the eggs, as this is the primary cause of air bubbles and cracking in cheesecakes.1 tsp vanilla extract, 2 tbsp lemon juice, 2 large eggs
-
Evenly divide the cheesecake batter among the cooled, crust-lined muffin cups, filling the liners almost full. Return the pan to the oven and bake for 15-17 minutes, or until the center of the cheesecakes is only slightly jiggly when the pan is gently nudged.
-
Allow the cheesecakes to cool completely to room temperature on a wire rack. Then, place them in the refrigerator for at least 4 hours to chill before serving. For the best flavor and texture, refrigerate overnight. If chilling overnight or longer, loosely cover the cheesecakes in plastic wrap to prevent them from drying out or absorbing odors.
-
Just before serving, top each mini cheesecake with a dollop of whipped cream and/or fresh fruit and lemon slices.whipped cream (1 pint heavy whipping cream, 1/2 cup powdered sugar, & 1 tsp vanilla extract), lemon slices
Notes
How to freeze: You can freeze mini cheesecakes for up to 3 months. Freeze them without any toppings. Individually wrap each cheesecake tightly, then place in an airtight storage container or freezer bag with parchment paper between layers to prevent sticking. Thaw them in the refrigerator before serving.
How to make homemade whipped cream: In a cold bowl, combine 1 pint (2 cups) heavy whipping cream, 1/2 cup powdered sugar, and 1 tsp vanilla extract. Beat with an electric mixer on high speed for 5-7 minutes, until stiff peaks form.
Nutrition
Nutrition Disclosure
All nutritional values are approximate and provided to the reader as a courtesy. Changing ingredients and/or quantities will alter the estimated nutritional calculations.
Like this recipe? Rate and comment below!